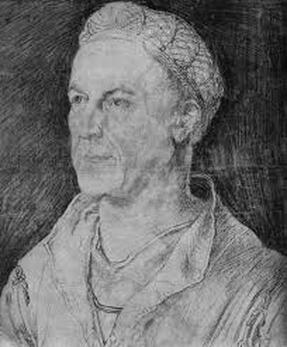
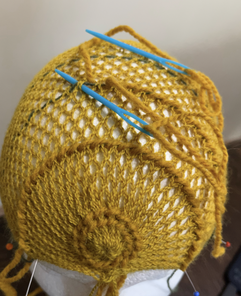
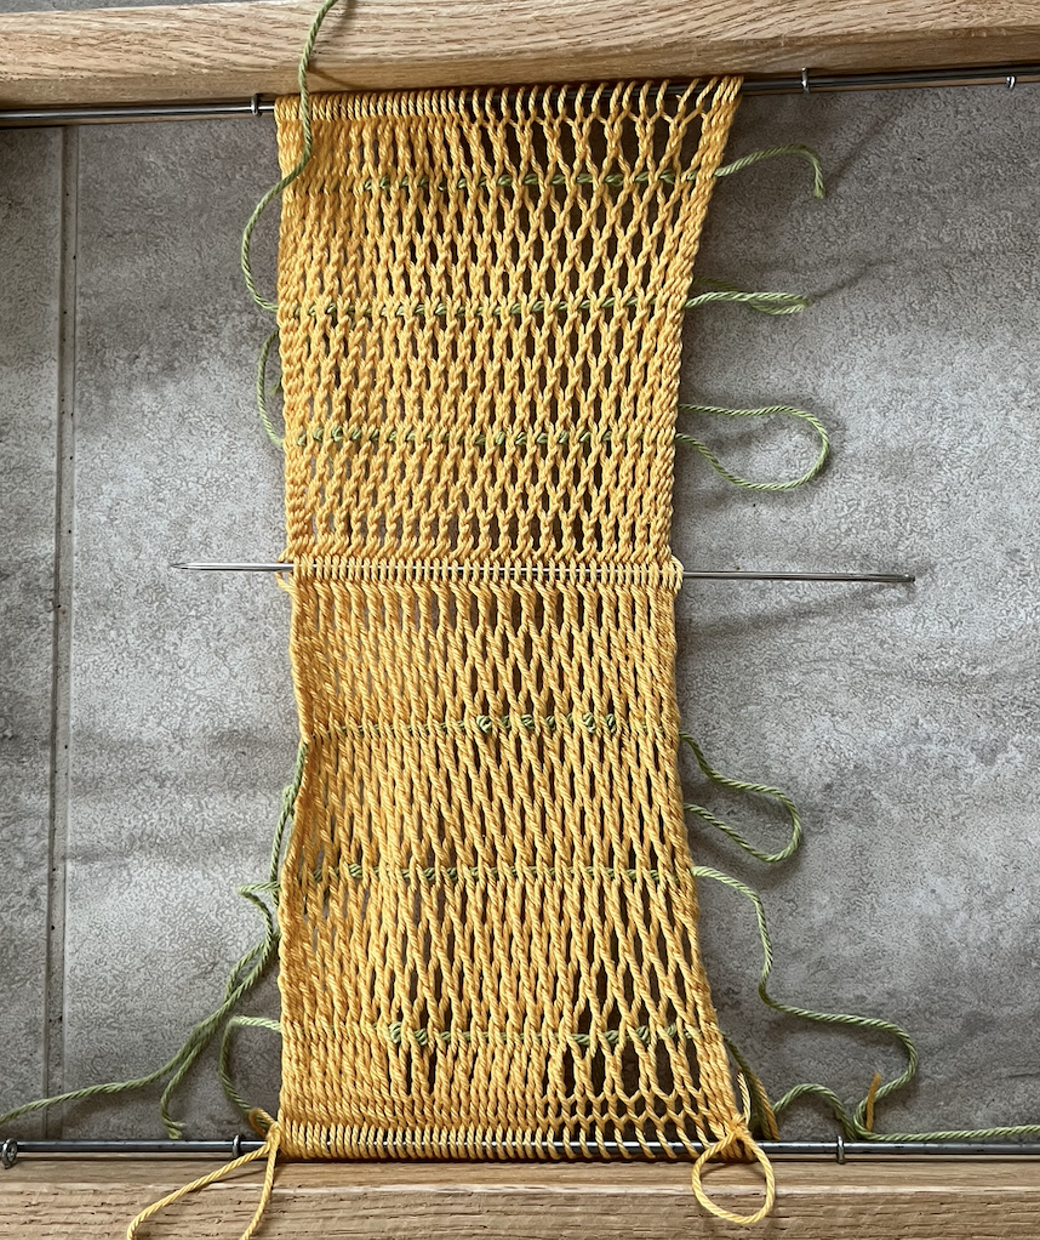
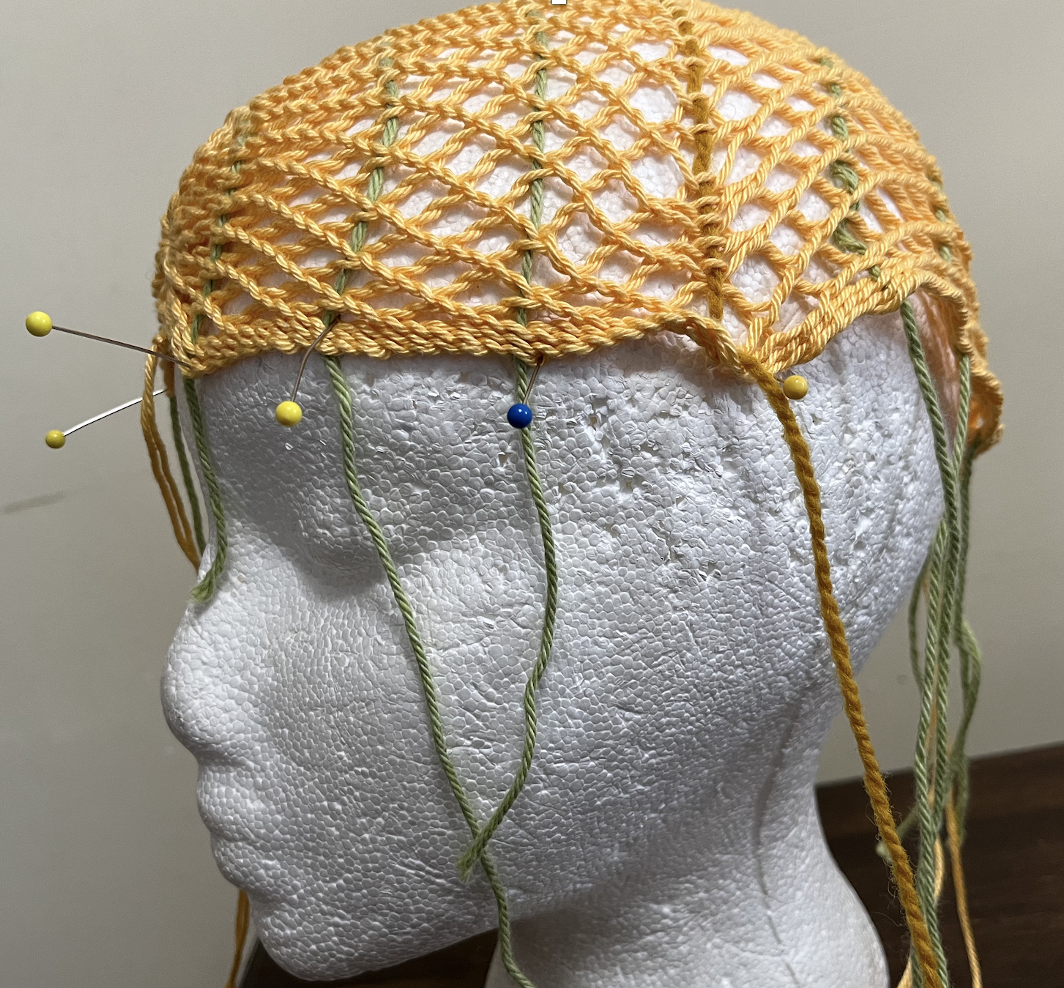
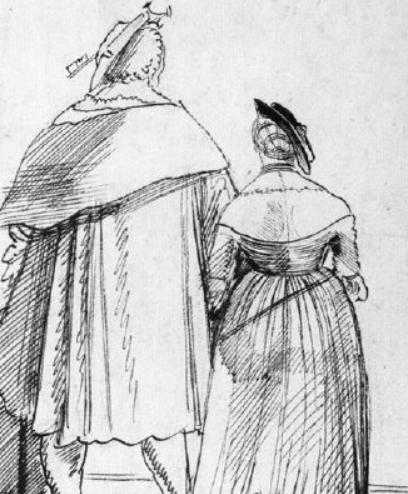
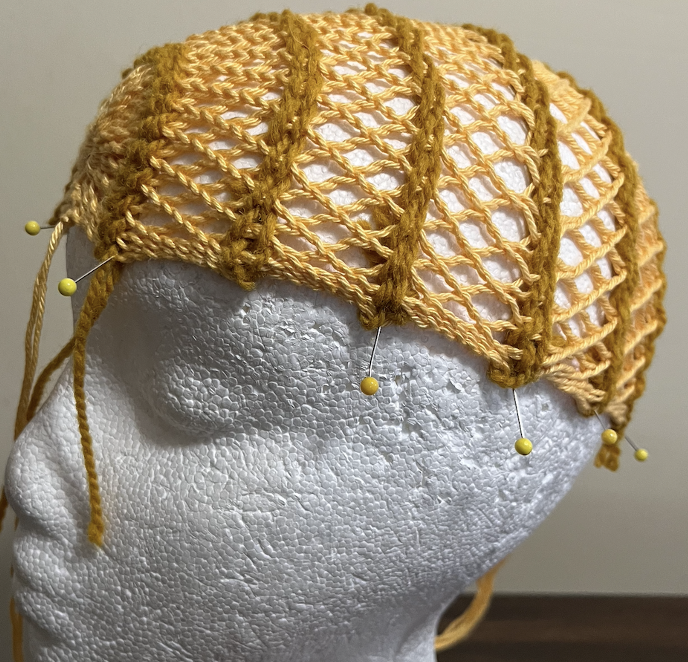
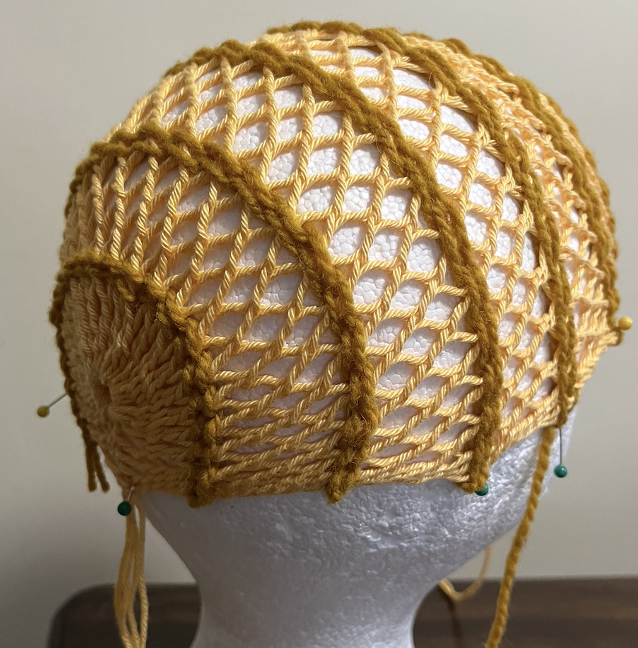
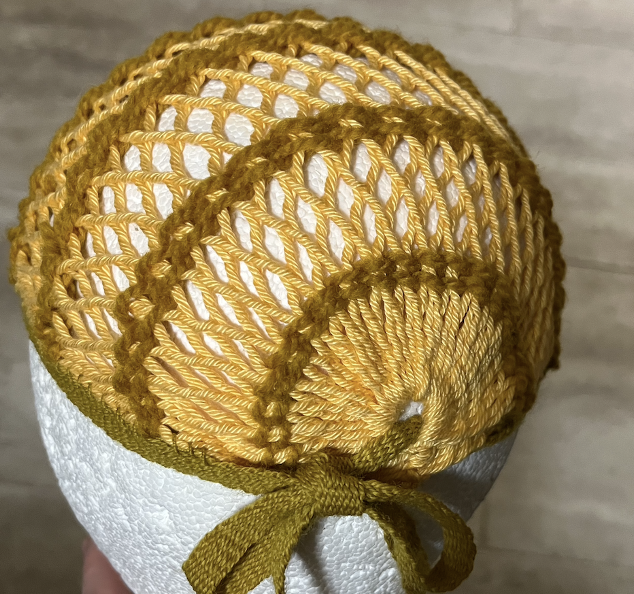
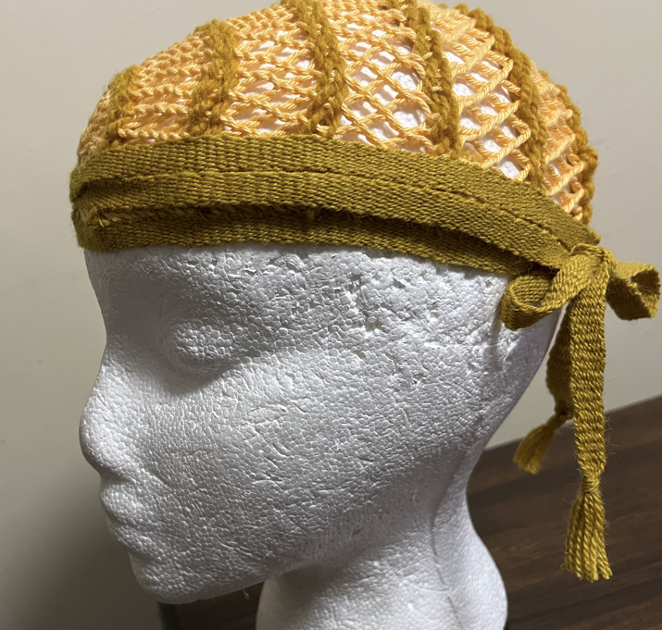
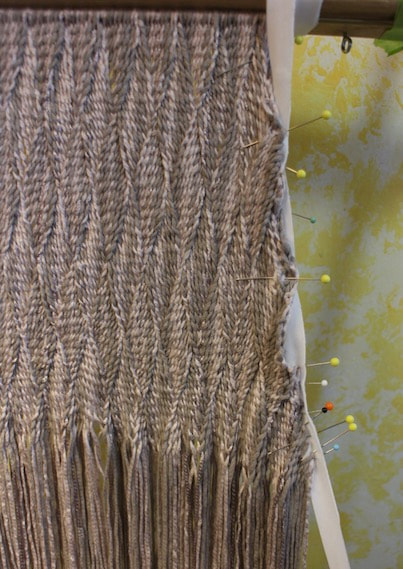
The portrayal of Jacob Fugger by Albrecht Drürer leads me to think that Mr Fugger wore a sprang bonnet. I tried to make a similar bonnet. I interpreted the heavy lines in the bonnet as lines of horizontal twining in a sprang bonnet. When I tried this myself I found that there may be a reason for the twining in the sprang bonnet, as you will see.
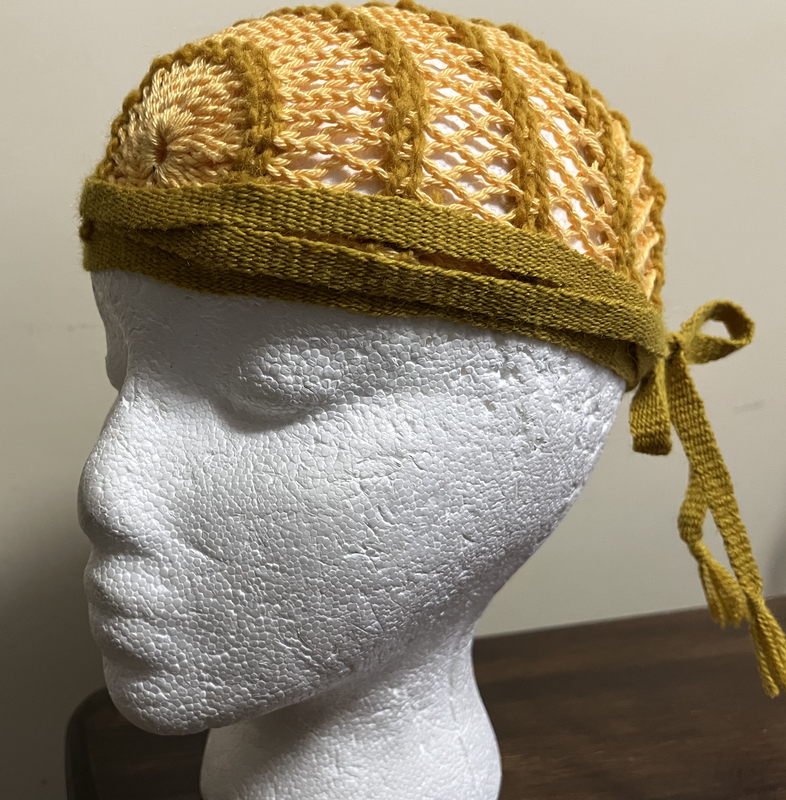
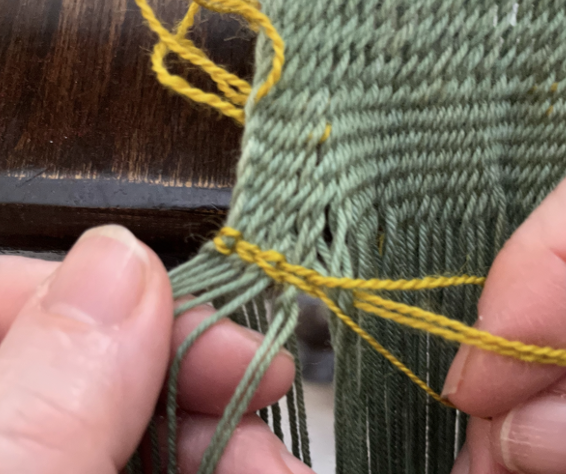
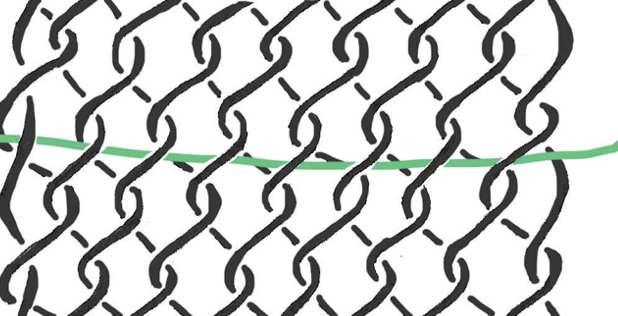
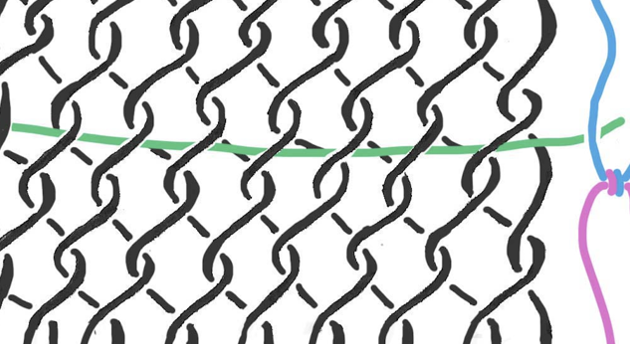
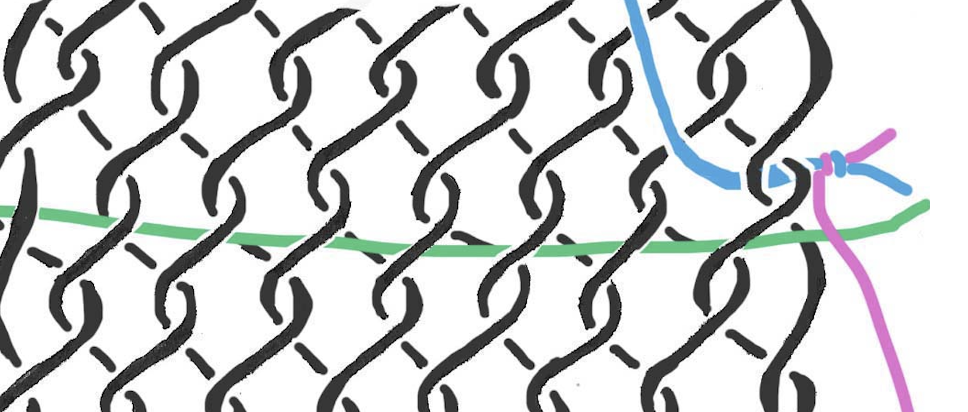
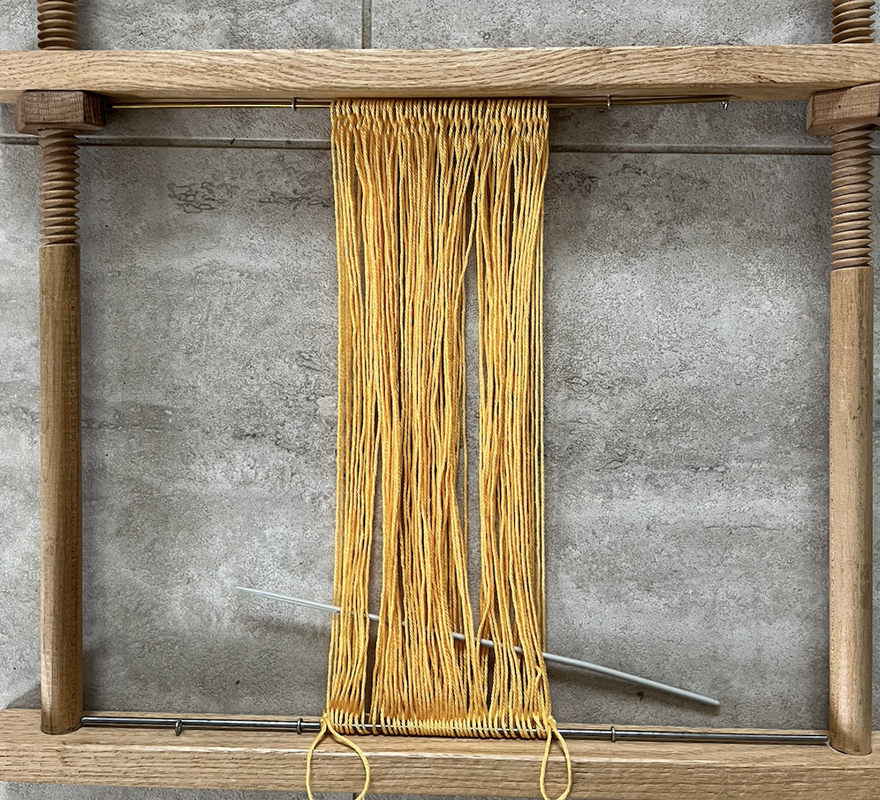
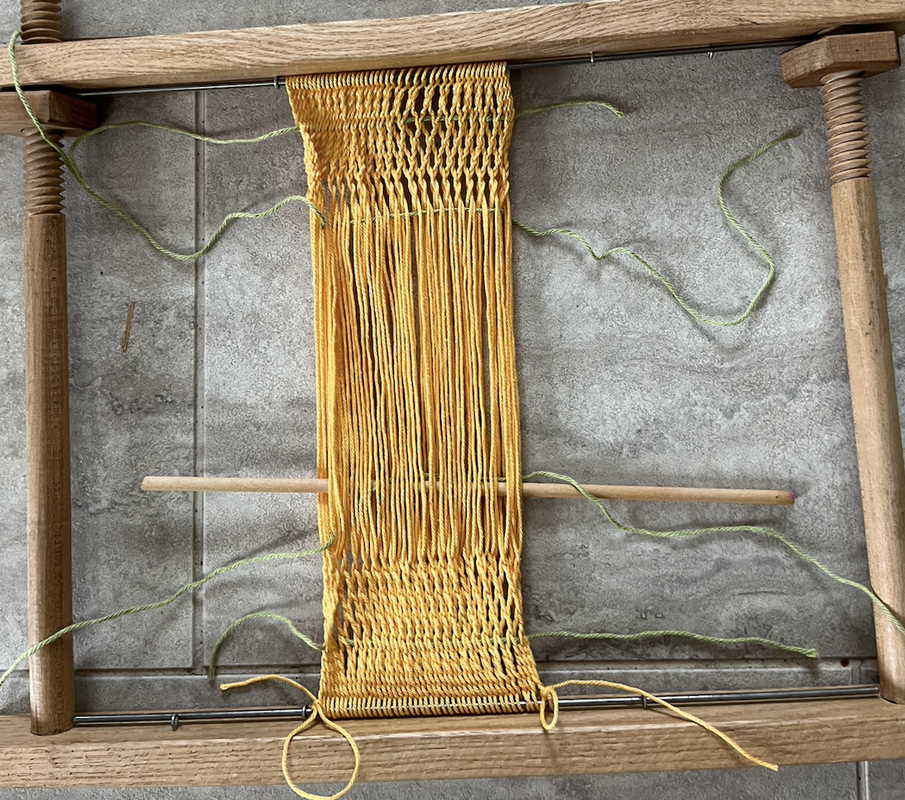
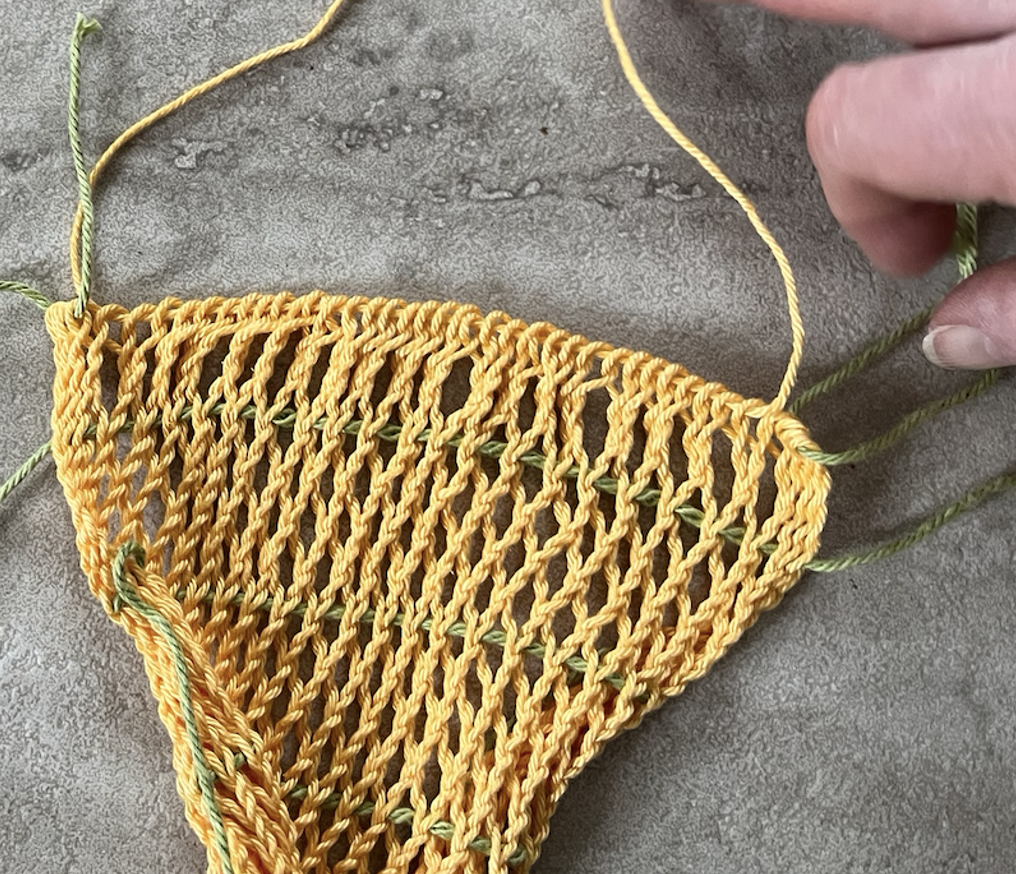
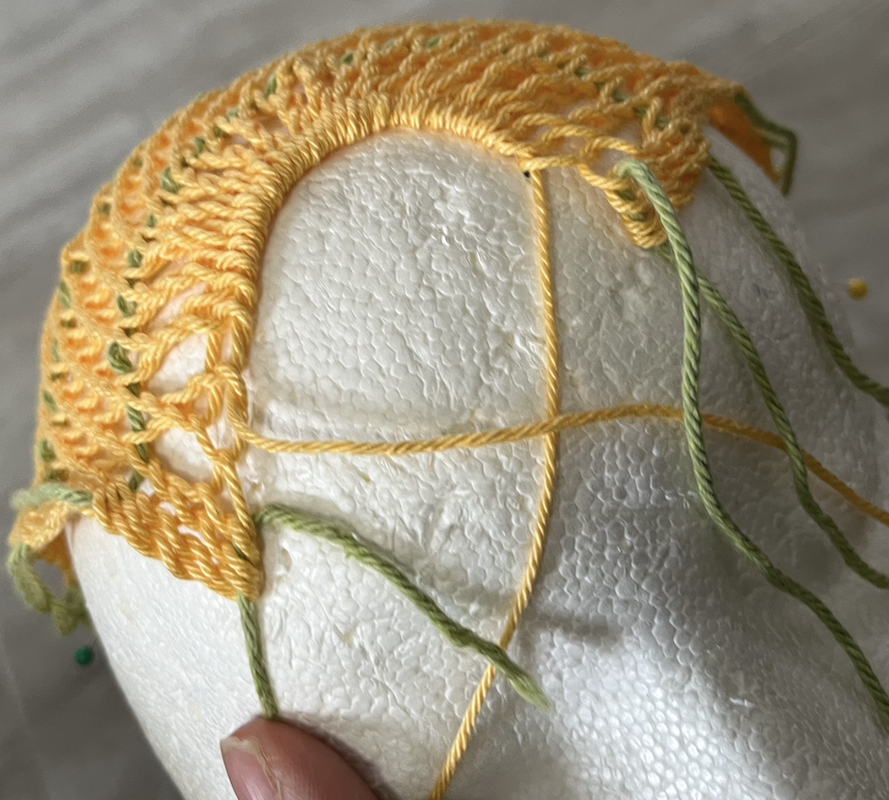
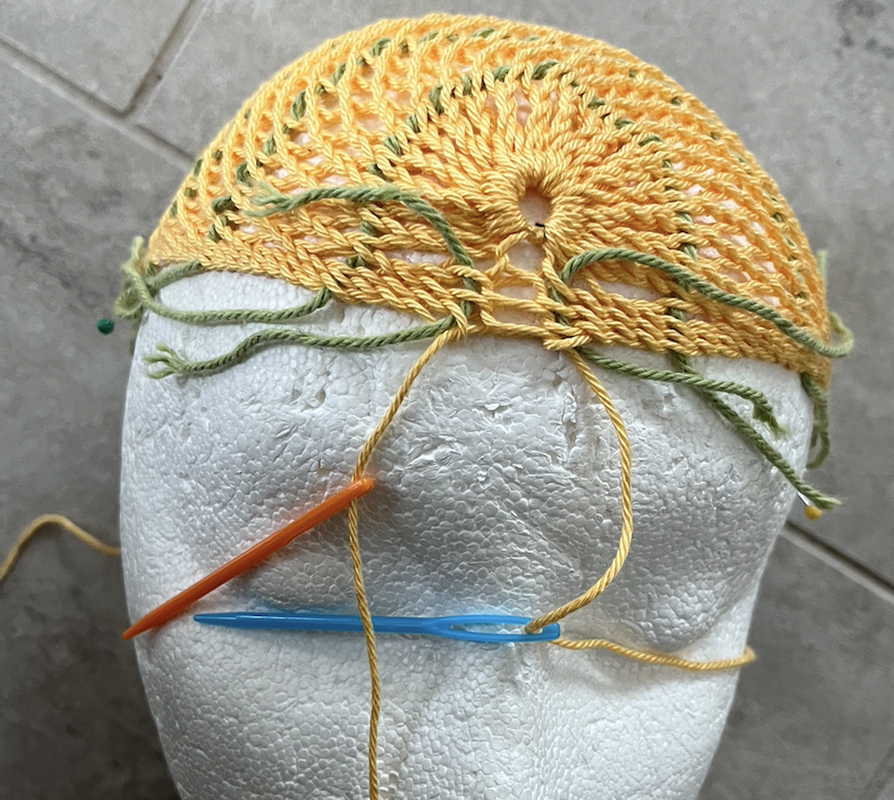
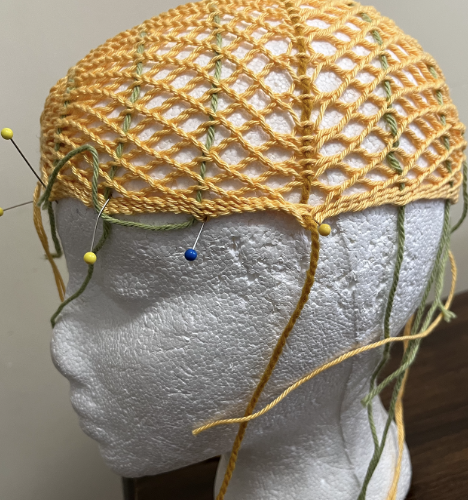
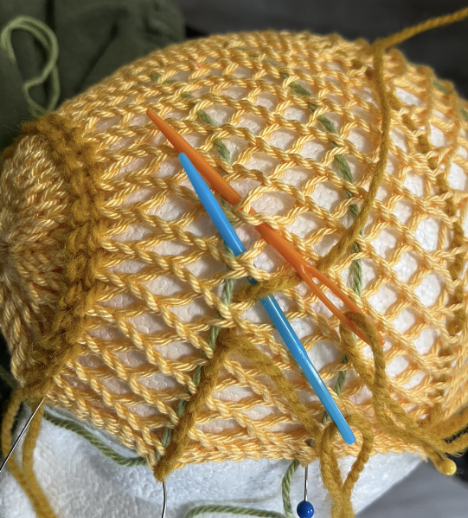
Thinking about approaches to incorporate horizontal twining into the sprang cloth, I thought of two ways to do this. One way (method #1) is to create a line of weft twining as I created the cloth. The other way (method #2) is to add the twining stitches after completing the sprang. The twining stitch does not have the stretch of the sprang cloth. Maybe, indeed, this was the whole idea of the twining line. This risk of method #1 is that the line of twining is too narrow for the desired width of the bonnet. I found method #2 to be more effective, in that I could place the sprang cloth on a head shape (styrofoam head) and then work the twining stitch at the desired tension, creating the desired width of the cloth, fitting the bonnet to the head. How did I work the twining stitch?
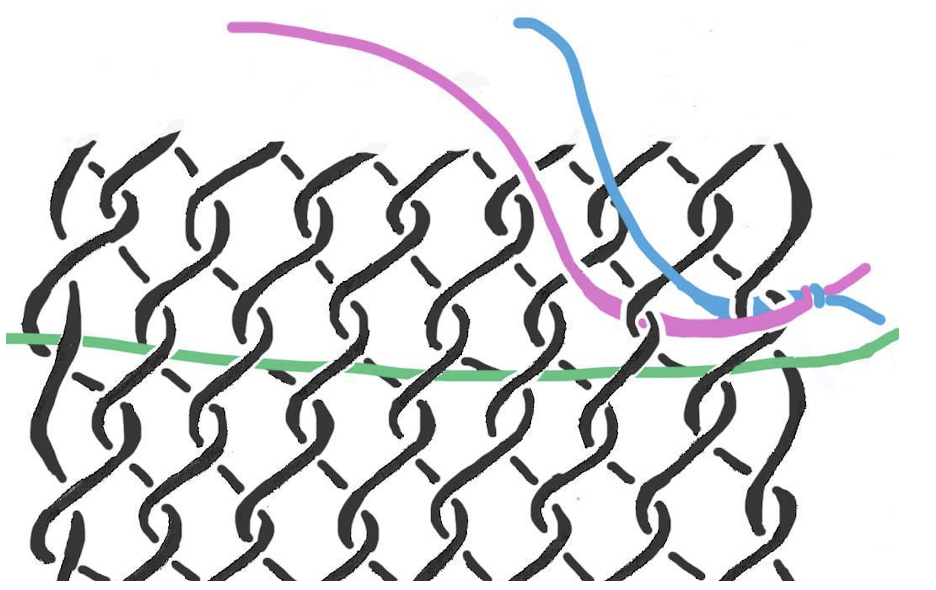
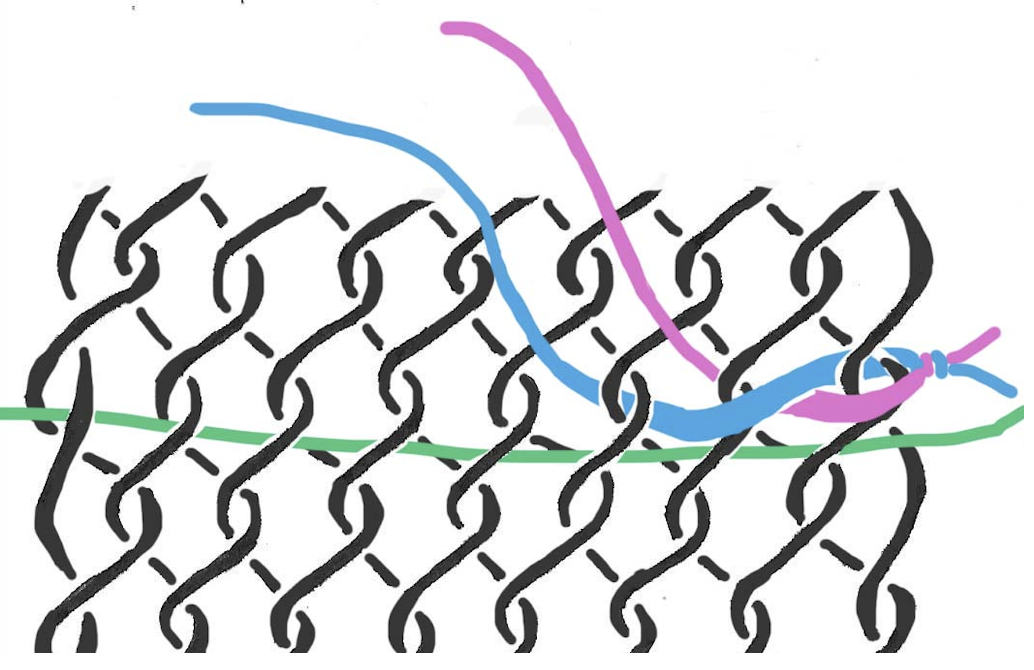
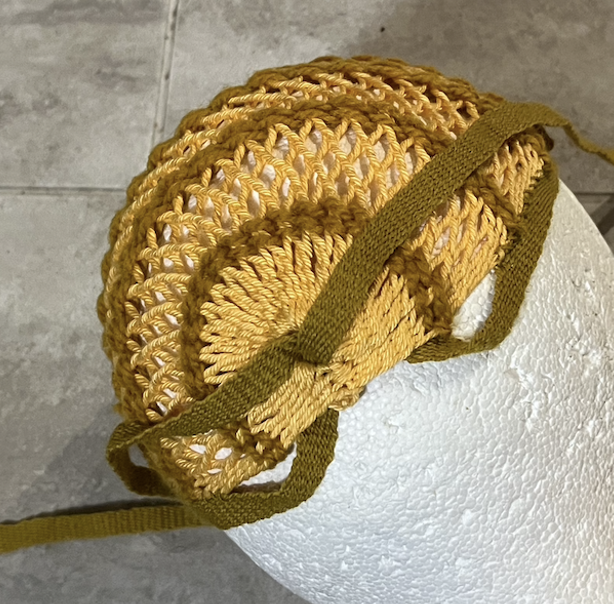
How do you tie the bonnet on the head? Two approaches come to my mind.
If you want the ends of the band to pass all the way around the head, then I would pass both ends through the circle at the back of the head.
0 Comments
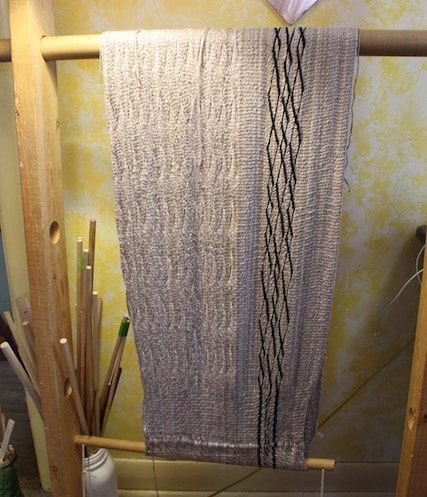
I was talking today with members of a Colorado-based sprang study group. They had some questions, and I was wanting to refer them to a blog post of mine ... and then I realized that I never posted those pictures, never told that story on my blog. So here it is, the making of that shirt that was on display at HGA's Convergence last summer.
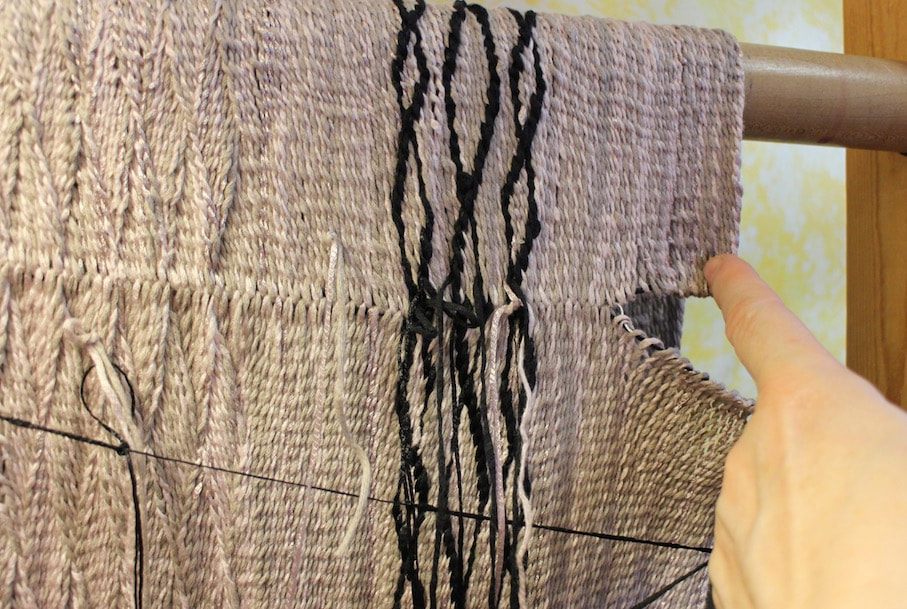
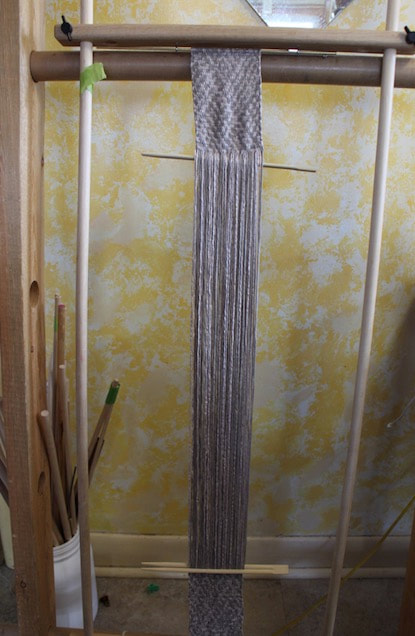
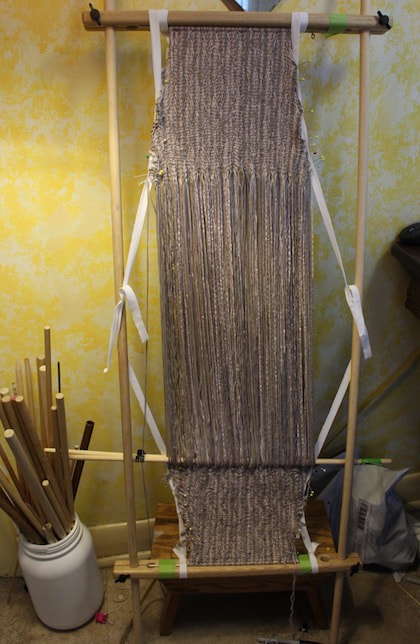
I have been exploring different ways to create a sprang shirt. The obvious way to create the neckline is to make a slit for a V-neckline. When I did this, I found that there is stress on the stitch at the bottom of that V, and it does not look nice. Because of this, I have begun to look for other ways to create that neckline. This pullover began with a false-circular warp to create a large rectangle for the front and back. The loops will sit near the hem of the garment. There is a chain line at the shoulders.
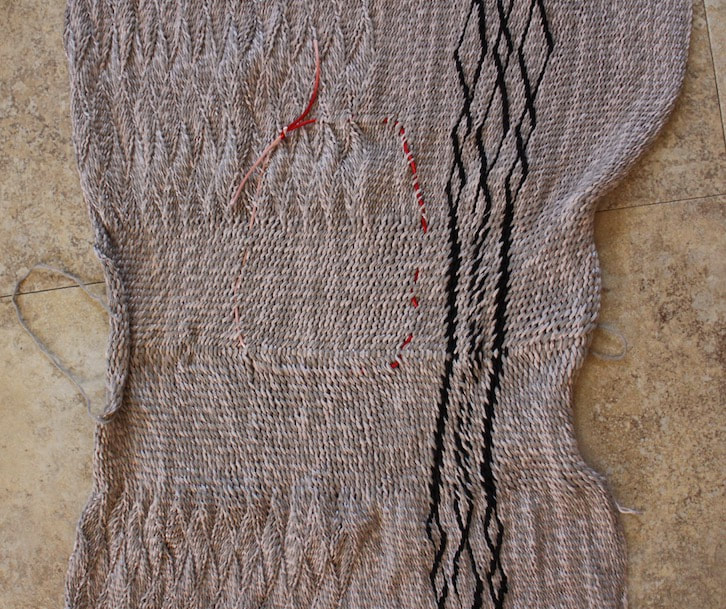
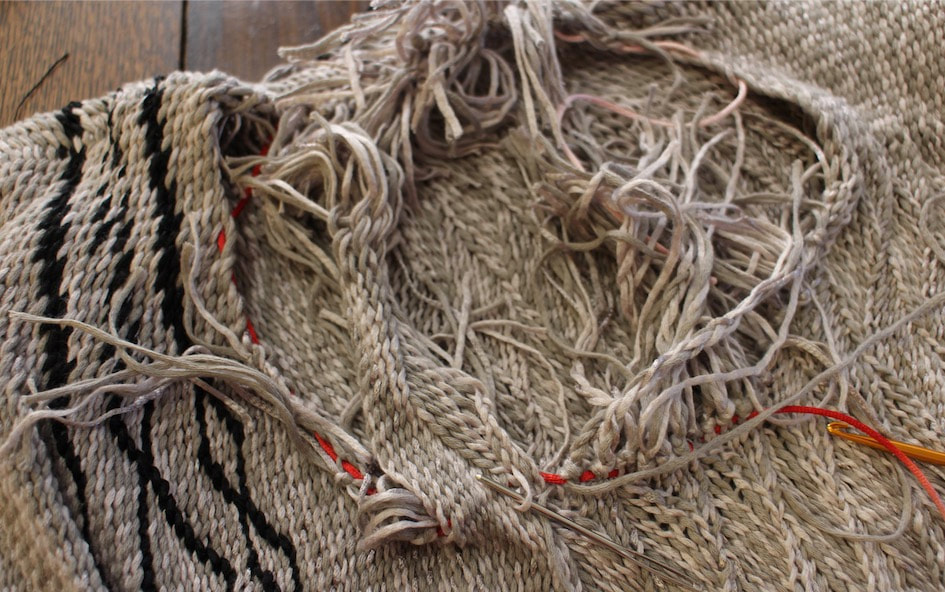
I laid the piece out flat, and traced a circle (basting stitch) with a red thread at the place that I thought should be the hole for the neck. The hole must be as large as the circumference of my head. I then cut across the stitches inside this hole, being careful to leave threads long enough to tie knots. I unravelled the stitches to the place of the red thread, and tied knots. This gave me a neck opening, with unsightly knots all around. I covered the knots with a collar.
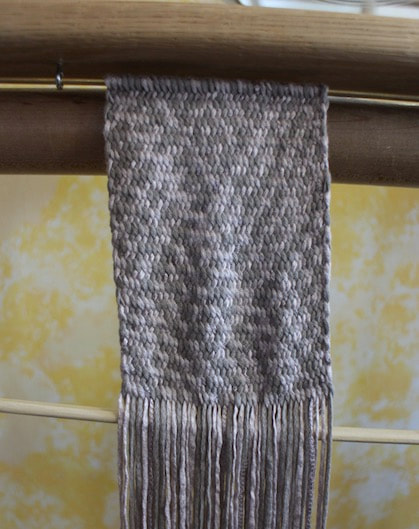
The collar started out as a long flat warp. I chose a 2-2 interlacing stitch for the collar. For the sleeves, I wanted to try making them narrower at the wrist, wider at the shoulder. To make the cloth wider, you must add threads.
I added a loop of yarn every second row. This gave me two sleeves, that are wider at the shoulder, narrower at the wrist. I cut the sleeves apart, and tied knots. The knots are hidden on the inside of the garment. The finished pullover was judged worthy of the fashion show at the Handweavers Guild of America conference Convergence in 2018 in Reno, Nevada. 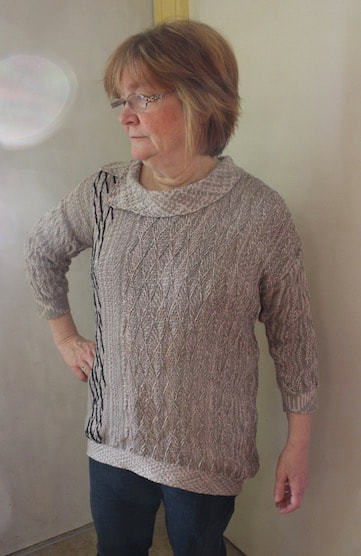 |
Categories
All
Archives
May 2023
Categories
All
|


 RSS Feed