|
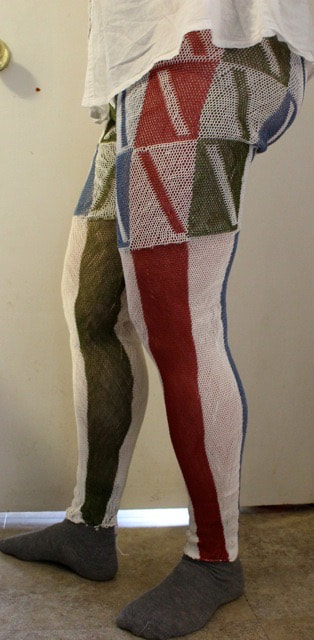
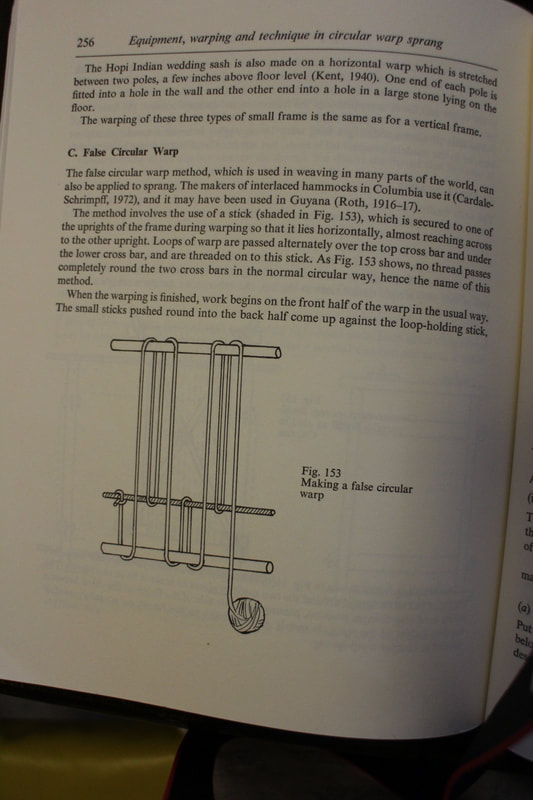
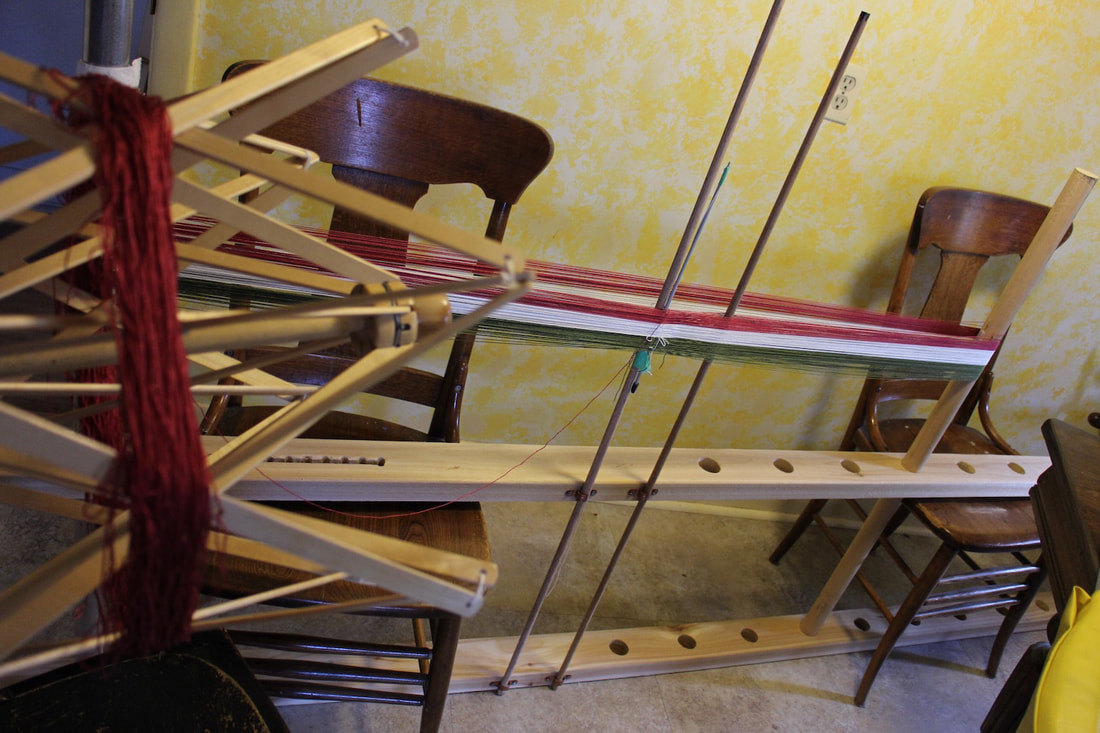
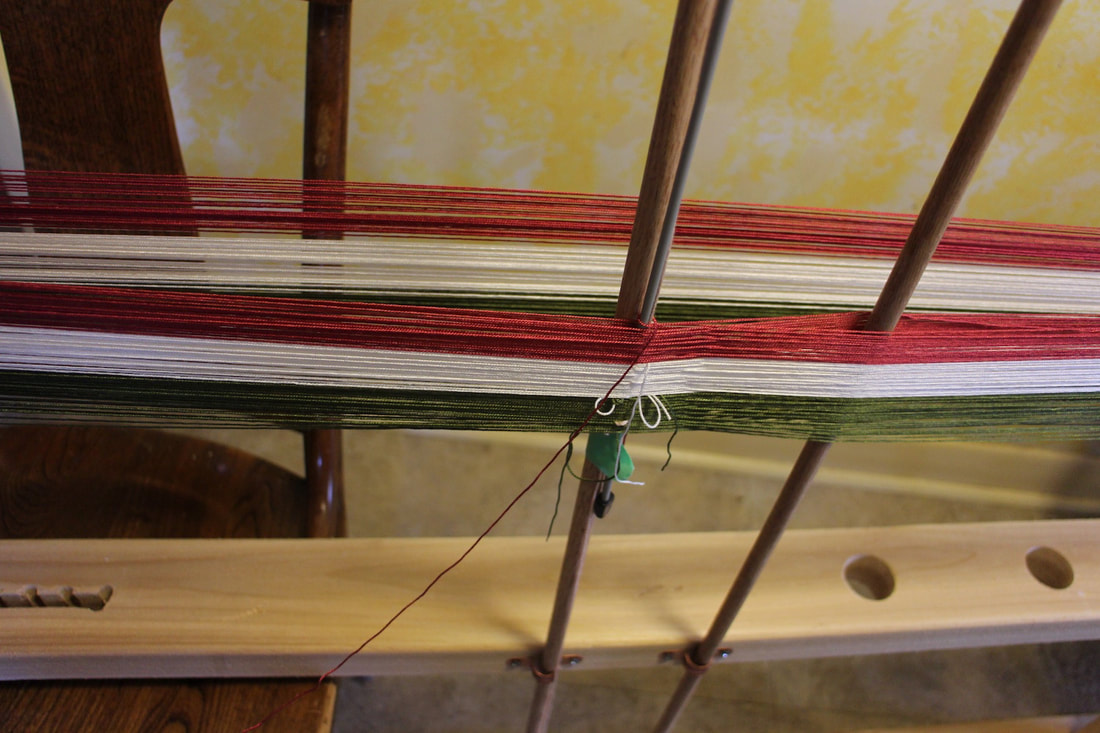
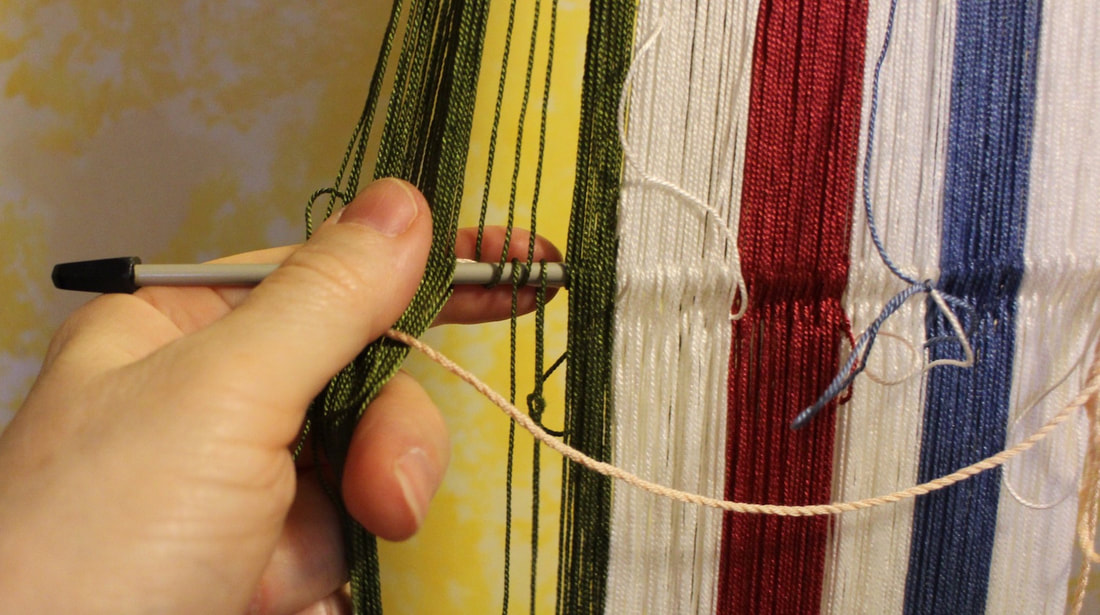
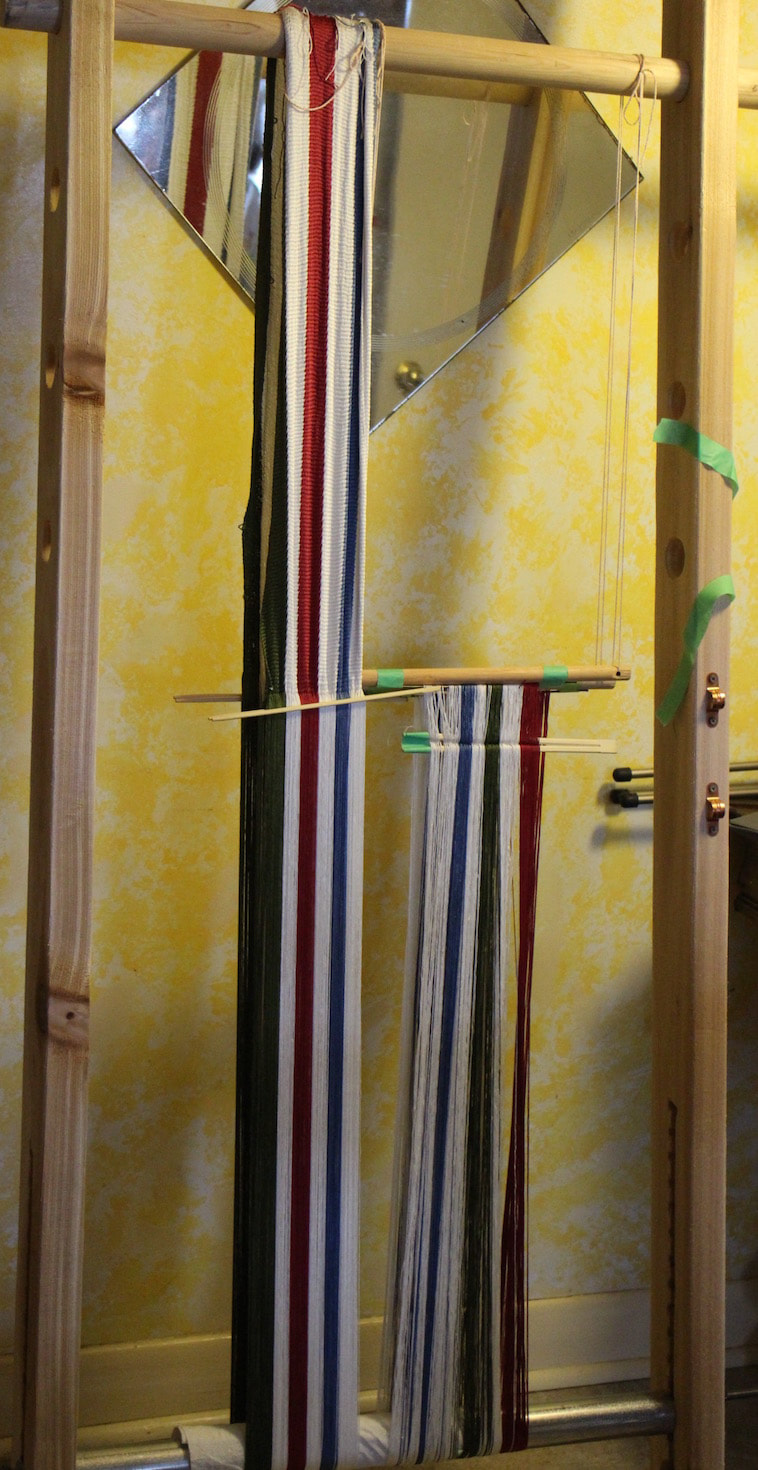
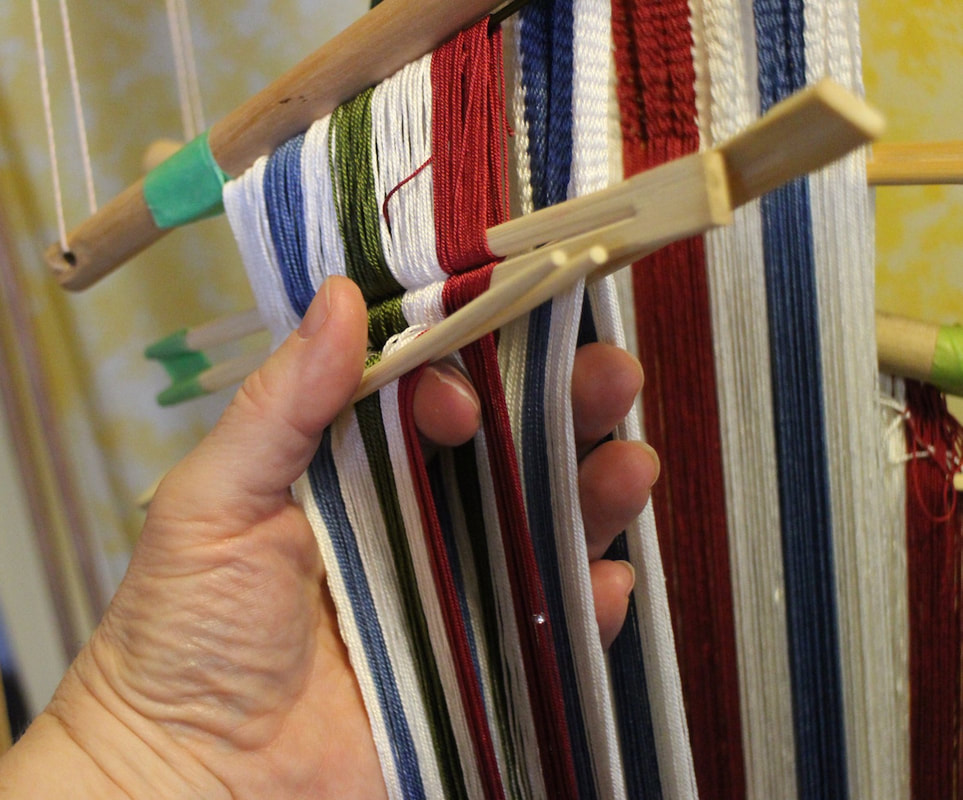
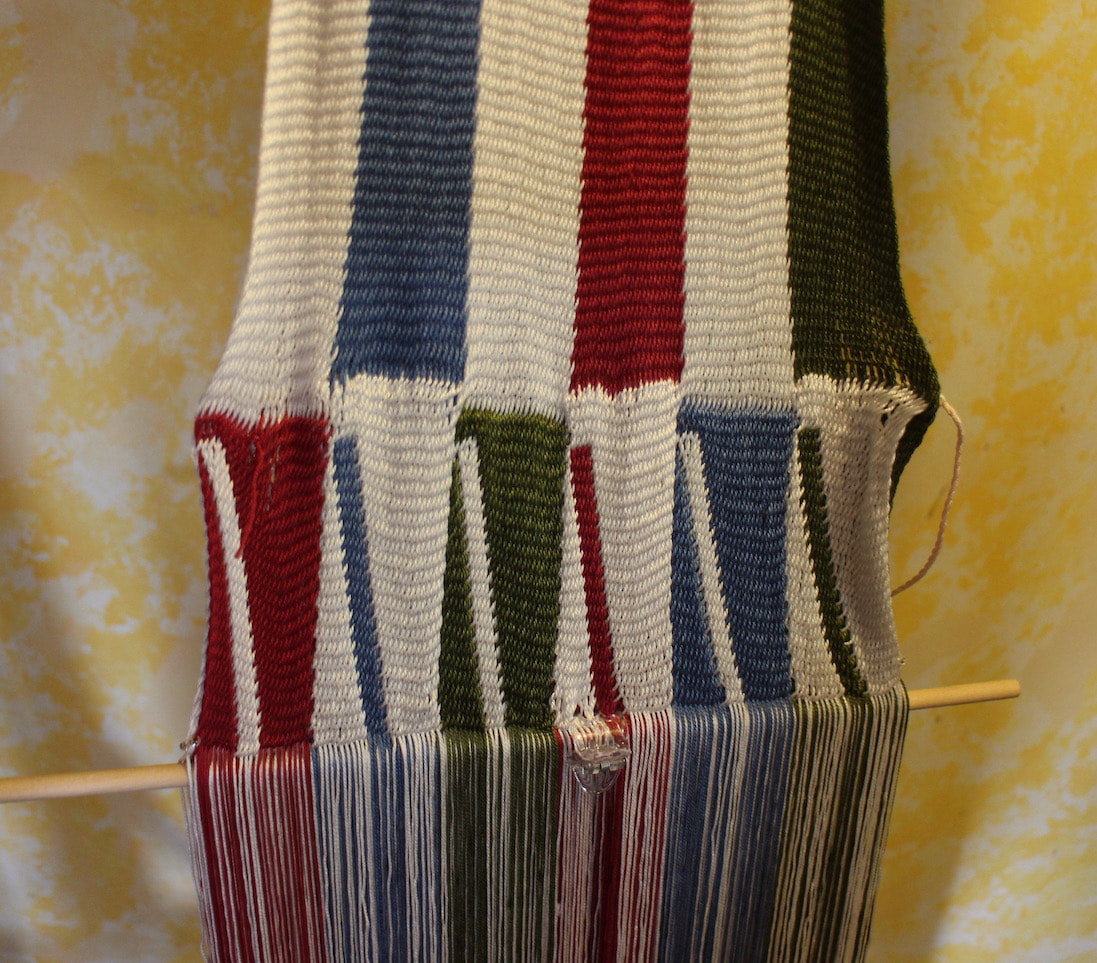
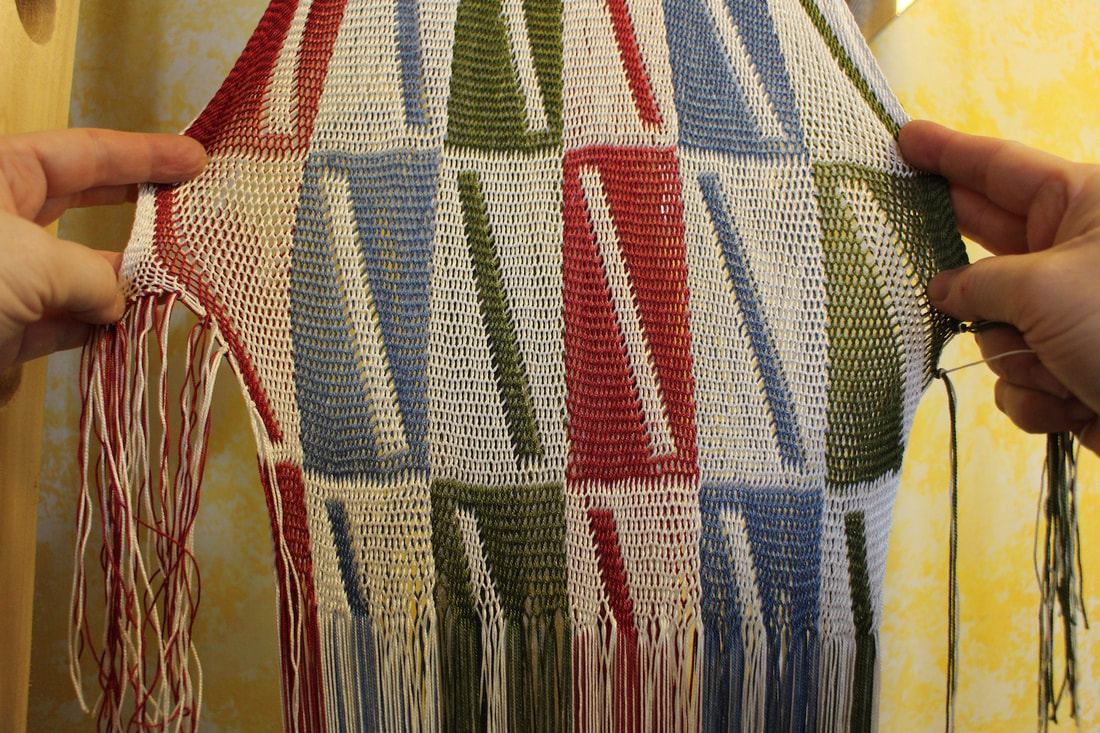
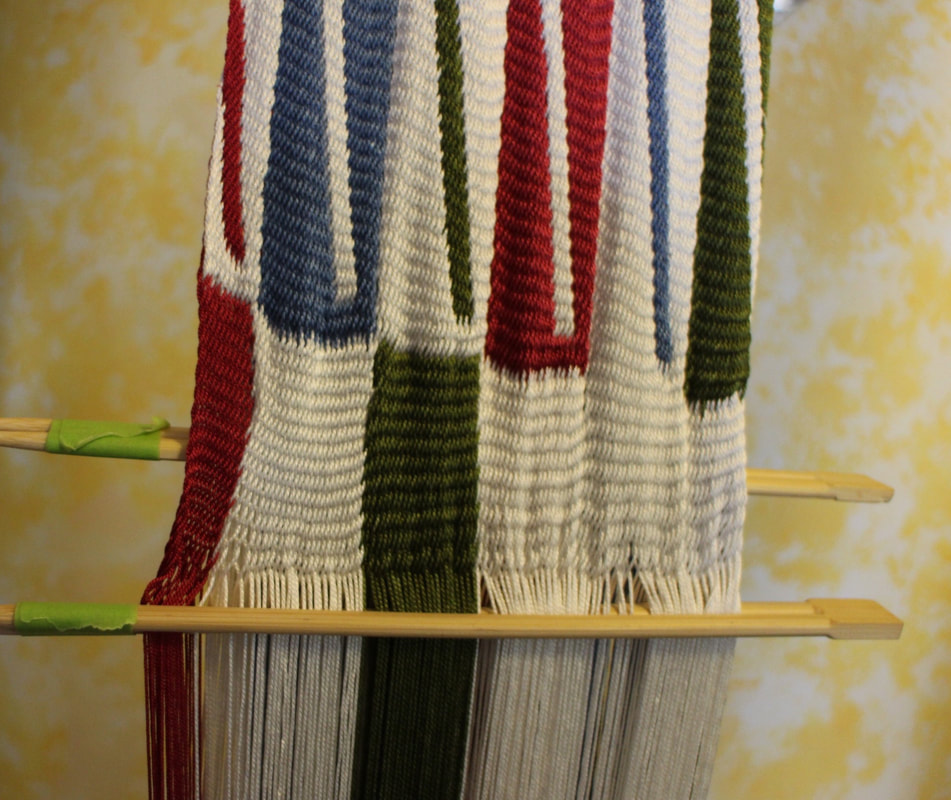
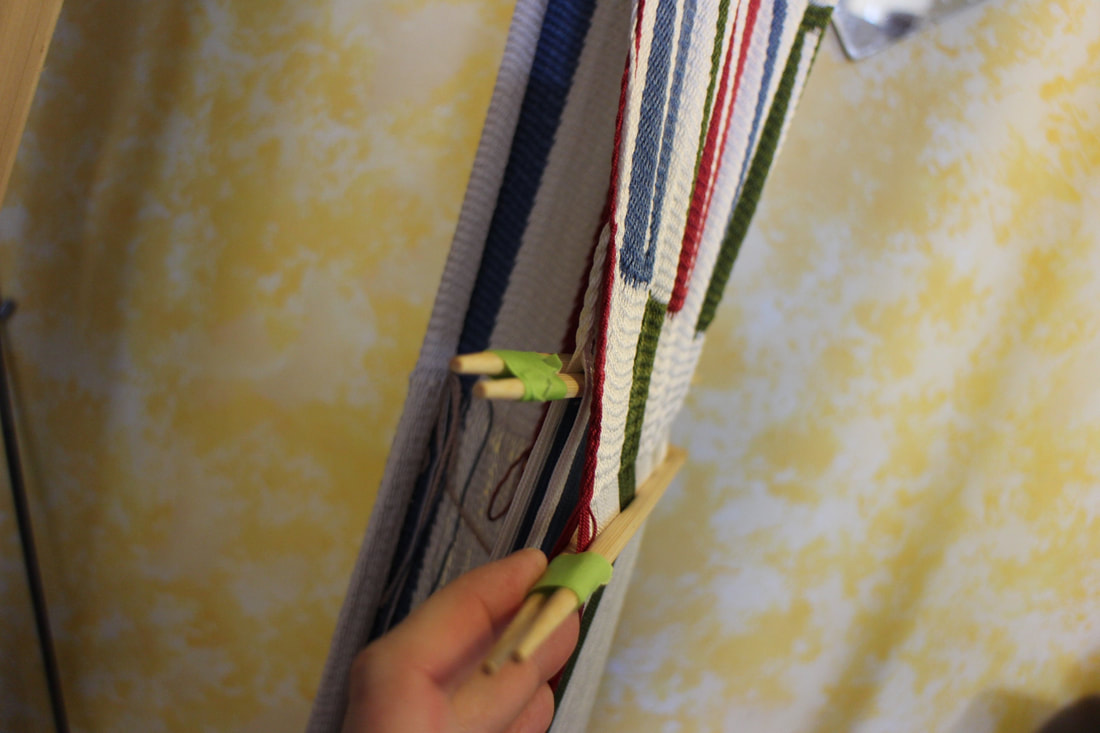
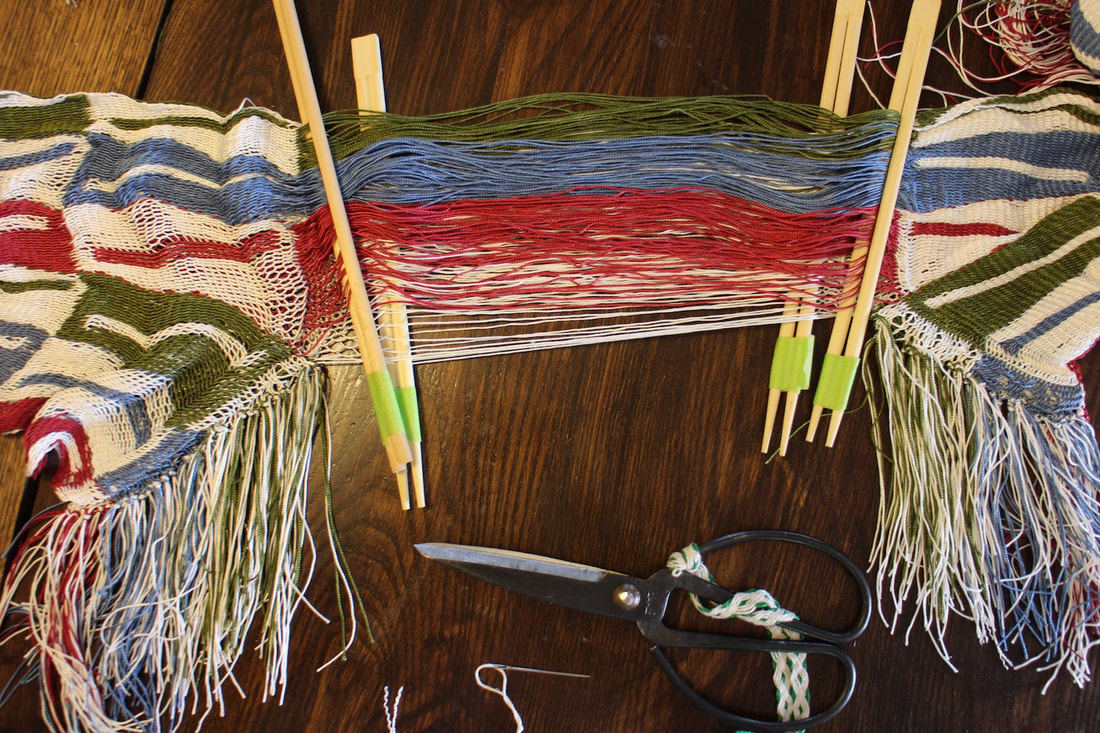
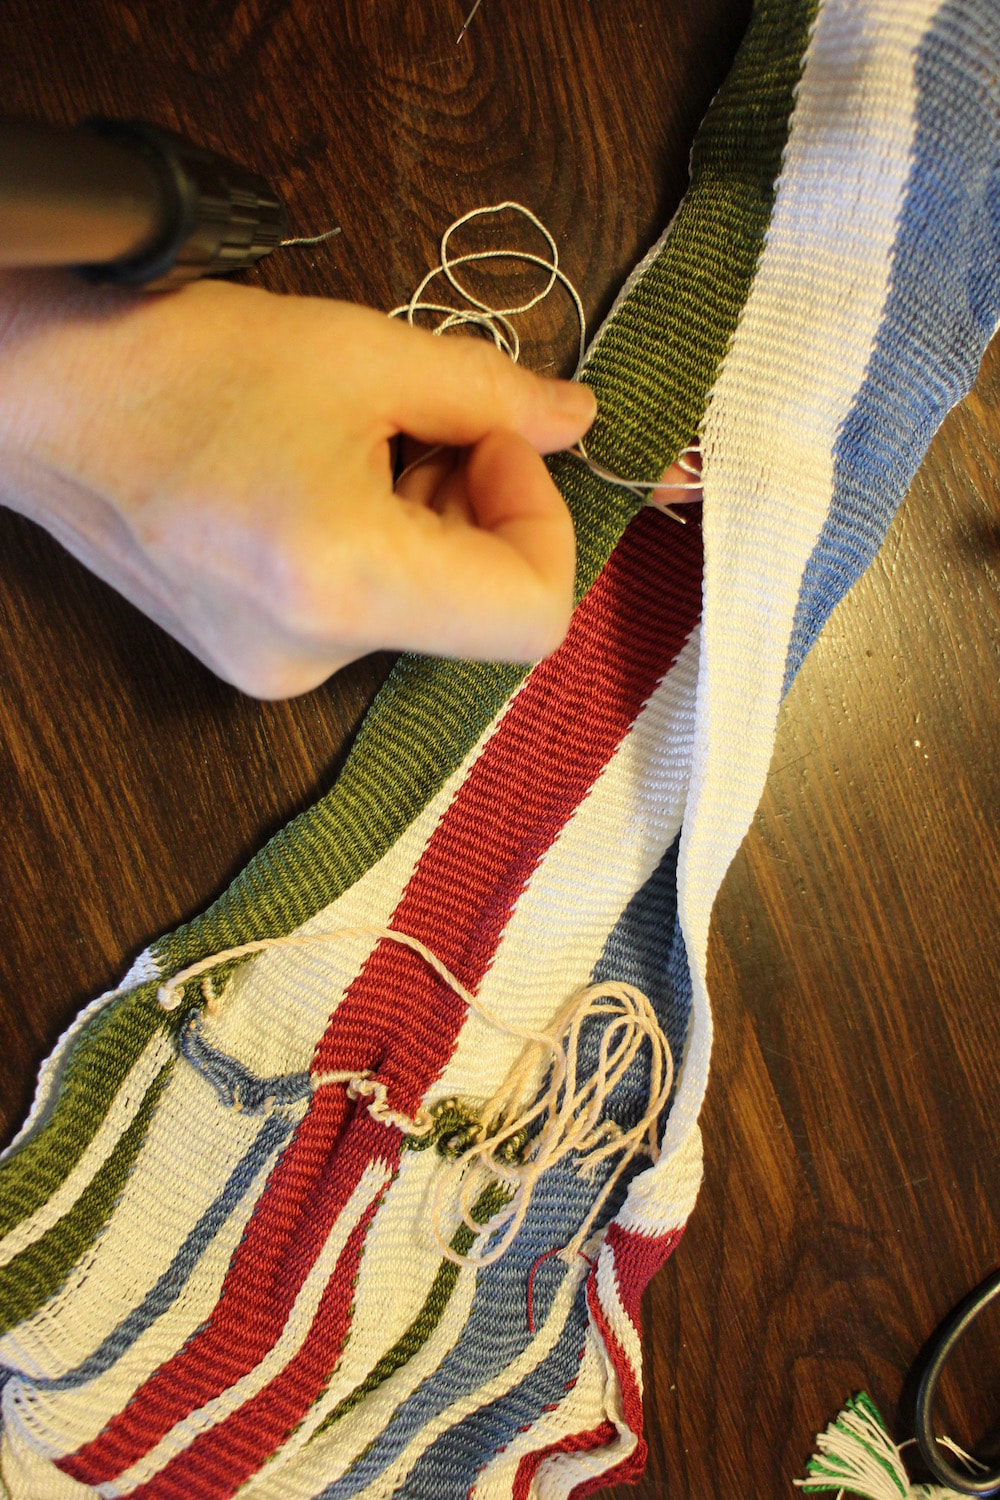
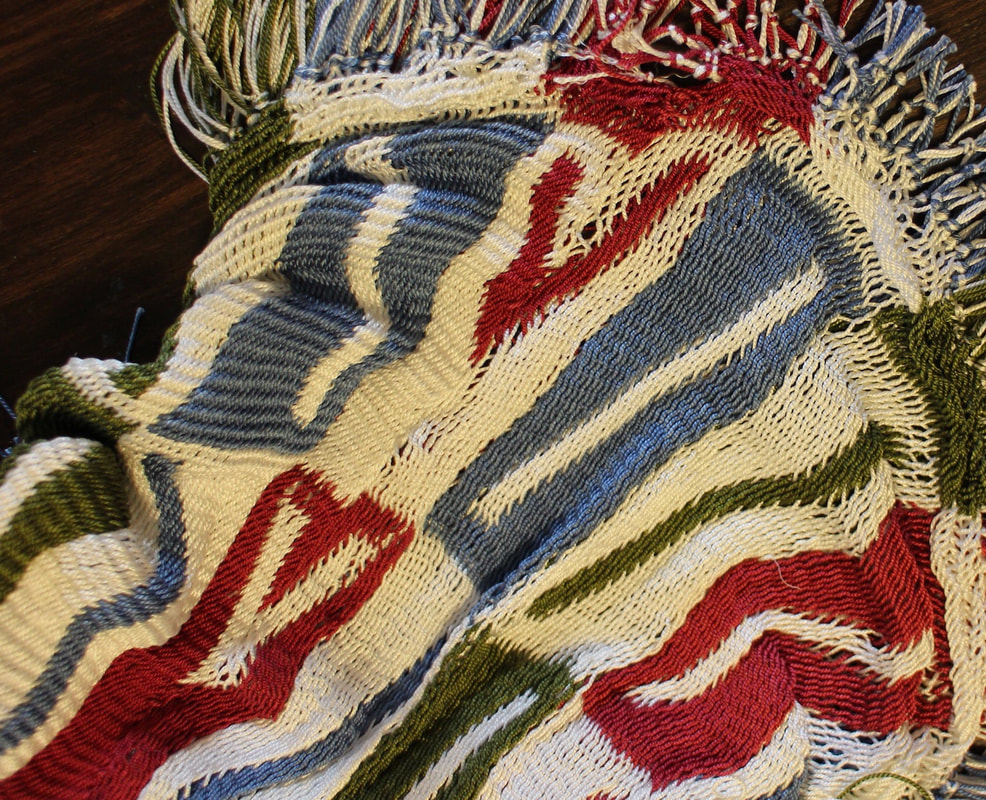
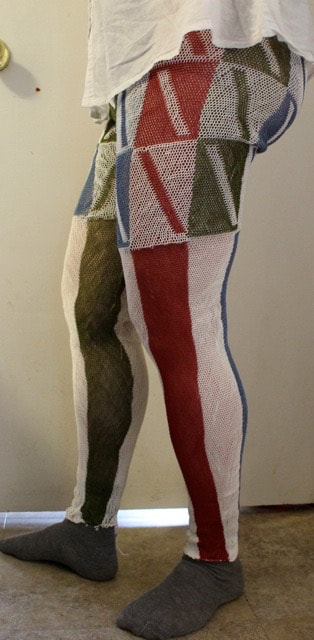
This is how I did it. Inspired by the work of Dagmar Drinkler, I made a pair of sprang pants. Difficulties encountered had me reflecting on how I could do things differently, and this meant making a second pair of pants. The difficulties centered around three major problems: 1) My technique in adding those extra threads at the thigh left me with quite a sniggle-heap on the first pair. I was sure I could manage that addition better. 2) The crotch needed shaping. I had the opportunity to meet Dagmar Drinkler in person and the crotch shaping was one of the points I wanted to discuss with her. She said that she did not do any special shaping for the crotch of the pants she made for the mannequins, left them open a bit at the meeting point . I decided that, despite the amazing stretch that is natural to interlinking sprang, I did need to do some shaping for the pants to fit my shape. 3) I was unsatisfied with the waistband on the first pair, knew I could do better All this in mind, I set up a new warp. Reading in Peter Collingwood’s Techniques of Sprang, I found the perfect way to set up my warp. The meeting of the two ends of the warp happens around that knitting needle, taped to the dowel on the left. This is what I used for the dowel in the middle of Peter Collingwood’s design. The dowel on the right creates a shed for my first row. One thread had gone across the meeting point, instead of around and doubling back. Rather than unwind and re-do this, I added another thread. I then clipped the place of the error and tied two knots. This short-cut worked just fine. Work progressed on the warp nicely. The first few rows formed the ankles, and work progressed up the calf of the pants towards the knee. At about mid-thigh, I measured out another warp of threads exactly the same length of the as the yet-unsprung-warp. I found it was important that this new warp has its own independent suspension system. I’m not always successful at creating a perfectly even warp. This always causes me a bit of trouble over the first few inches of sprang work, until the un-evenness works itself out. This was the case again here. There was a slight unevenness between the two warps, as well as within the new warp. A very tight tension on the new warp when pushing the Z work to the S place helped. It was a couple of inches of work before things settled in. The two warps had been placed one on top of the other, and worked as double-cloth (Collingwood 167-173). The double layer of threads opens the opportunity to a wide variety of color designs. It also allows the piece to widen … a good idea for people whose thighs have a greater circumference than the ankles. You’d think that the double layer, one sitting on top of the other, that there would not be much difference in the width of the cloth, but my experience has it that this addition does widen the cloth considerably, especially when the threads are held together and worked in the same shed. Rather than cutting a finished rectangle of sprang, I dipped into my knitting experience, and decided to create exactly the shape I needed for the pants. I tied off threads to form that shape. How many threads did I tie off? Well, I guessed, based on my sewing experience, trying for the shape in a pair of stretch pants. Threads were cut, and then tied at both S and Z pieces. Getting to the waistline area, I worked to make the back of the pants a bit longer than the front of the pants. This would allow me to form a waistband casing. The knots could be located on the inside of the waistband. Threads were cut a couple at a time, and immediately tied off on right leg and then on left leg, closing in the waistband casing. Now it was time to go back to the very first rows, and pull out the thread that joined the two pieces there. This became the ankles. In interlinking sprang, if you are careful to keep the edge thread at the edge, you can create an invisible seam. Imitate the interlinking stitch with your sewingup thread. I sewed the pants from ankle to crotch. Sewing the crotch required a bit of creativity, keeping the knots to the inside, and trying to imitate the interlinking stitch on the outside … but then, I’m hoping people will not be looking at my crotch too closely.
0 Comments
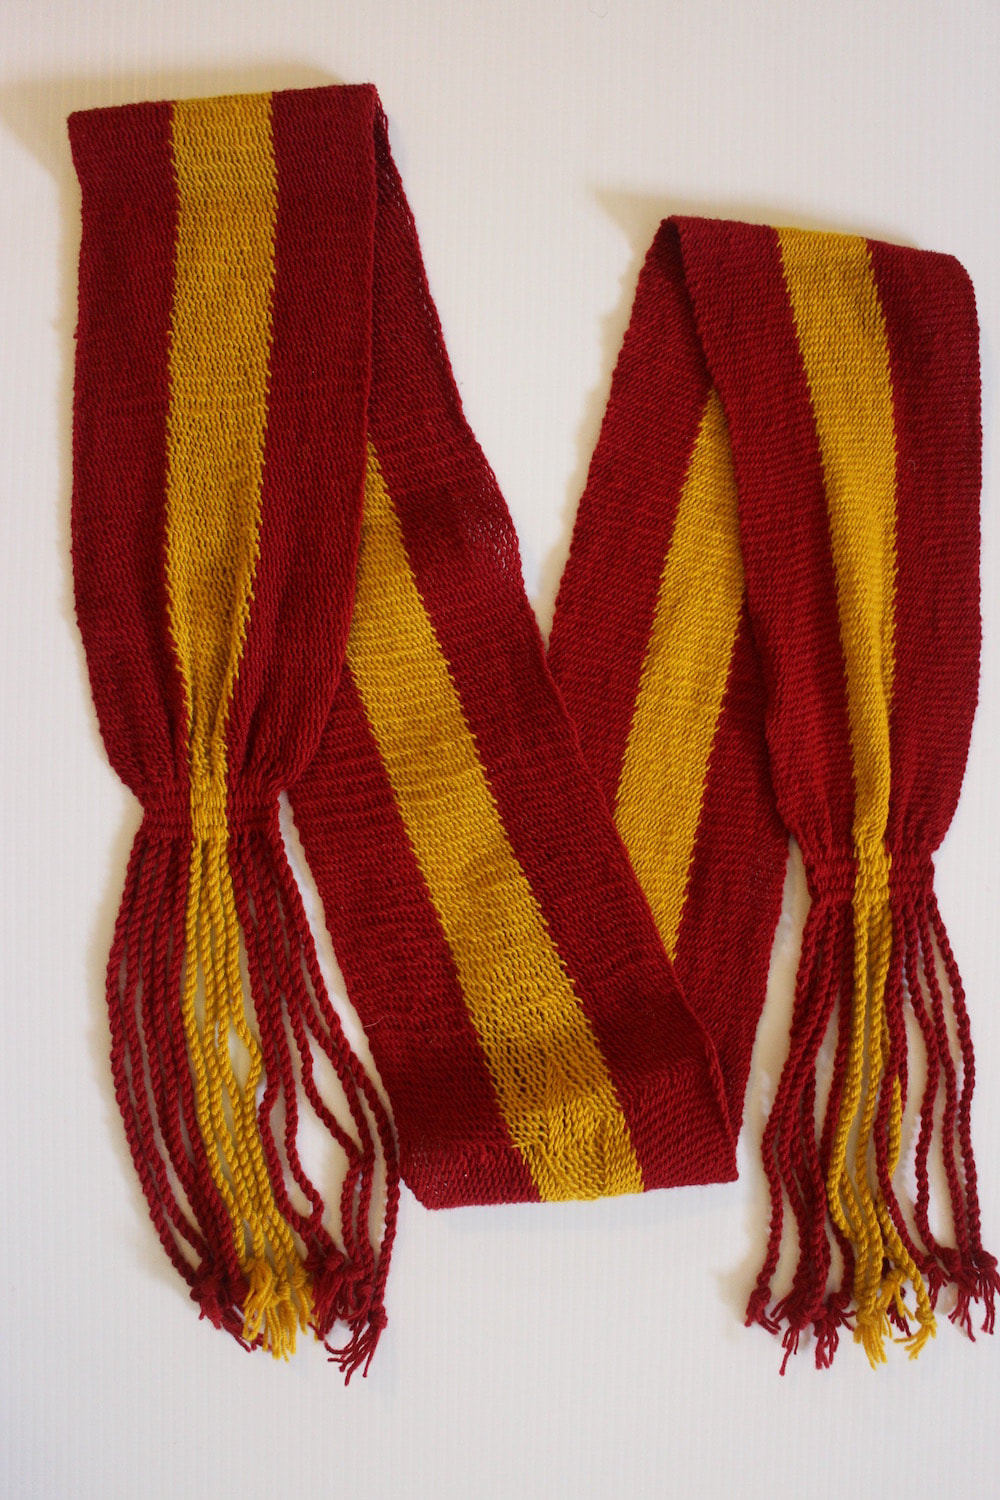
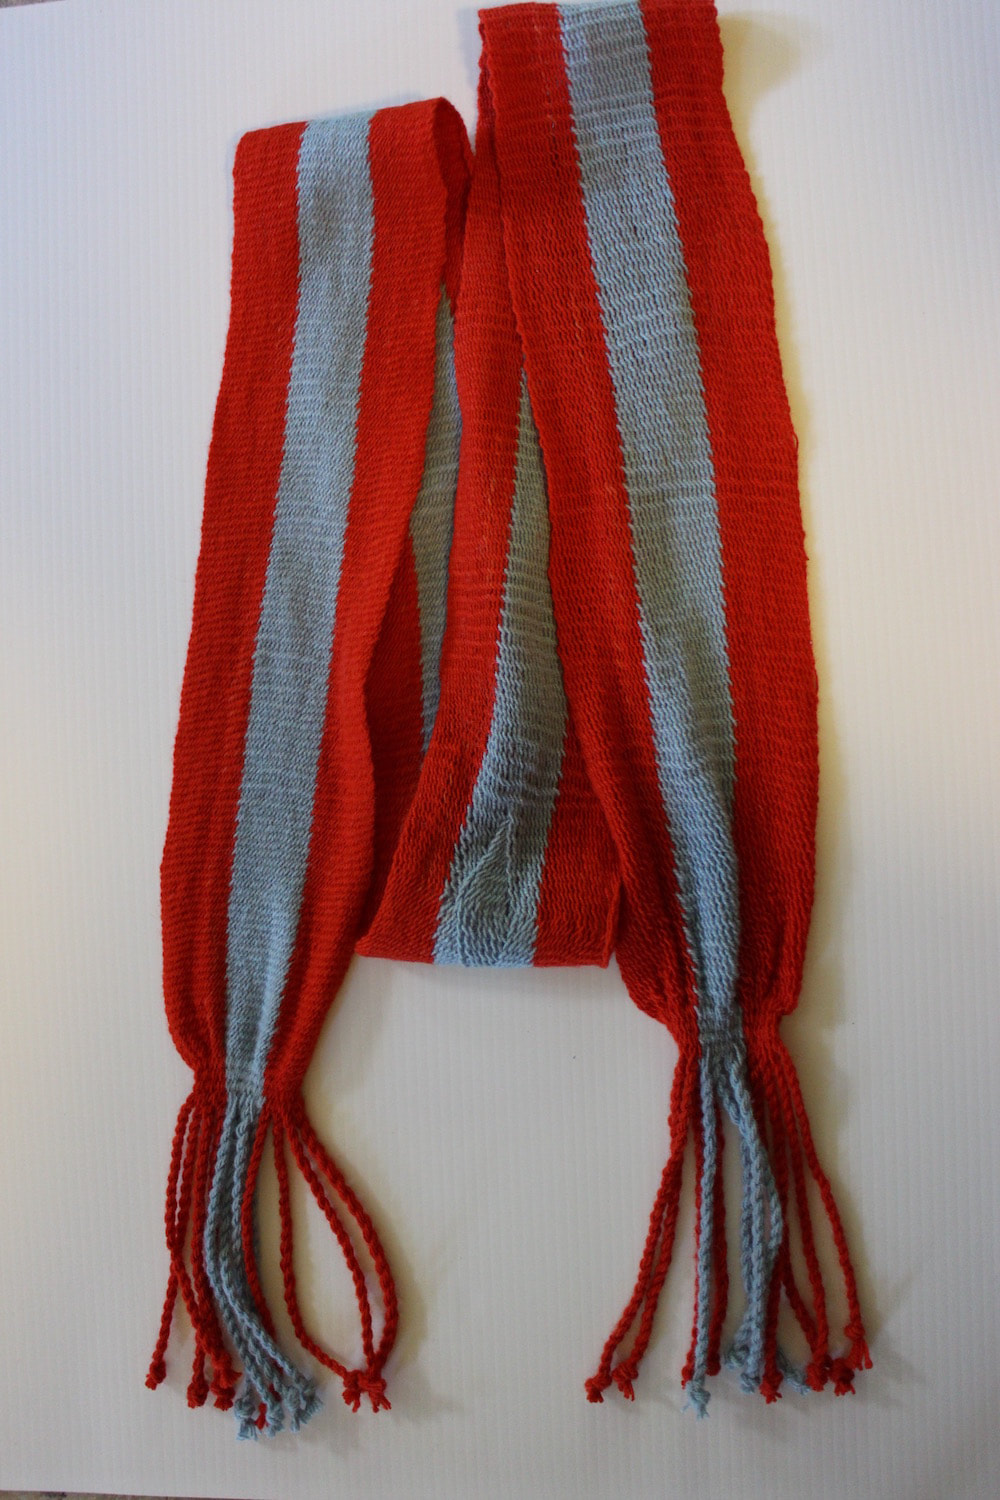
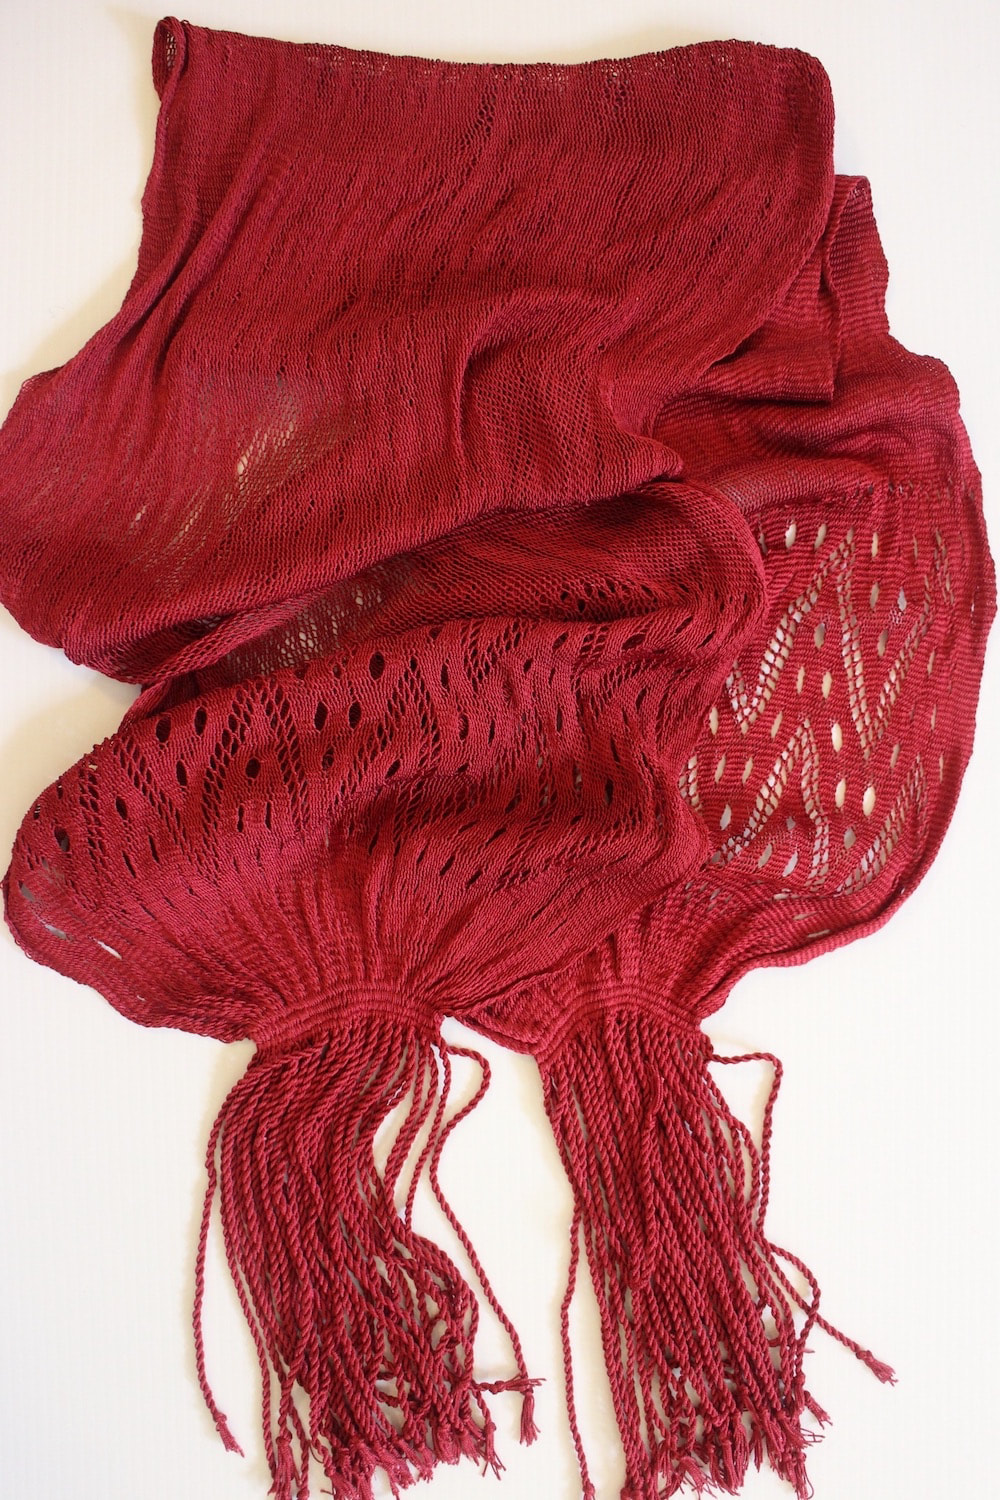
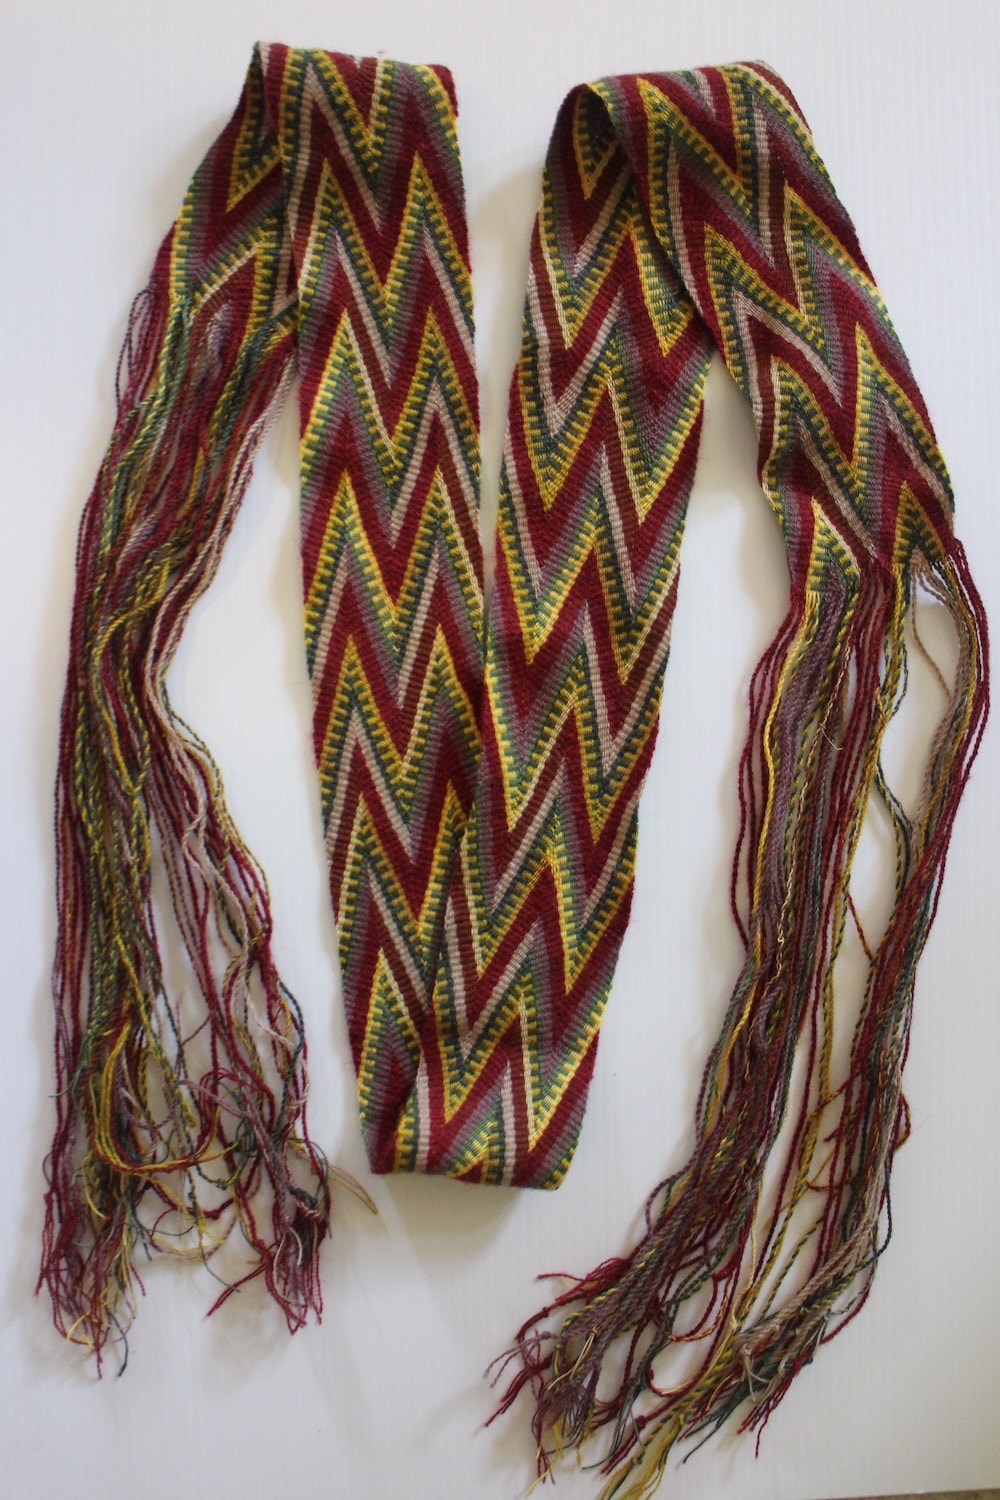
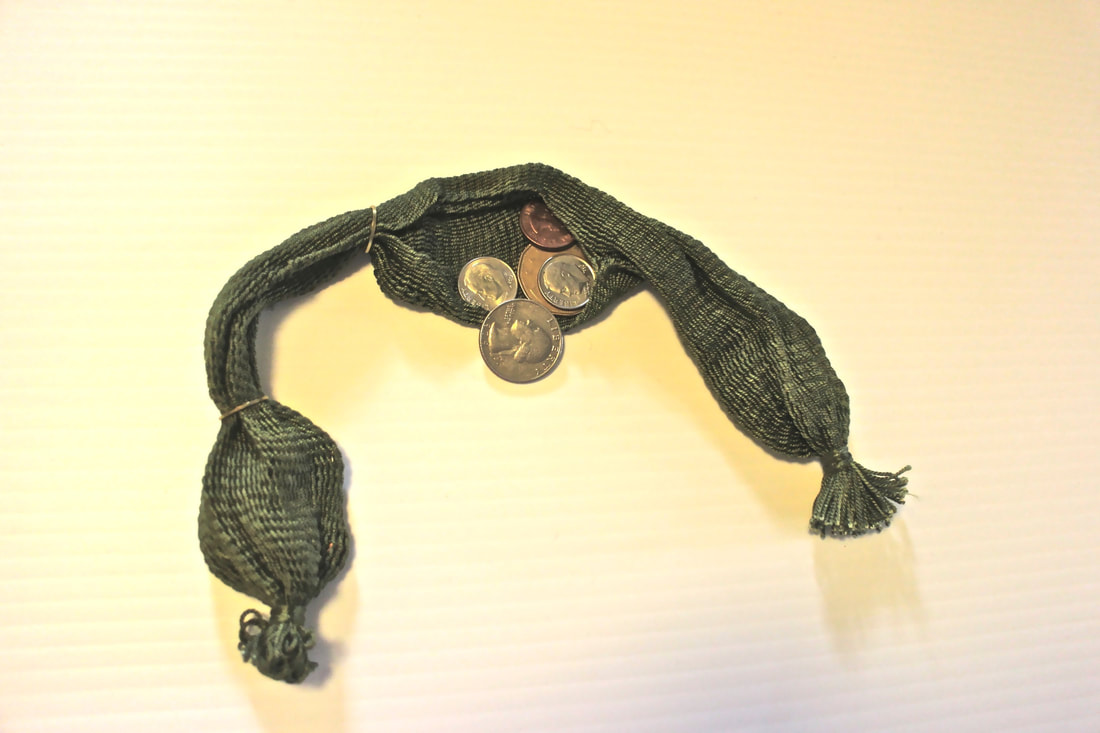
I’ve created a number of military sashes this summer. The sashes with the colored stripe are wool NCO (non-commissioned officer) sashes, and were typical in the British army in the 1700s and into the early 1800s. The solid colored red sash is silk officer’s sash. And in between, I’ve created several of these coin purses. Made of silk cord, they are modelled after the image in Downer’s book Nelson’s Purse, and hold quite a lot of coin.
|
Categories
All
Archives
May 2023
Categories
All
|
 RSS Feed