|
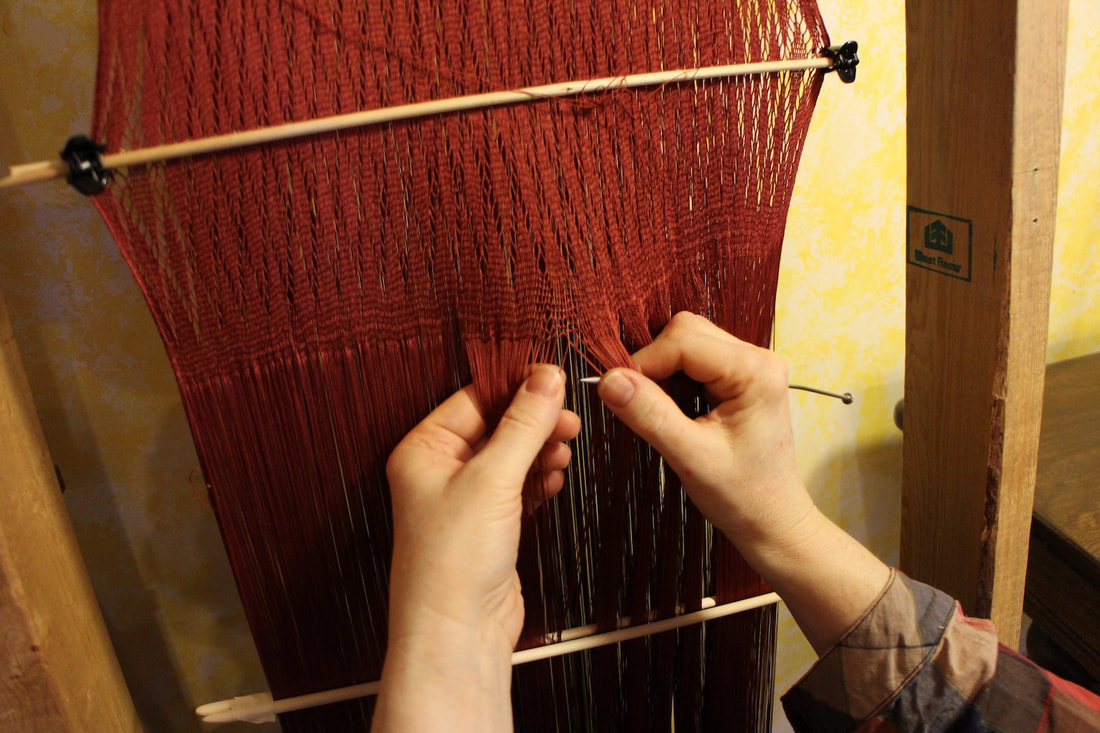
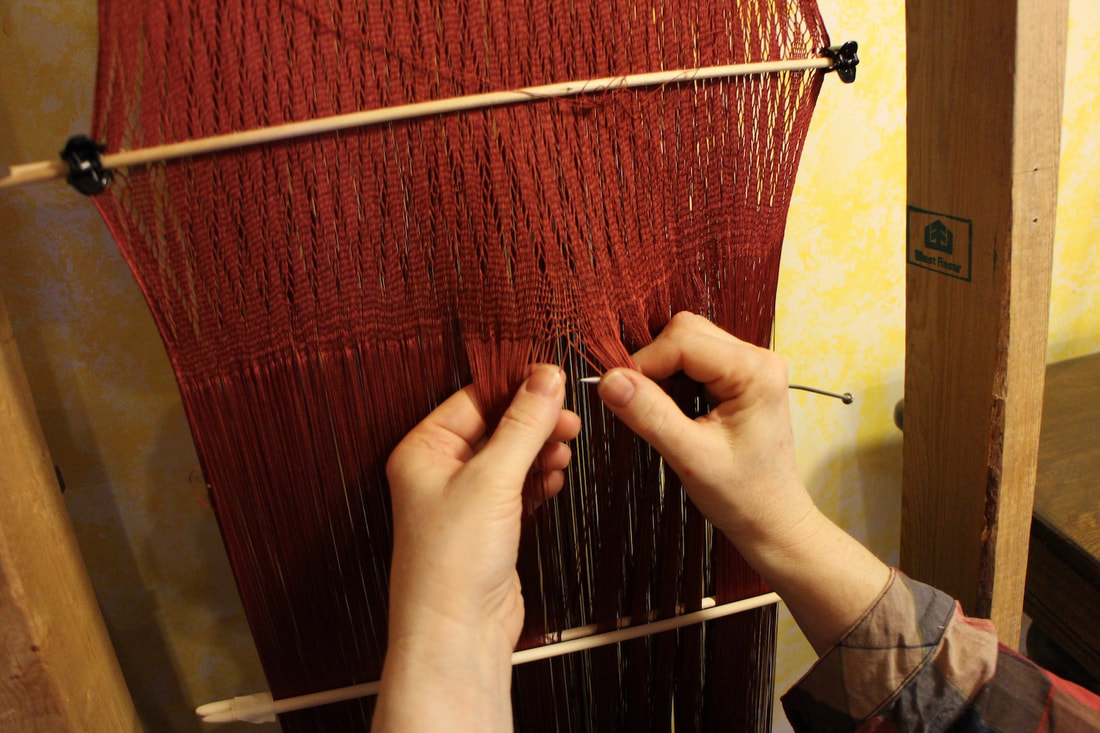
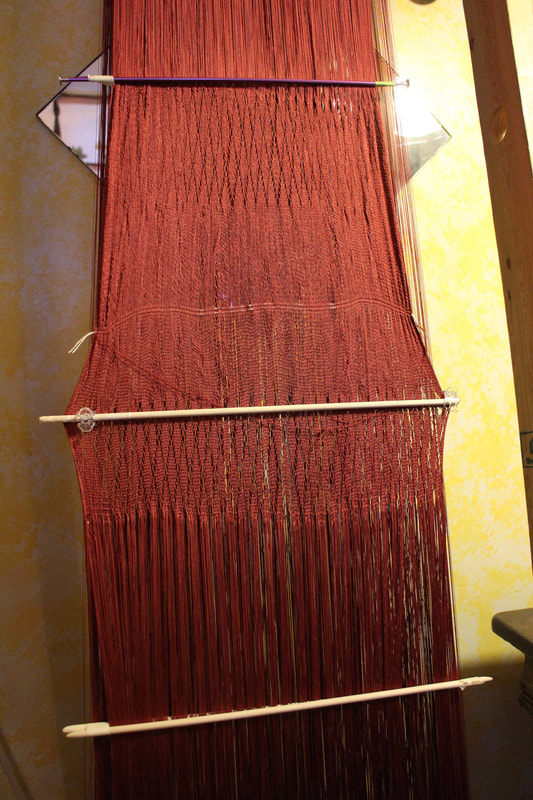
My sash replica project is progressing. A stick holding the cloth spread out goes a long way to prevent errors and it also has made it easier to push each row around for the mirror-image row. I am amazed at the ‘hand’ of the cloth I’m producing. It is soft and luxurious.
I’m going to see a new play in town “The Penelopiad”. Written by Margaret Atwood, the subject matter looks at the Odyssey from the point of view of Odysseus’ wife Penelope. Now, Penelope was supposed to be weaving by day and un-weaving by night. Sprang apparently was known to the ancient Greeks. I’m wondering if Penelope was working in sprang.
0 Comments
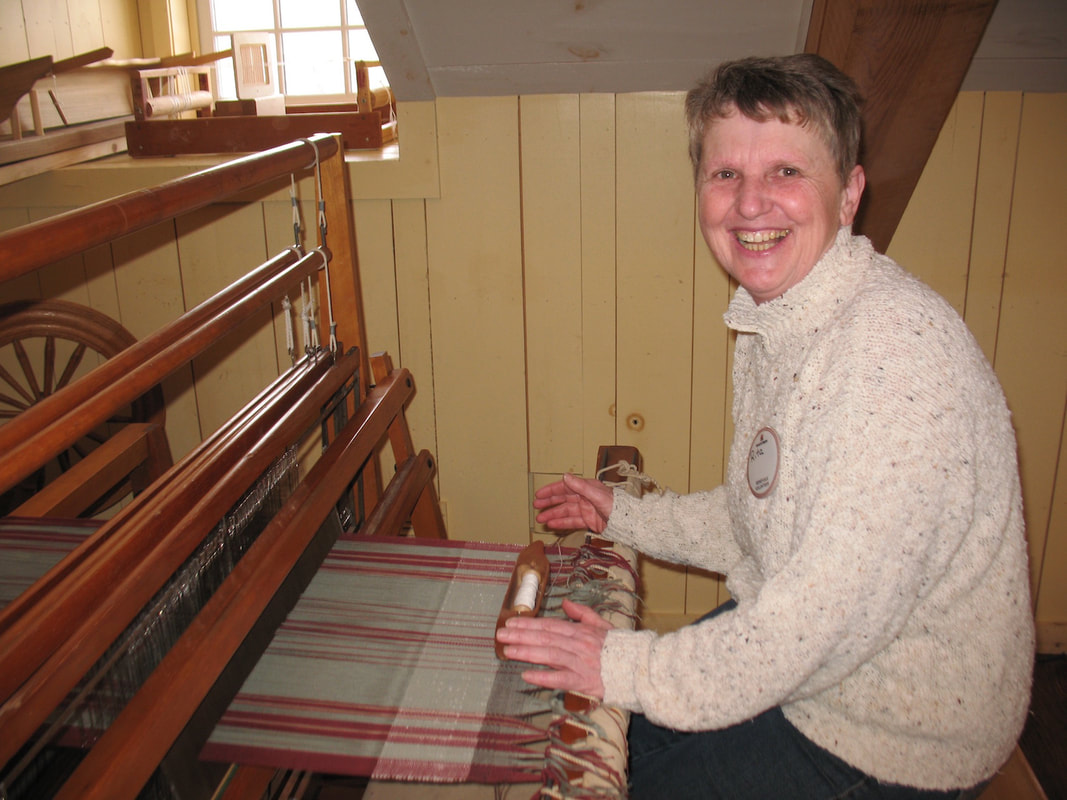
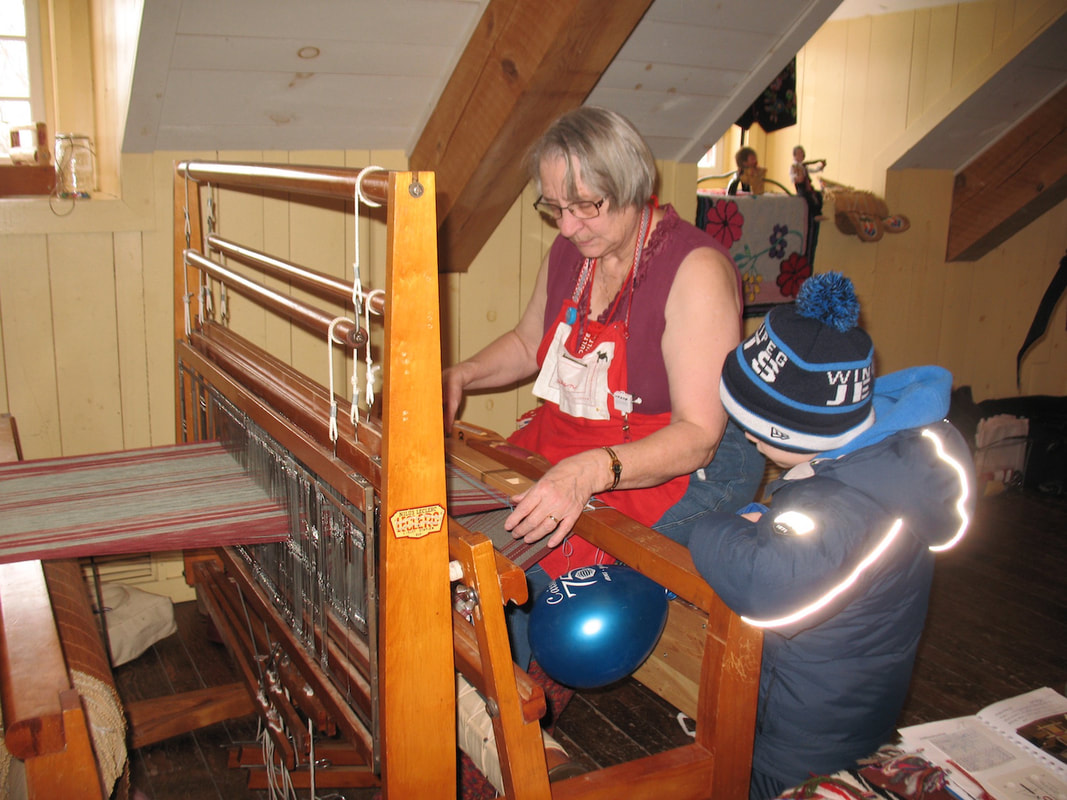
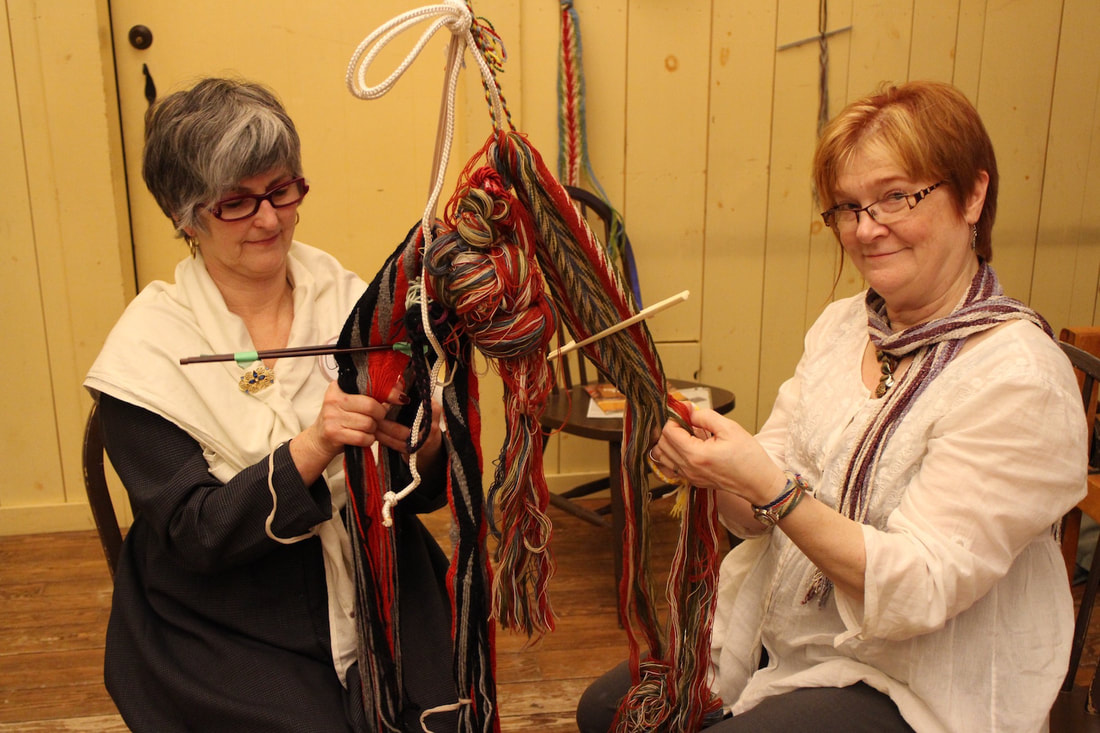
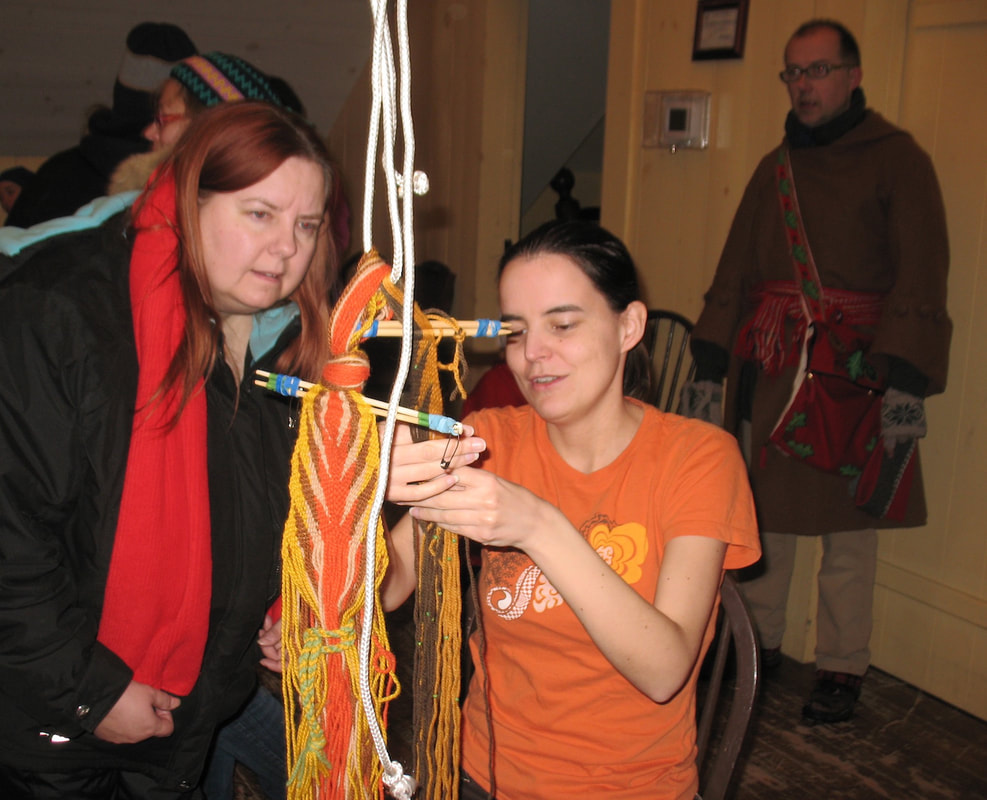
The annual Winnipeg winter celebration, Festival du Voyageur is in full swing. Again this year Manitoba weavers are present, contributing to the history component of the festival. We’re weaving tea towels this year. Several weavers have taken their place at the loom. The fingerweavers were also there.
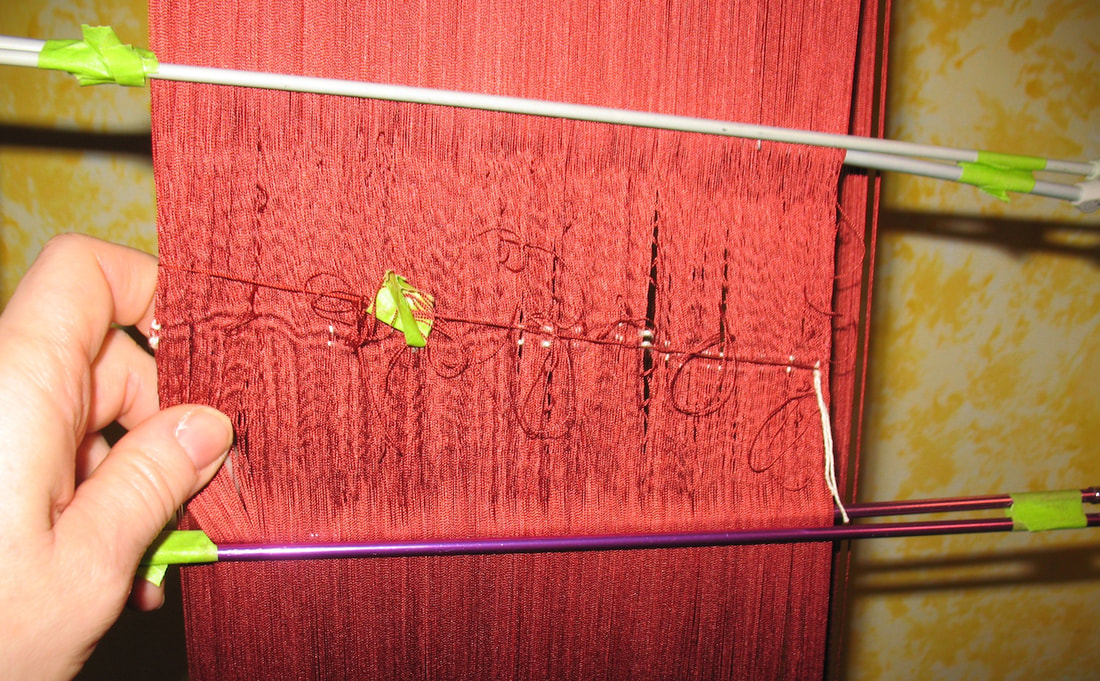
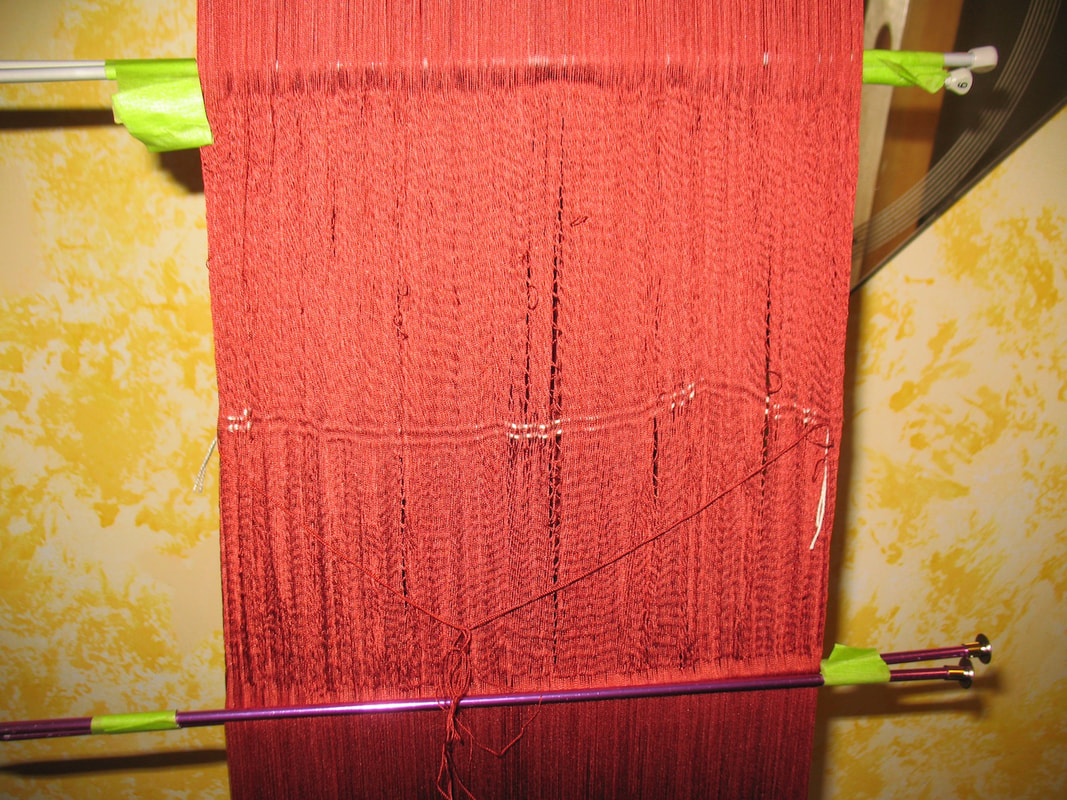
Circular warp sprang requires a very even warp. Slight variations in tension while setting up results in slight differences in length. This warp is 15 ft long, and took almost six hours to set up. Slight variations occurred. We did take a couple of breaks for tea. I also noted weaknesses in the yarn, and some small knots. If there had to be knots in the warp, I wanted them to be all lined up in a place where the warp would be separated into the two fringes. Perhaps the pause to deal with these flaws also introduced small variations in tension and length. At any rate, after the first few rows, I KNEW that some threads were longer than others, and these were causing all kinds of trouble. In desperation, I went through the warp, and pulled the longer of these to the center. This resulted in what looked like a mess. Most every circular warp of any length that I have worked has had this issue to some degree (mostly a much lesser degree). In my experience this always evens out over the length of the cloth. Indeed, over the next few rows, the loops diminished, and the unevenness worked itself out. Working several hours a day, after ten days, I’ve got 5.5 inches of work done, resulting in 11 inches of cloth. The unevenness in the warp has completely resolved.
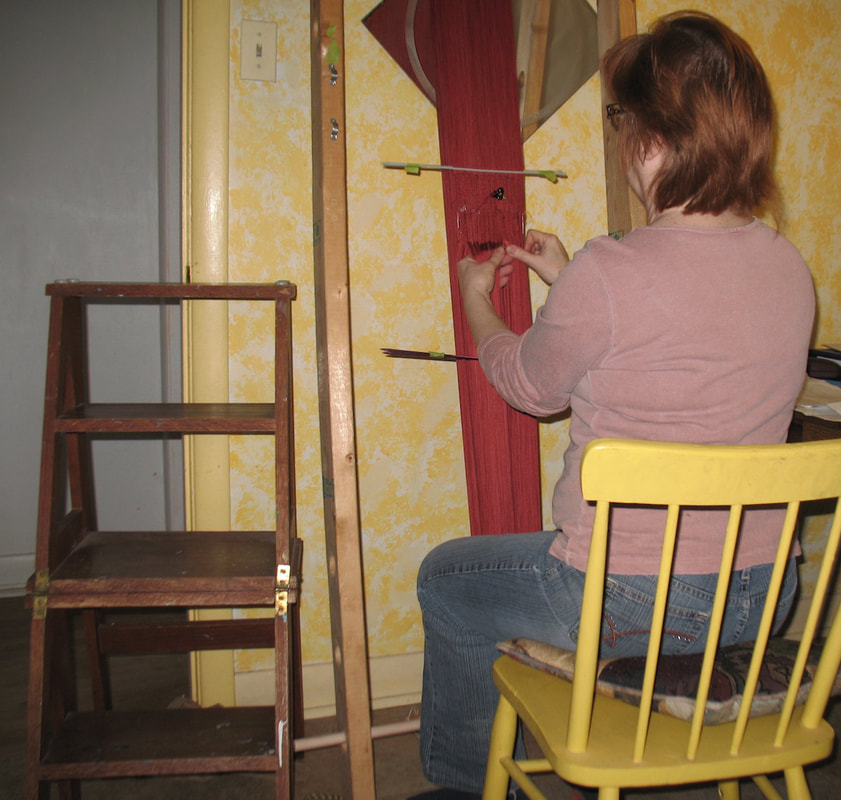
I’ve begun work on that replica sash. The first row was very slow, took over an hour. Then there was the challenge to move the work around the frame and back to the starting place. Note that stepladder beside me. I thought the warp had been set up with even tension throughout. Think again! Guess it’s nearly impossible to maintain exactly the same tension for almost six hours. Very slight differences in tension mean different lengths of thread within the warp. Different lengths in the warp cause no end of trouble in pushing the work around.
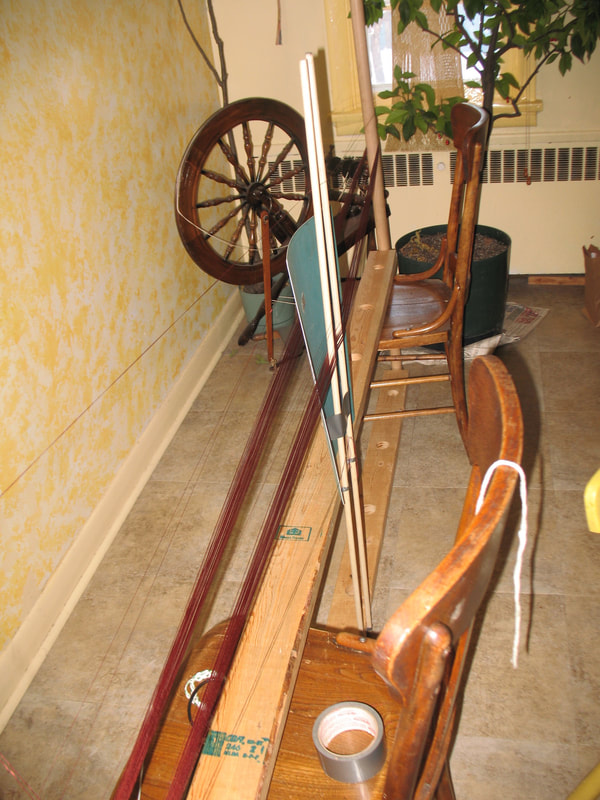
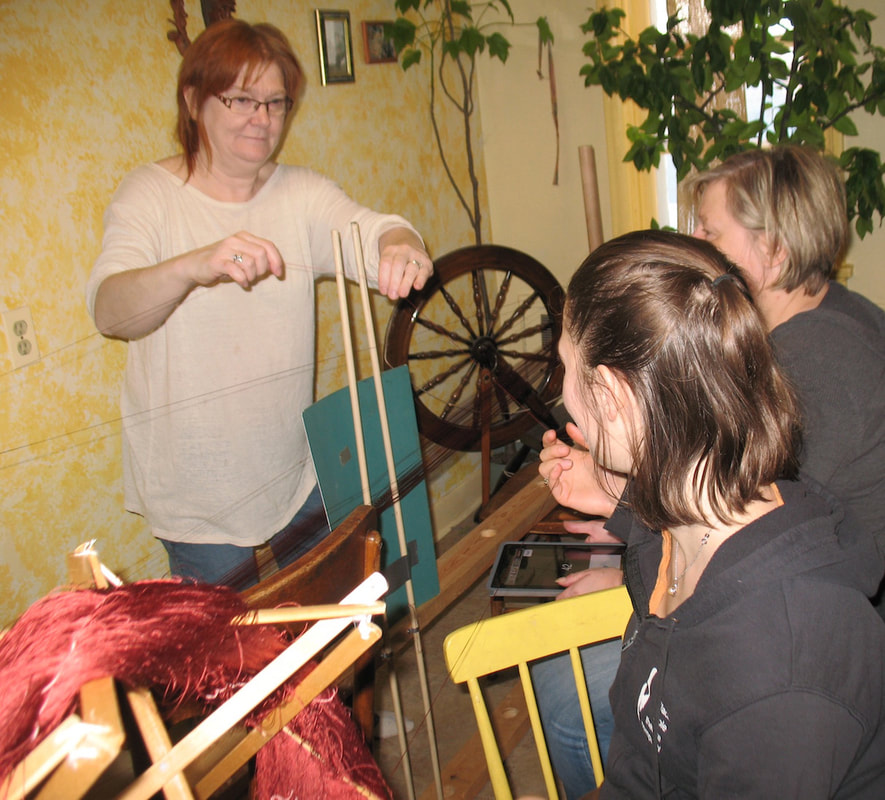
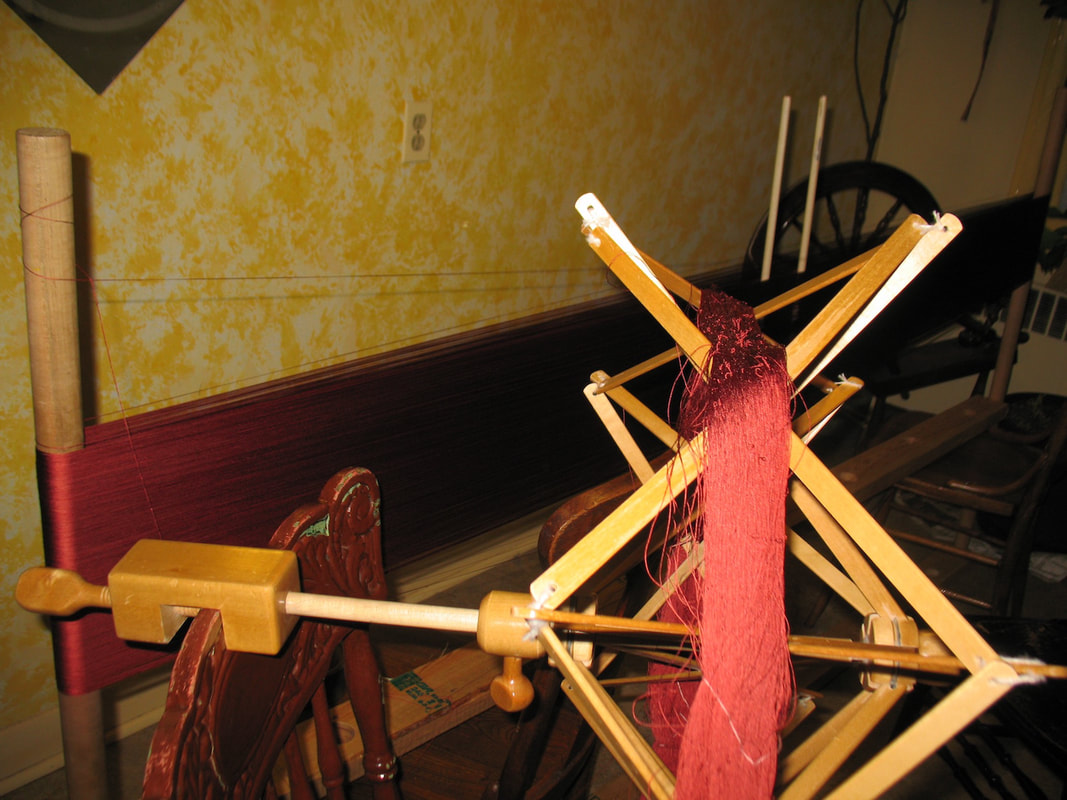
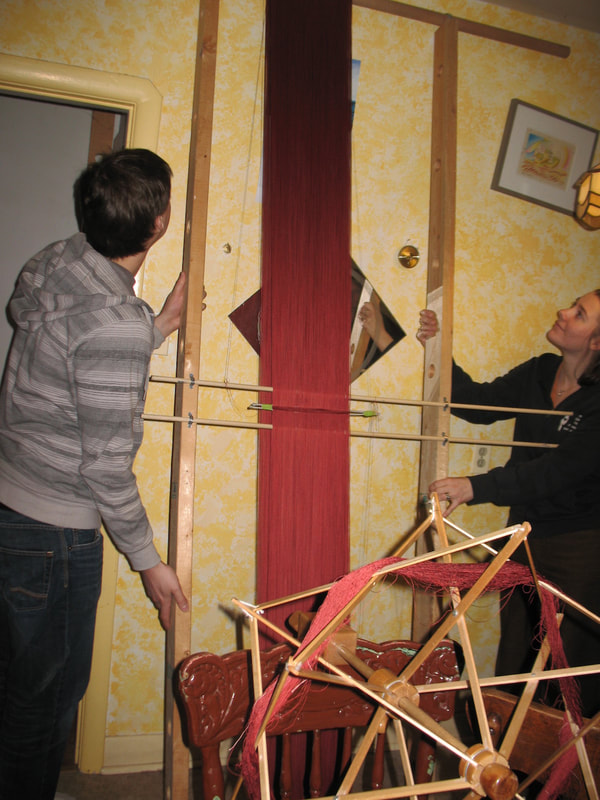
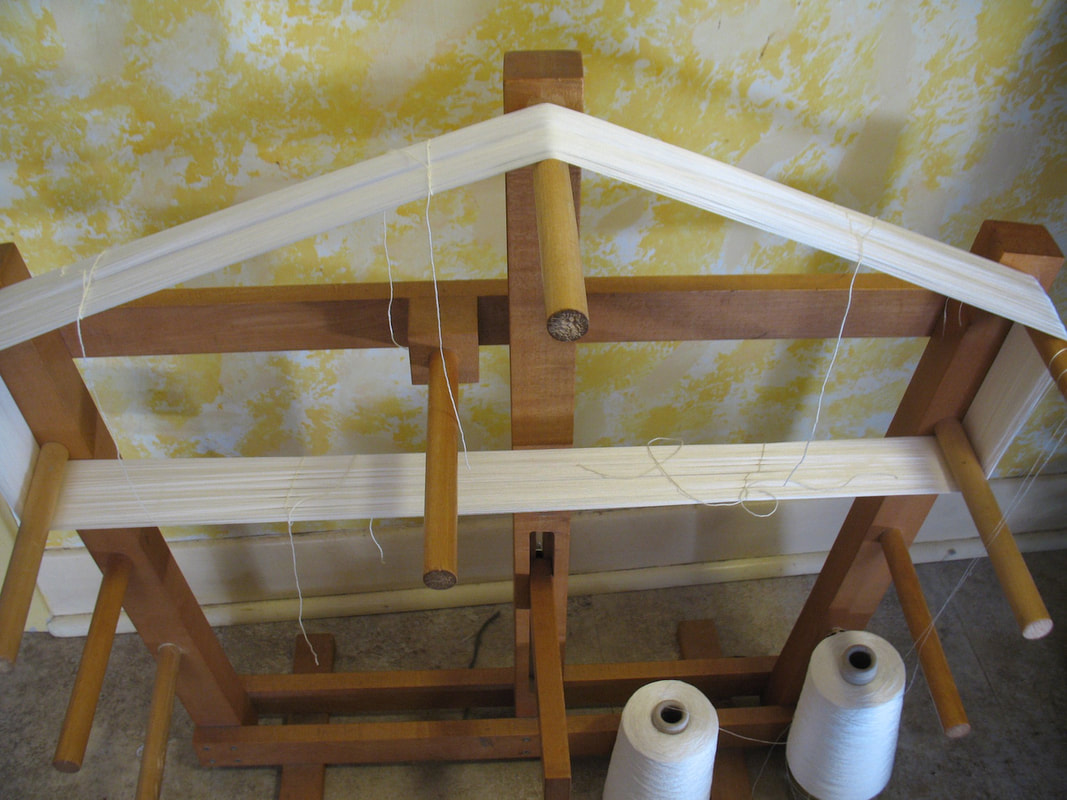
And yet, this is to be expected. I have not yet worked a long sprang piece that has not had this trouble. The first several rows, the first foot, are always difficult. Eventually the warp evens out, and it goes more smoothly. As they say in German, “aller Anfang ist schwer,” beginnings are always difficult. Looking for smoother weaving ahead. Warping Day. The silk is now the right color, or as close as I can get. Still tied in sections to prevent tangling in the dyepot, I’m leaving those ties to try to avoid troubles un-reeling. Here you see the sprang frame. It consists of two 2x4s, one on the floor, and one on the seat of chairs. There are convenient holes drilled every foot or so. Holding the 2x4s together are 1.5 inch dowels at either end. Small pipe straps hold finer dowels for the cross. To make it easier to see the cross, we placed my cutting mat behind the cross. Usually I set up the sprang frame by myself. In honor of the size of this warp and the fine thread, this time it is a three-person job. One person manipulates the umbrella swift, preventing tangling at that end, another winds the thread around the sprang frame. The third person keeps track of the cross, makes sure it is laid in correctly. This third person also keeps track of the number of warp threads, lets me know when we’re done. It required six hours to set up the warp. Whew! Glad that part is done. The 2×4 that was on the floor gets placed on top, and then the frame is turned and lifted. Enough work for one day.
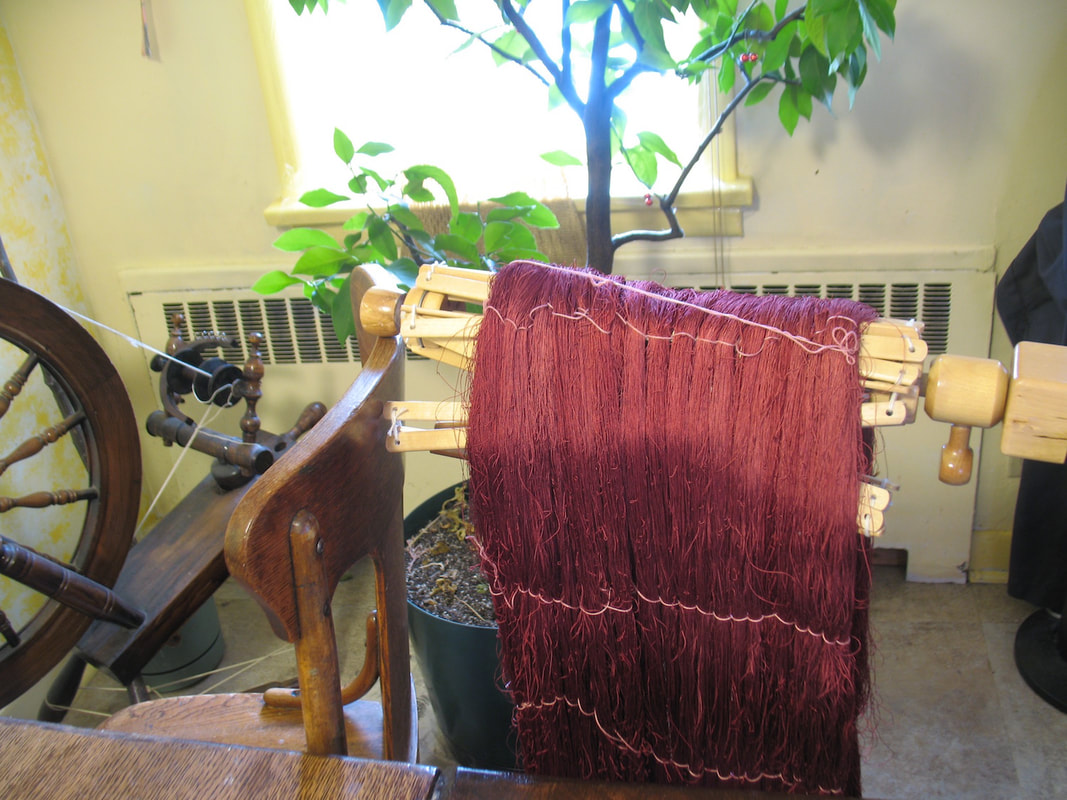
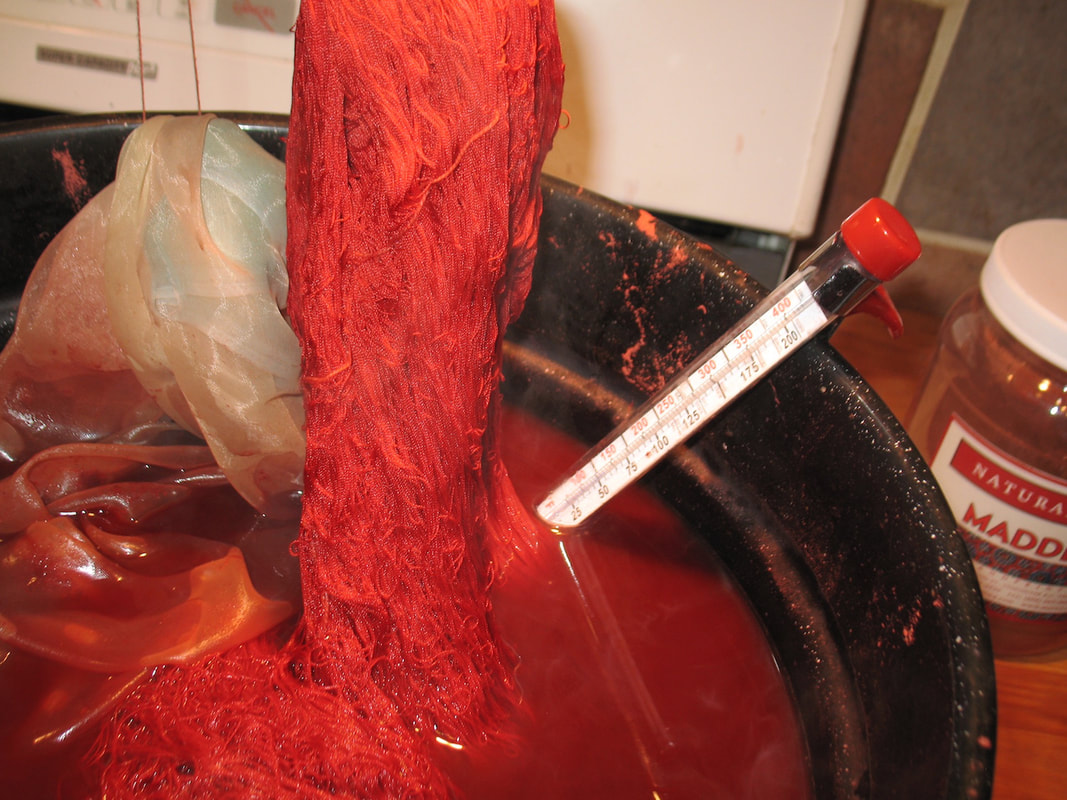
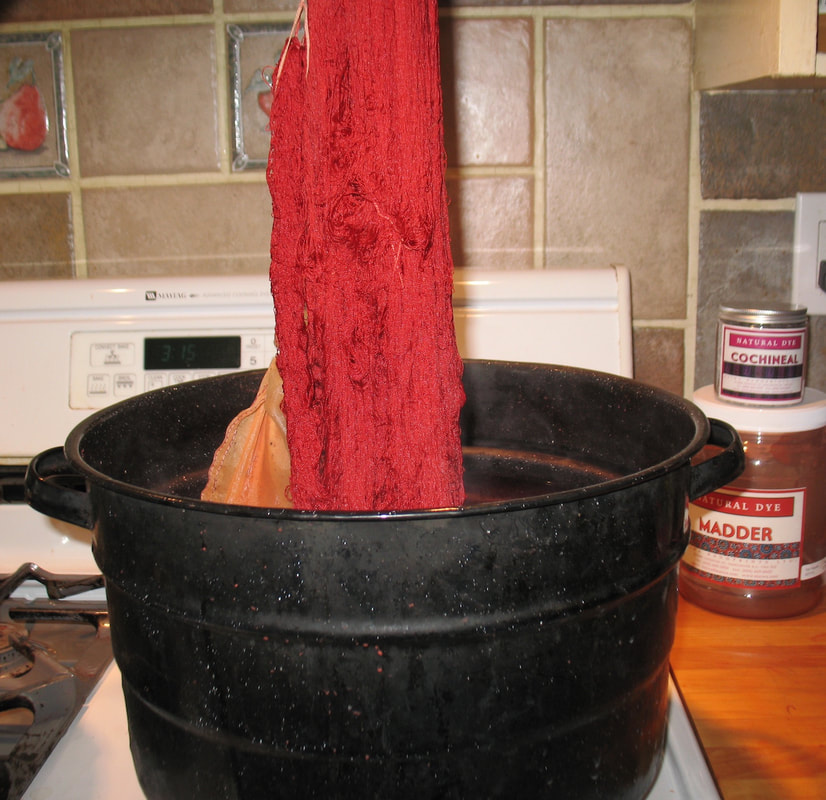
According to Dominique Cardon, a common recipe for red in the 1700s was to dye first with madder, and then overdye with cochineal. Cochineal gives a luscious color but was quite expensive. Using this recipe, very little cochineal is needed. I used this recipe to dye the silk for the sash, hoping for a color that is very close to the original. Madder is quite sensitive to temperature. Too hot and the color shifts to an orange brown. I kept a thermometer in the pot to keep tabs on the temperature. The skein looks dark here, but the color is always more intense when wet and in the pot. I had several little sample pieces that I could take out and quickly dry to check the color.
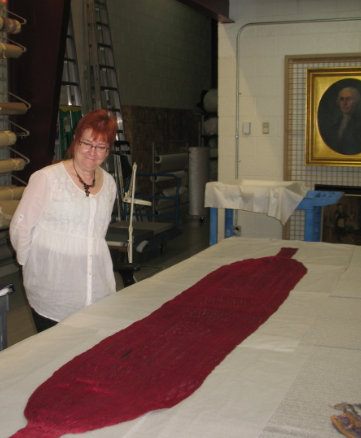
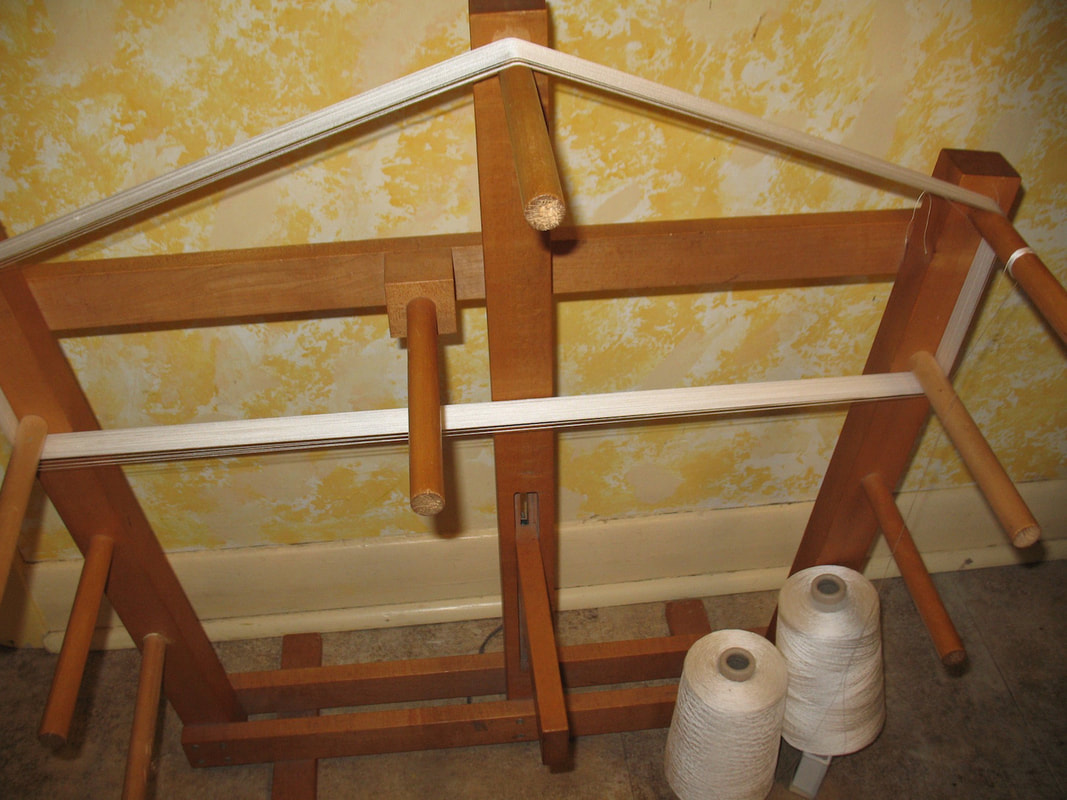
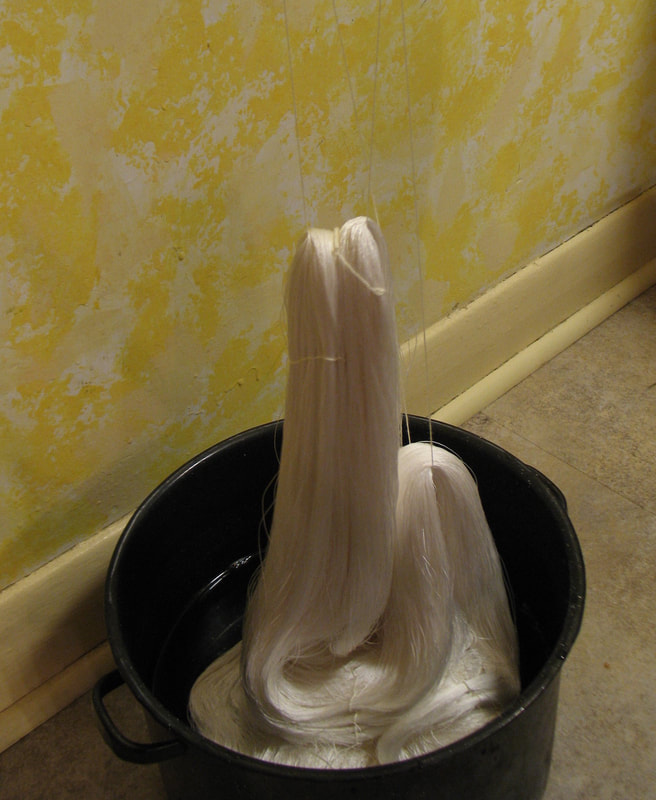
Now I wait for the skein to dry. Tomorrow I’ll set the warp on my frame. Remember that sash I was privileged to view at George Washington’s Mount Vernon last September? Well, thanks to funding from the Winnipeg Arts Council, and the superbe cooperation of the Mount Vernon curatorial staff, and silk from Treenway’s, I’m ready to get started on a replica. The first step is to dye the silk to the right color. It came to me on cones. I am using an inkle loom as a frame to wind my skeins for dying. Silk needs to be thoroughly wet before dying. Here it goes into an enamel pot for 24 hours.
|
Categories
All
Archives
May 2023
Categories
All
|
 RSS Feed