|
My daughter has helped me make a new website. In honor of what people have been calling me lately, "the sprang lady" the website has a new name as "sashweaver and spranglady".
0 Comments
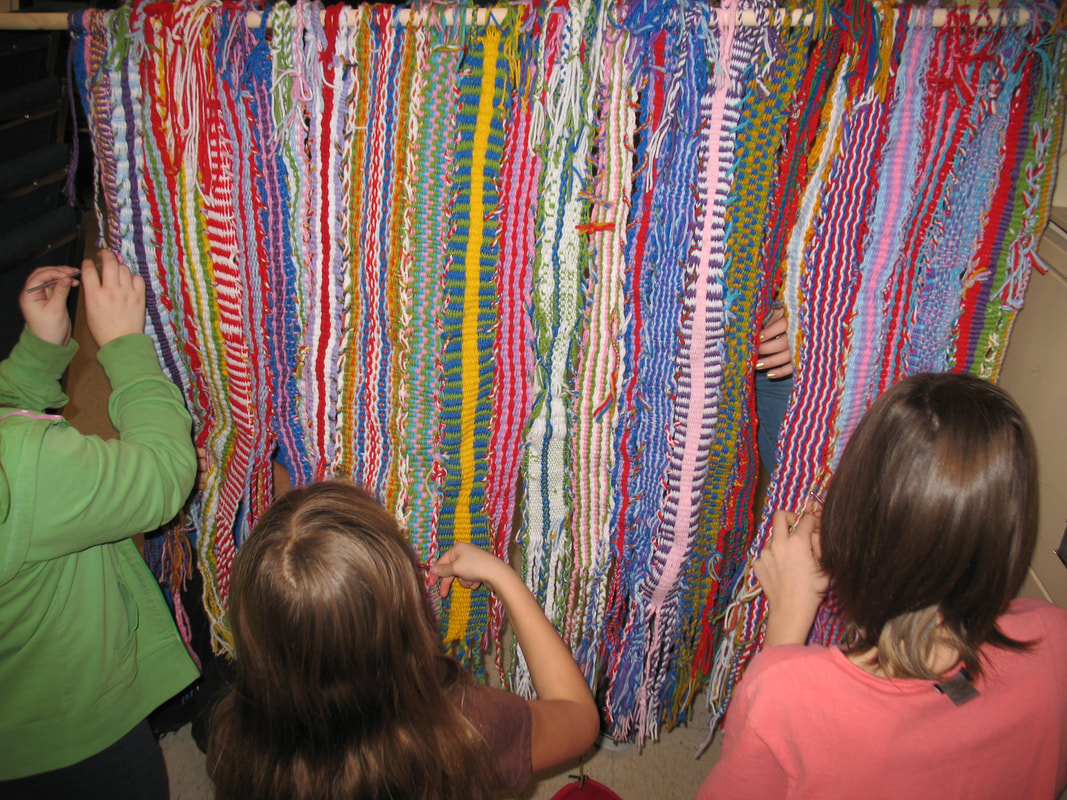
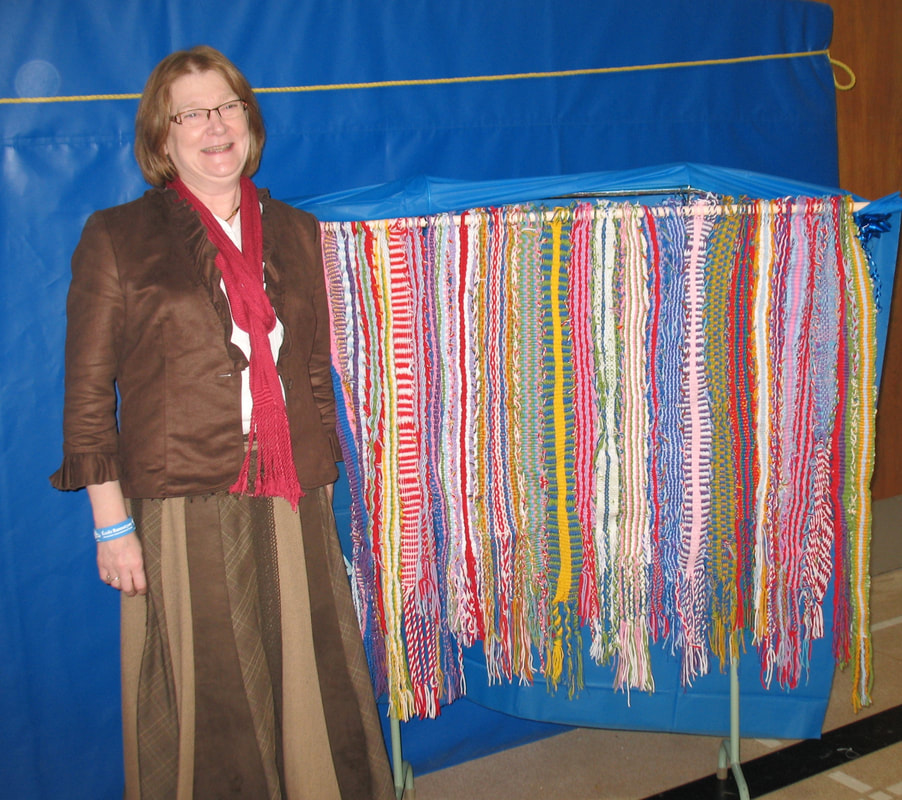
Students at Bannatyne School sewed those ‘sashes’ together, using braids made by the younger students. This tapestry commemorates the 100th anniversary of the school. It celebrates the role of the individual, as well as exemplifying the strength of the community.
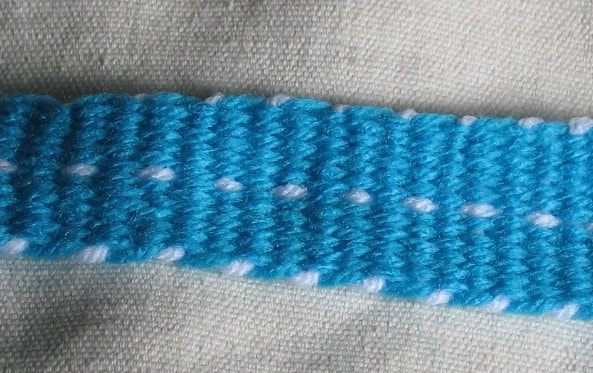
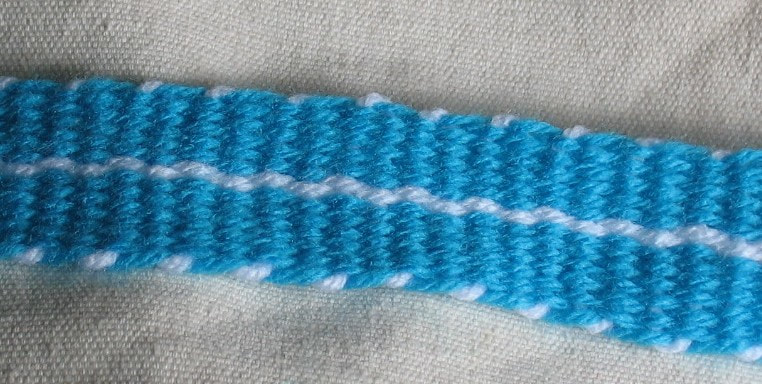
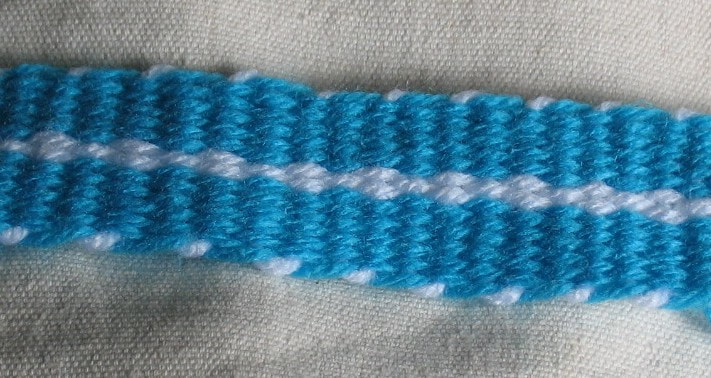
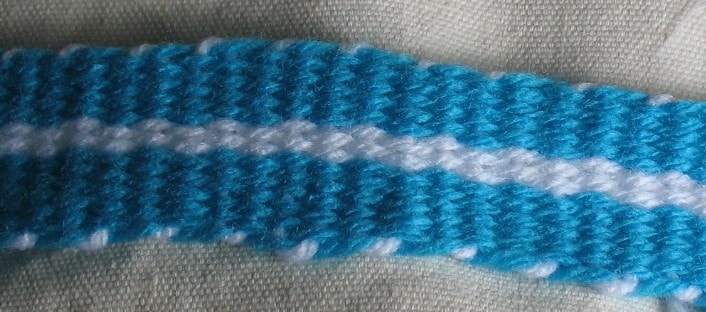
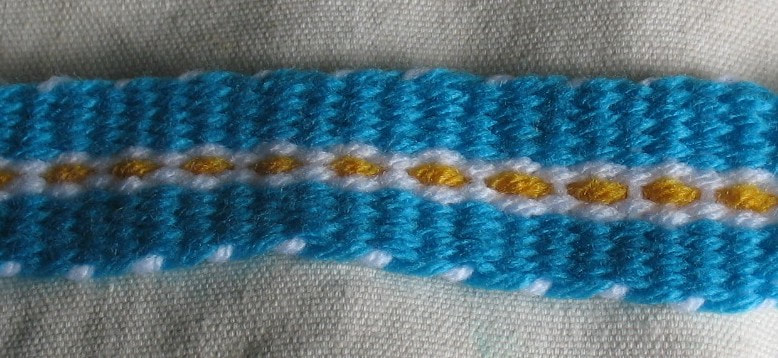
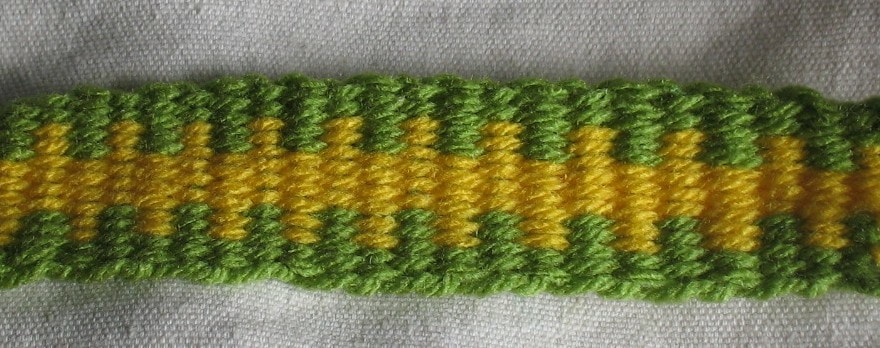
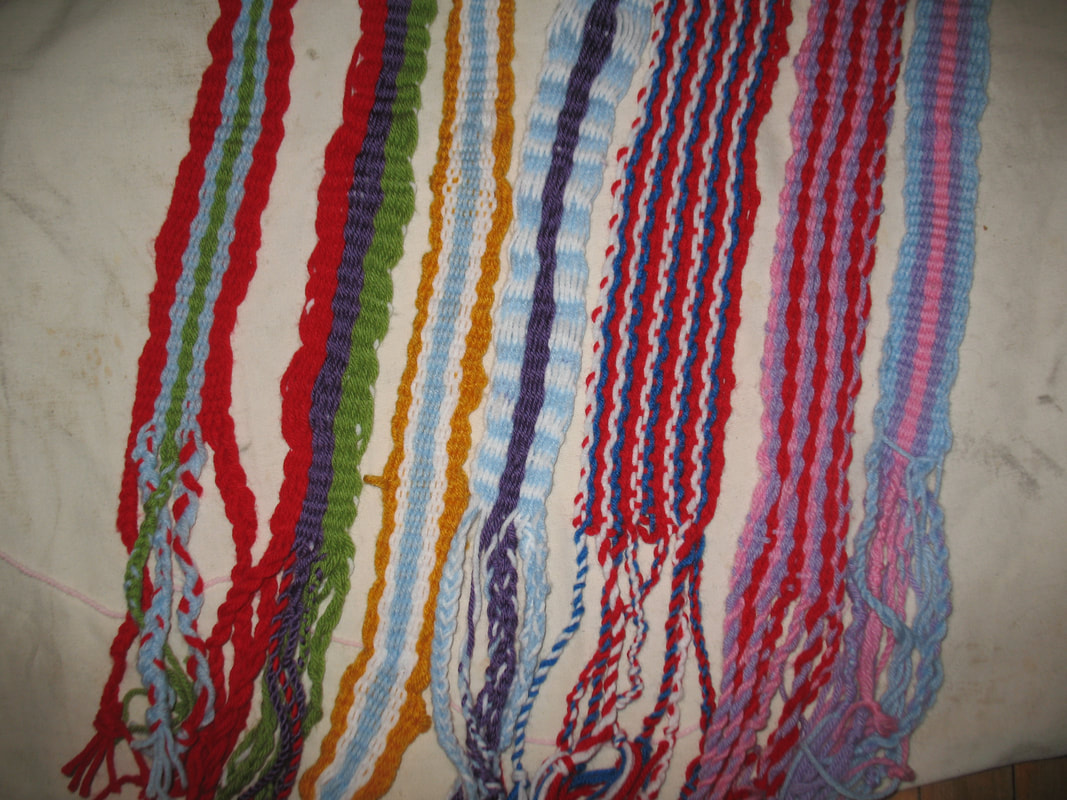
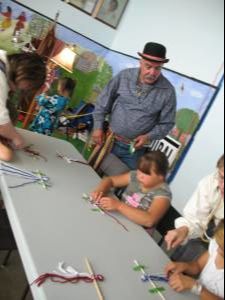
Each thread is important. A single thread can make a huge difference. Single threads are fragile, can be easily broken. Many threads together can create something very strong, very beautiful. Here’s the completed tapestry. I’ve been working in a local school. Younger children have been learning about three-strand or four-strand braiding. For those in grade 4 and 5 I brought along rigid heddles and had them weave strips or “sashes”. Here are some patterns you can make with a rigid heddle loom. Now, if you have all threads of the same color, you get a solid colored cloth. A single thread of a contrasting color makes a broken line. OK, I had blue threads and a single white thread in the warp and then used white in the weft. What happens when I use two contrasting threads on that blue background? Two contrasting threads makes a solid vertical line. What happens when I use three contrasting threads? Three contrasting threads make a line that is fat-skinny-fat-skinny. Now for four threads. Four threads of a contrasting color make a solid line, a bit fatter solid line than the two threads. What happens when I use five contrasting threads? OK this was really two white, one yellow, and two white. Since 2+1+2=5 this is five contrasting threads on a field of blue. It makes kind of an interesting pattern. Many more patterns possible with a rigid heddle: All right, here I started with four green threads. Then I put greens in the slits and yellows in the holes for four threads, two of each color. Then I put yellow threads in both slits and holes. Then I put yellow threads in the slits and greens in the holes for four threads. On the other edge I place four greens (slits and holes). When you keep one color in the slits and another in the holes it gives you a horizontal line. Switching colors every four or six threads will give you a checkerboard pattern. Here are some of the strips woven by fifth graders.
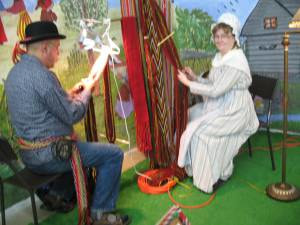
Once again the folks of the Métis Pavilion invited me to promote fingerweaving, the technique used to construct some of the original Métis sashes. I am grateful to former-students who assisted me. We encouraged visitors to try their hand at fingerweaving, a do-it-yourself friendship bracelet. Approx 300 bracelets were produced over the week. Many thanks to Suzanne, Claudette, Lenore, Guy, Jacqueline, Yvonne, Val, and Terry, for their assistance.
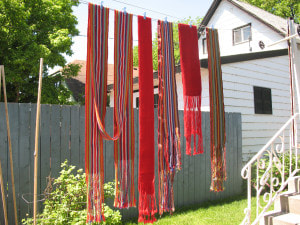
Had a lovely time at Lower Ft Garry last weekend. Perfect weather, sunny, not too hot. Met lots of interesting folks coming to the book launch, and found it most entertaining to watch the items for the Antique Road Show file past. No, I didn’t bring my camera. Forgot it at home. No photos of the event, but I did snap a pic this morning. I’ve just finished up weaving a whack of sashes, gave them a hot wash to pre-shrink them down to proper size. Those of you who’ve made special orders and are awaiting shipment may recognize one of those here hung up to dry: I’m also thinking that some of you may be wanting washing advice. Here it is:
Hand wash in warm water. Your sash has already been exposed to a hot water wash and should not shrink with further washings. To be safe, however, use water no hotter than you’d like for a bath. Detergent suggestions: Use a product such as Zero or Woolite, or a Shampoo followed by conditioner, or a shampoo with conditioner More detailed instructions: Fill the washing machine with enough room-temperature water to cover the sash(es). Add detergent (Zero or shampoo) Agitate a bit to distribute the soap. Add the sashes. LEAVE THE LID OF THE MACHINE OPEN DO NOT ALLOW THE MACHINE TO AGITATE Leave the sashes to soak a while (20 min should suffice) Turn the dial of the washing machine to ‘Spin’ (now closing the lid of the machine) to remove the water. Turn the dial of the machine to allow rinse water to enter. Turn the dial of the machine to remove water again. Repeat until all soap is removed. Hang to dry. The fringes may become a bit tangled by this washing process. Generally this problem is easily resolved by extracting the fringes one by one from the tangle. |
Categories
All
Archives
May 2023
Categories
All
|
 RSS Feed