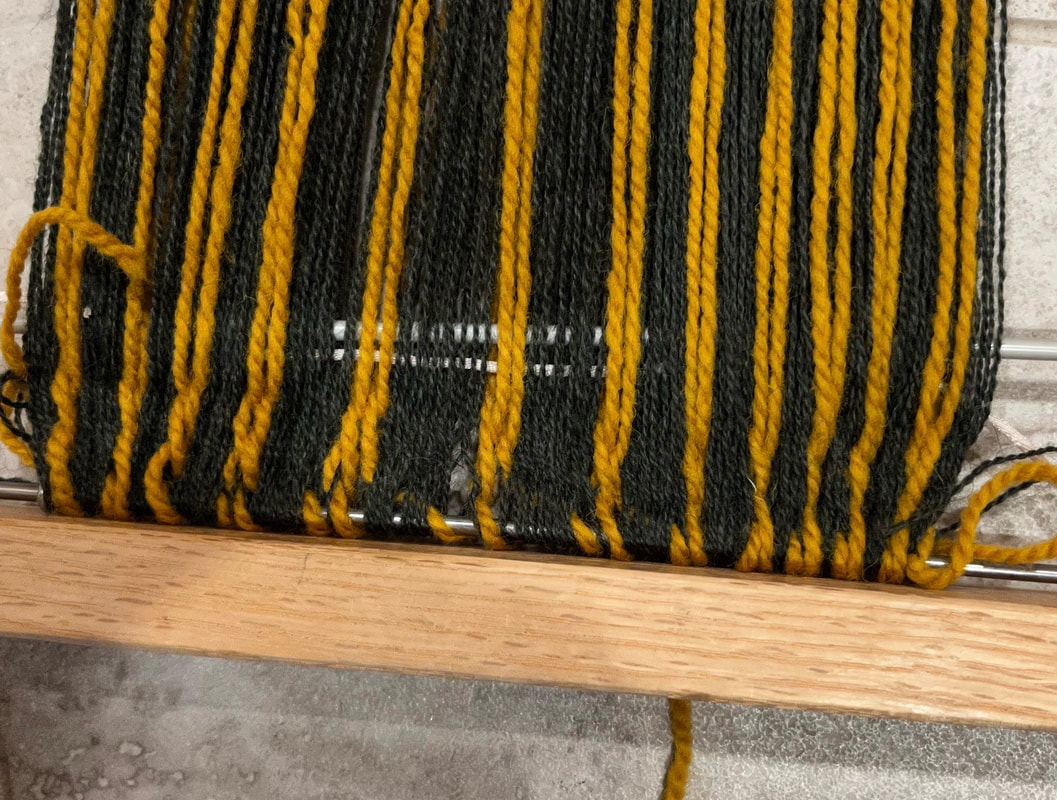
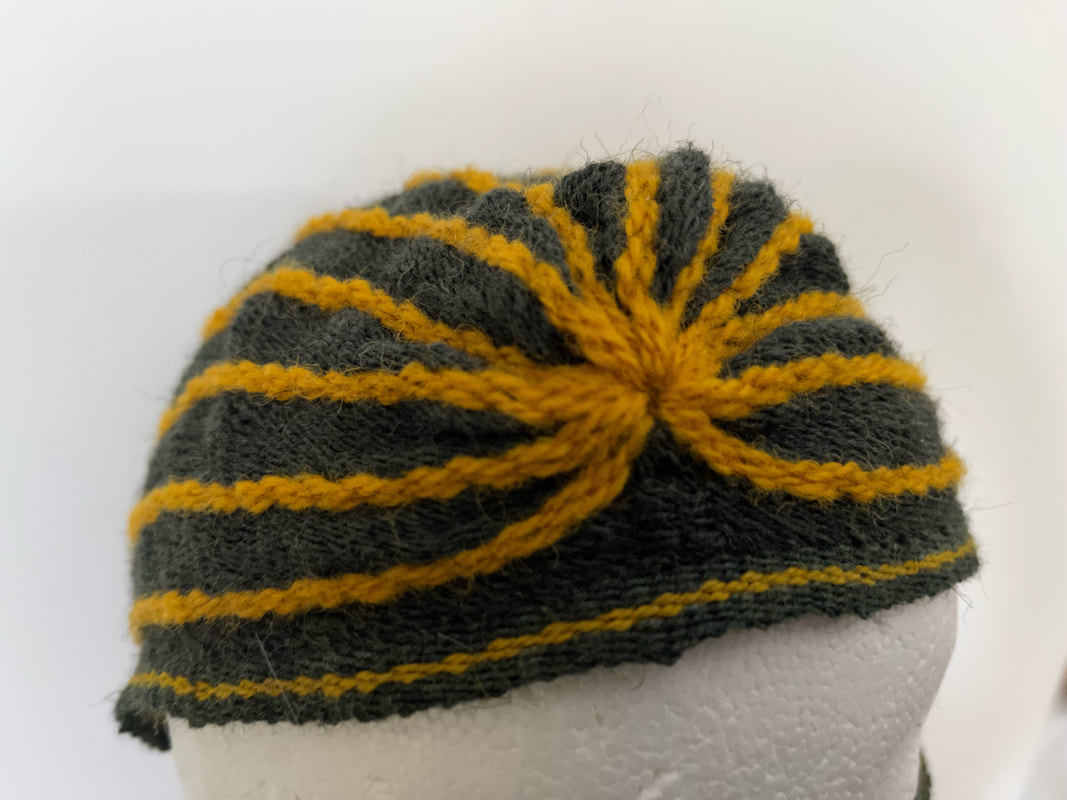
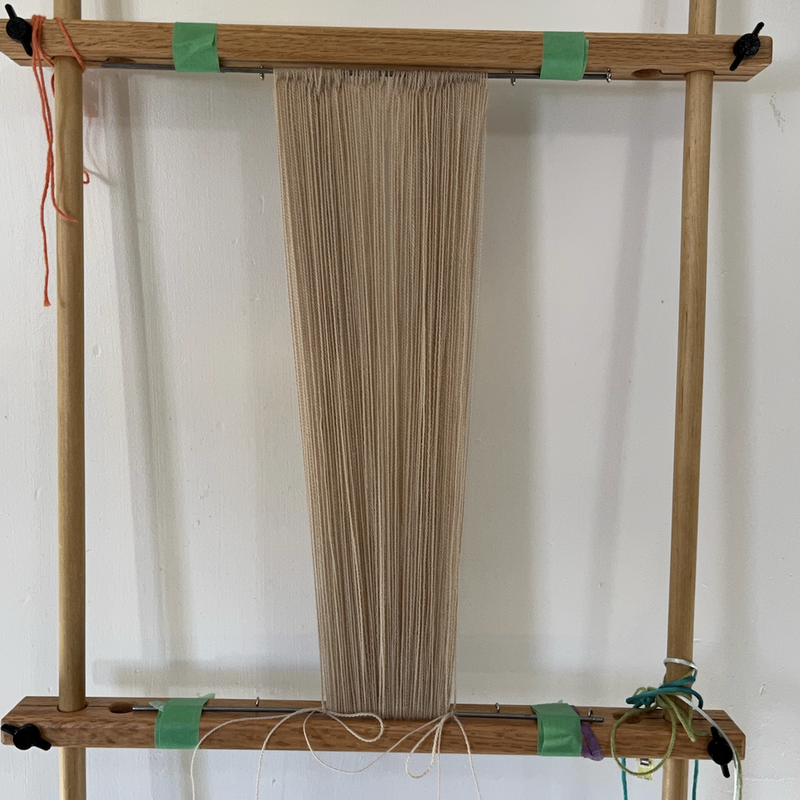
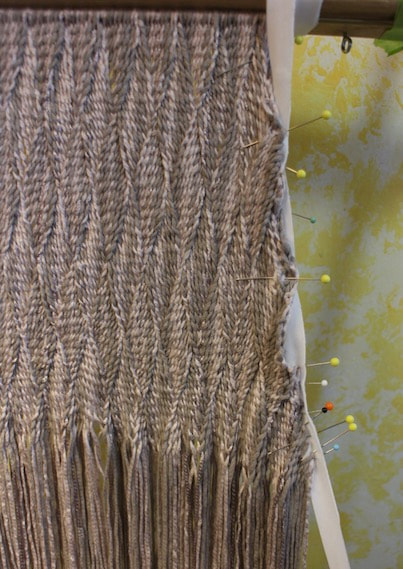
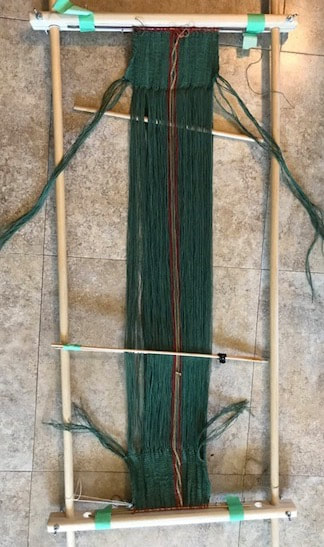
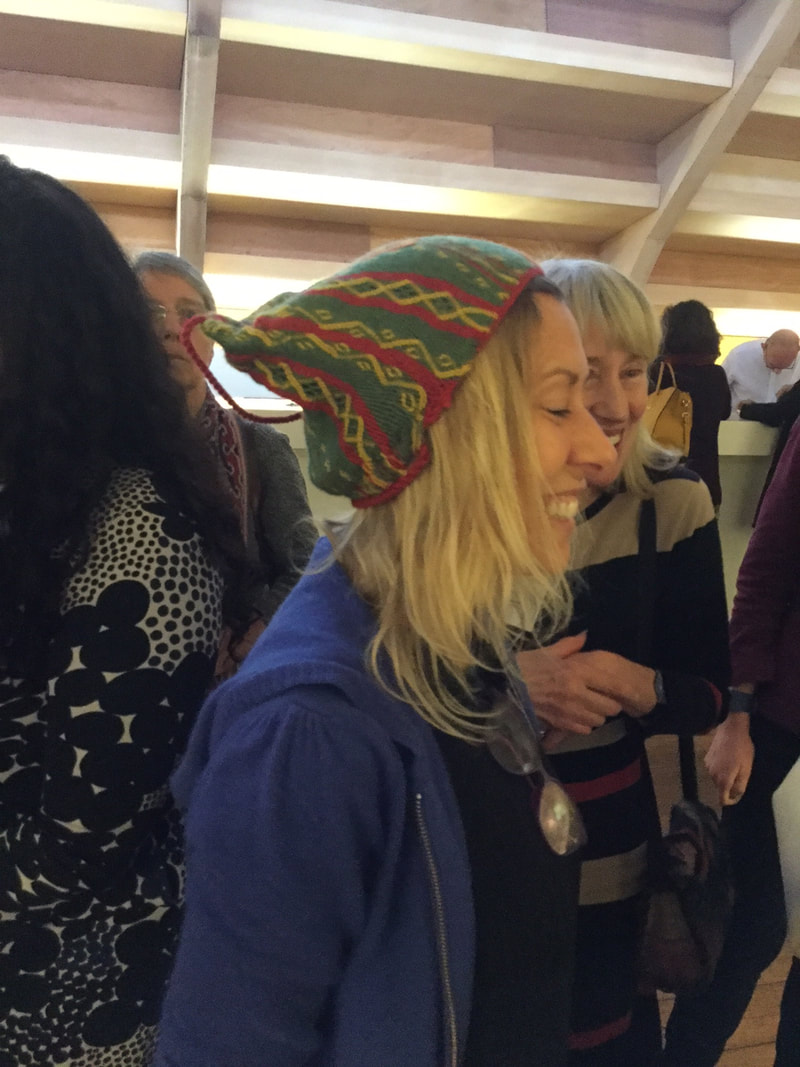
To make such a bonnet, I set up a 16 inch long (41cm) warp of a dark green 2/8 wool and a worsted weight yellow, alternating 10 green and 2 yellow, ending with 10 green.
I worked the green threads in an interlinking stitch, and the yellow threads in a vertical twining stitch. I described the vertical twining in my post of Feb 2, 2023.
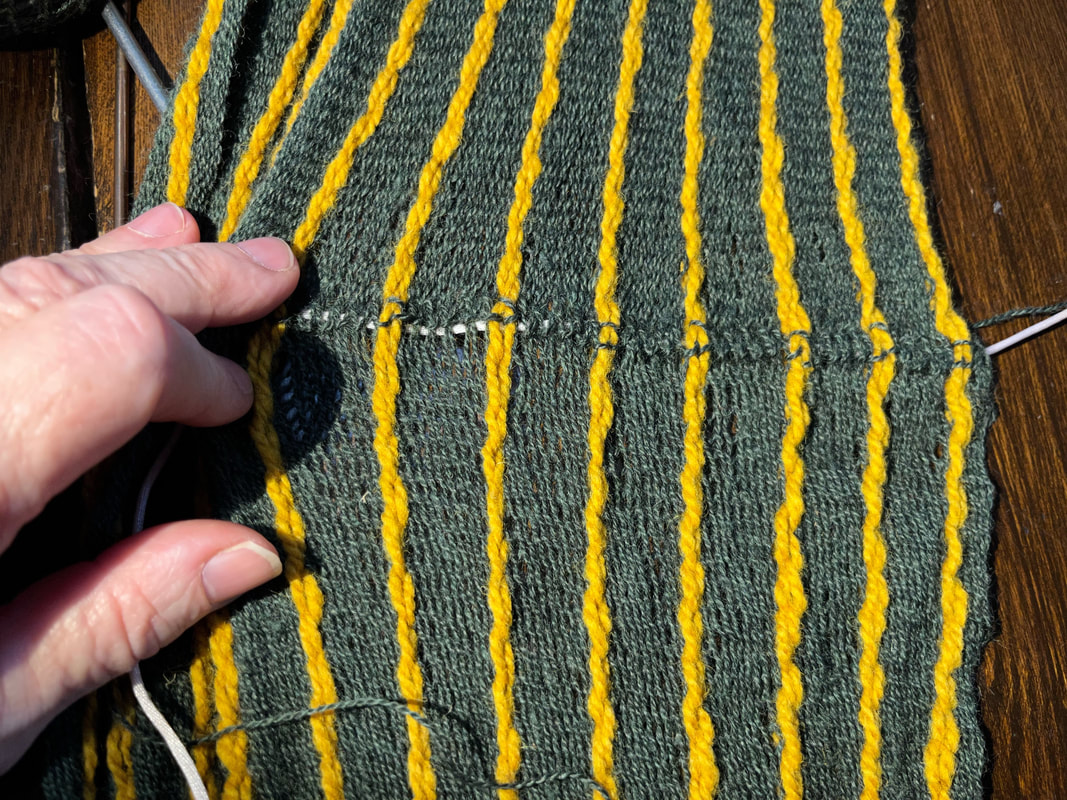
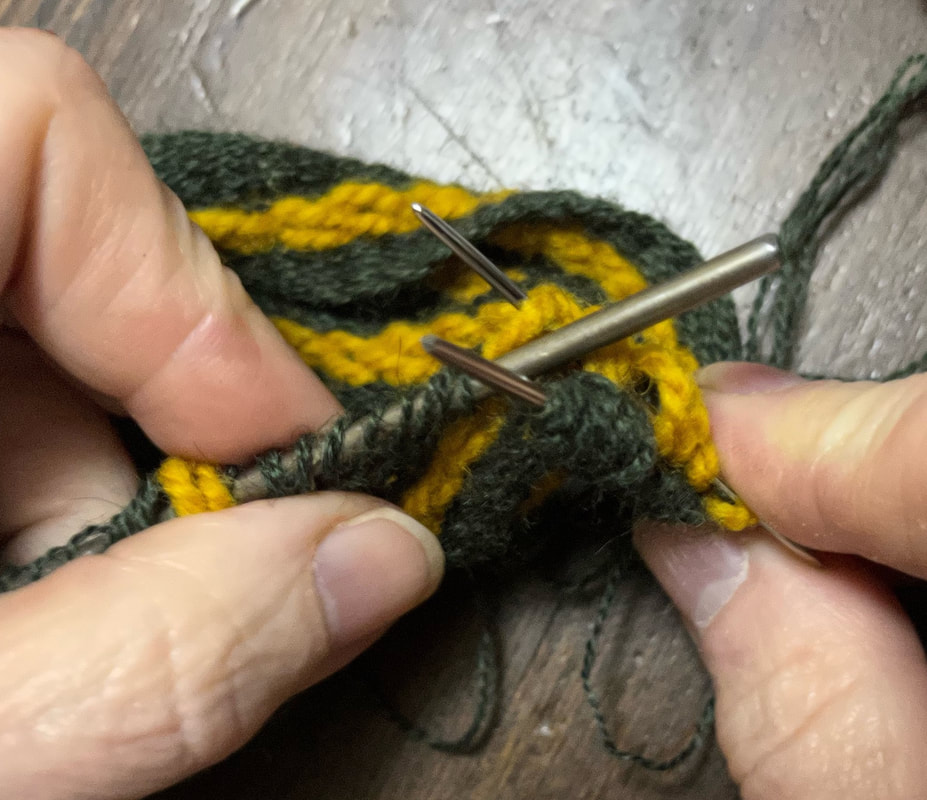
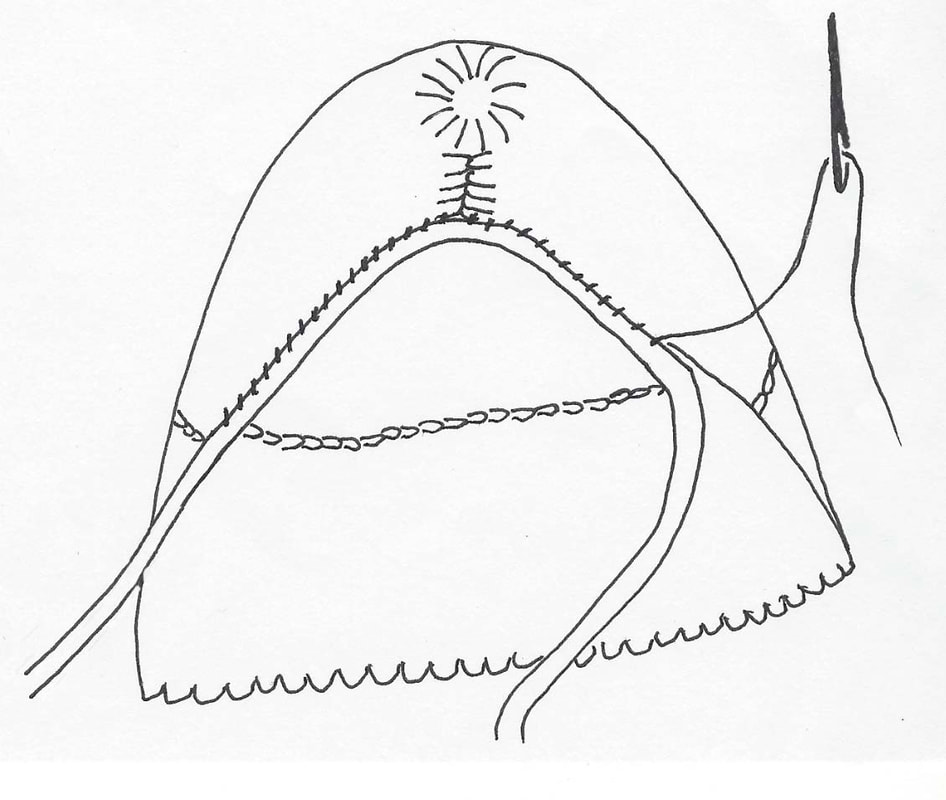
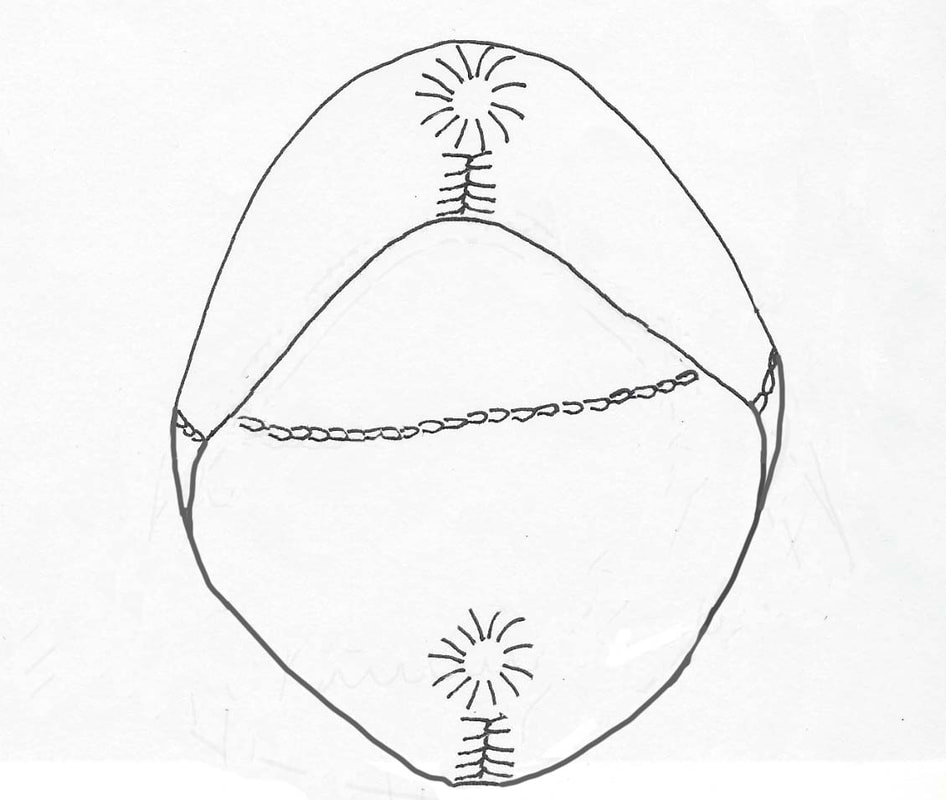
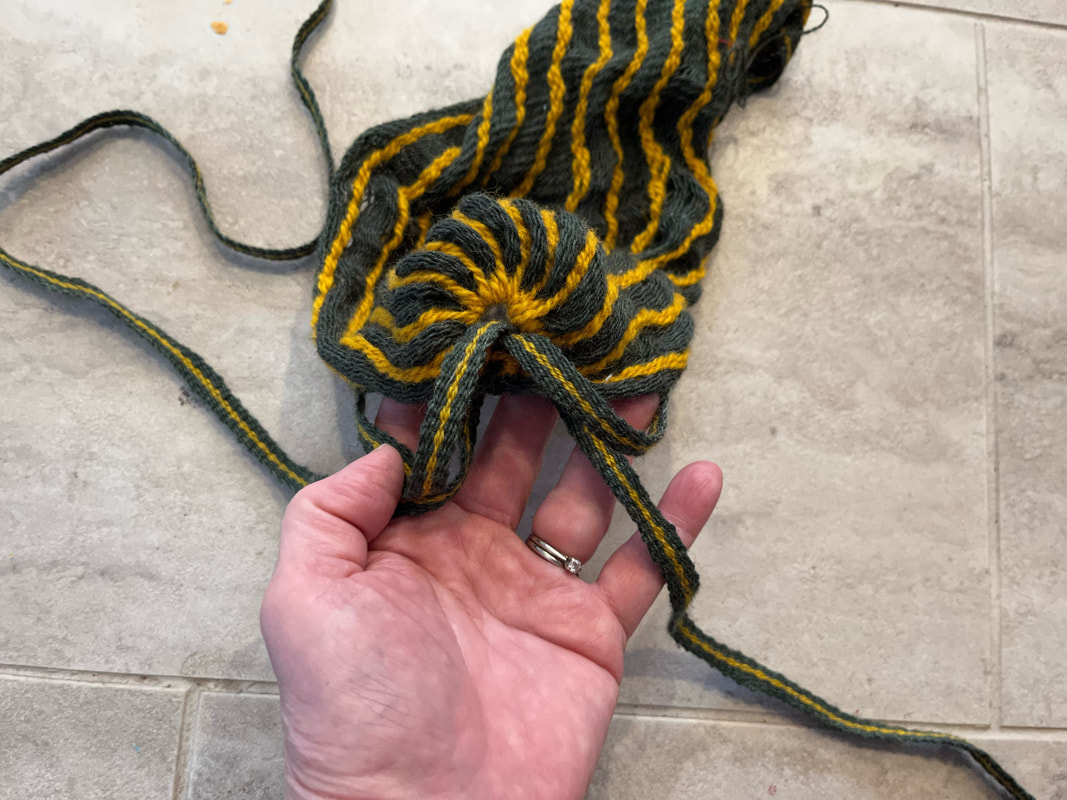
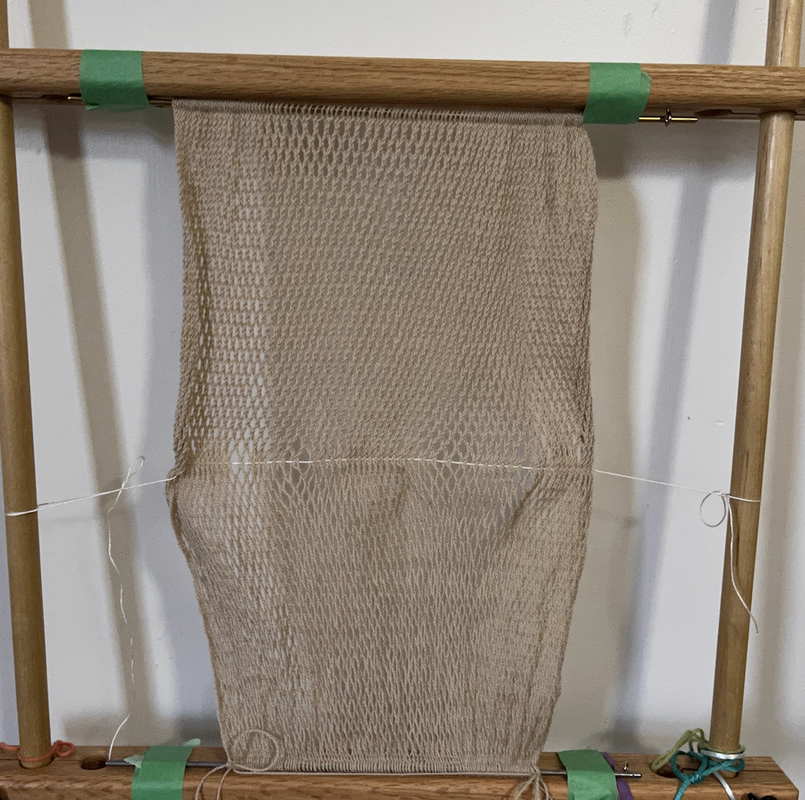
To gather the end loops, I divided the end loops into two groups, separated by color. I slid one color of loops on one blunt sewing needle, and the other color of loops onto the other blunt sewing needle.
Dividing the loops in this manner allows me to snug the loops into a far smaller circle.
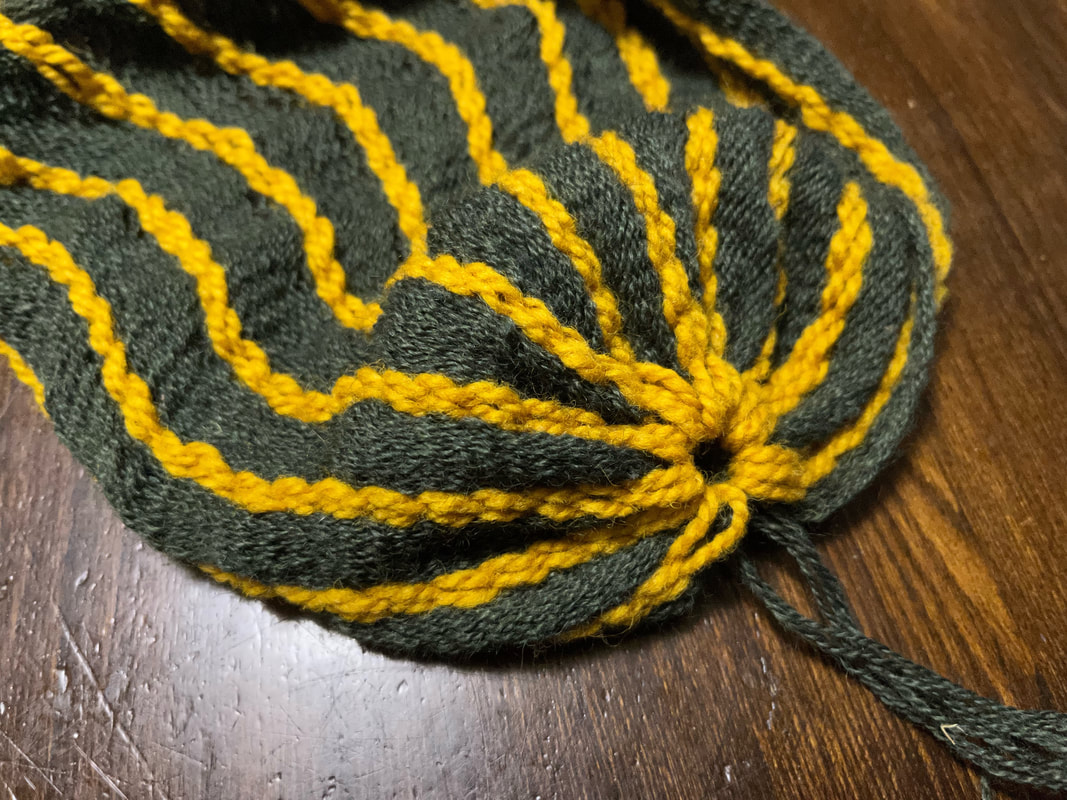
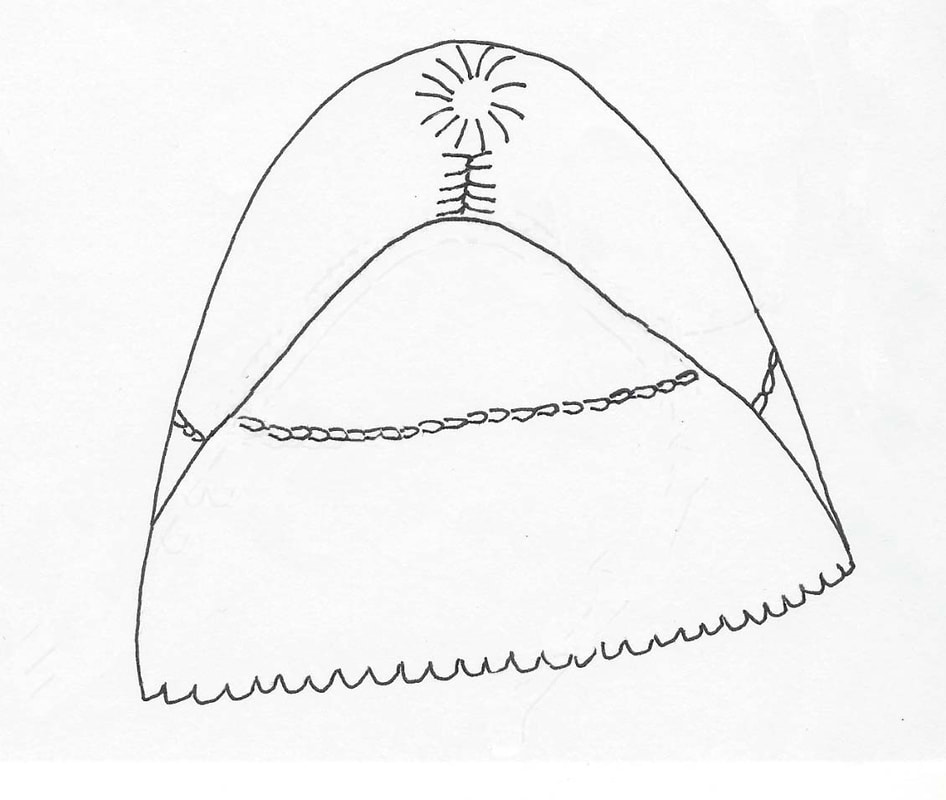
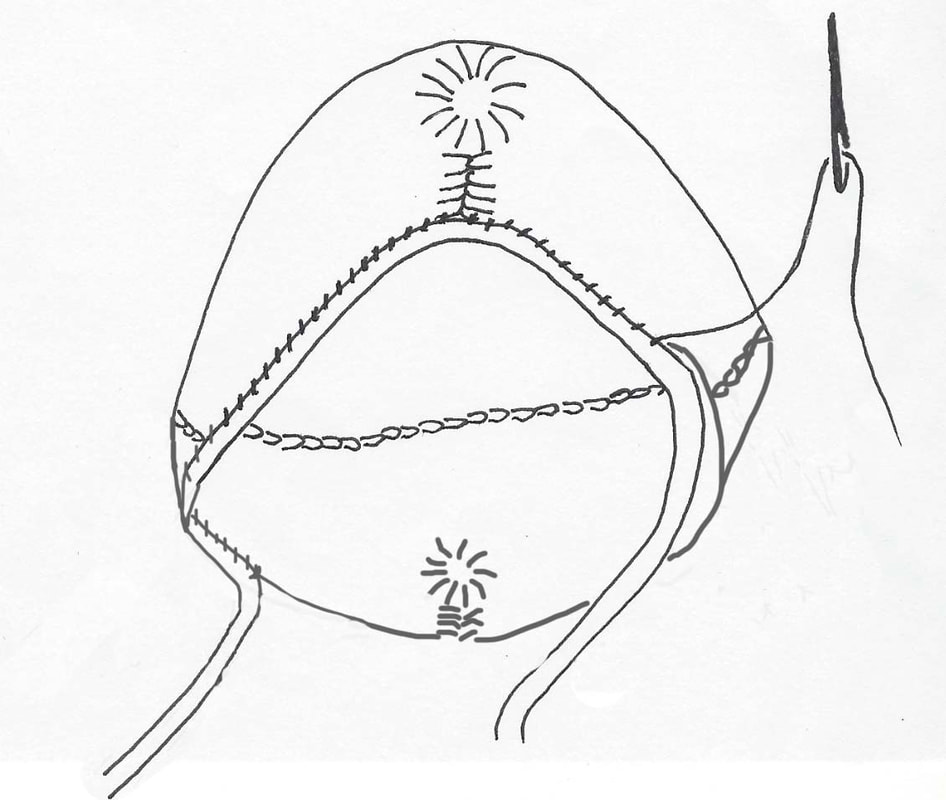
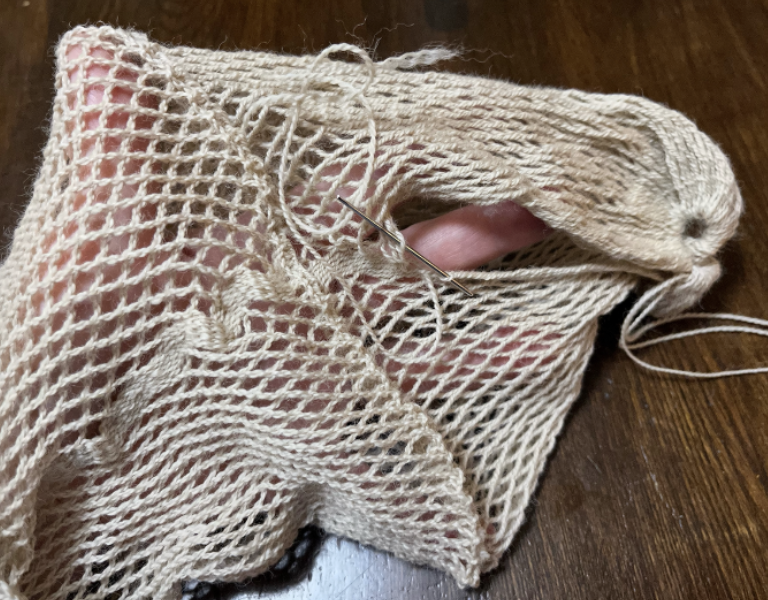
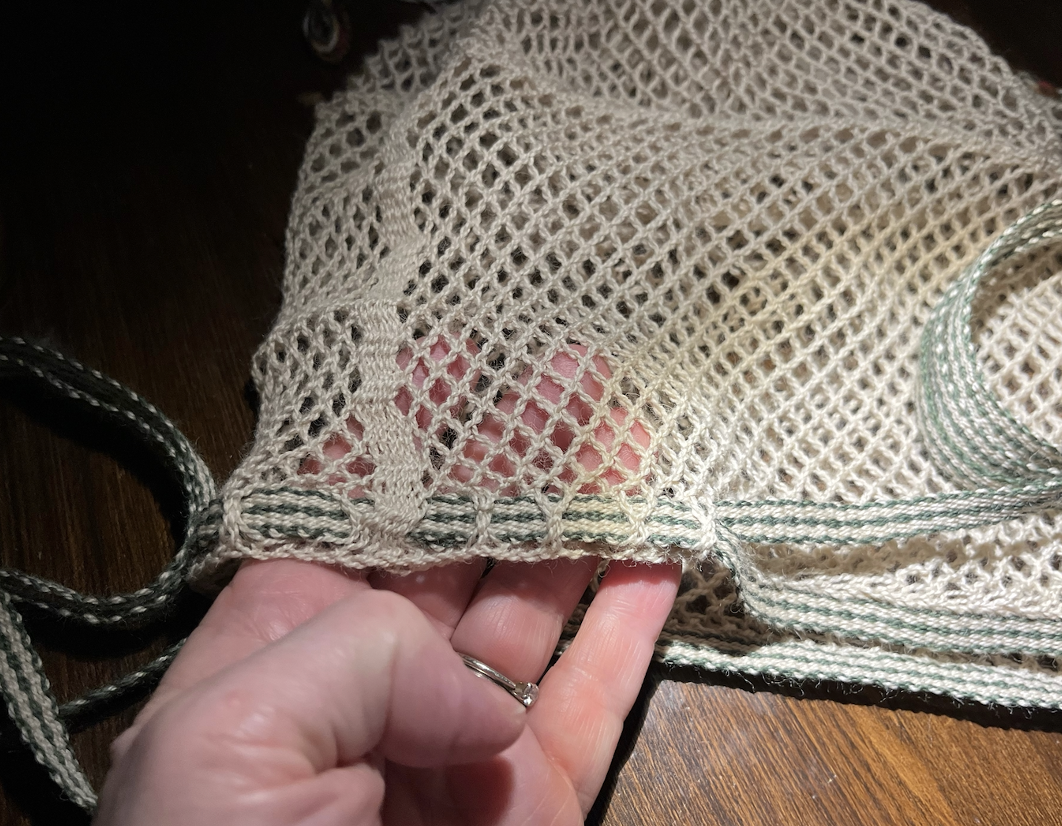
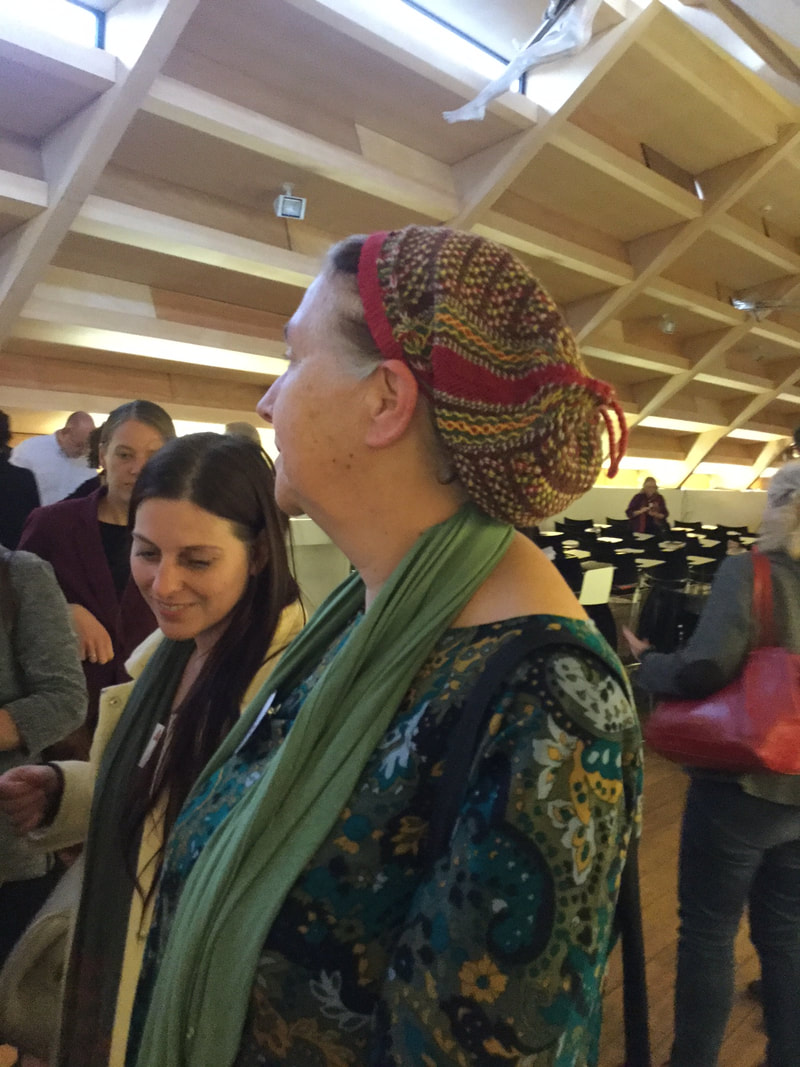
When the loops are tightly gathered there is a reverse-widow's-peak in the centre of the forehead. To avoid this reverse widow's peak, I reserved the dark loops at either edge, did not include them in the gathering. Instead I stitched them together in a tight seam at the centre front of the bonnet.
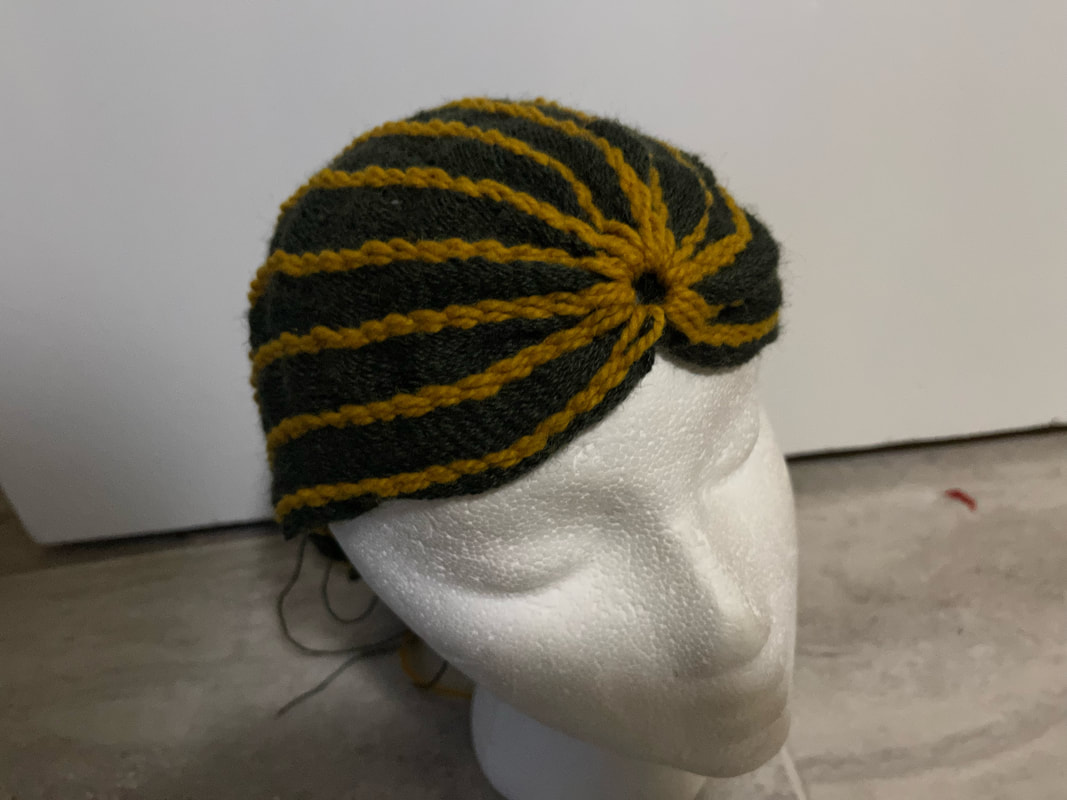
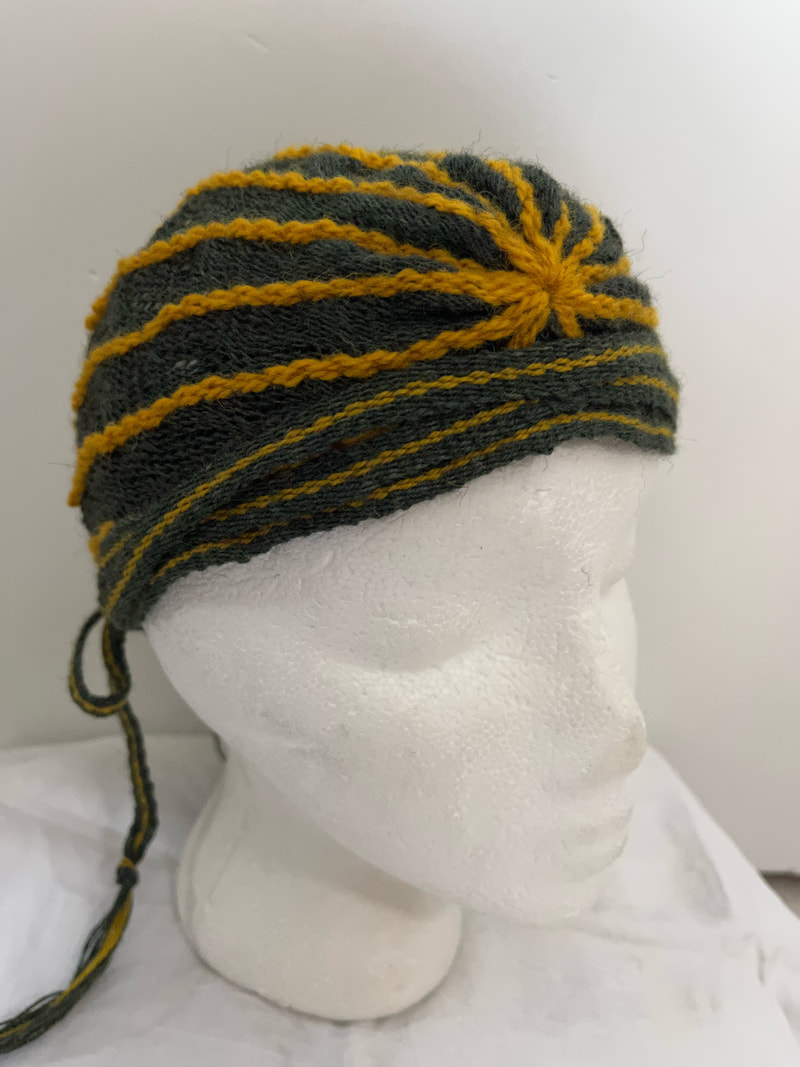
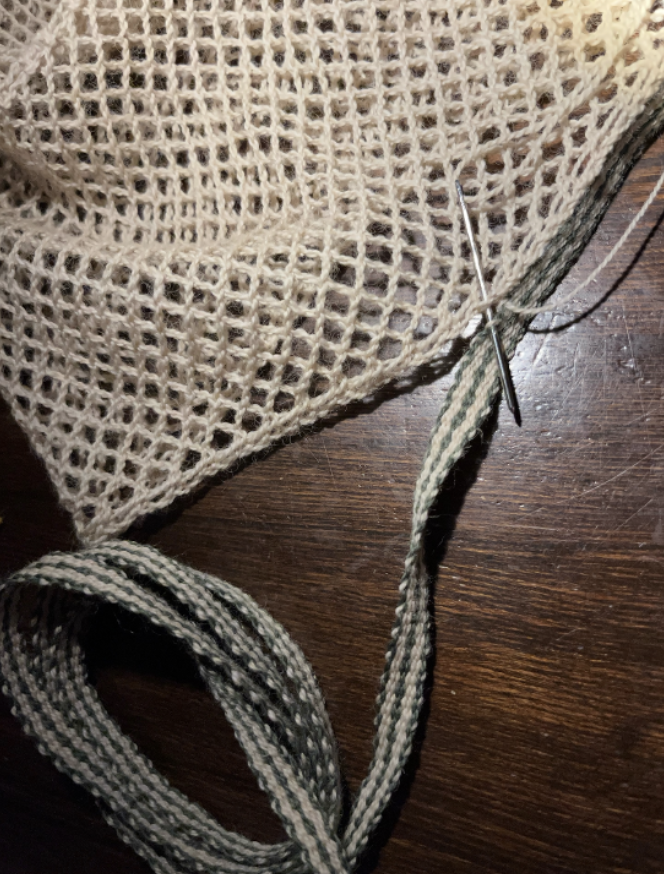
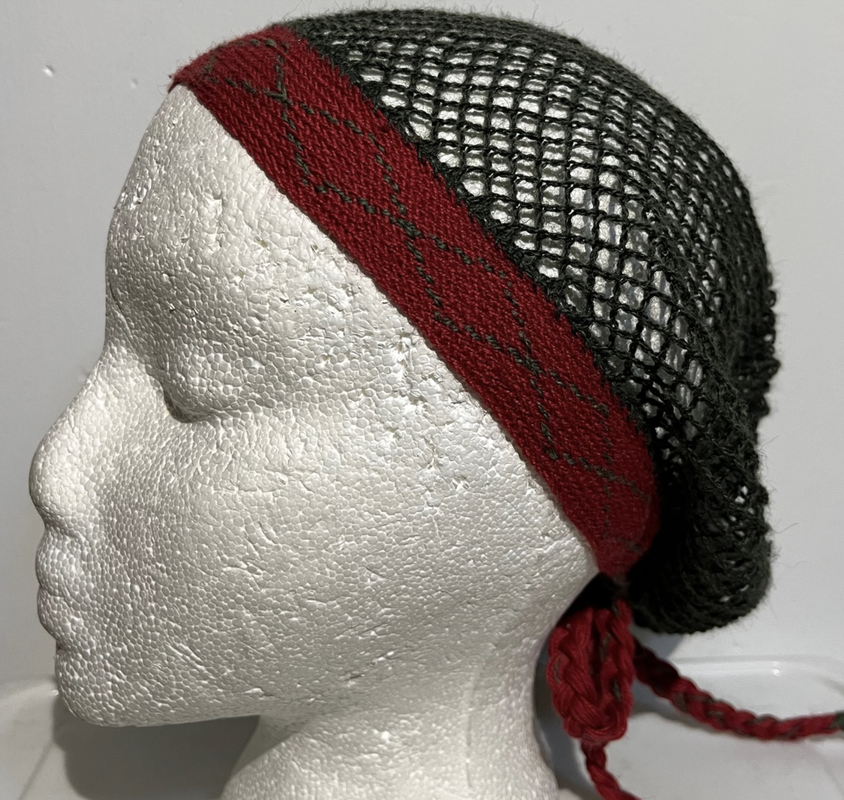
The reserved dark loops, sewn together at the forehead, make for a smoother line to which I could attach a brow band. The brow band is a length of weaving, made on a tape loom. I gathered the loops at the back of the bonnet in a fashion similar to the treatment of the loops at the front of the bonnet..
I stitched the brow band to the front 3/4 of the bonnet, leaving the band free at the very back of the bonnet.
0 Comments
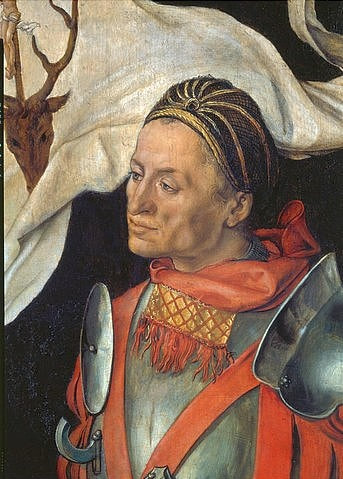
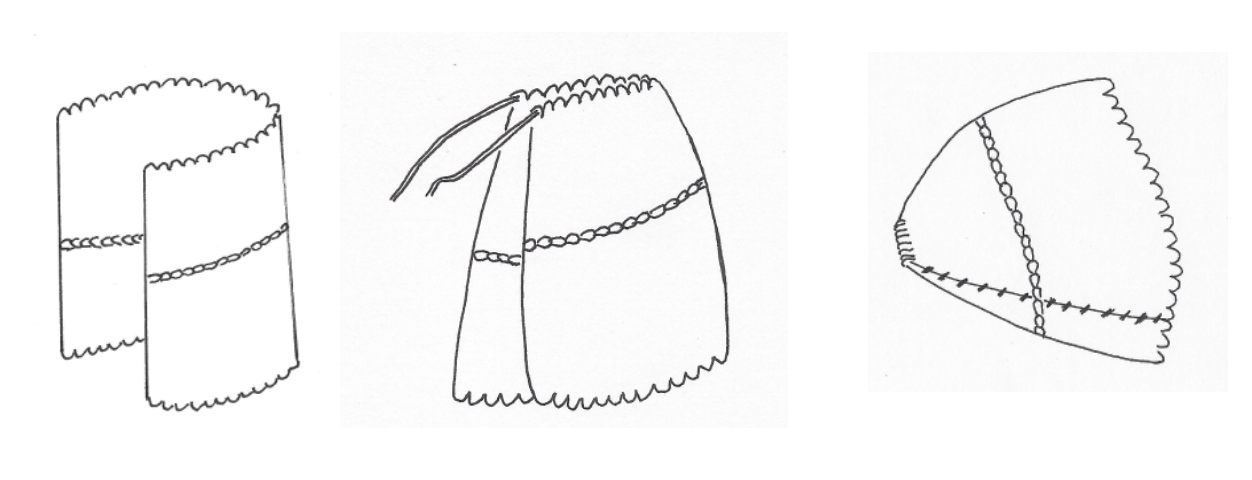
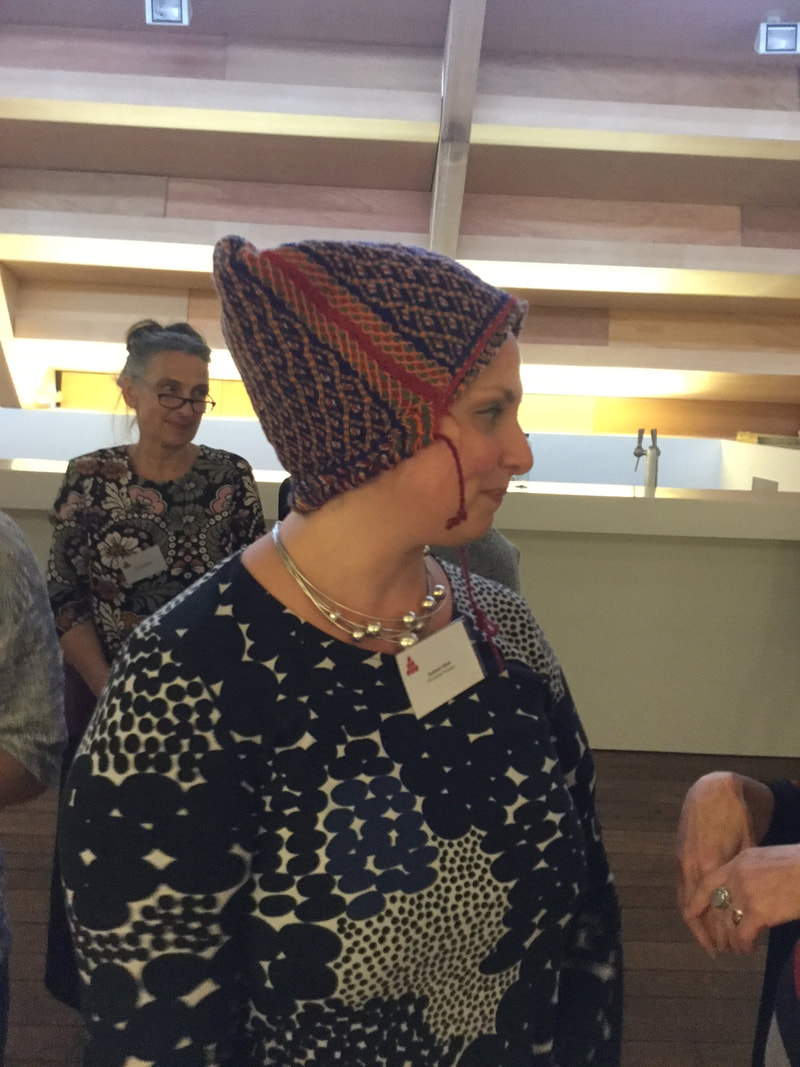
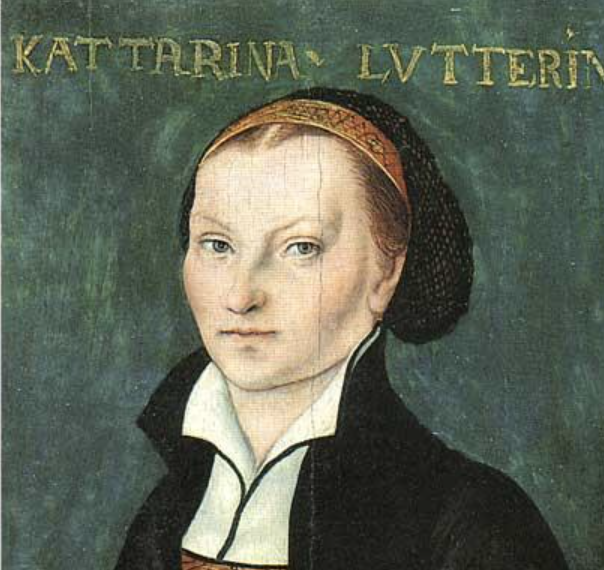 The portrait by Lucas Cranach, painted in 1526, of Katharina Luther, wife of the famous Martin Luther, depicts a woman wearing a hairnet. It was Dagmar Drinkler of the Bavarian National Museum who showed me this image some years ago. It is her opinion that Mrs. Martin Luther is wearing a sprang bonnet. I interpret this as possibly an interlinking structure, what I call a doubles grid.

Arriving at the centre, I chained across to secure the cloth. I chained threads one at a time. 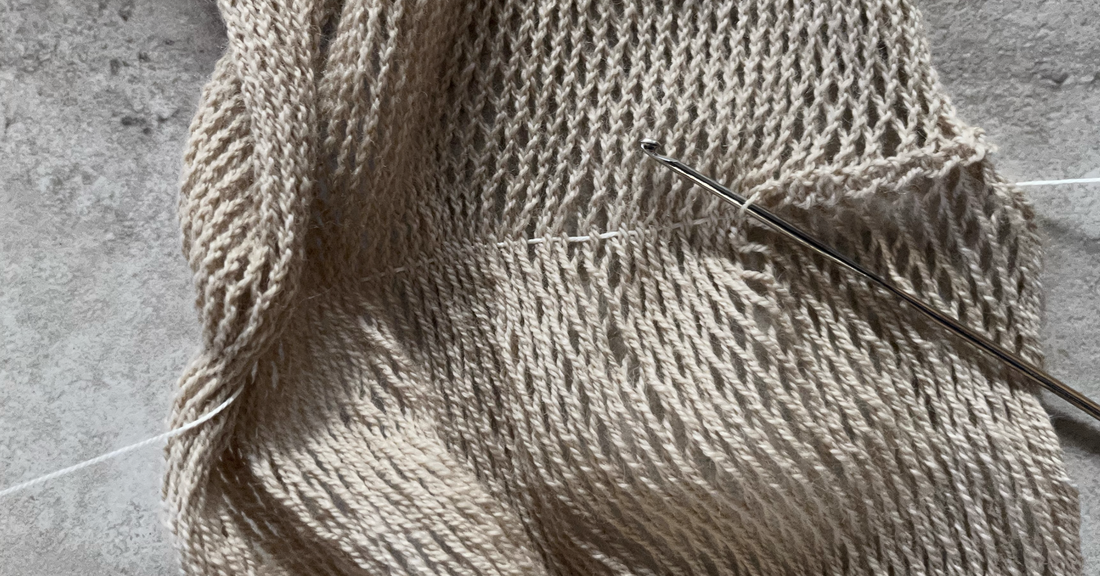
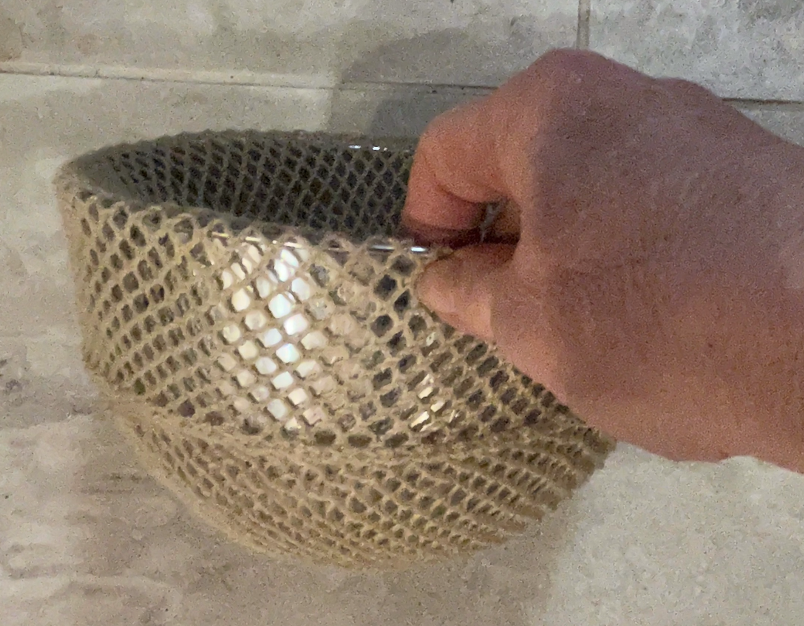
Then I blocked it. I got it soaking wet, and then selected the right sized mixing bowl from my kitchen.
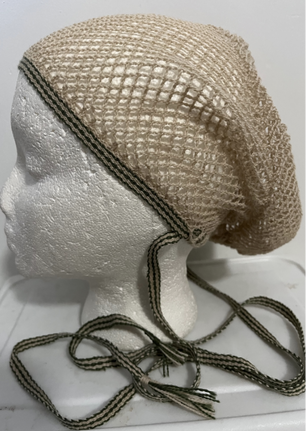
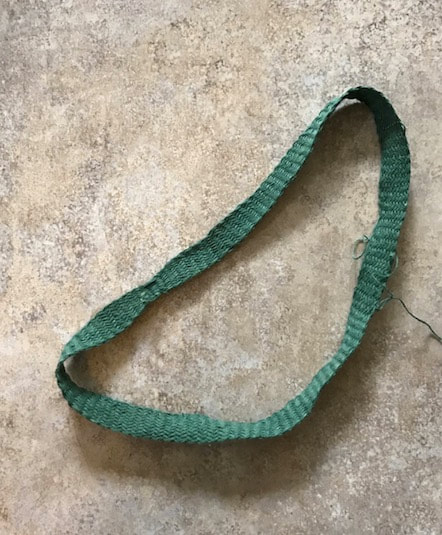
Mrs Luther's bonnet seems to have a band around the rim. I made a band using my tape loom. I measured out threads of sufficient length to make a band that will go around my head three times, plus a bit extra to tie a knot.
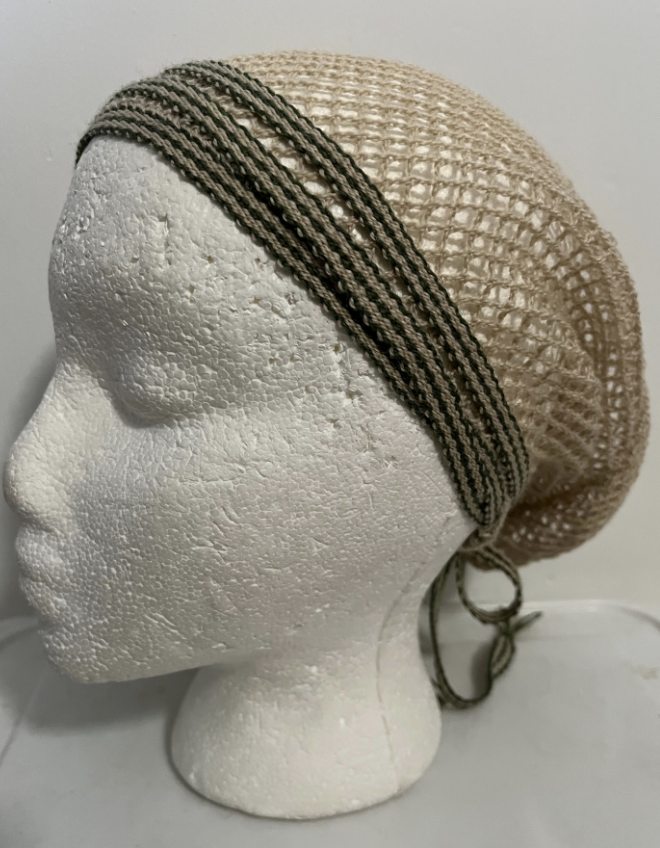
I made this first bonnet using a pale wool, hoping you would be better able to see the details of construction. Mrs Luther is wearing a dark colored bonnet. You will also note that the band around the head is rather wide, far wider than the band I made for this pale-coloured bonnet.
I worked a band in a 2-2 interlace stitch, with vertical ribs, and a 4 contrasting colored threads. OK, the red yarn I selected is rather close in color value to the dark green, and the green design does not stand out well on my band. I was also disappointed to note that the design in my band is far more elongated that the design in Mrs. Luther's bonnet. OK. Maybe I should stick to my field of expertise, the sprang, and leave the band to someone else. Perhaps it is another technique, perhaps an embroidered design.
I was talking today with members of a Colorado-based sprang study group. They had some questions, and I was wanting to refer them to a blog post of mine ... and then I realized that I never posted those pictures, never told that story on my blog. So here it is, the making of that shirt that was on display at HGA's Convergence last summer.
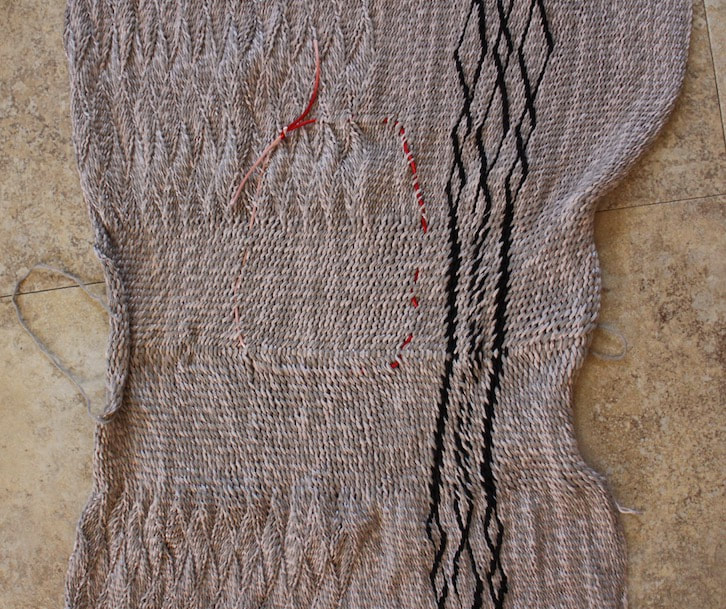
I have been exploring different ways to create a sprang shirt. The obvious way to create the neckline is to make a slit for a V-neckline. When I did this, I found that there is stress on the stitch at the bottom of that V, and it does not look nice. Because of this, I have begun to look for other ways to create that neckline. This pullover began with a false-circular warp to create a large rectangle for the front and back. The loops will sit near the hem of the garment. There is a chain line at the shoulders.
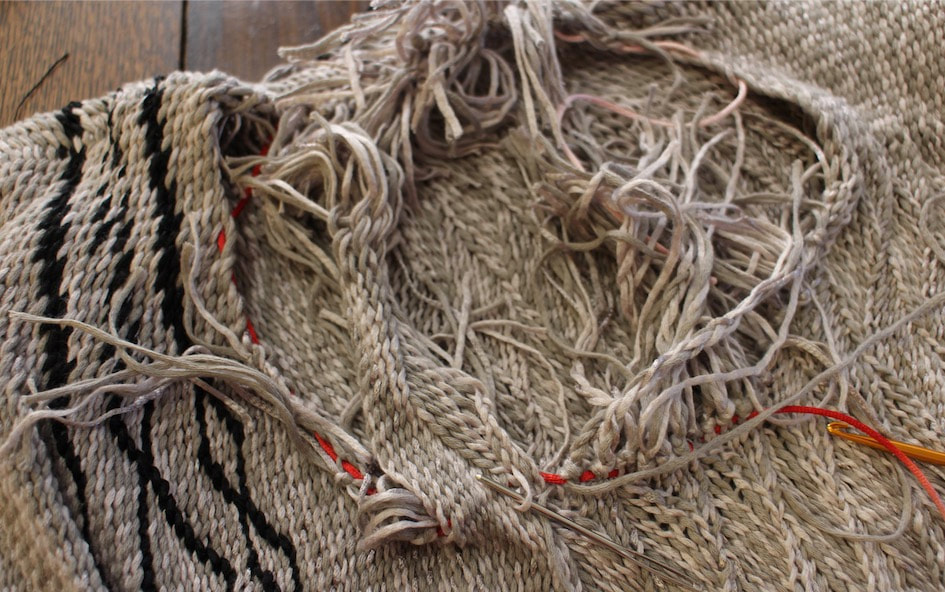
I laid the piece out flat, and traced a circle (basting stitch) with a red thread at the place that I thought should be the hole for the neck. The hole must be as large as the circumference of my head. I then cut across the stitches inside this hole, being careful to leave threads long enough to tie knots. I unravelled the stitches to the place of the red thread, and tied knots. This gave me a neck opening, with unsightly knots all around. I covered the knots with a collar.
The collar started out as a long flat warp. I chose a 2-2 interlacing stitch for the collar. For the sleeves, I wanted to try making them narrower at the wrist, wider at the shoulder. To make the cloth wider, you must add threads.
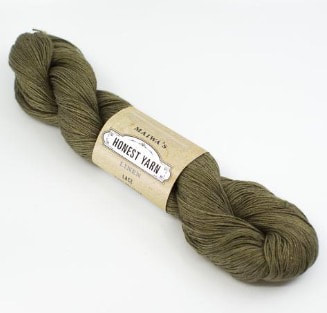
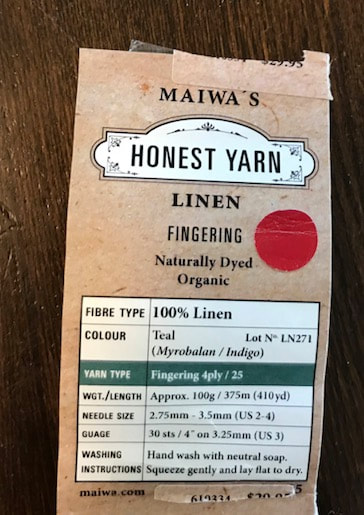
I added a loop of yarn every second row. This gave me two sleeves, that are wider at the shoulder, narrower at the wrist. I cut the sleeves apart, and tied knots. The knots are hidden on the inside of the garment. The finished pullover was judged worthy of the fashion show at the Handweavers Guild of America conference Convergence in 2018 in Reno, Nevada. 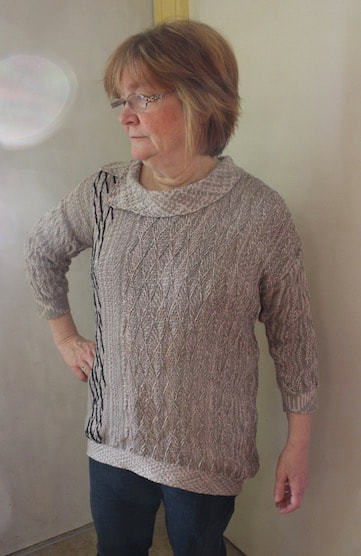 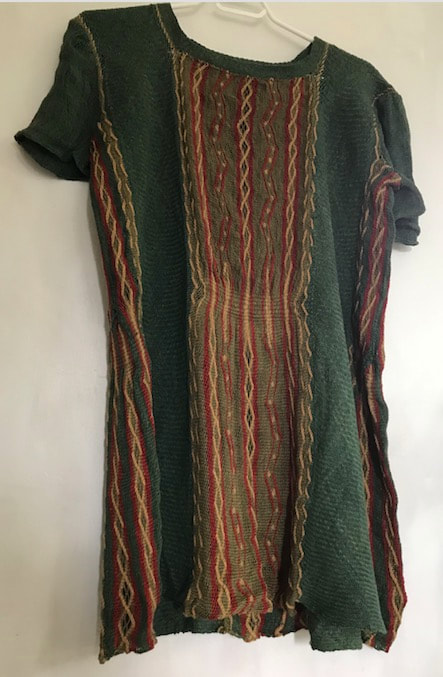 While in Vancouver earlier this year, I stopped in at Maiwa on Granville Island. I will be teaching a sprang class there next year. I wanted to have a look at their yarns, to evaluate their use for my students. I saw some lovely linen yarn.
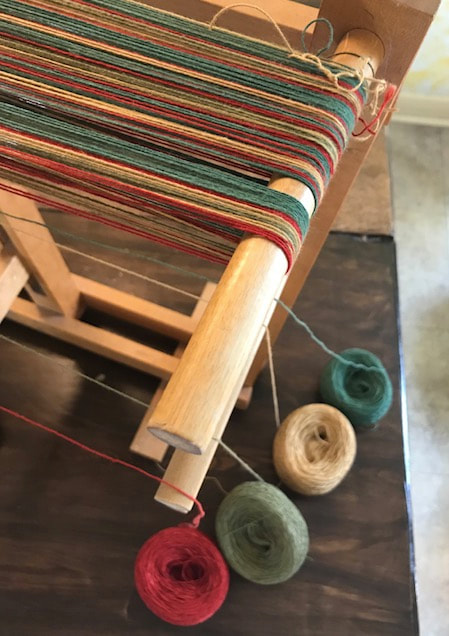
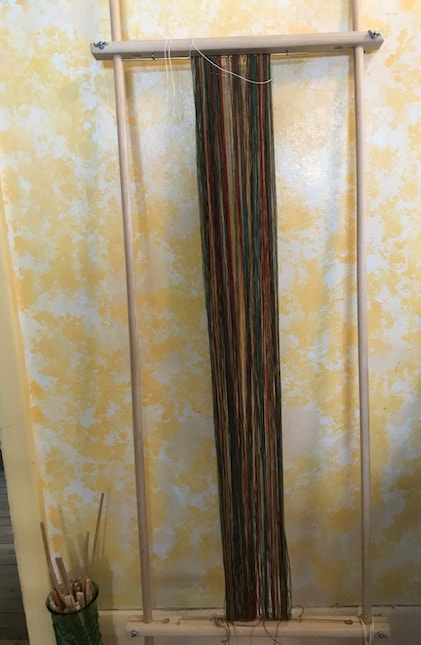
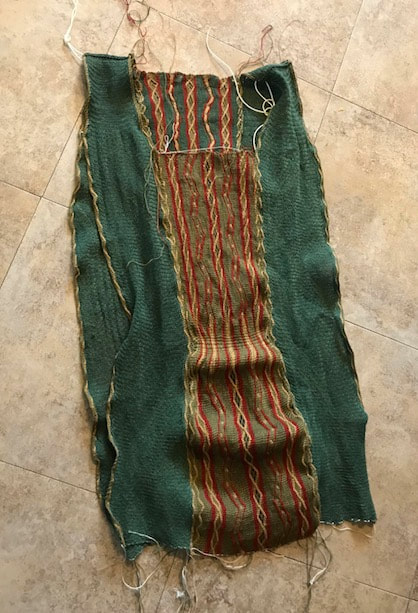
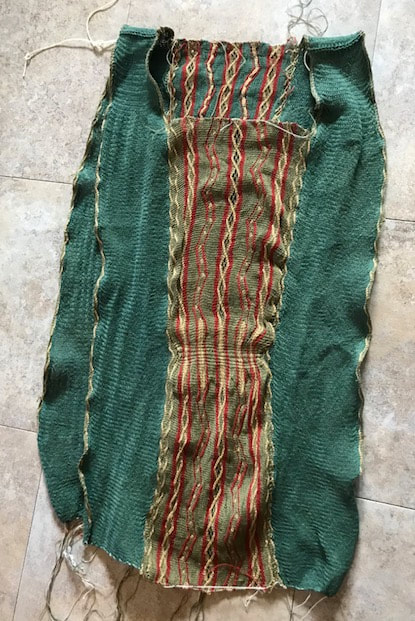
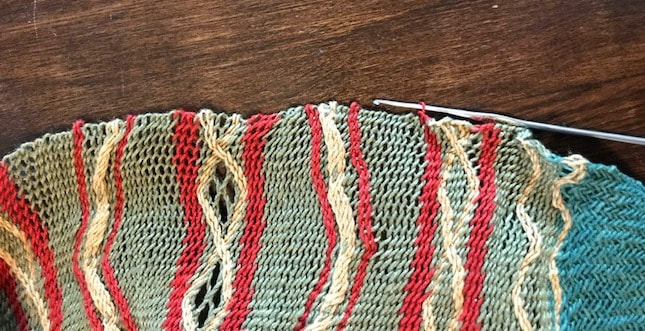
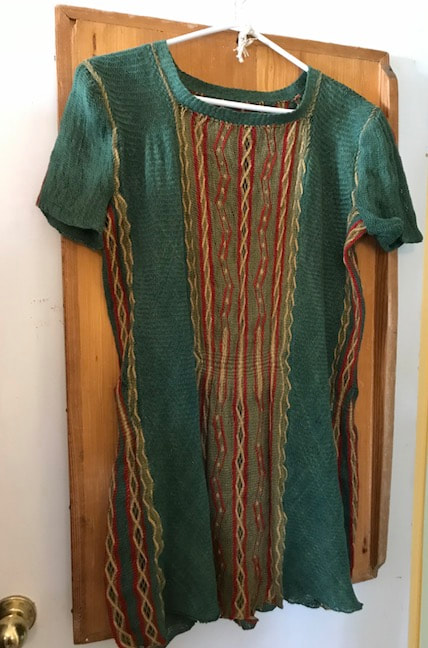
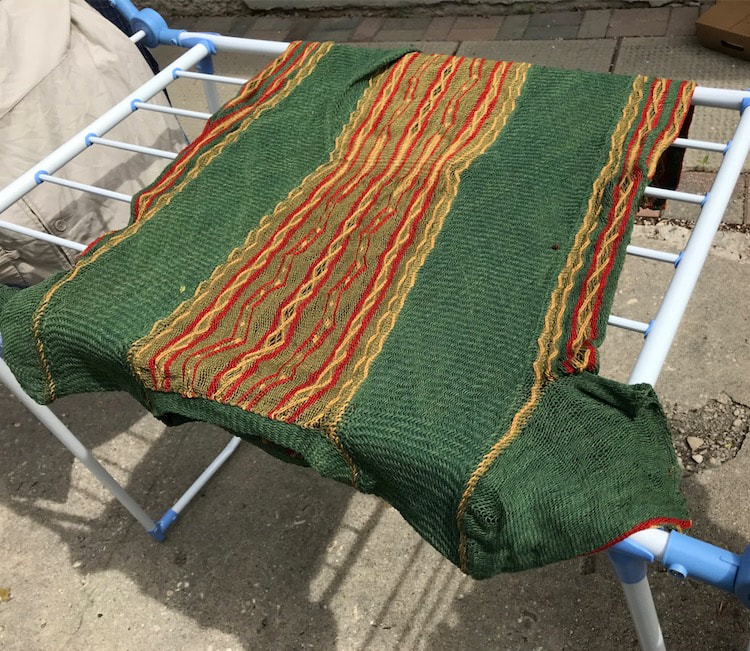
I decided to try to make yet another sprang shirt, using this linen yarn. OK, I purchased seven skeins. Wanting to use some of those colorful motifs from Coptic bonnets, I set up a multicolored warp.
This piece will be the center back of the shirt.
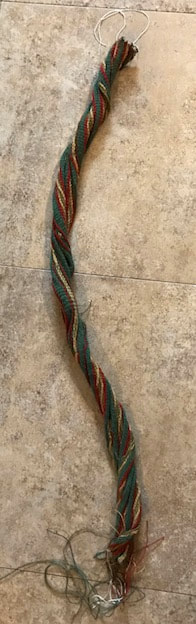
Now for two pieces to go on either side of the center back. These pieces will go over the shoulder, starting and ending at the hem of the shirt.
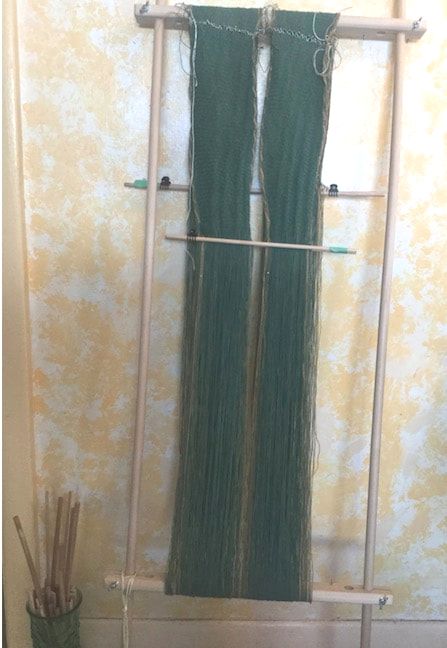
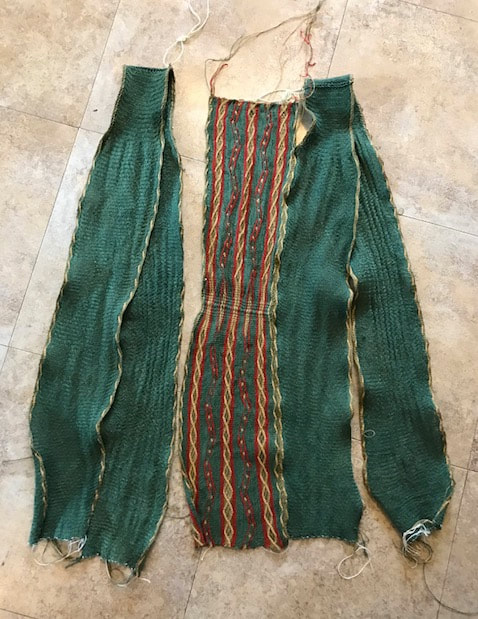
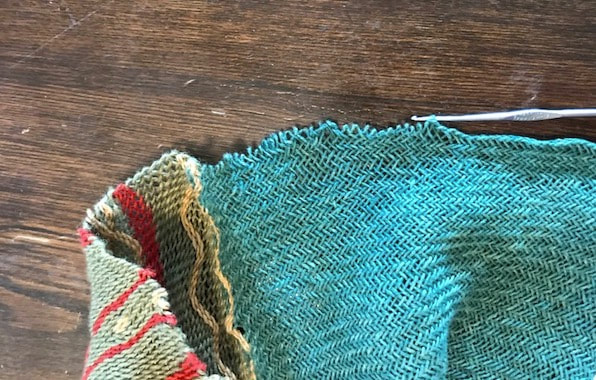
Now for the front of the shirt. I decided to use the lighter green as the background for the front of the shirt. The first time I sewed the front into the shirt, there was a clear difference in tension (rows per inch) between the lower part of the front, and the side pieces. I re-sewed it a couple of times before getting it right.
Now for two narrow pieces to go under the arms.
And lastly, sleeves. I shaped the sleeves as I went along.
I chained around the hem, to give a firmer edge to the shirt.
I finished assembling the shirt, and washed it.
Look for me this summer, sporting my new sprang shirt.
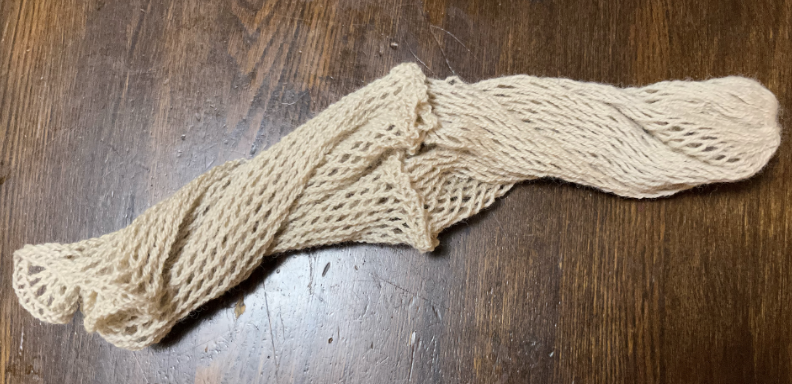
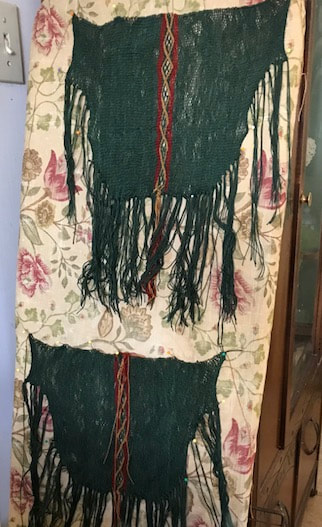
And here's a better image of that shawl I made last month, demonstrating perhaps some of the drape and flexibility of the fabric  Photo by Chris Black
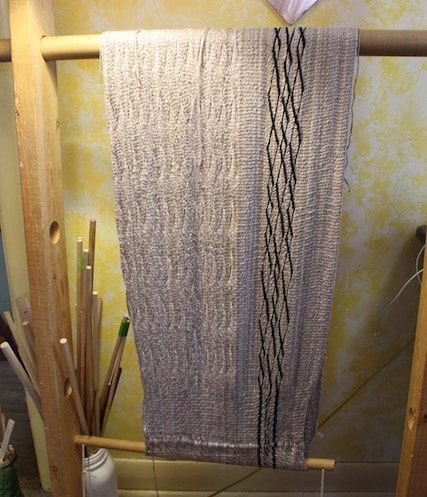
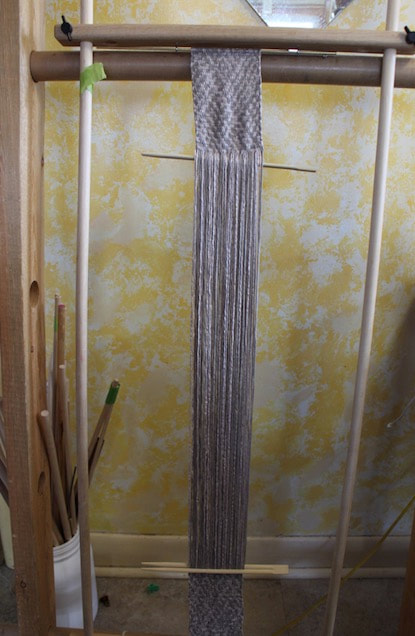
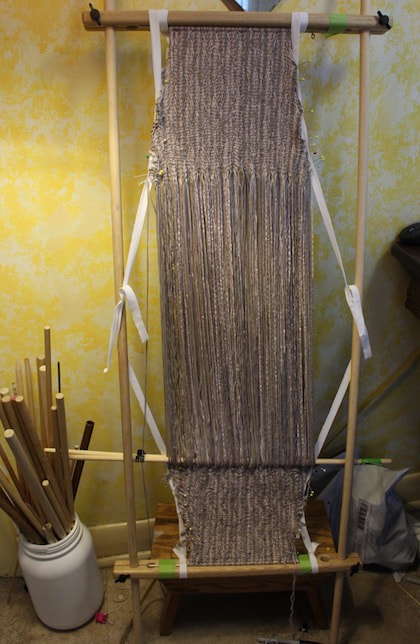
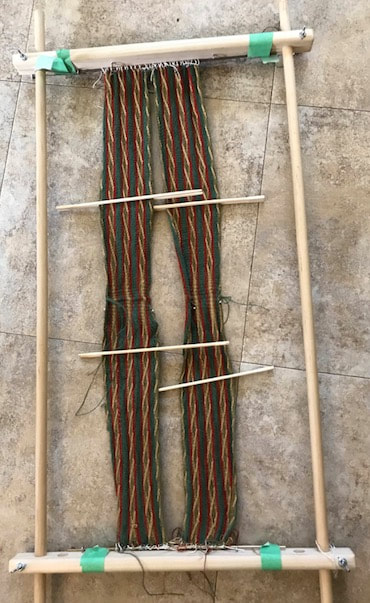
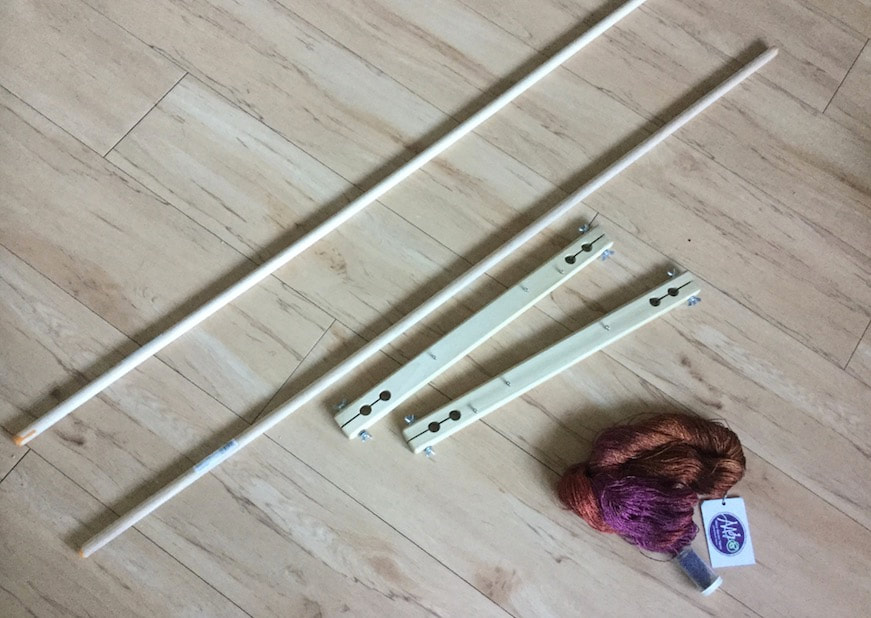
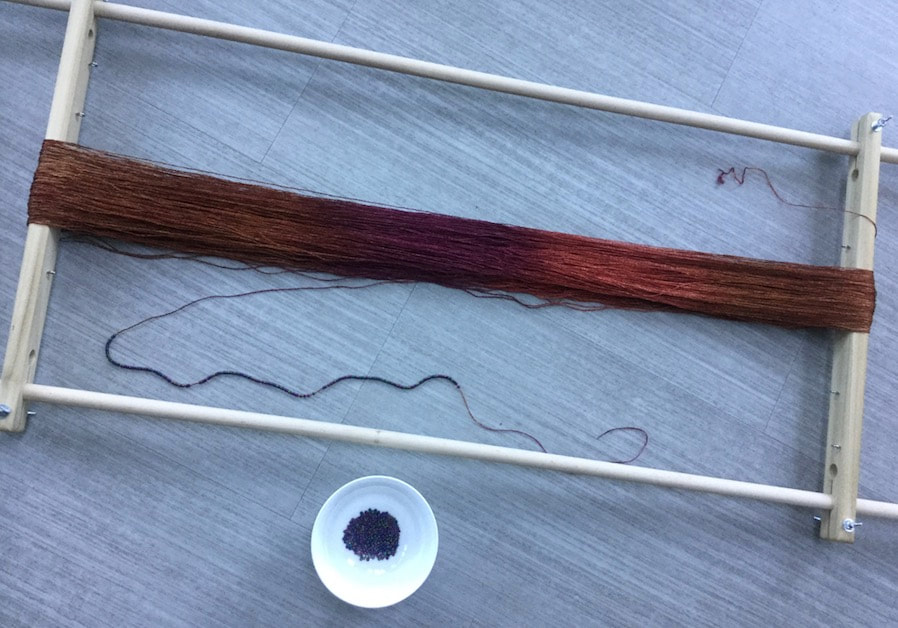
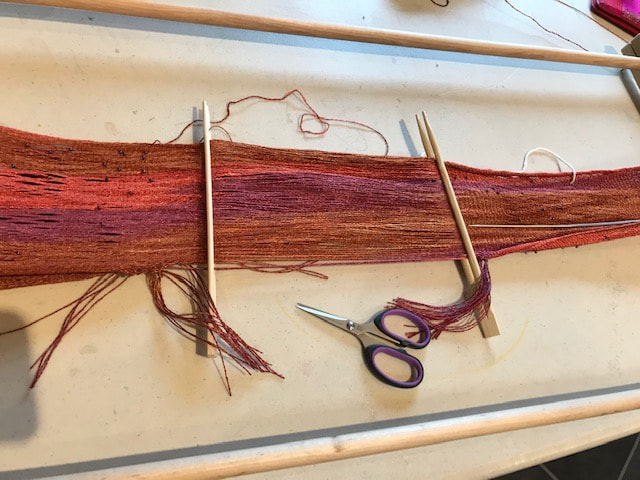
I now find myself at the FibreWorks Gallery near Madiera Park, British Columbia. I've been offered a short residency. This place is also called "The Yurts" because of the buildings that make up the campus. 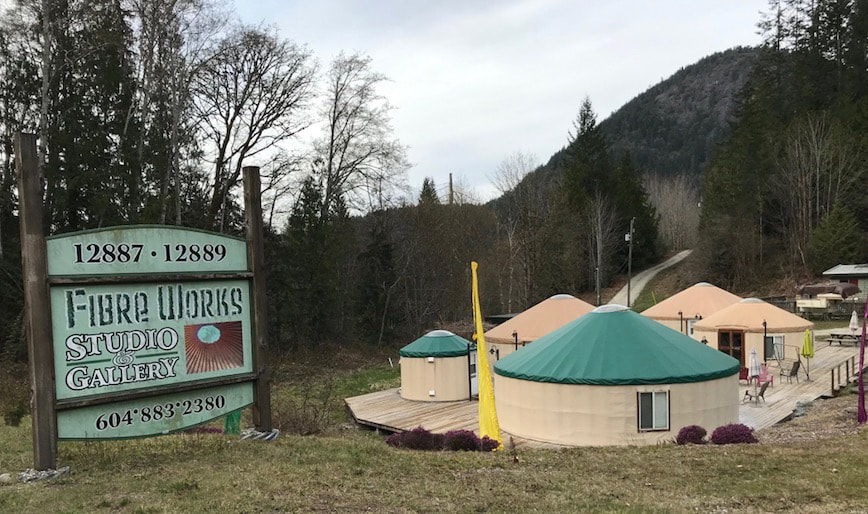 Planning to create a sprang scarf, I brought along yarn, beads, and the top and bottom of my sprang frame. I purchased 4 ft long dowels locally, and set to work.
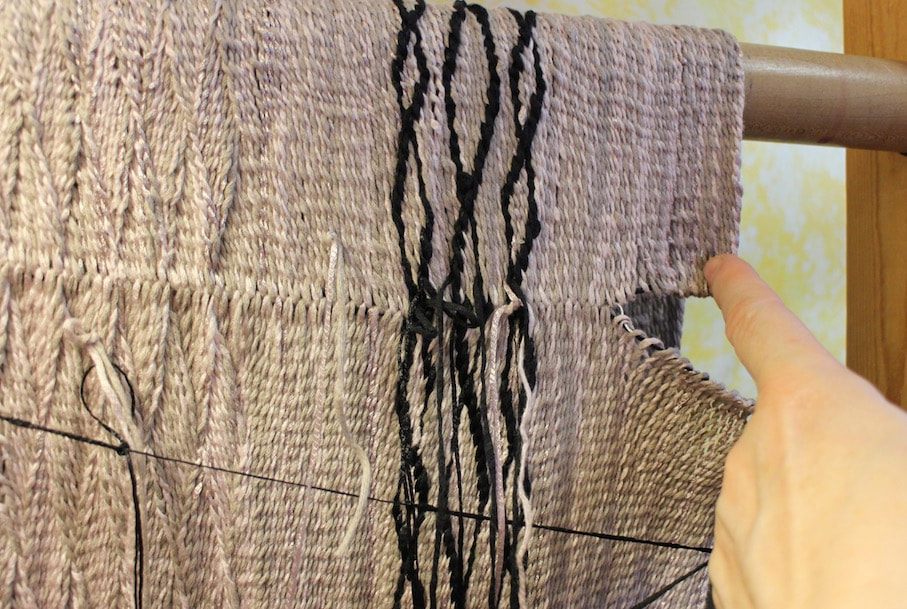
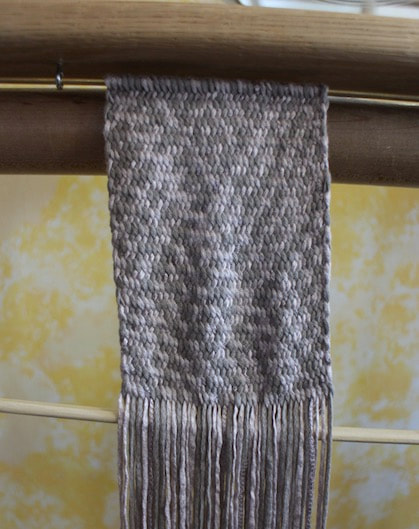
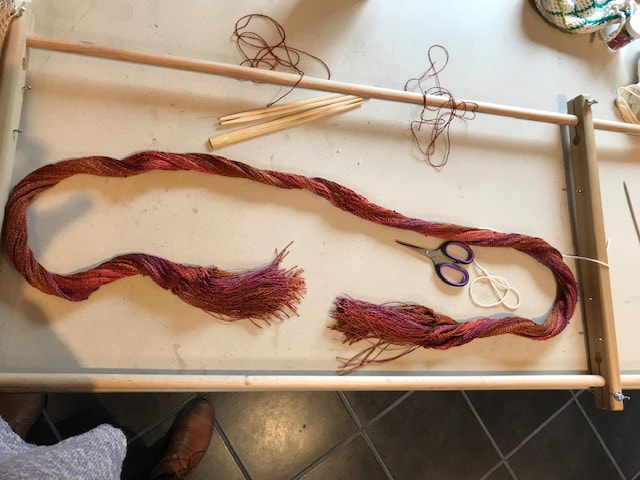
A sprang project needs the yarn mounted on the frame in an orderly fashion ... I needed to organize a first cross in the warp. 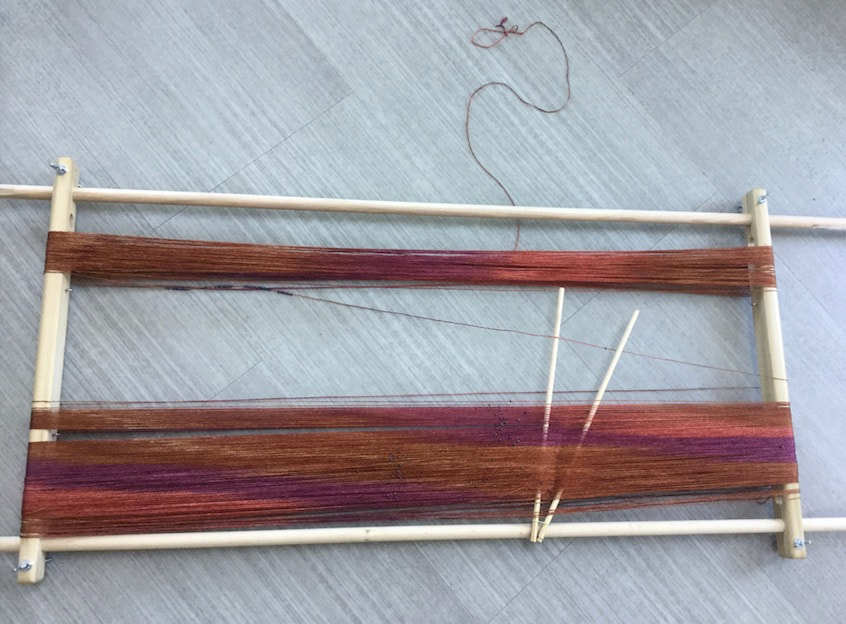 I fixed two sticks to the side of the frame, and proceeded to place the yarn into the sticks, creating the cross.  Ready to work. Ready to work. The weather was pleasant, I sat outside the FibreWorks Workshop Yurt, and worked. My pattern is inspired by pieces I saw at the Vesterheim Norwegian-American Museum in Decorah, Iowa. 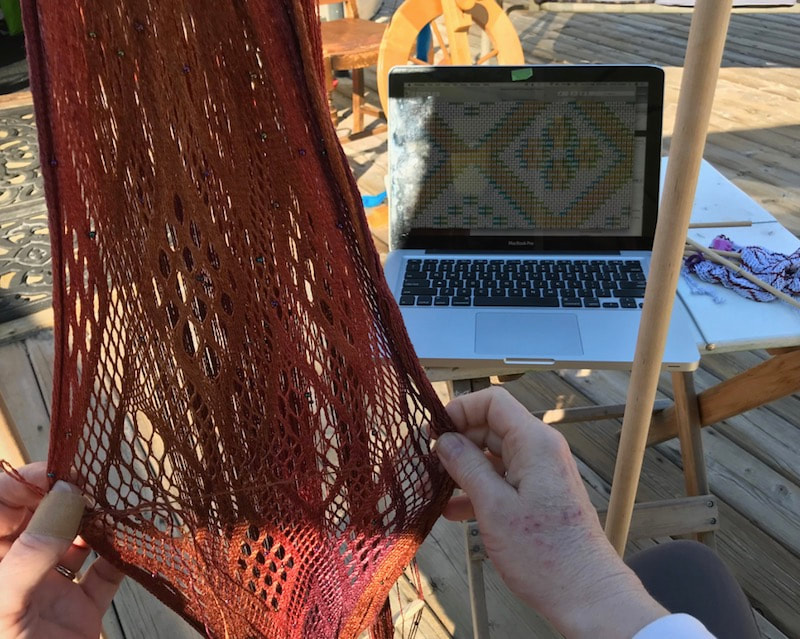 On Monday, FibreWorks was closed. I went along to speak to a spinners' guild, bringing them the good news of sprang. I worked on the shawl on Tuesday, and finished it by Thursday afternoon. The Weavers Circle meets at the FibreWorks Gallery on Thursdays, they watched as I cut the fringes, and tied the knots.
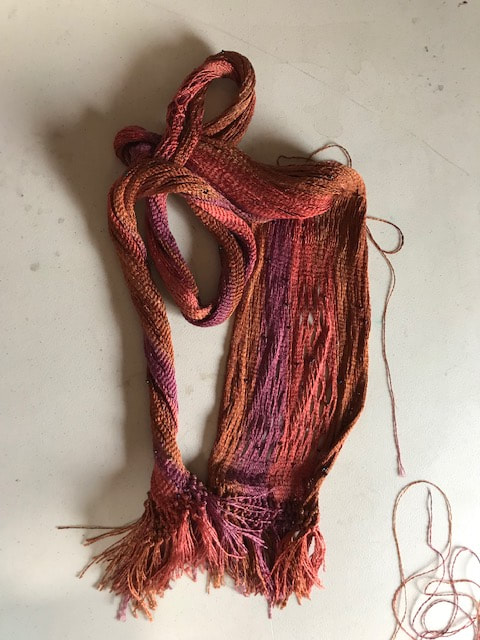 Two more rows of knots. 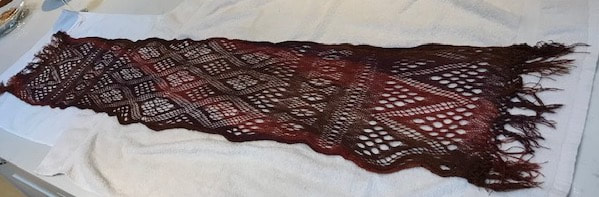 I wet the shawl, and laid it out to dry. No more curling.
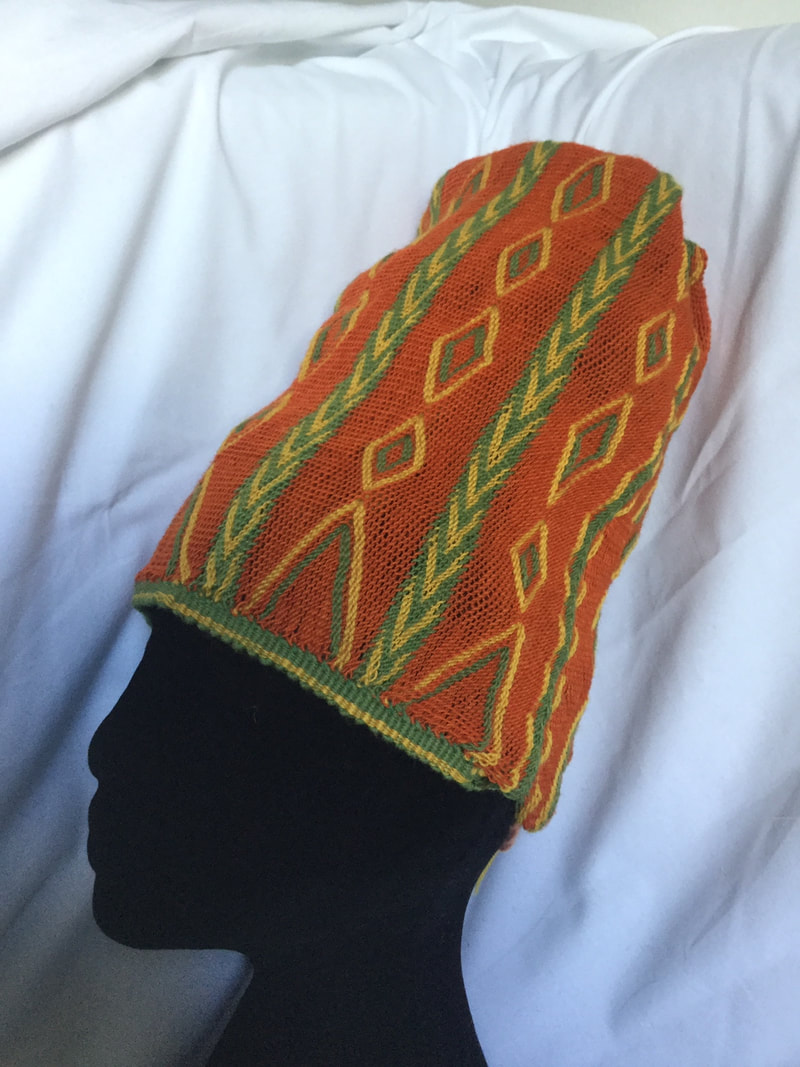
I visited the Kelsey Museum collection in the spring of 2016, went home and worked out the pattern for this hat, and then came back in the summer of 2017. At the occasion of my second visit, I took a photo of my replica beside the original. Actually I took two photos. In one of them, my replica is inside-out. 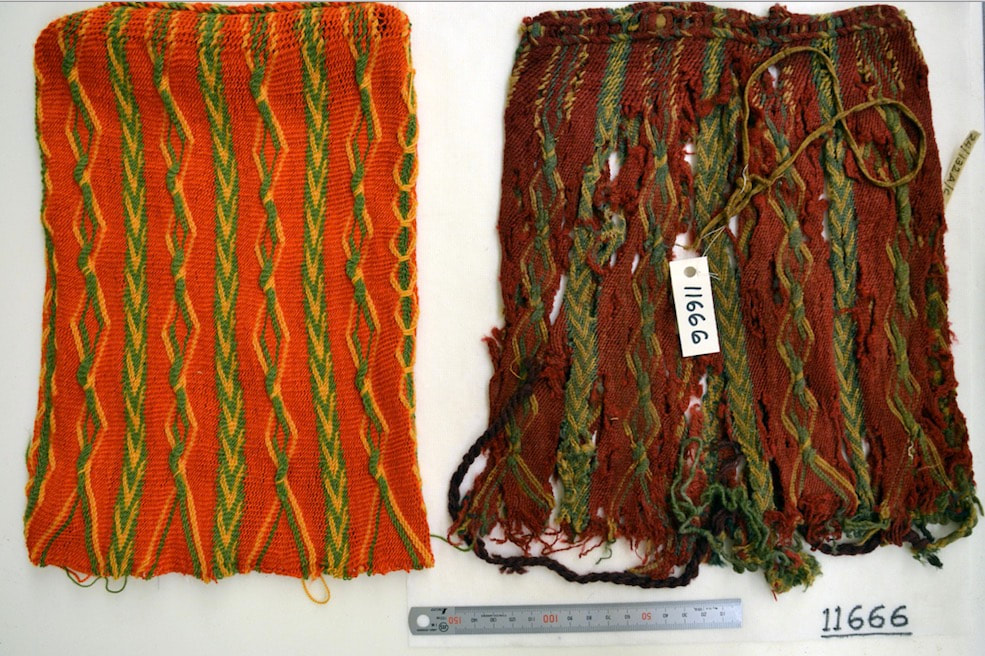 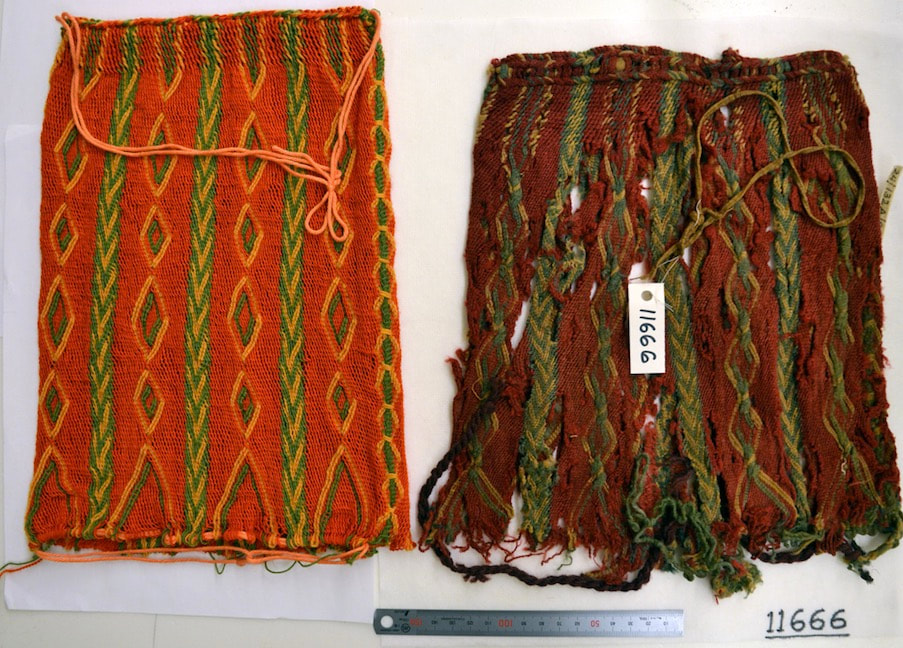 If anyone is interested, my SprangLady website contains three tutorials that take you step-by-step, showing you how to do this twining technique on a background of interlinking. And I do still have the specific pattern for this bonnet.
I set out to make a new sprang top. In the past I'd say the choices are a V-neck, a boat-neck, or you cut out a hole for the neck. Last spring I made a shirt comprised of ten separate pieces of sprang. I was using 'estate yarn' (yarn of an unknown age and unknown fibre content). 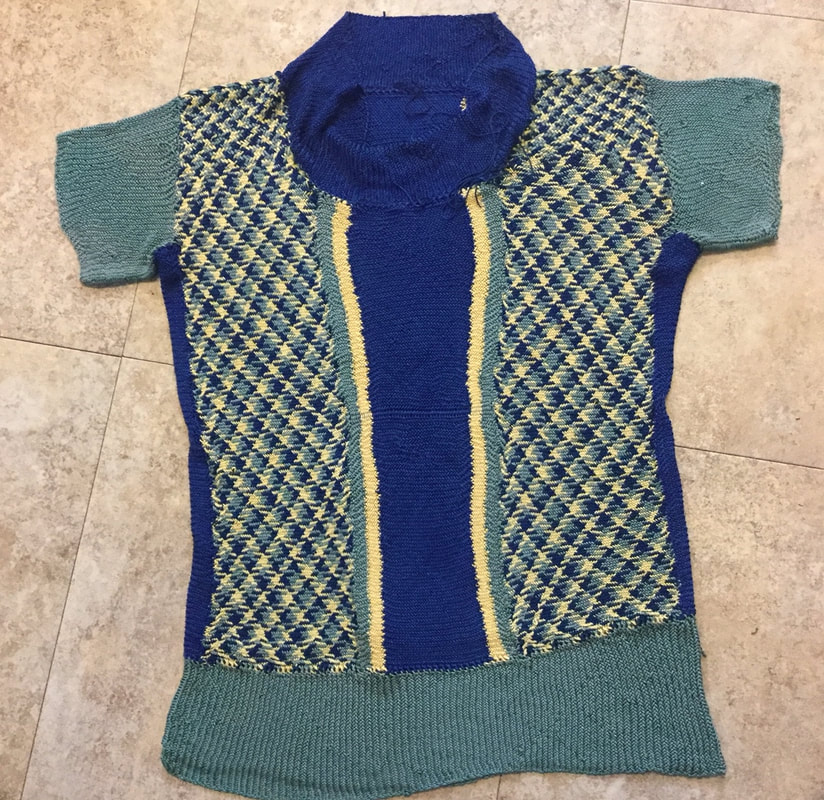 While I like the shirt, some of the threads are shattering ... the shirt is not standing up to wear. So I need another one. I purchased new yarn, nine skeins of Berroco Mixer, and made up nine pieces for this new shirt. 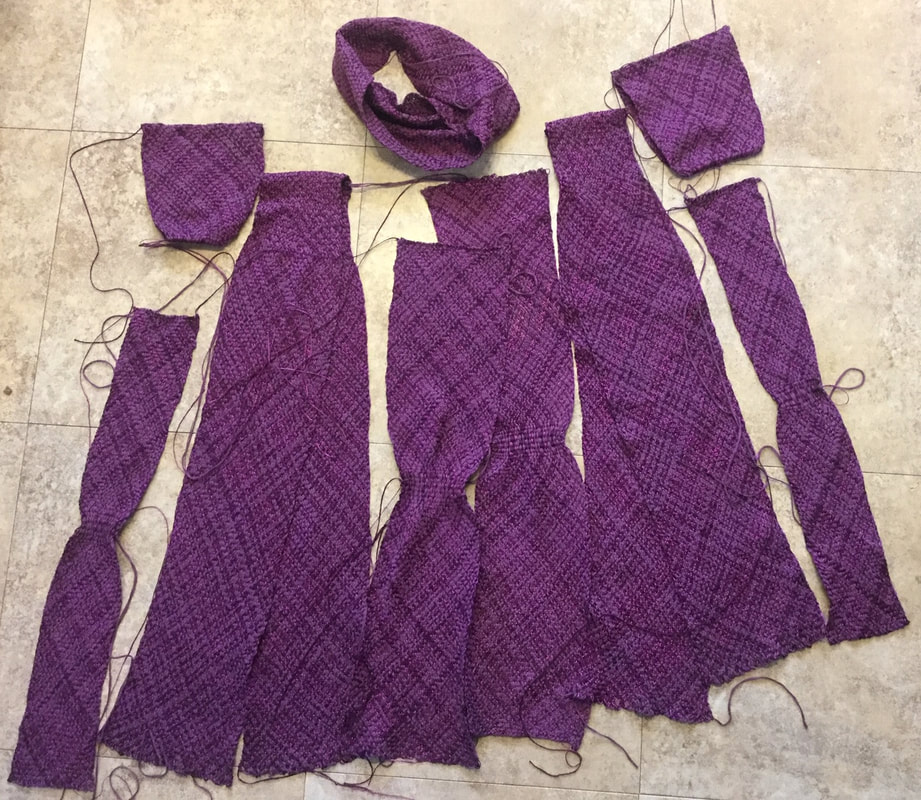 Although it might seem overwhelming to set out to make nine pieces, it's no worse than knitting a sweater. I made a center-front piece and a center-back piece. These pieces start at neckline and hem, and work to a place somewhere near the waist. There are two pieces that go over the shoulder, working from hem to hem, and meeting at the shoulder. I also made two pieces, one to go under each armpit ... worked from armpit and hem towards the waist. These pieces were all flat warp. There are three circular warp pieces, two sleeves and a collar. Assembled together, they make a shirt. 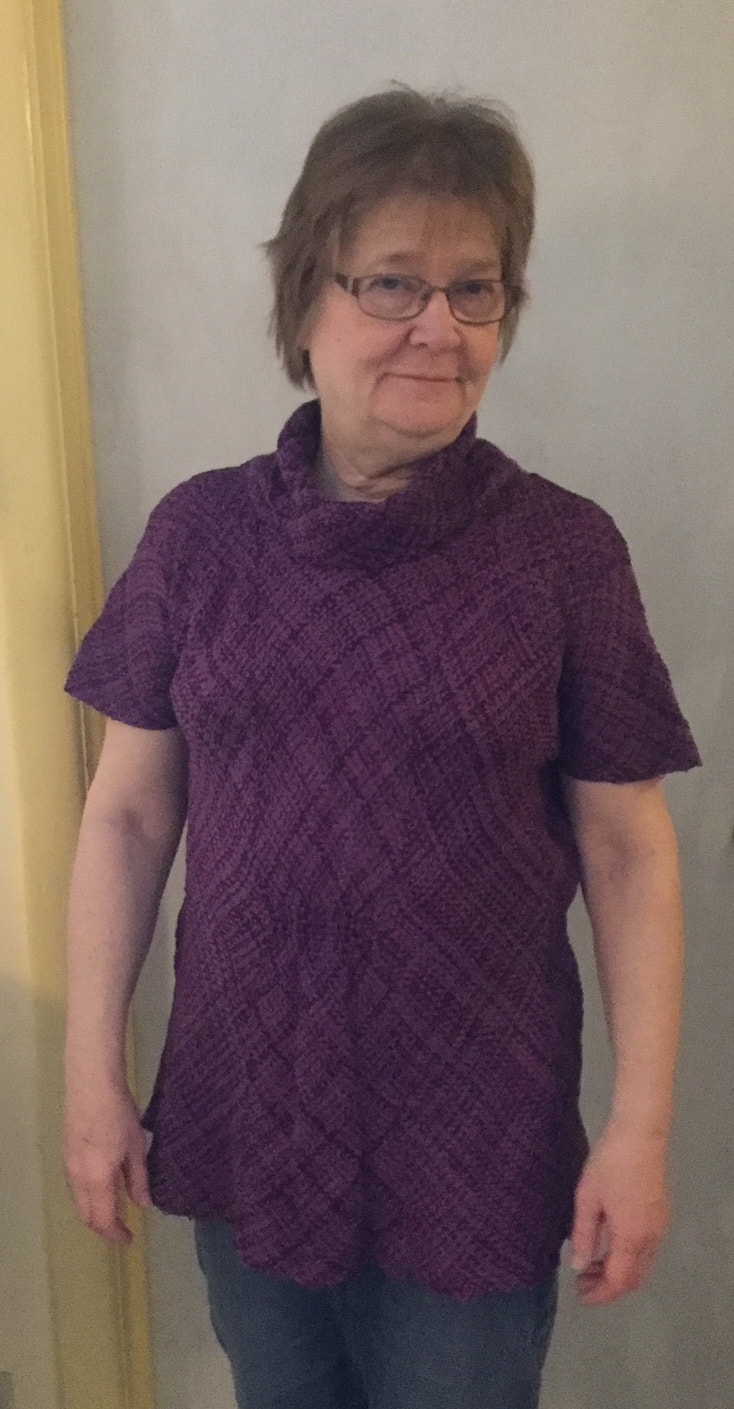 The basic stitch is a 2-2 twill, it has a comfortable amount of stretch. The Berroco is a mix of cotton, polyester, viscose and nylon, so I'm hoping it will stand up to washing and wearing. 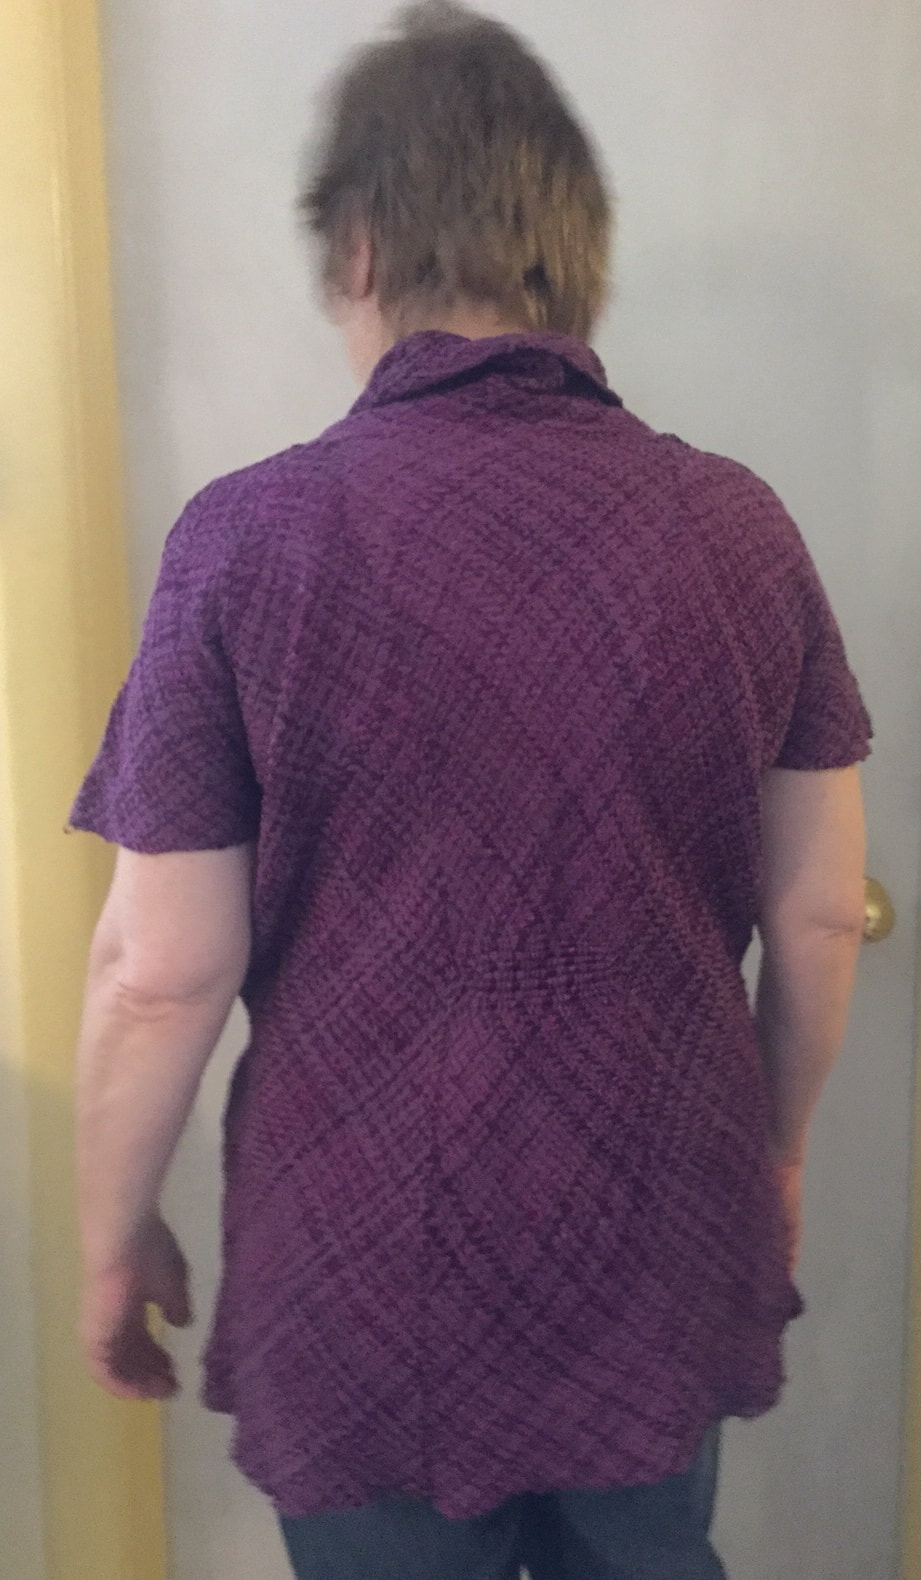 No need to hem this material. The pieces have selvedges all around.
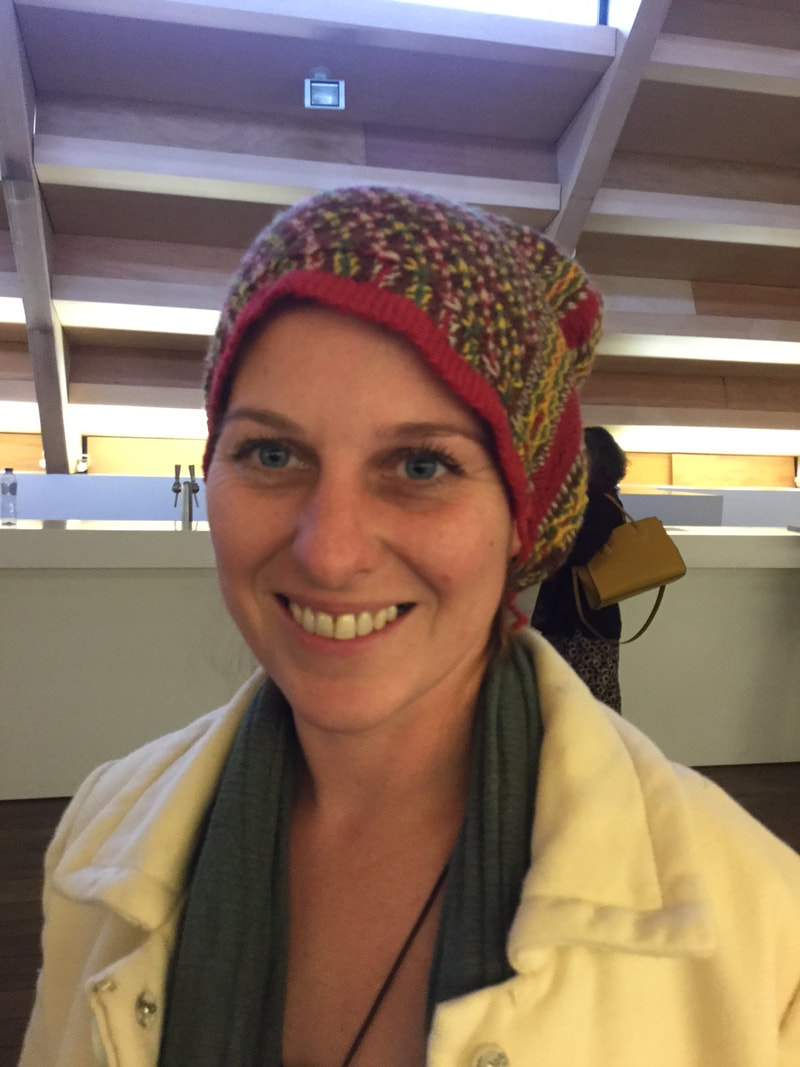
The Textiles of the Nile Valley Conference is held every two years in Antwerp, organized by Antoine De Moor, Petra Linscheid, and Cäcilia Flück. I arrived in Antwerp at the central train station ... a truly beautiful building. 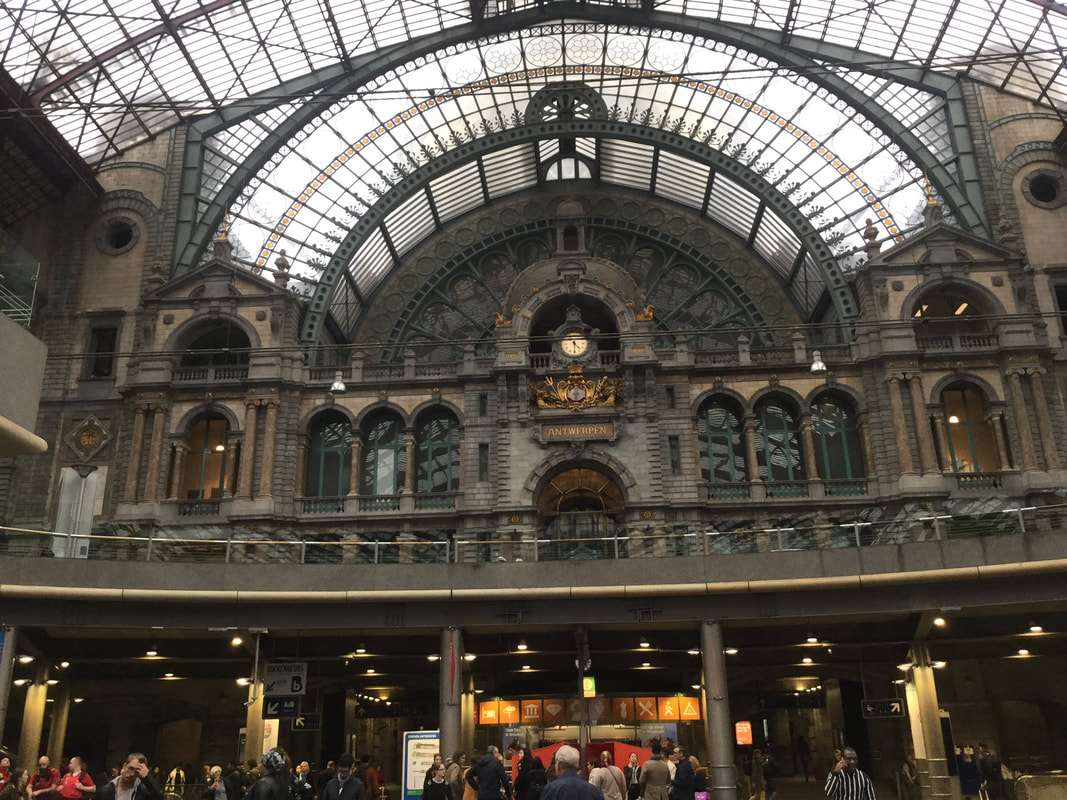 The conference is held at the headquarters of KatoeNatie. This is also the location of an amazing collection of Coptic garments. I presented a paper along with Ines Bogenspurger and Julia Galliker on the subject of textiles found in the ancient town of Karanis. My part of the research had to do with examining and reconstructing bonnets from the collection at the Kelsey Museum. 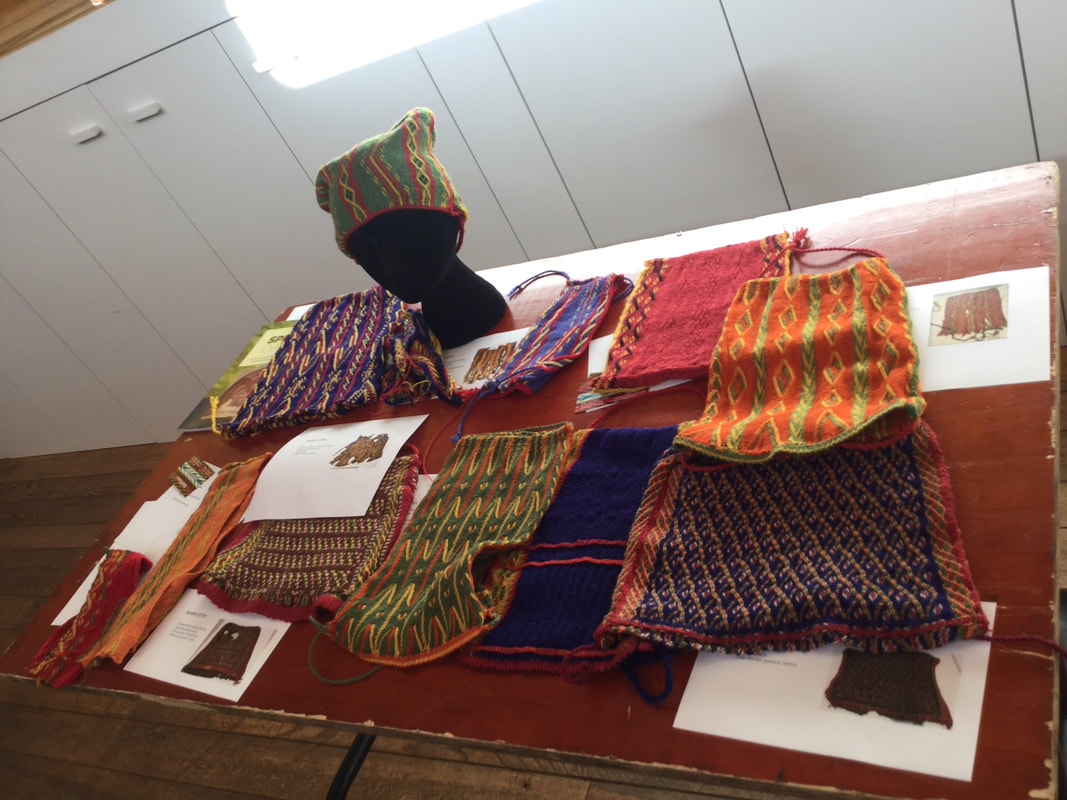 I set up a display of reconstructed bonnets from the Kelsey and Krefeld collections. I invited participants to touch, and to try them on.
Curators and scholars were very happy to be able to touch and e explored a variety of ways to wear these bonnets. 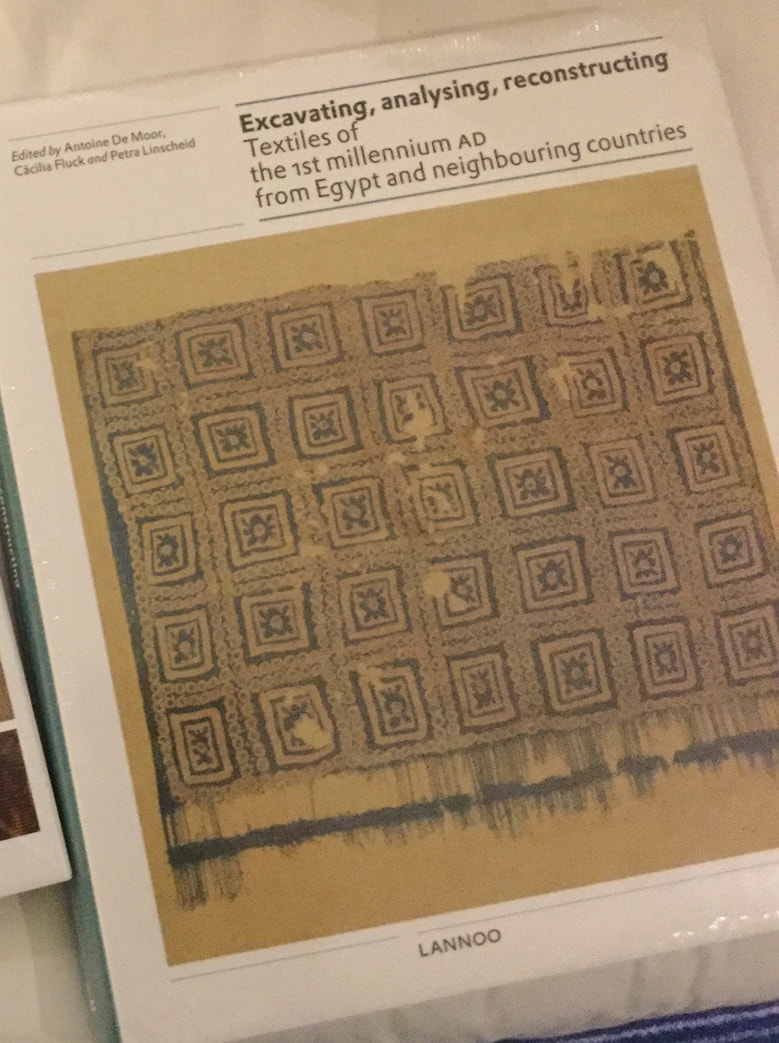 Proceedings from these conferences get published in a lovely, full-color book. My paper from 2015, presented with Fabienne Medard, appears in the volume we received at this year's conference. Yes, this year's papers will be published in a volume that will be released in 2019.
En route to the British Museum, I stopped off to visit a friend who lives near Sheffield. I met Andy and Elaine a few years back. Elaine really wanted to know more about sprang. They were, at that time preparing to participate in an event, re-doing the battle of Marathon in Greece ... he was going to be one of the bad guys. I made him a pair of leggings, appropriate to the time period, and based on research by Dagmar Drinkler. 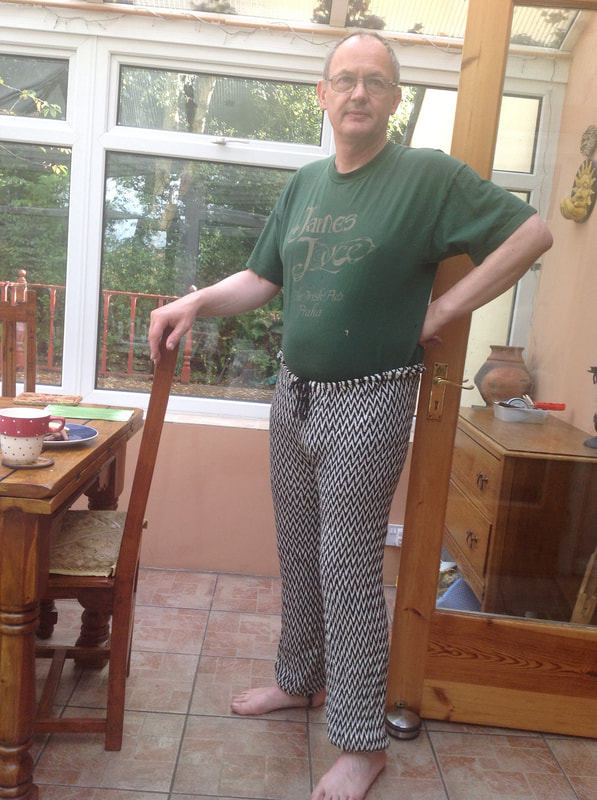 It seems that Andy has worn these leggings to several events. Imagine my surprise when I read on the internet that sprang is not at all suitable for leggings! Andy showed me a post indicating that, with one broken thread, the pants will fall apart. This, I thought, is the perfect moment for a bit of testing, some experimental archaeological if you will. Andy allowed me to cut a thread in his leggings. To make it a fair test, I cut a thread at the knee, a place that would be affected by movement of the leg. 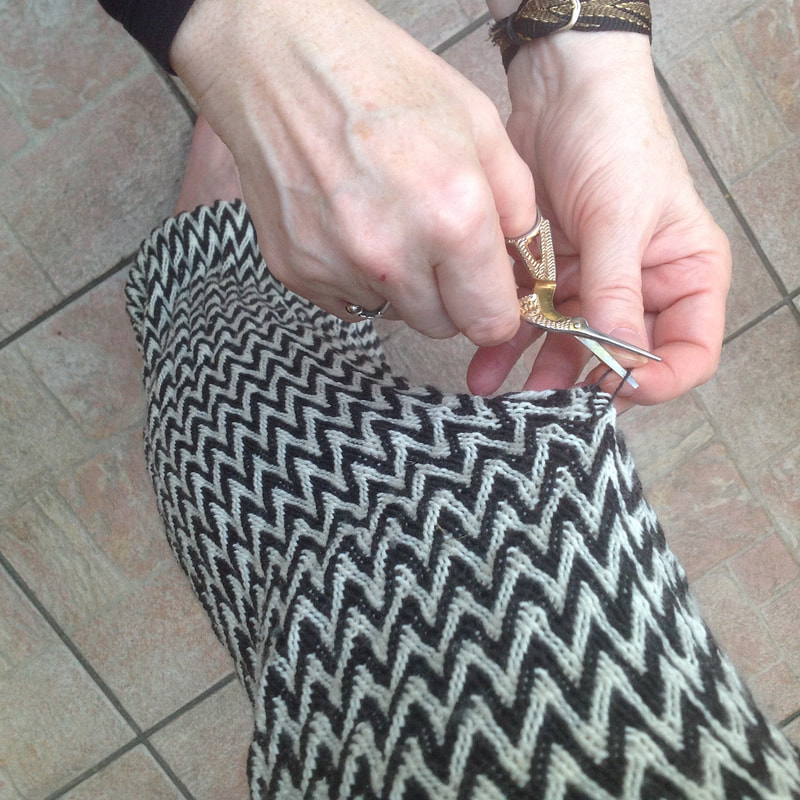 Andy took a picture of me cutting the thread just in front of his left knee. 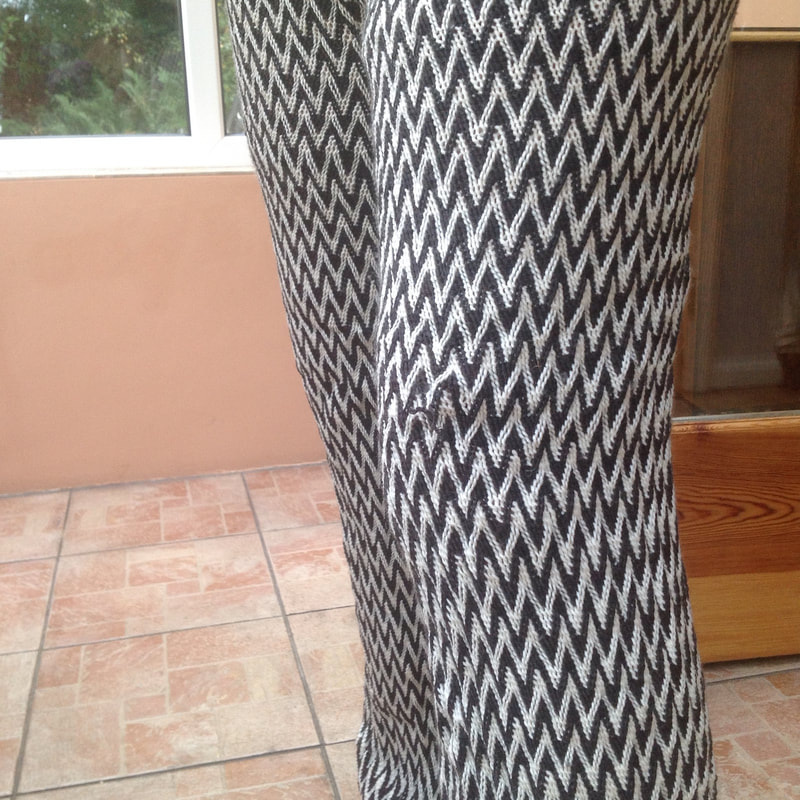 Here you see the broken thread at the left knee. Andy then went outside to do some work in the yard. 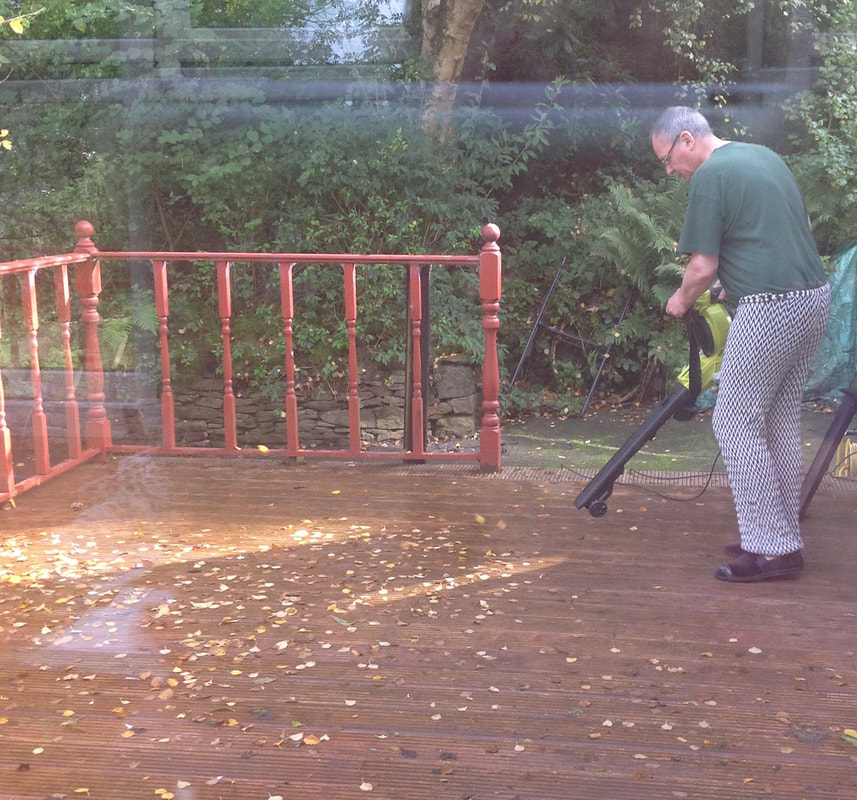 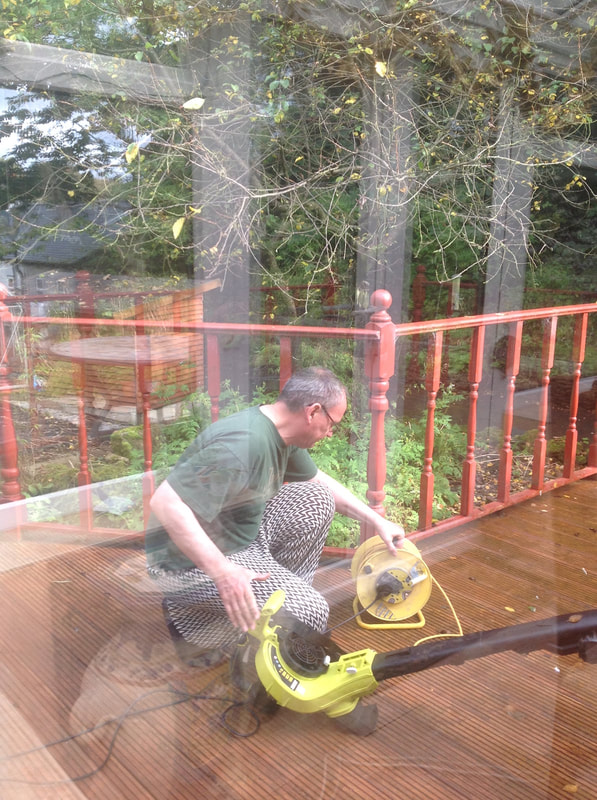 He cleared his deck of the leaves, and tended to his leaf-blowing machine. His leggings stayed on the entire time ... no falling apart ... no falling off. Indeed no increase in the size of the hole. The wool threads stayed put. 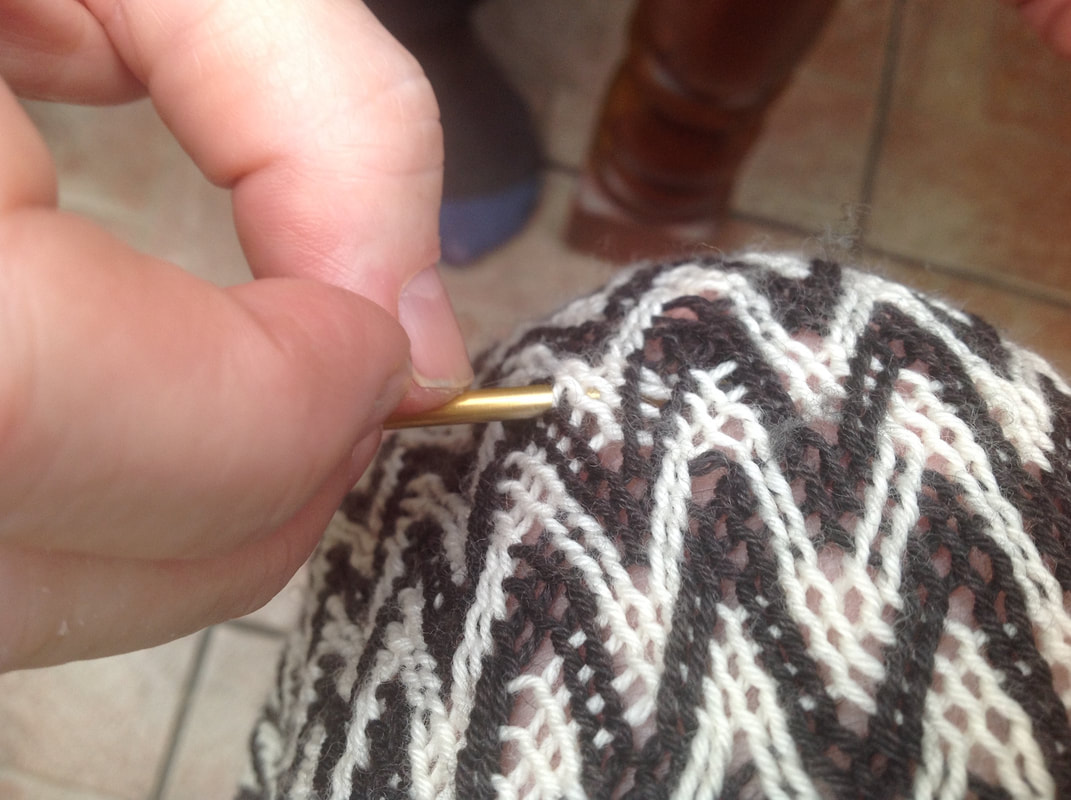 Wool has a certain 'grabbiness' to it's surface, and the wool sock-yarn that I had used to make the leggings is no exception. Yes, I've seen silk sashes in museum collections with long vertical slits, where a thread broke. The slipperiness of silk as well as the simple interlinking structure would allow a slit to develop ... but the slit will only open up so far. At some point the length of the cut threads will, itself, prevent further un-doing. The structure of the zig-zag pattern in these leggings also helps prevent un-doing. I repaired the damage I had caused, tied a knot to mend the cut ends, and tucked the knot to the inside of the leggings. 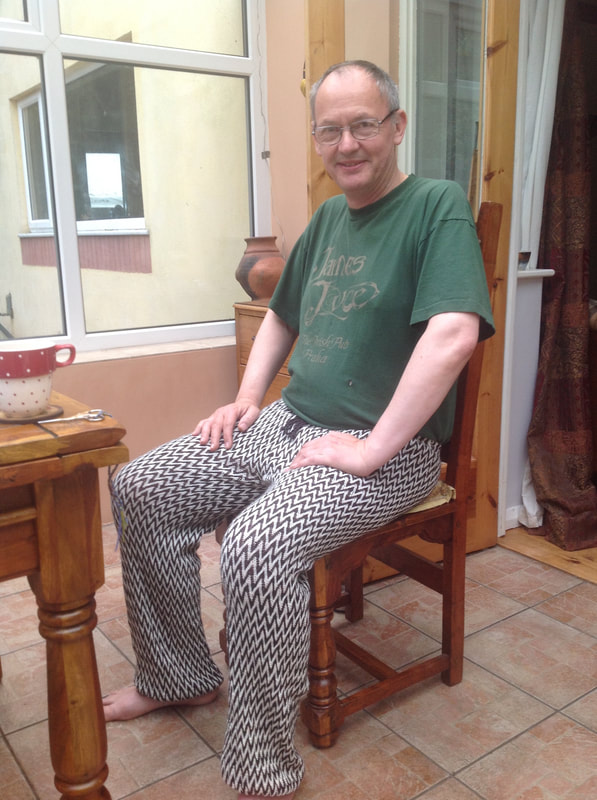 The damage is now repaired, the knot almost imperceptible.
A big Thank You to Andy Cropper for permitting me to carry out this test. |
Categories
All
Archives
May 2023
Categories
All
|


 RSS Feed