|
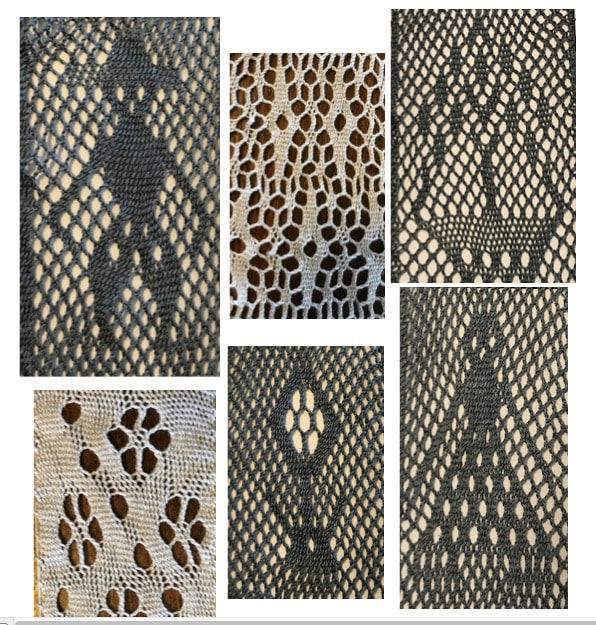
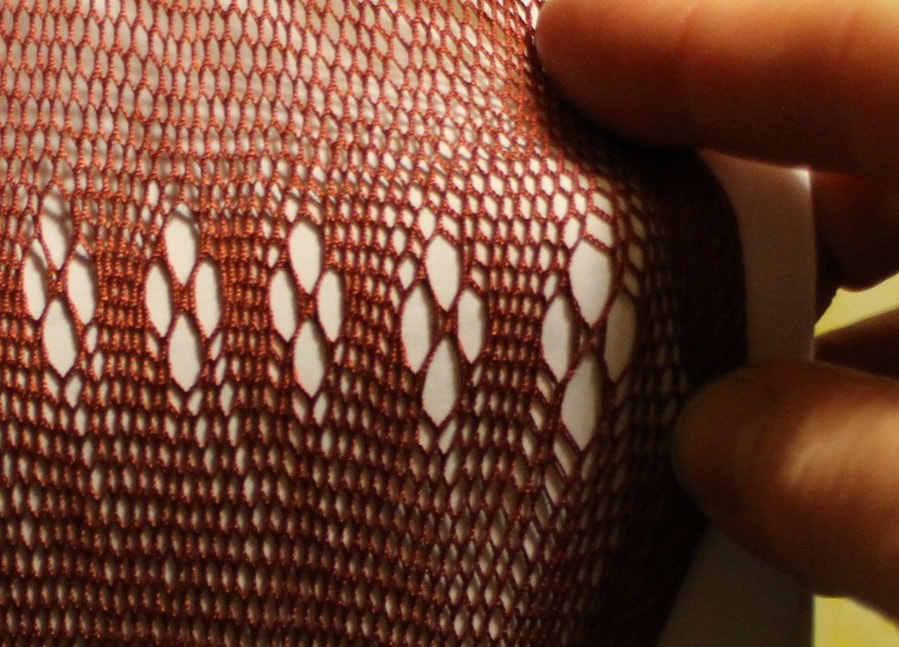
Since I've got time on my hands, all travel plans cancelled, I figured I should put my efforts to a project worthy of a great deal of time ... all those lace patterns. I've seen sprang lace in a number of collections, have photographed them, and have made some samples. Now is the time to sit myself down and to go through these, one by one, and render patterns that will be read-able to others. The inspiration for these patterns come from several sources. There's that book of sprang sashes, repaired by Coby Reijndeers-Baas, sashes with all manner of designs, people, boats, deer, mermaids, and a variety of geometric designs. Then there is that collection of lace from the Cinquantenaire Museum in Brussels that I visited back in 2013. Other lace patterns come from pieces in the British Museum, the Victoria and Albert Museum, the Petri Museum, and assorted other collections.
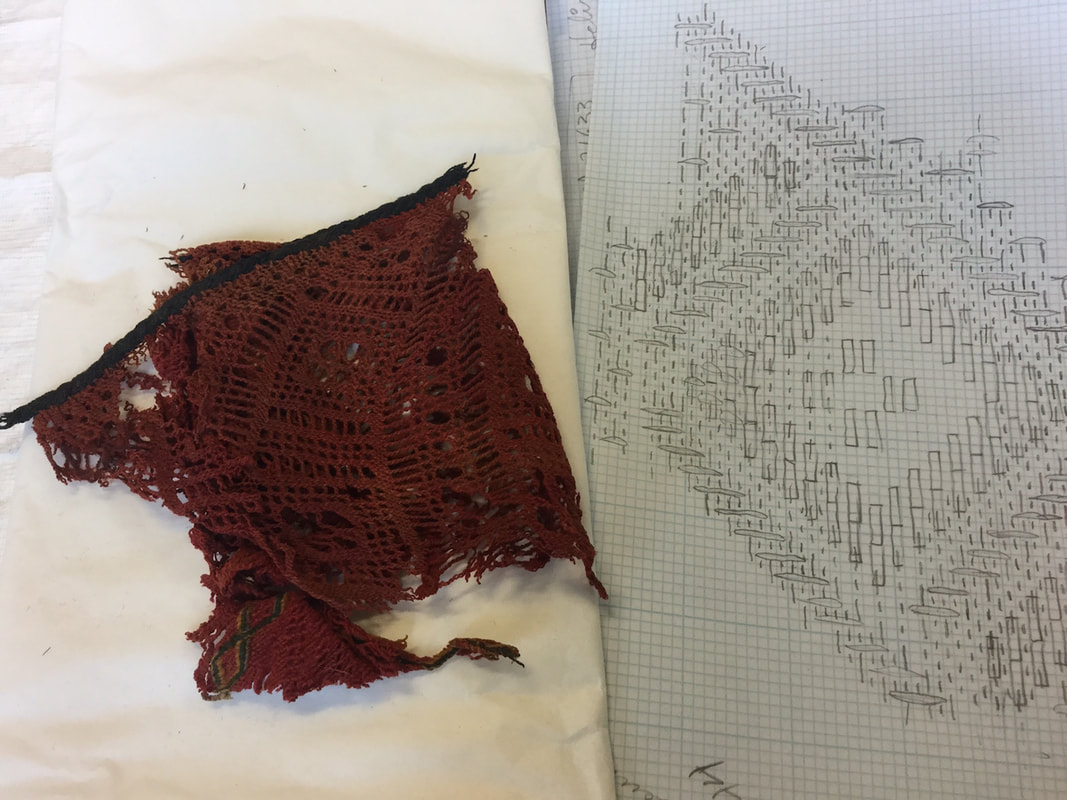
I'm working on putting the patterns onto a grid, so you'll have a grid pattern. From that grid, I'm deriving a "written pattern" that will read "right-edge stitch, 3 plain stitches, left-edge stitch". Having done that, I then set up a warp and make an actual sample, to check my pattern, and to be reasonably sure that the pattern is correct. I'd be very happy to have others check these patterns. If you're interested, send me a message by commenting on this blog, or to the "contact me" on this website.
5 Comments
For those of you in Western Canada, or NorthWest USA, the Maiwa School of Textiles will host two sprang classes, the first runs April 15-16 focusing on an introduction to sprang ... no experience necessary. Immediately following that there is an intermediate sprang class scheduled for April 17 - 19. The intermediate sprang class will examine topics such as twining patterns, circular warp, lace, and more. For more information visit the Maiwa School of Textiles Website
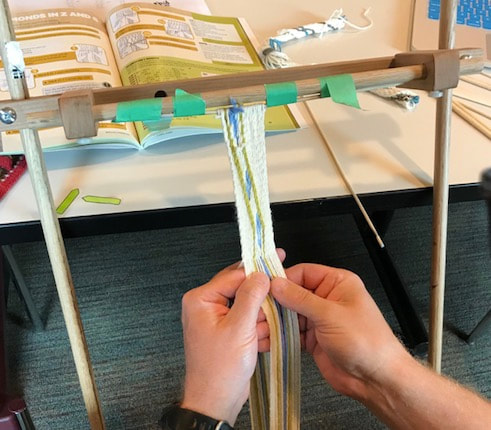
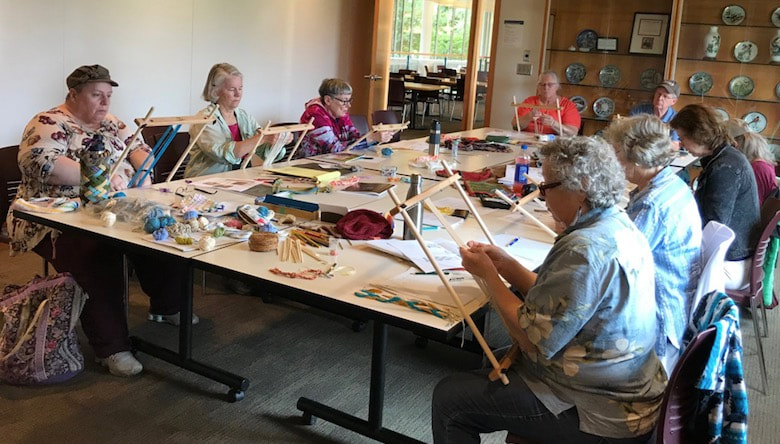
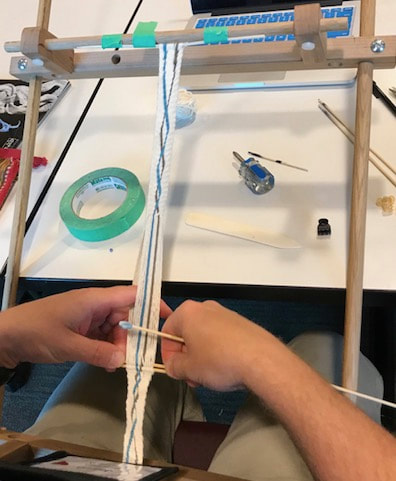
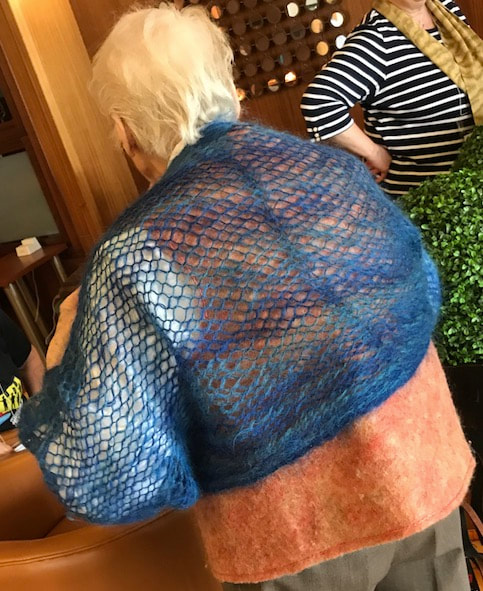
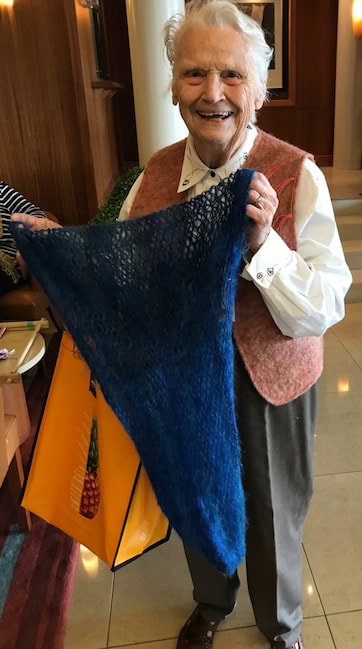
https://www.schooloftextiles.com/2020-spring/introduction-to-sprang https://www.schooloftextiles.com/2020-spring/intermediate-sprang I understand that there are still a few spots available. .I've been travelling, teaching in Quebec and Iowa. It's lovely to meet people, share what I know, and learn from so many talented people. As a consequence I've updated the contents of the twining patterns on my website, tweaking the directions, hopefully making them easier to understand. The Midwest Handweavers Conference took place in Grinnell, Iowa recently, and I had the privilege of sharing with several very talented people. One of them, Jason, made it all the way through my twining patterns, and gave me some excellent suggestions. I've now edited those twining patterns on my website. Anyone who has already downloaded them, and who wants an update ... please contact me and I'll send you the new-and-improved version. I taught sprang at the assembly of Quebec Handweavers in St George, Quebec. There I met some extraordinary fingerweavers. I also met Monique Dumas, who had taken a sprang class from Peter Collingwood years ago (her first encounter with someone speaking with a British accent), and who went on to be the very first to teach sprang at the Maison Routhier. She showed me her lovely sprang shrug. My students at my class at Maison Routhier did me proud. Lovely meeting every one of you. I wish you many happy hours of sprang.
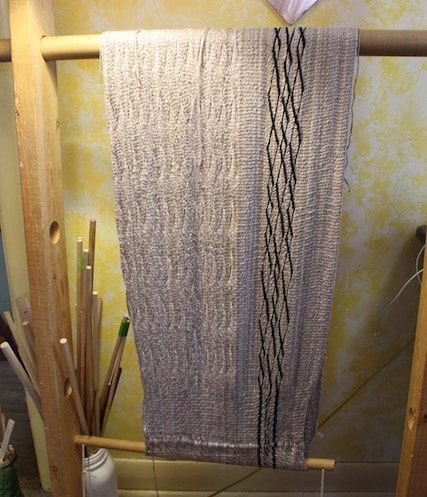
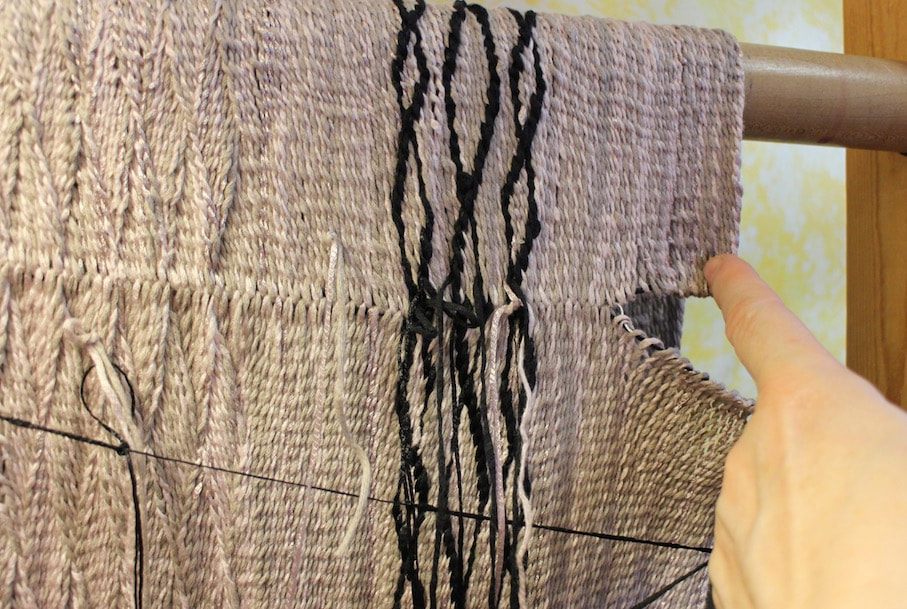
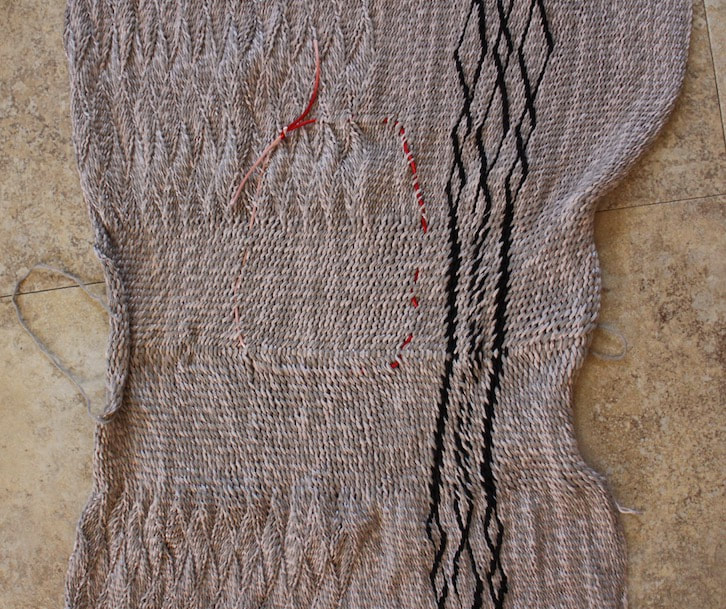
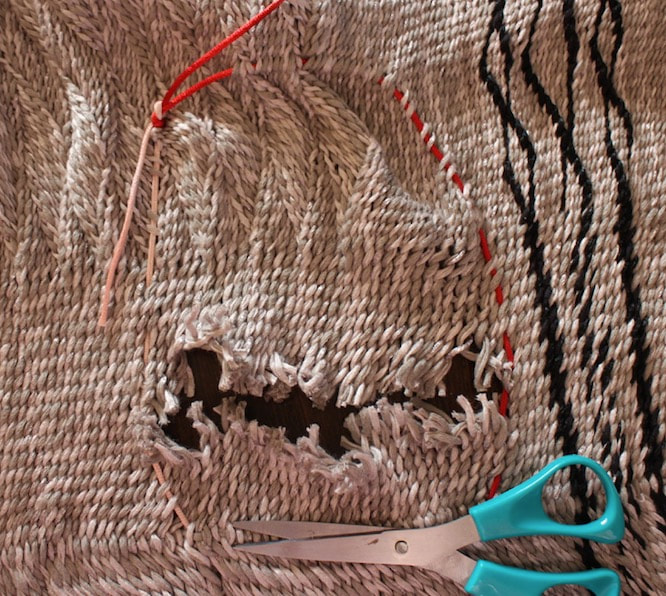
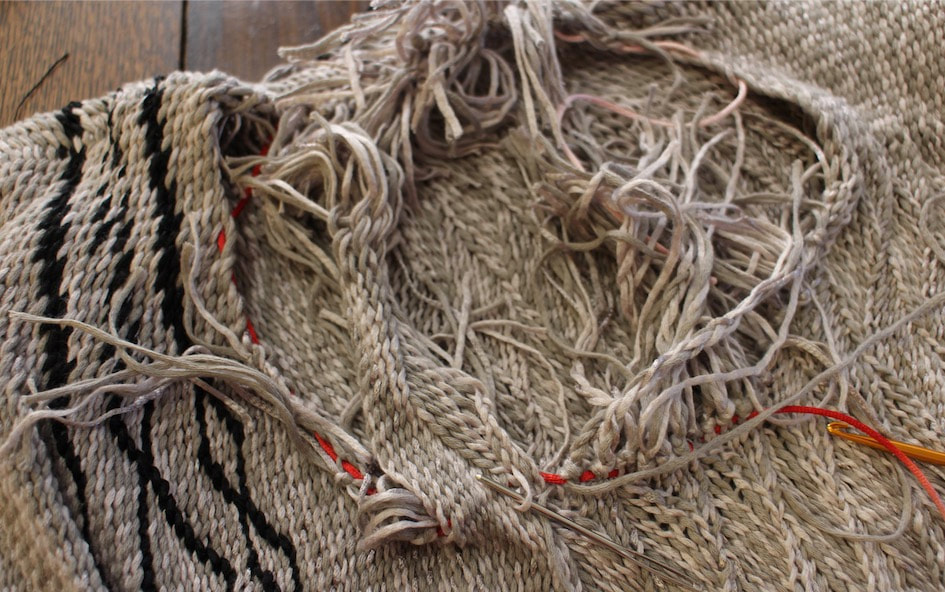
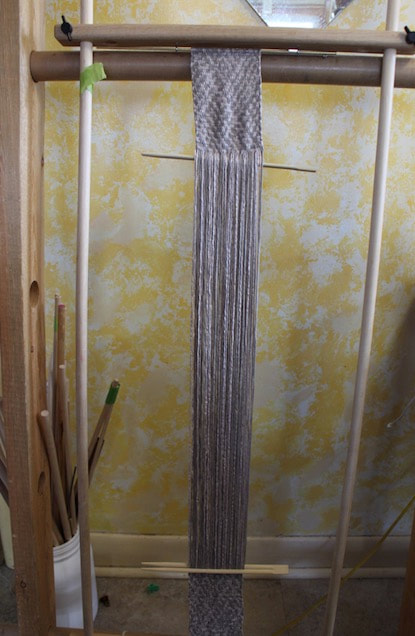
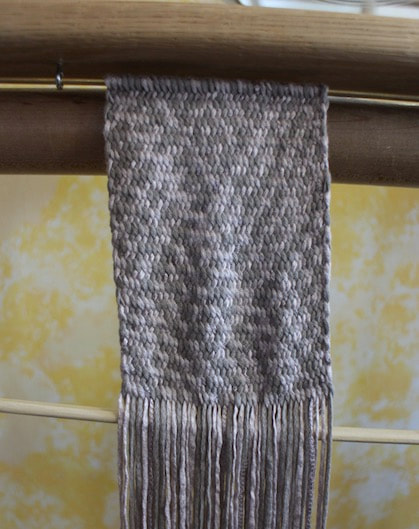
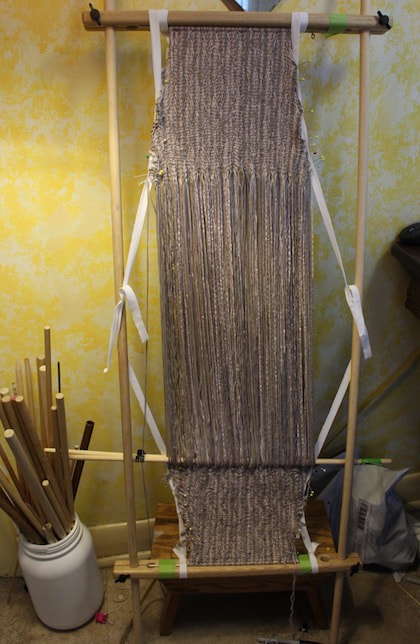
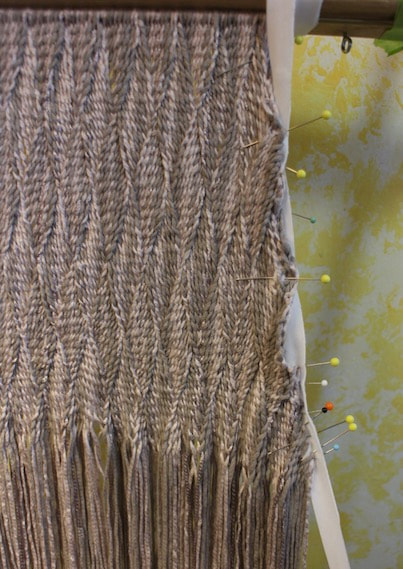
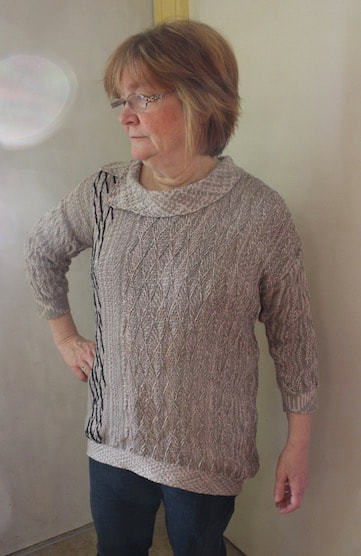
I was talking today with members of a Colorado-based sprang study group. They had some questions, and I was wanting to refer them to a blog post of mine ... and then I realized that I never posted those pictures, never told that story on my blog. So here it is, the making of that shirt that was on display at HGA's Convergence last summer. I have been exploring different ways to create a sprang shirt. The obvious way to create the neckline is to make a slit for a V-neckline. When I did this, I found that there is stress on the stitch at the bottom of that V, and it does not look nice. Because of this, I have begun to look for other ways to create that neckline. This pullover began with a false-circular warp to create a large rectangle for the front and back. The loops will sit near the hem of the garment. There is a chain line at the shoulders. I laid the piece out flat, and traced a circle (basting stitch) with a red thread at the place that I thought should be the hole for the neck. The hole must be as large as the circumference of my head. I then cut across the stitches inside this hole, being careful to leave threads long enough to tie knots. I unravelled the stitches to the place of the red thread, and tied knots. This gave me a neck opening, with unsightly knots all around. I covered the knots with a collar. The collar started out as a long flat warp. I chose a 2-2 interlacing stitch for the collar. For the sleeves, I wanted to try making them narrower at the wrist, wider at the shoulder. To make the cloth wider, you must add threads. I added a loop of yarn every second row. This gave me two sleeves, that are wider at the shoulder, narrower at the wrist. I cut the sleeves apart, and tied knots. The knots are hidden on the inside of the garment.
The finished pullover was judged worthy of the fashion show at the Handweavers Guild of America conference Convergence in 2018 in Reno, Nevada.
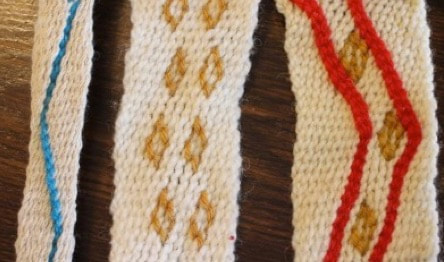
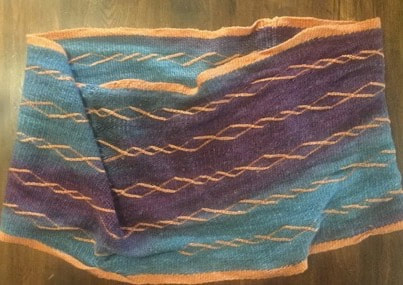
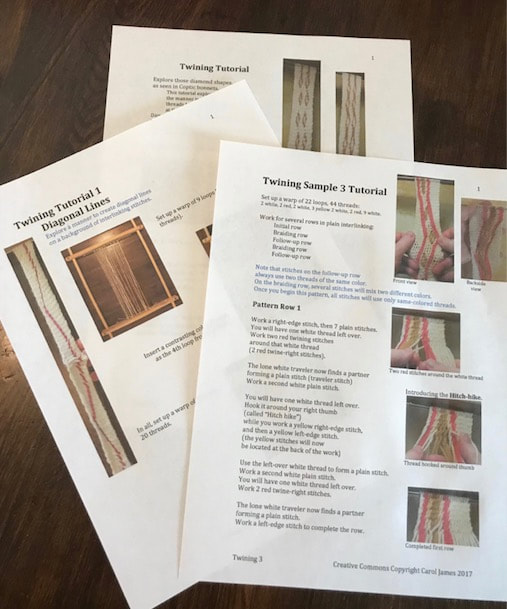
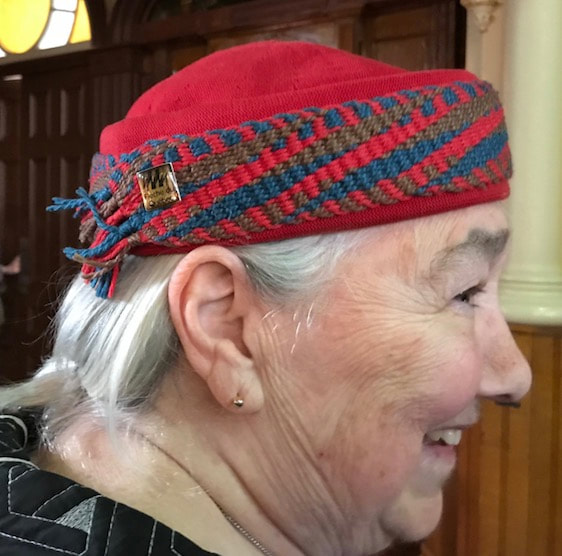
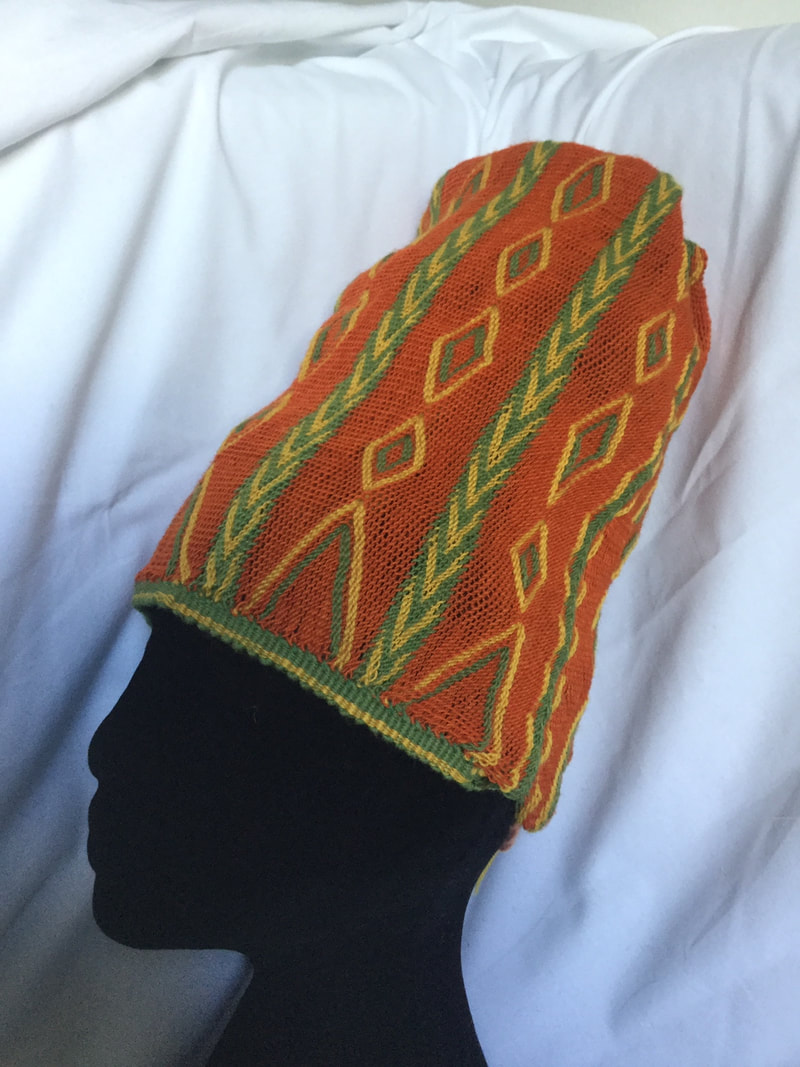
I visited the Kelsey Museum collection in the spring of 2016, went home and worked out the pattern for this hat, and then came back in the summer of 2017. At the occasion of my second visit, I took a photo of my replica beside the original. Actually I took two photos. In one of them, my replica is inside-out. If anyone is interested, my SprangLady website contains three tutorials that take you step-by-step, showing you how to do this twining technique on a background of interlinking. And I do still have the specific pattern for this bonnet.
A while back I met a curator from the British Museum, who invited me to have a look at the sprang textiles in their collection. I took her up on the offer. So, here I am in London, at the British Museum. They've reserved a spot for me in a 'study room' and bring my sprang bonnets to examine. I've been writing out the patterns ... and I've informed the curator of my plans to publish these lace patterns. Hoping to add them to my book of sprang lace. The historic record is so incredibly rich.
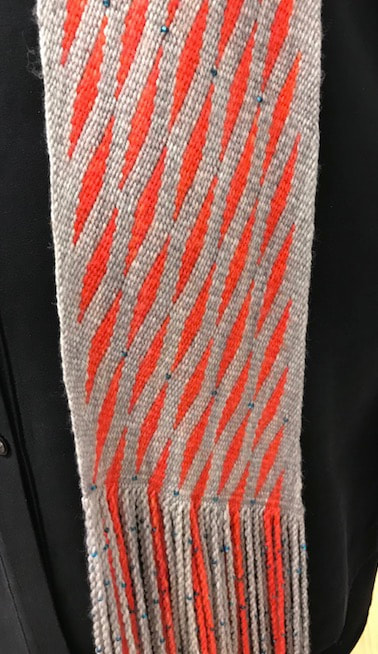
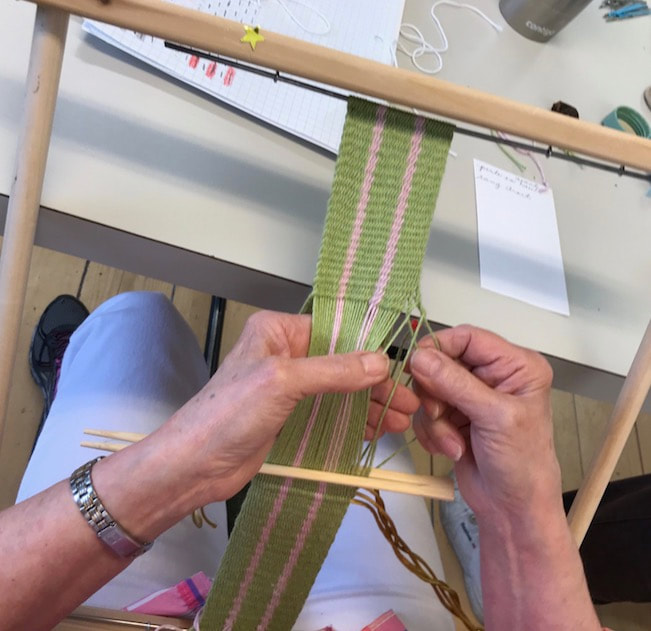
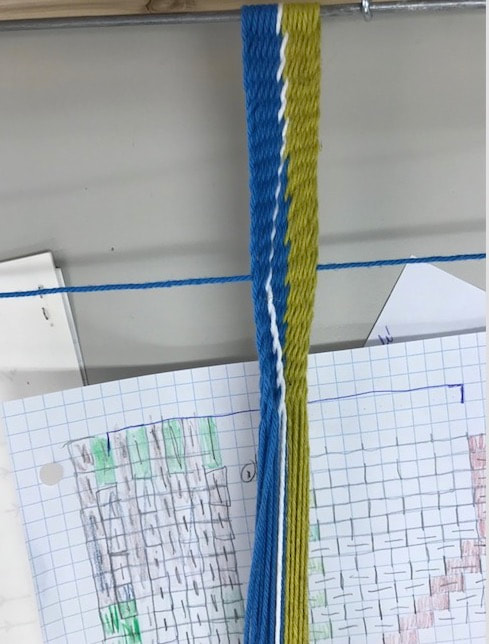
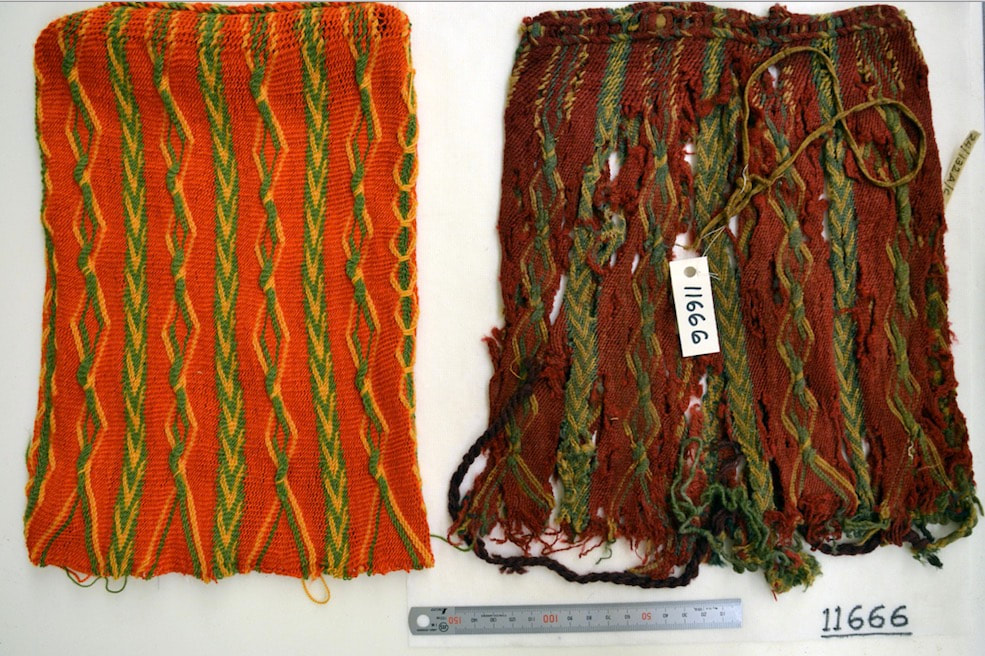
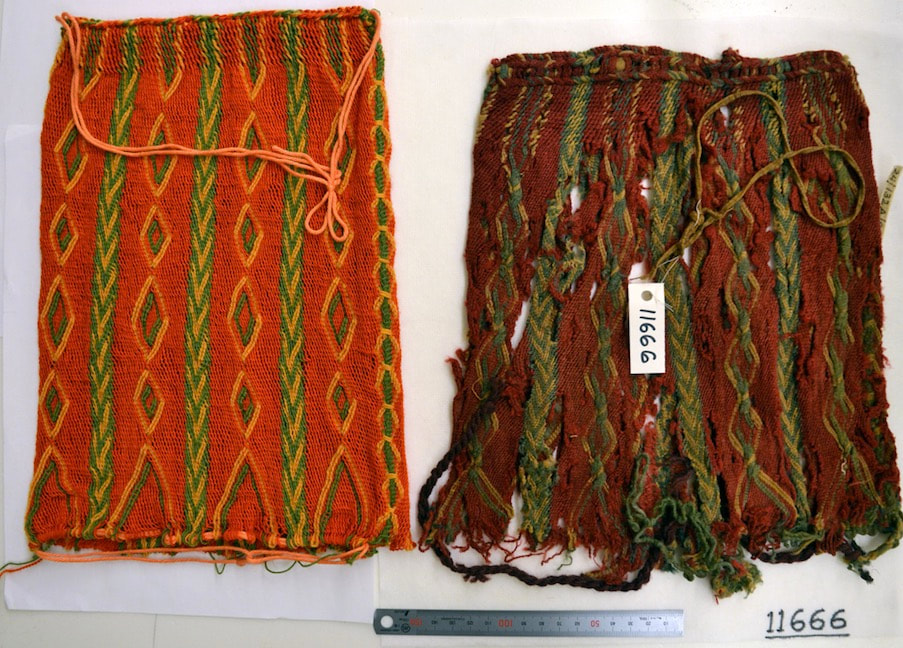
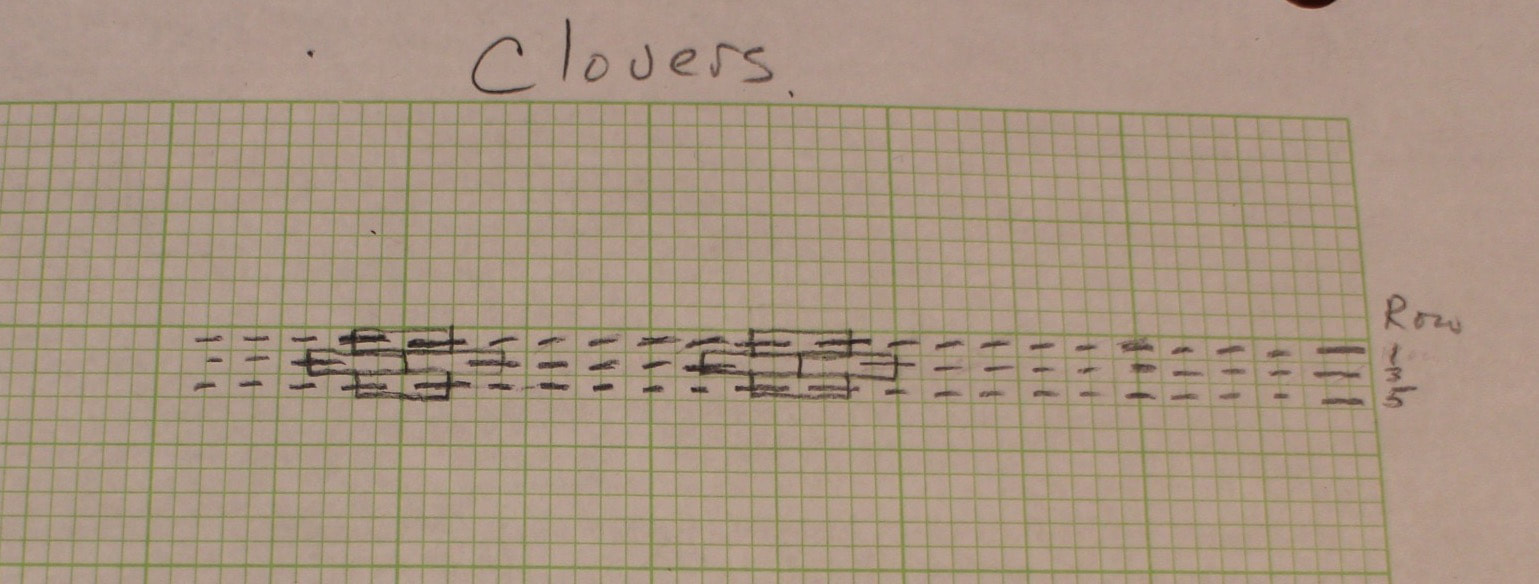
This replica sash has some lovely designs. I am very pleased to see them working out so nicely. I have been playing with sprang designs for several years now. I find that the key to success is the effective use of pattern writing and pattern reading. Much trial-and-error has lead me to a system. Let me share a bit about my pattern writing. I have noticed that I prefer patterns that read in the same direction as the direction of work. Reading and writing English, the common standard is to work from left to right. When I work on a piece of sprang, I start at the right margin, and work towards the left. I have found I get confused when my patterns are written as normal English. I found myself happier, working more comfortably, once I started writing my pattern symbols across the page from right to left, the same direction as my direction of work. Graph paper serves me well. I use one square for each thread. In interlinked sprang the plait row begins with a ‘three-thread edge stitch’. That means three squares. The remainder of the row is stitches that involve two threads, hence two squares. The last stitch will also be a ‘three-thread edge stitch’, again three squares. A practical application? The clover pattern uses three ‘stitches’. These are the regular ‘plain stitch’ that is one up, one down, two squares on the pattern. The second ‘stitch’ is the ‘edge stitch’. This is a stitch that involves three threads, the typical stitch that begins and ends a plait row. The third stitch is what Skrowronski calls a ‘double stitch’ and Collingwood calls 2/2 interlinking. It involves four threads. It is worked in exactly the same manner as the two-thread plain stitch, except that you double the threads, two up, two down. And this is my grid pattern for the clover pattern: Here is a version of that same clover pattern, color coded, to try to be helpful. Right-edge stitches are blue (pick up two, put one down. Left-edge stitches are green (pick up one, put two down. Double stitches are orange (pick up two, put two down). All this to say, that I have been finding my patterns to be serving me well in this replica process.
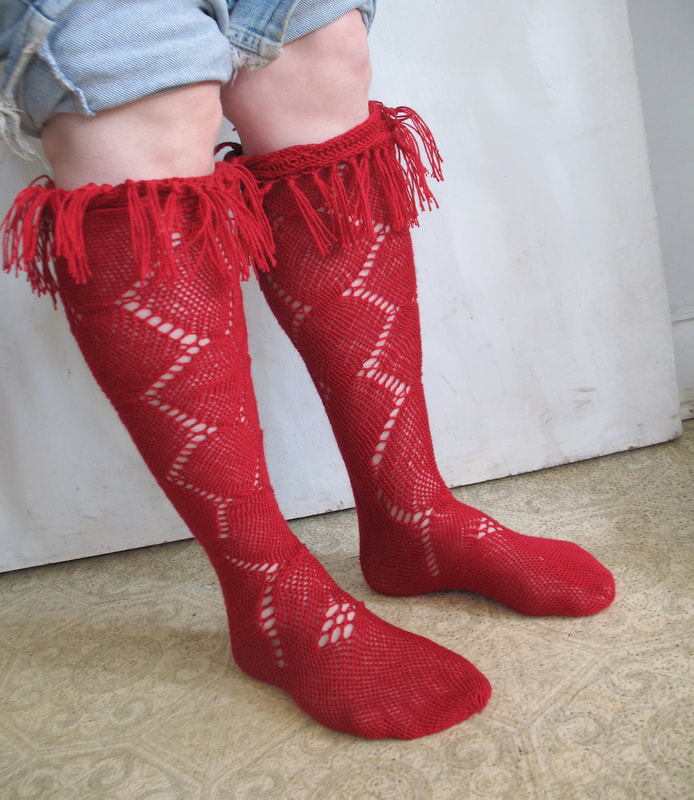
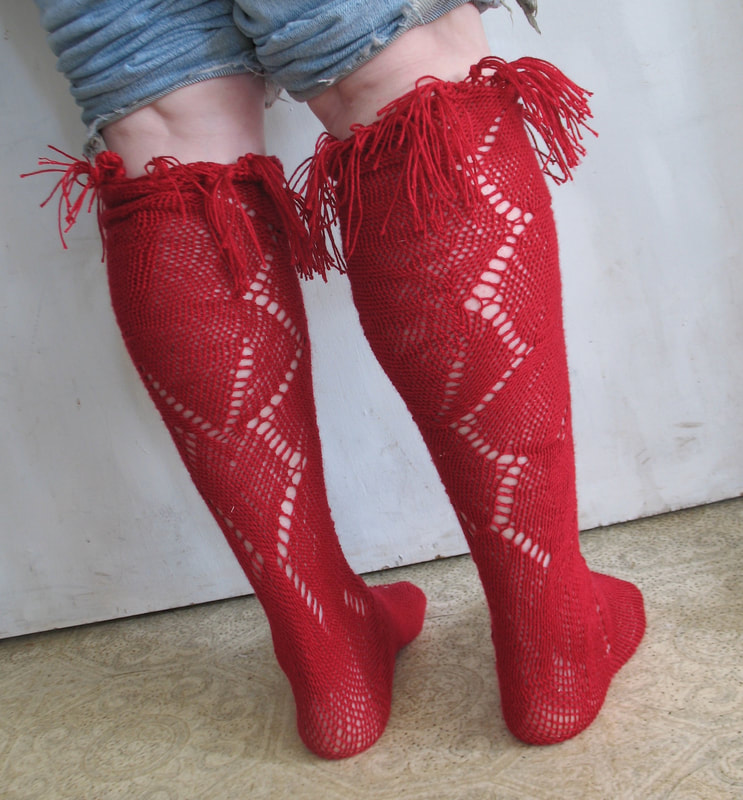
I hope all of this is helpful to someone out there. Quite a while ago I started a pair of socks. The warp’s been hanging off the backside of my kitchen door, waiting while other more pressing projects have attracted my attention. Now it’s time to finish those socks. Now, sprang is quite elastic, but not so elastic that the same tube allows for my ankles as well as for my calfs. Once finished, I confess, I ‘unwove’ a thread at the back, and inserted a ‘gusset’ of more threads. The socks were finished off by tying the threads in bunches of four. I am quite impressed that there is no need for elastic. The socks stay up just fine without elastic at the top
|
Categories
All
Archives
May 2023
Categories
All
|


 RSS Feed