|
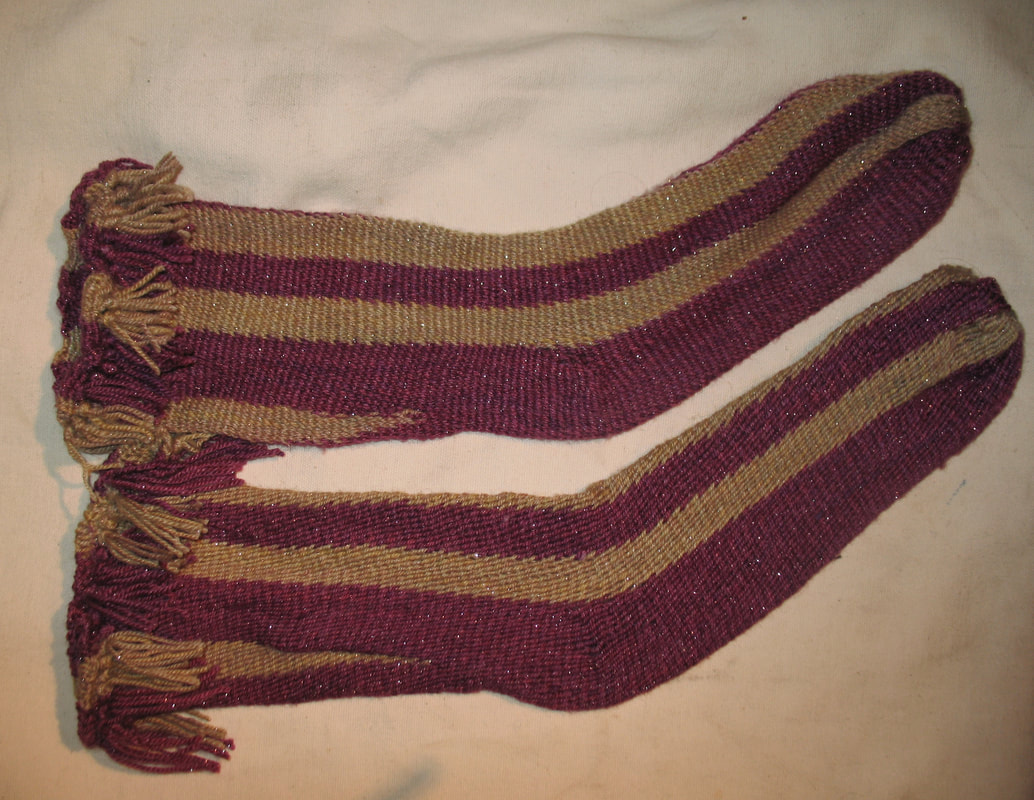
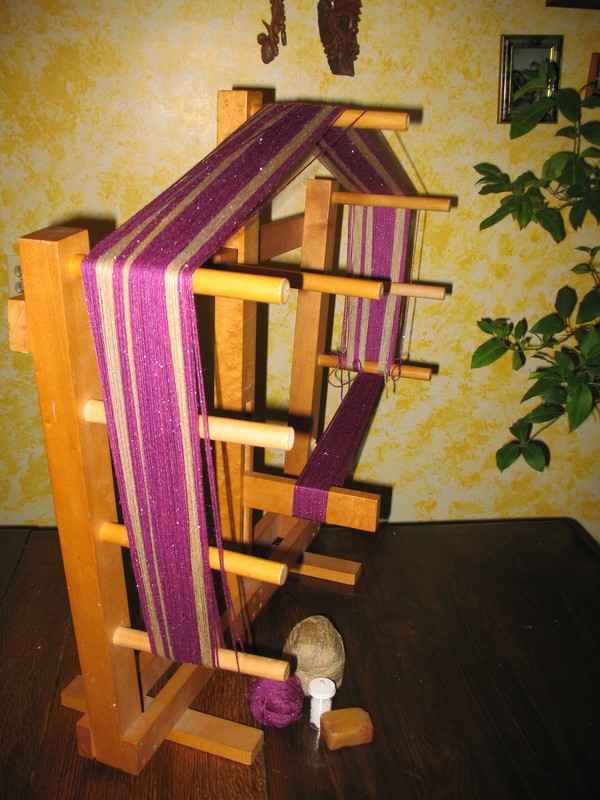
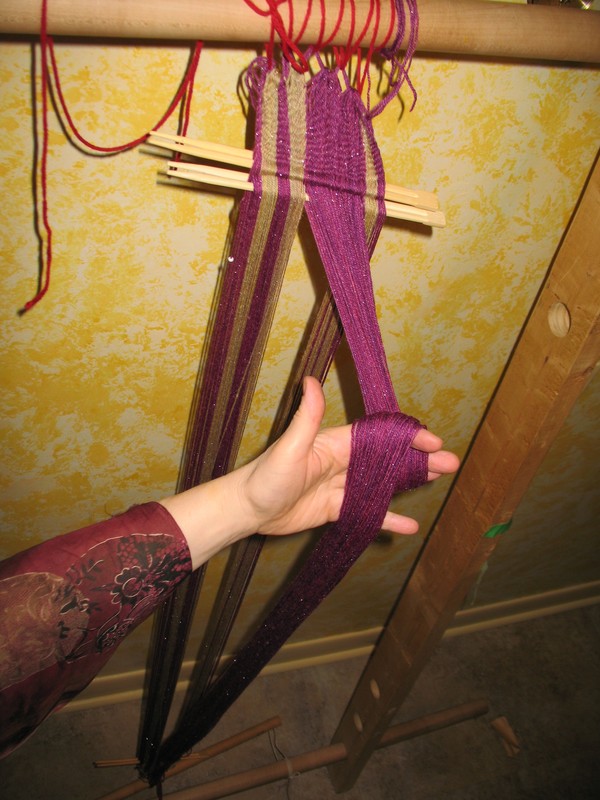
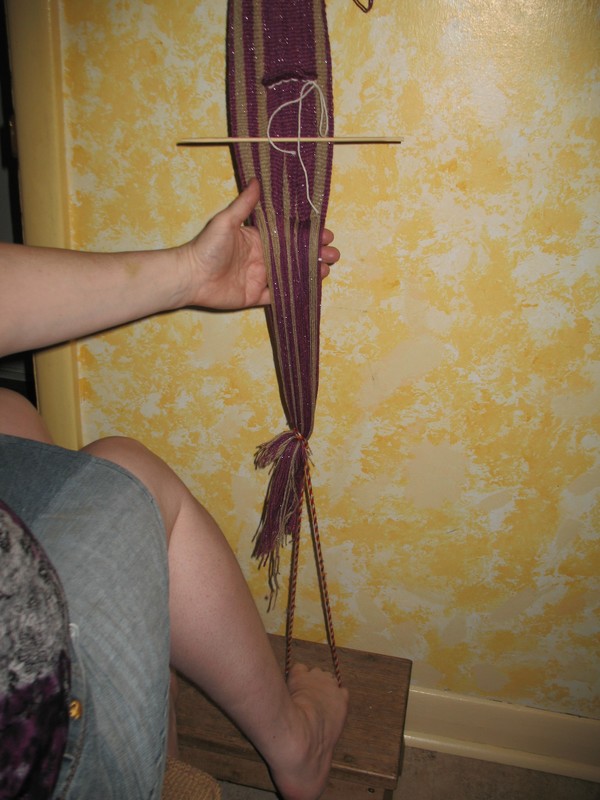
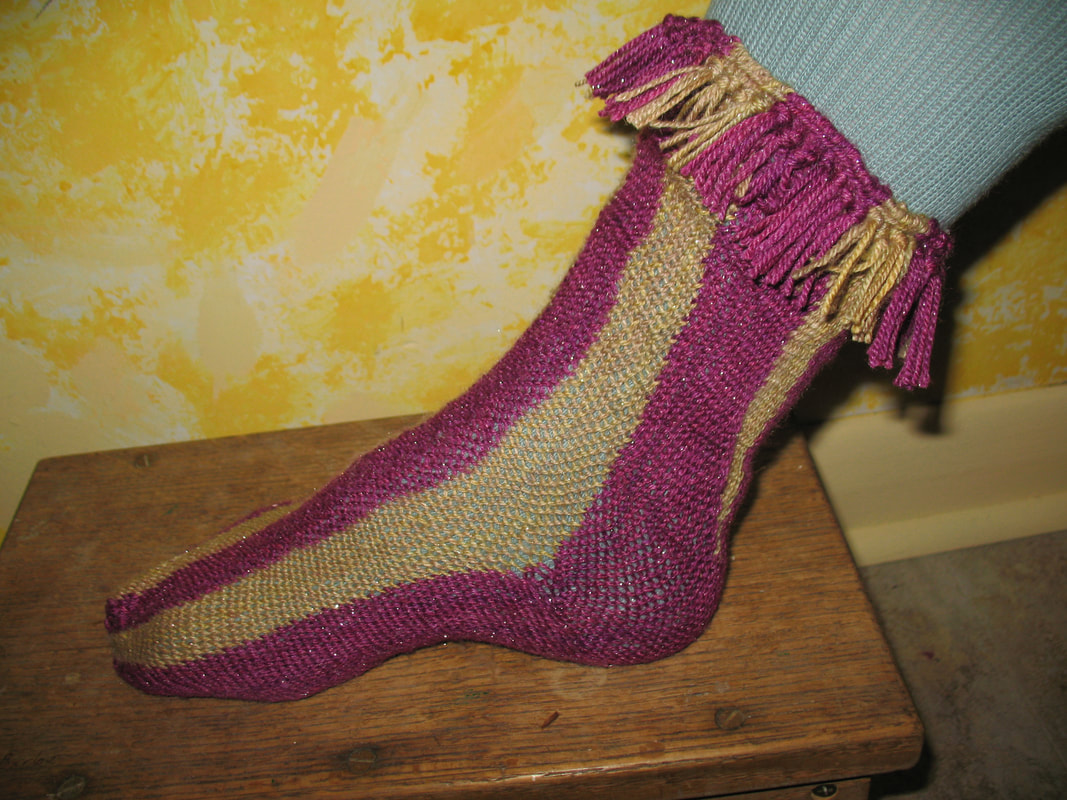
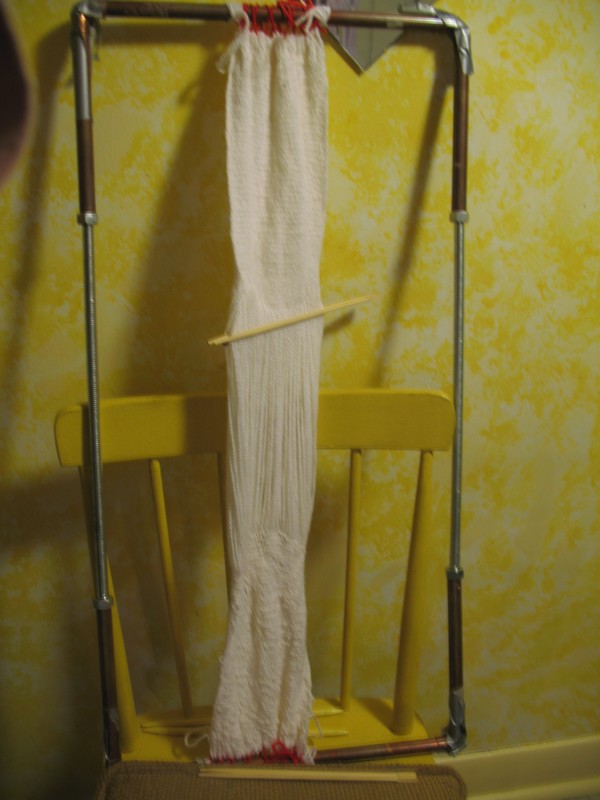
Trying another method for a pair of socks using sprang. Here are the socks: How did I do this? I figured I’d measure out a warp with extra length in the strings that would be the sole of the foot, and more importantly, the heel. I thought I’d just have two passes each time I shoved the shed, once with the shorter strings for the top of the foot, and once for the sole threads. It’s been a real pain to work on this sock. The strings for the top of the foot go just fine. The extra long threads for the sole and heel are a Royal Pain. It’s been all afternoon and I’ve only woven two inches. Now I see that the finished cloth is pretty uneven. I’m ready to cut this into two, work the socks one-at-a time as free-end sprang. Work went much more smoothly, working ‘free end’. The top is tied to a hook in the wall. I secured the cut ends with a loop knot, and held them down with my foot. Each row, I pulled out the ‘falseweave’. You might be surprised how easy this is. And voilà, the completed sock: For those who want to know, I used a wool blend ‘sock yarn’. Knitters will understand the concept of ‘short rows’ to form the heel. In this piece I also explored adding strands at the ankle, at the back of the leg. Yes, sprang is stretchy, but I figure that if I’m eventually going to make a sock that goes up to the knee, I might want to add strands to allow for the difference in circumference ankle to calf.
Interested in more details? How do you do sprang? What’s this loop knot? How do you get the colors to work? How do you do the heel? It’s hard to answer just one question. Best to start at the beginning and work all the way through. Know that I’m writing a how-to book, step-by-step from the beginning. There will be Lots of detailed patterns. The first draft is already making its way through layout. I’m bound and determined to have this book in print by April 2011. At the same time I’m still open to comments, requests on what you really need to have explained.
0 Comments
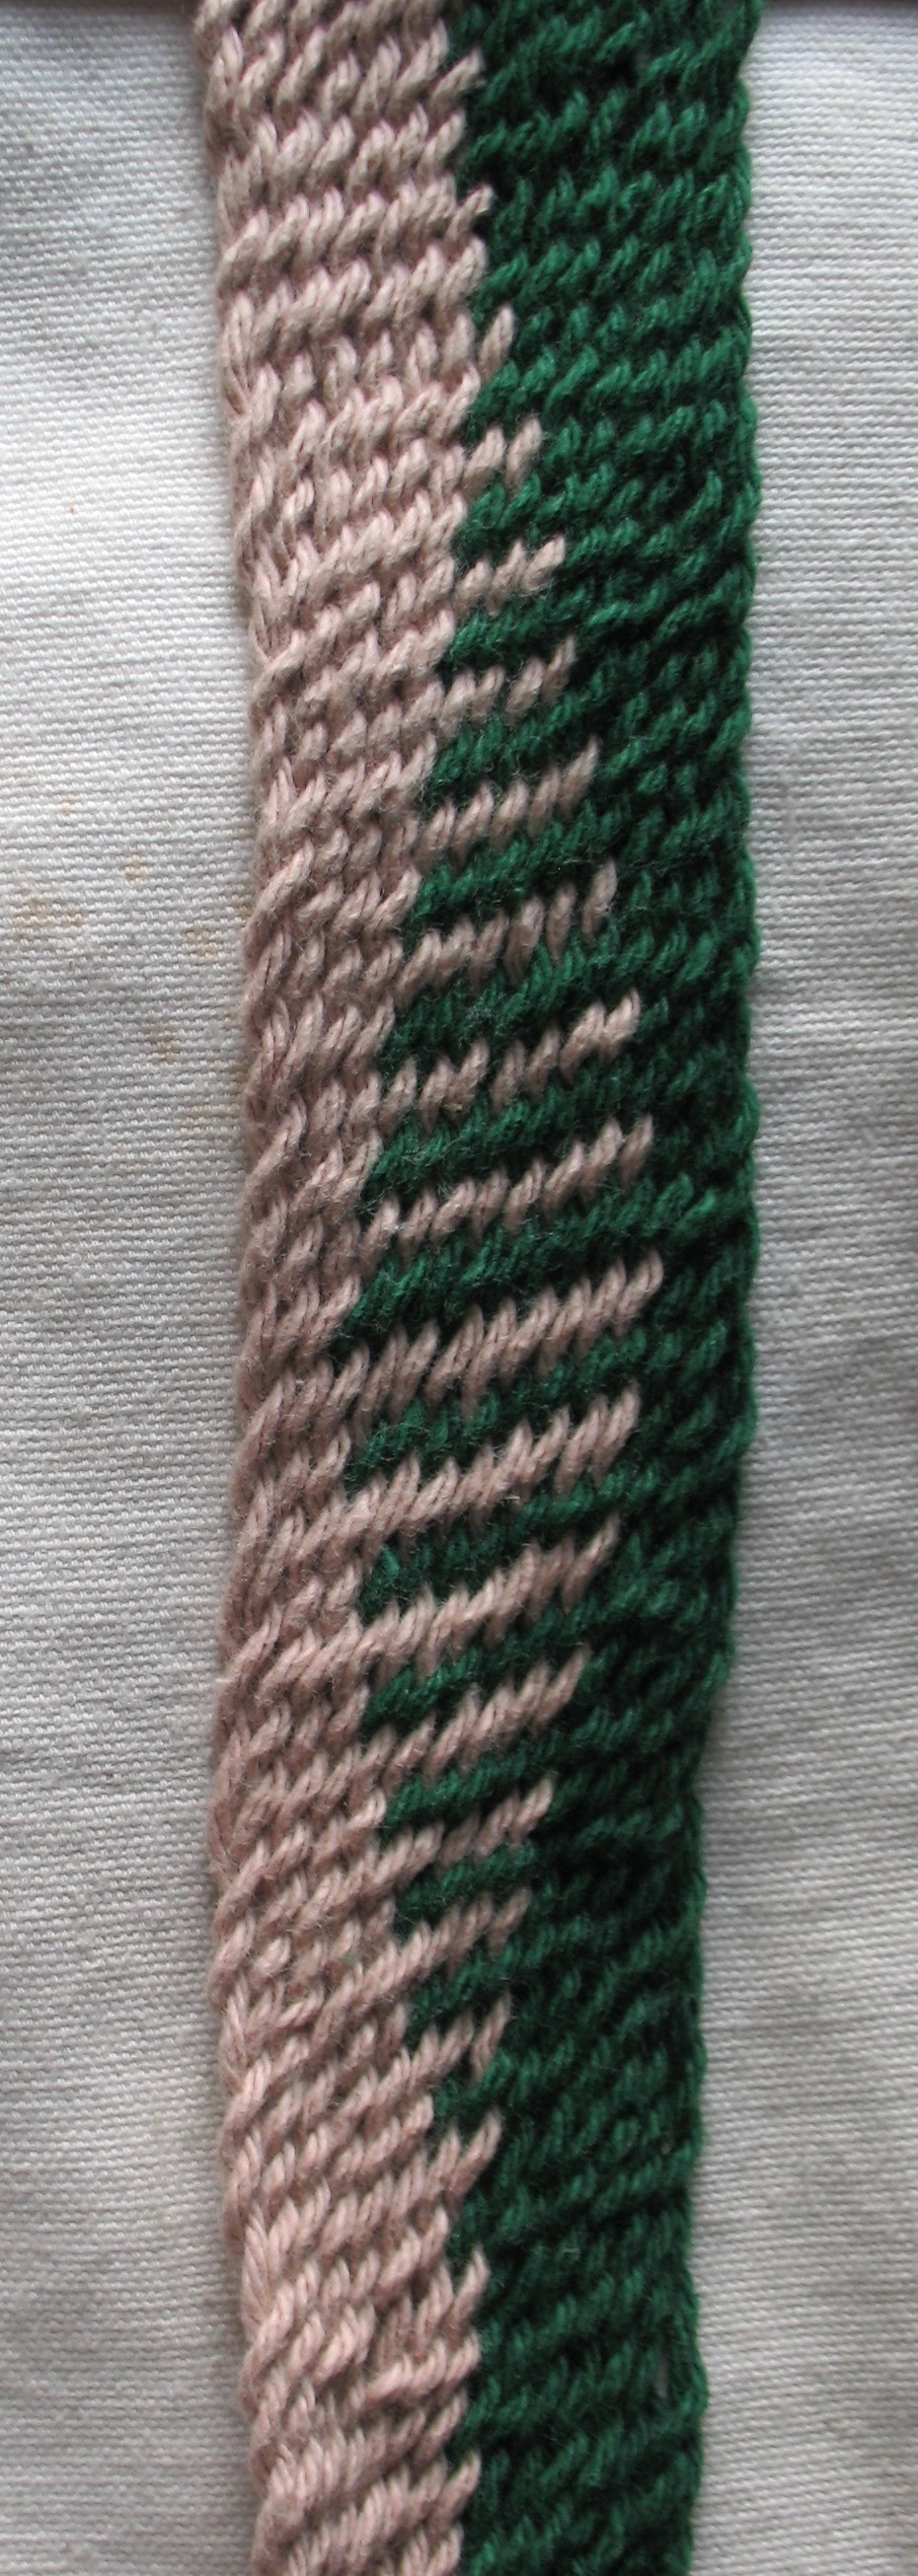
Today’s challenge: some simple color patterns. I started with a vertical stripe, and then recorded how to get the colors to move sideways, get them to mix at the middle, and then how to get them to ‘un-mix’.
Been wanting to try a pair of socks, using the sprang technique. Today was the day. After taking 50 pages of my book to the layout people, I came home and set up to sprang a pair of socks. I worked several ‘short rows’ over the middle 50% of the stitches for a few rows.
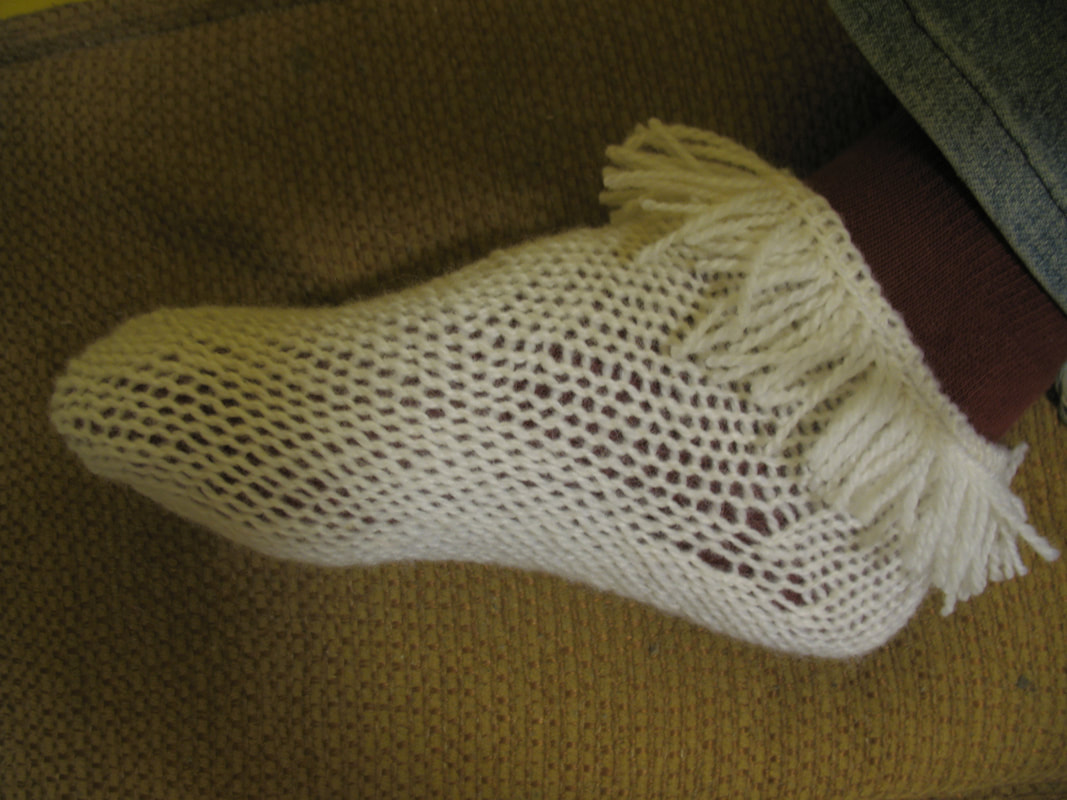
I’ve also been playing with different means of finishing the cut ends. Here I pulled each strand back along the path it travelled over the past two rows. It makes a nice fringe just below the edge. I’ve been working these past several months researching the subject of sprang, looking for North American examples, and have found plenty. More recently I’ve put nose to the grindstone, and have been working on a how-to book. My goal is to produce something similar to Fingerweaving Untangled. That is to say, I’m creating the step-by-step drawings, and taking detailed photos. Every time a thread is moved, another image is required. I’m working on the book that I wish I had when I was trying to figure out how to ‘sprang’.
I’ve heard tell of many examples of sprang from coptic excavations, from danish bogs, eastern Europe, and the like. I’d like to firmly root my book in the North American experience. Things like the ‘no frame’ method will definitely be covered. There is evidence that this is the method used by early North American residents. Simple frames will also be featured. I’ll cover a basic list of patterns, monochrome, stripes, how to get the colors to move diagonally. I’ll also include patterns made on the surface by playing with S and Z (of course and explanation of S and Z themselves), patterns made by creating holes, and the like. Any special requests out there? Well on the way with a set of basic drawings and instructions already done, I’m hoping to have this book off the press and ready for distribution by April 2011. |
Categories
All
Archives
May 2023
Categories
All
|
 RSS Feed