|
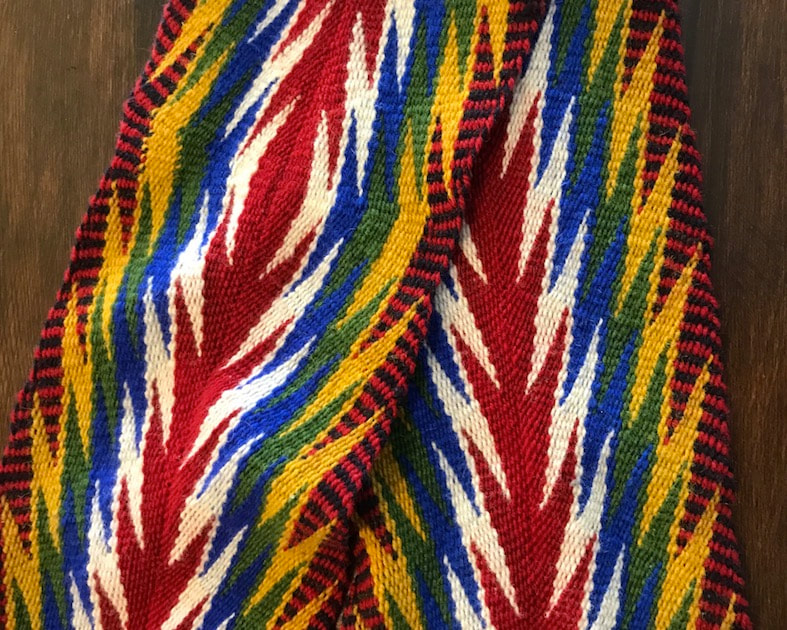
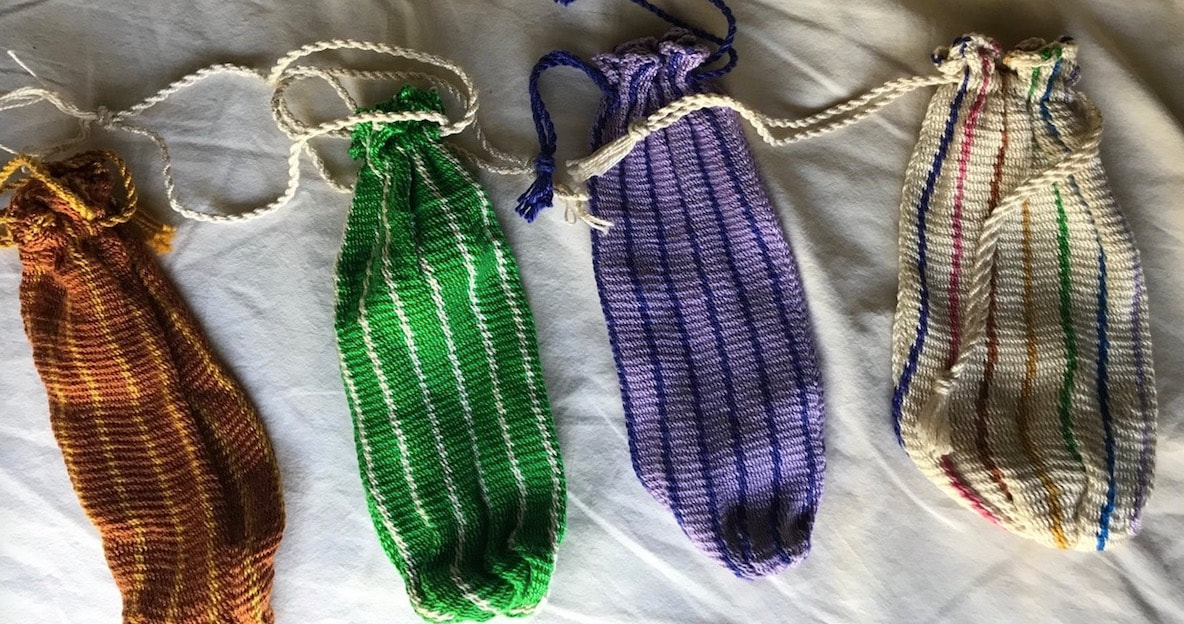
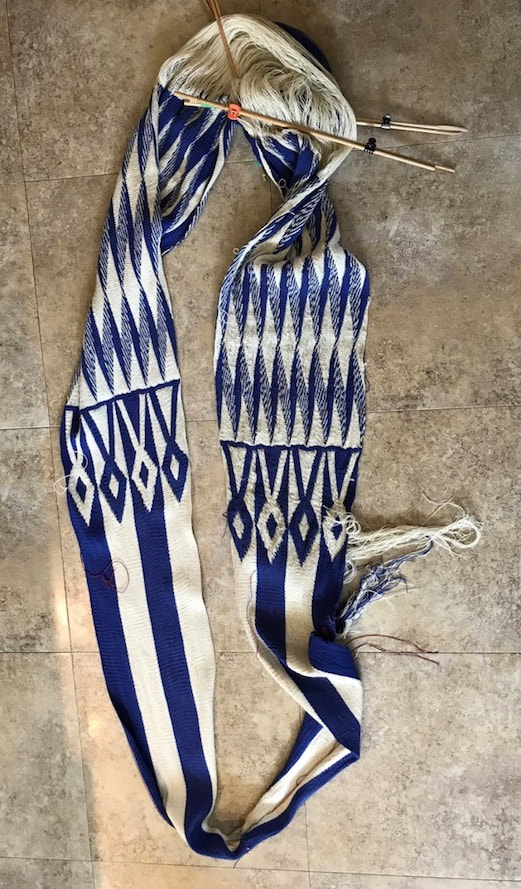
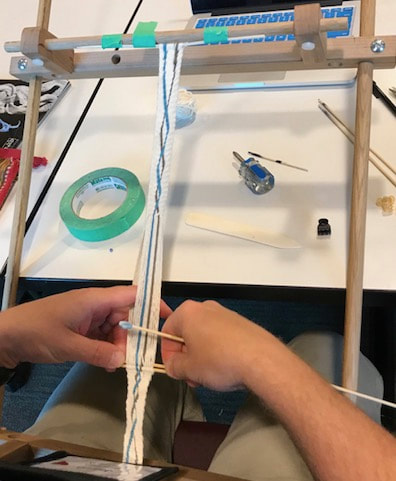
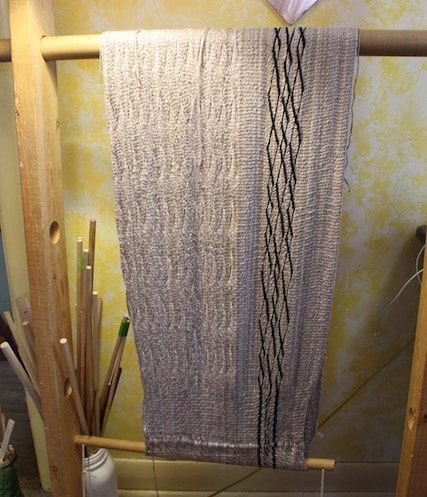
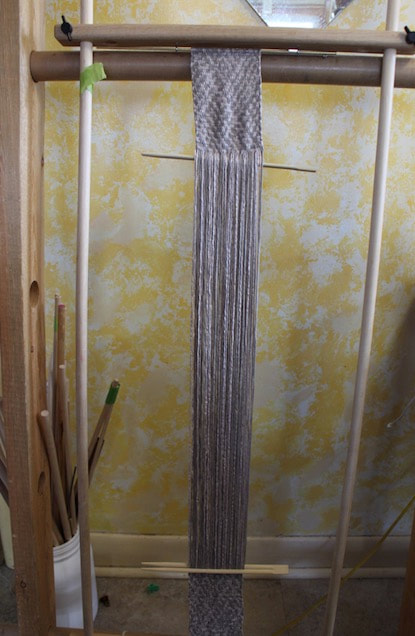
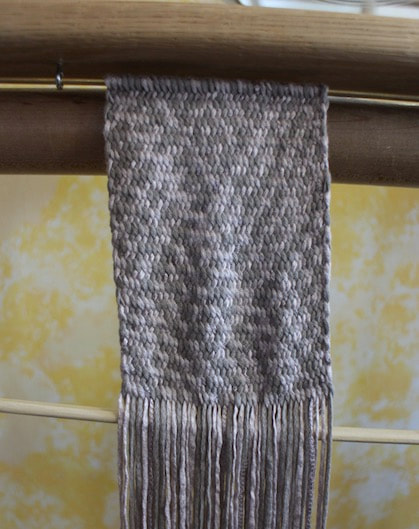
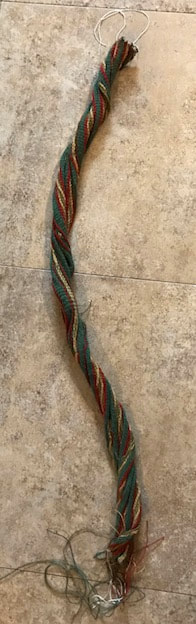
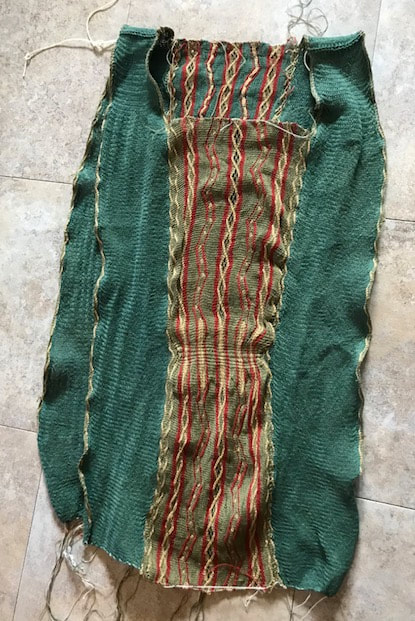
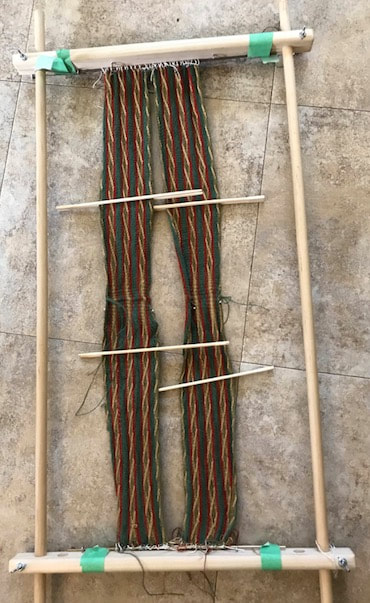
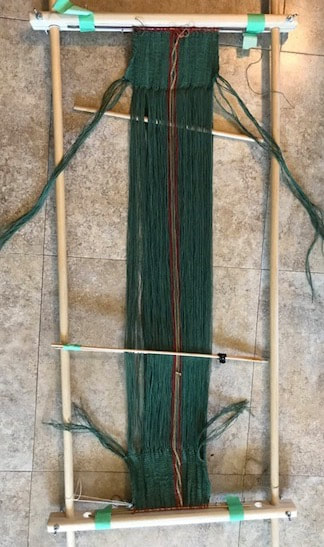
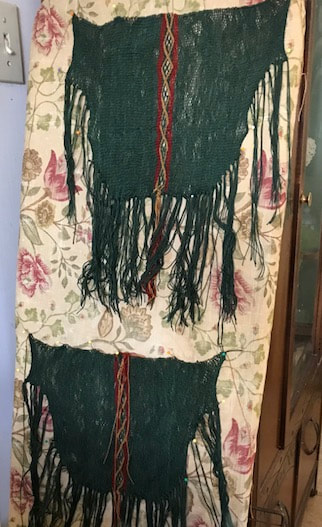
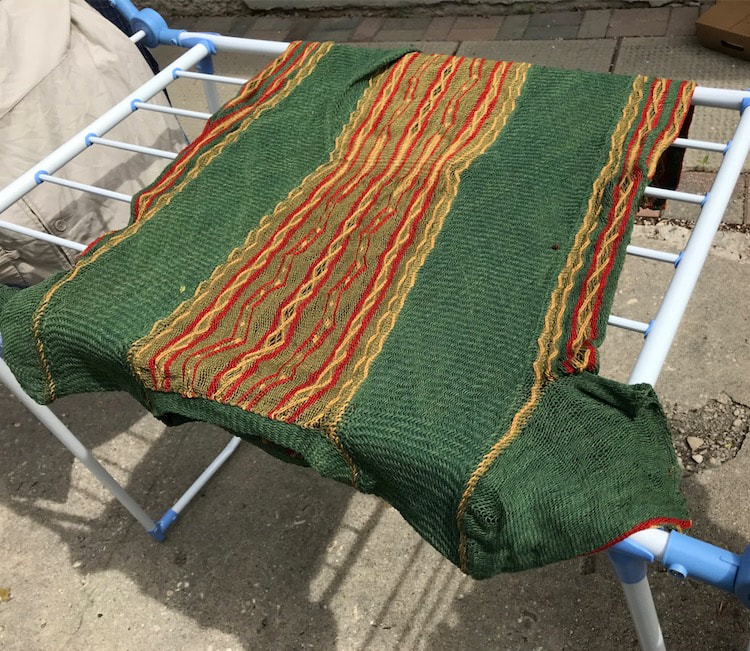
Announcing a release date for the DVD titled Fingerweaving Instructions. You will be able to live-stream this video on the Taprootvideo.com site starting sometime on Saturday, December 21. The information is being transfered as I write this to a company that will print the video onto DVD discs. Unfortunately that takes a bit longer. The printing company says I should have DVDs ready to mail to you by January 30. To pre-order the DVD click here. Pre-orders will receive a discount, and delivery will happen as soon as the discs arrive. 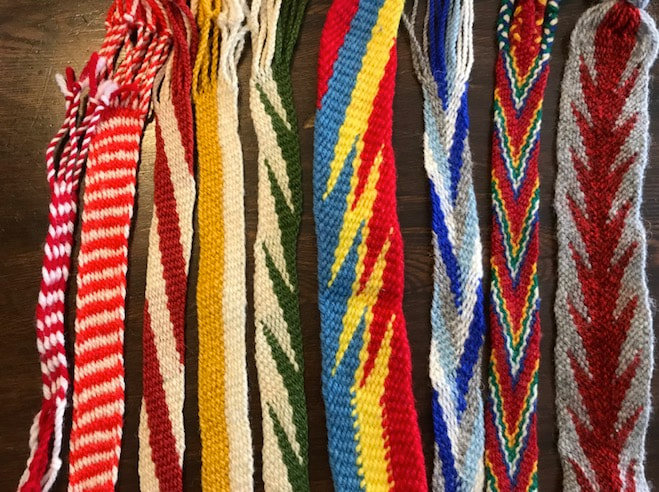 The video is almost 2 1/2 hours long, because it covers so much material: how to set up, how to manipulate the threads, how to check for errors (how to avoid errors in the first place) and a variety of patterns .... all the patterns in the photo are covered. The video also provides instruction on reading patterns. Yes there's a PDF with printed versions of the patterns.
Once you've made it through the initial set of patterns, the video shows you how to work the arrow-and-lightning pattern, as well as the bulls eye pattern at the center.
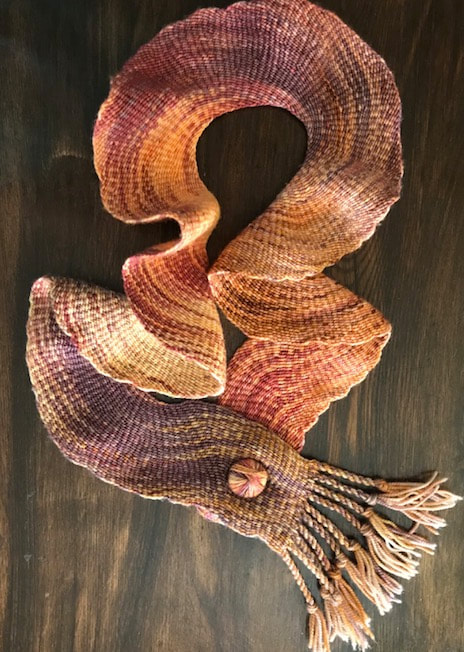
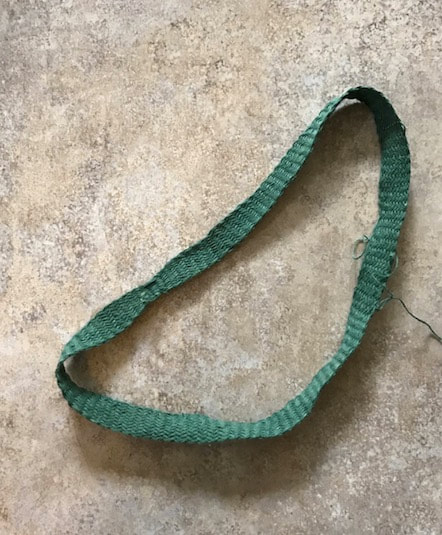
Now, fingerweaving usually results in a flat rectangular shape ... as a bonus, the video shows you how to make a curly neckscarf. Log in to Taprootvideo.com to register for the on-line streaming. Limited time as well as lifetime streaming options will be available this weekend.
6 Comments
The video instructions for fingerweaving is getting ever closer to reality. Now to unveil the cover design: 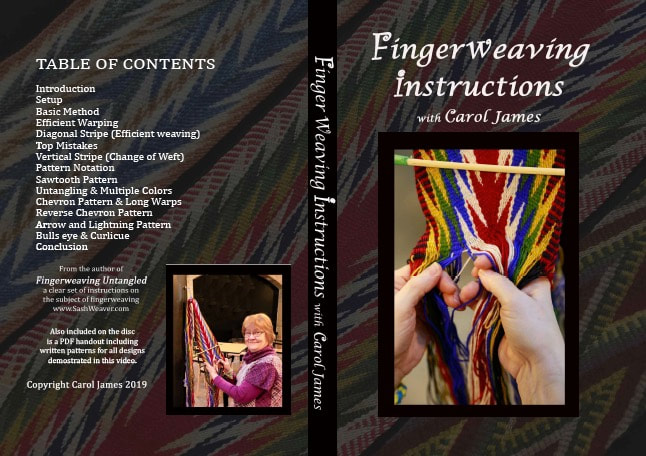 Final edits are presently happening. The master disc will soon be sent for duplication, and I'll be taking orders.
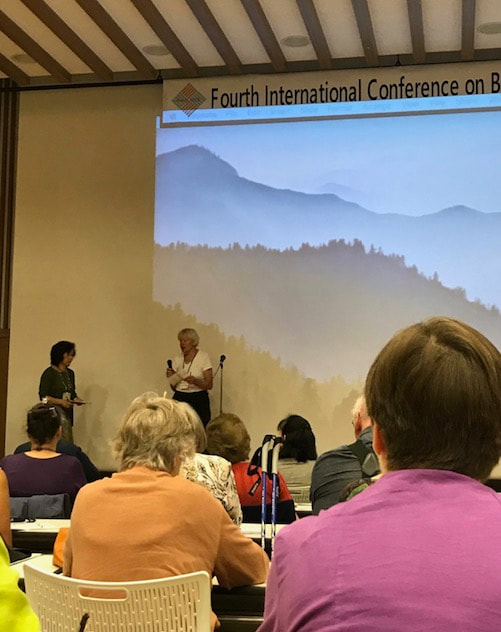
If you want to see what all is covered in the movie, have a look at the table of contents. Accompanying the DVD is a 13 page PDF handout, containing printed versions of the patterns discussed (the movie tells you how to read the patterns). I'll be posting the handout soon. I was invited to teach sprang at the 4th International Braid Society Conference, held in Japan.
The conference was held in Iga, known for its kumihimo.
It's been a busy summer, and I now realize I've not been posting. I suppose you're wondering what all I've been doing. Well .... here are some snapshots ....
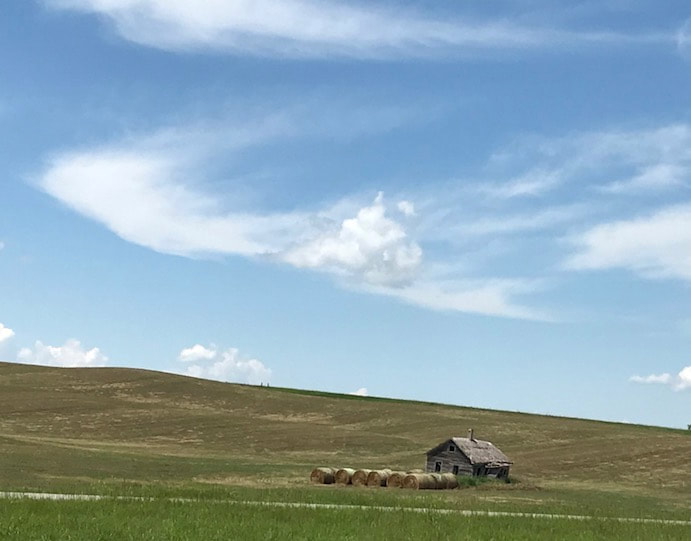
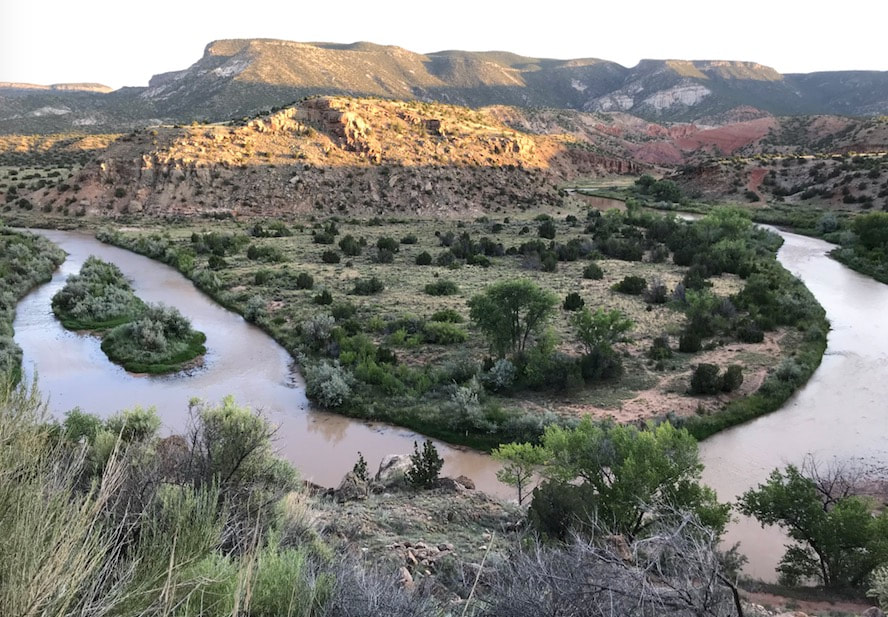
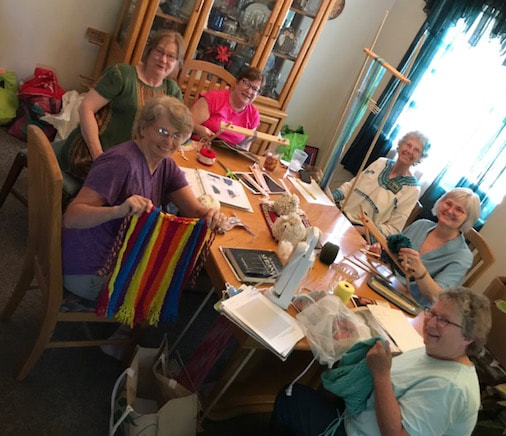
Yes, I travelled. I drove across the prairies to Grinnell Iowa, for the Midwest Weavers conference. Went to a family wedding in Washington State, and visited with friends and family there. I spent time with the Romatkas, of Taproot Video fame, working on that Fingerweaving video. Great work Marilyn and Rainer. I also stopped in at Port Townsend. Thanks for the hospitality Linda and Rick. Then on to Massachusetts for the NEWS conference.
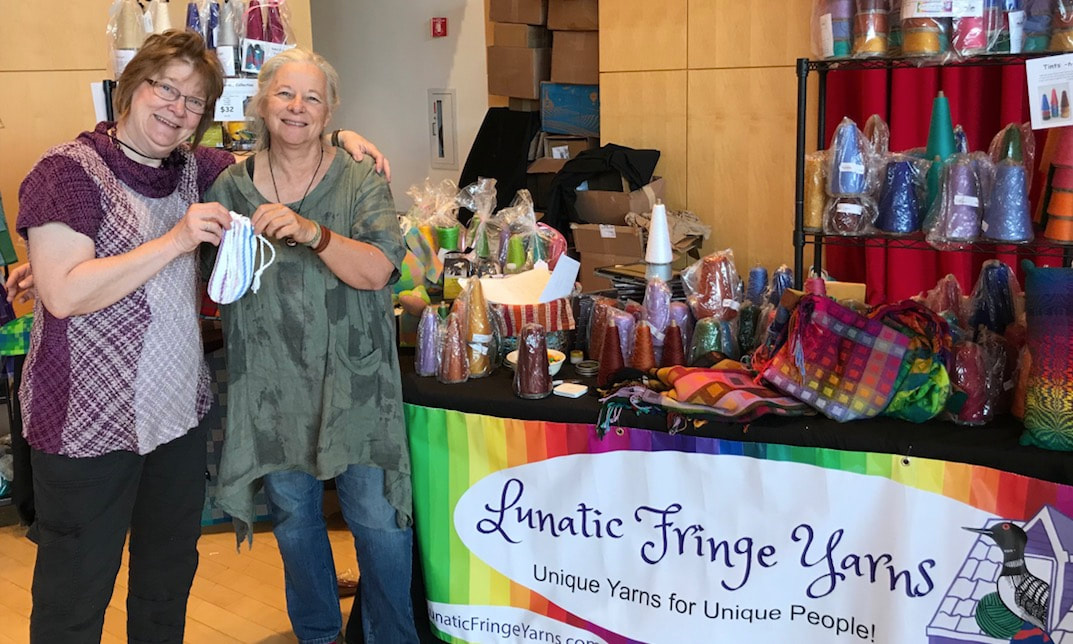
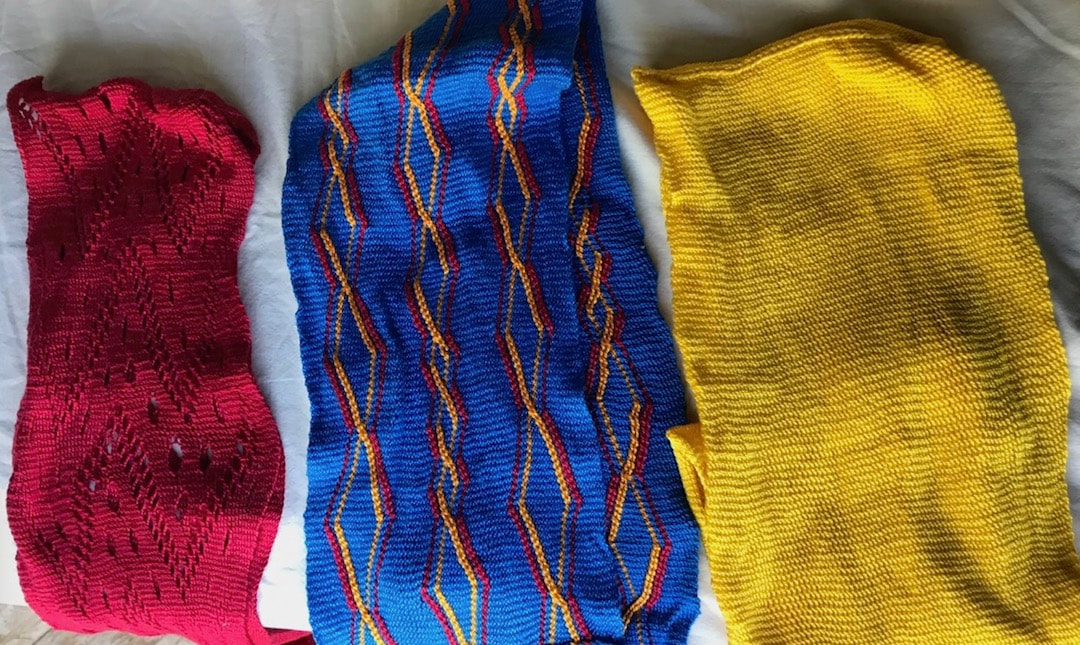
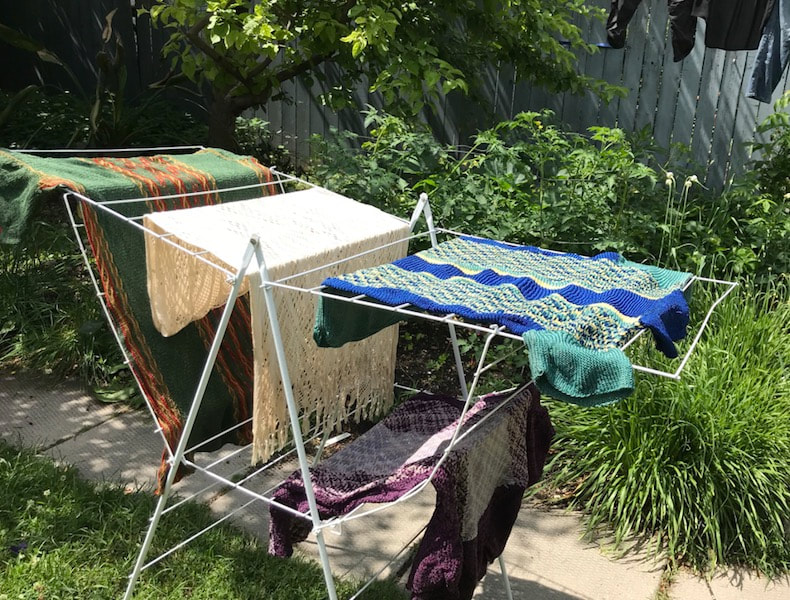
When I got home from Massachusetts, I tucked in to work with that lovely Lunatic Fringe cotton, making several items, and writing the instructions, so they will become kits.
I had enough yarn to also make a sprang shirt
In between time, I've been working on another pair of sprang leggings. I'm trying to replicate the design worn by that gondolier in a painting by Carpaccio. The material is wool, Möbelatta from the Lone Star Loom Room.
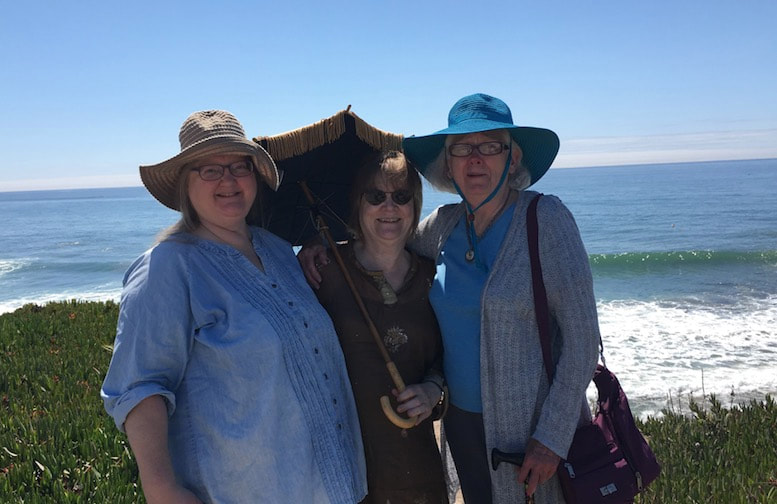
There was another family wedding in August, this time in California. I took the opportunity to visit with more weaving friends.
While in the SouthWest, I also was able to visit with the very talented textile artist Tyra Shackleford, and see her piece in the IAIA Museum of Contemporary Arts exhibit Visual Voices Contemporary Chickasaw Art. Well done Tyra! If any of you readers have the chance, do go see Tyra's work.
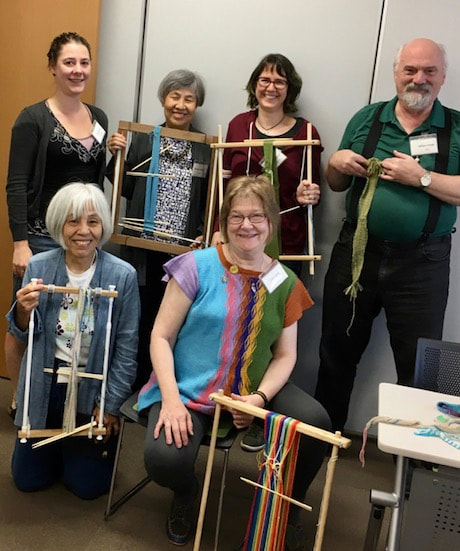
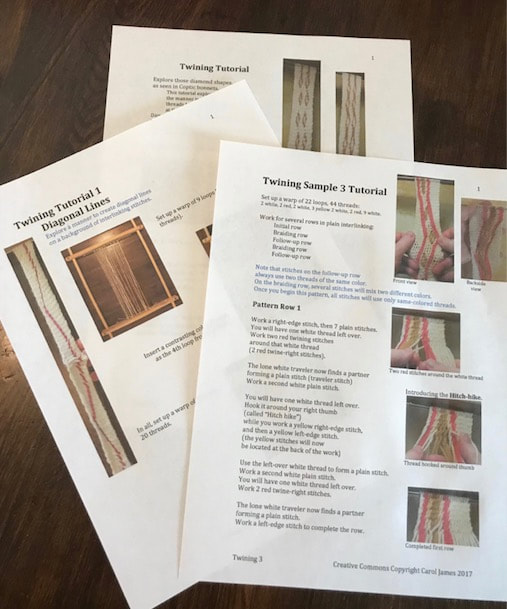
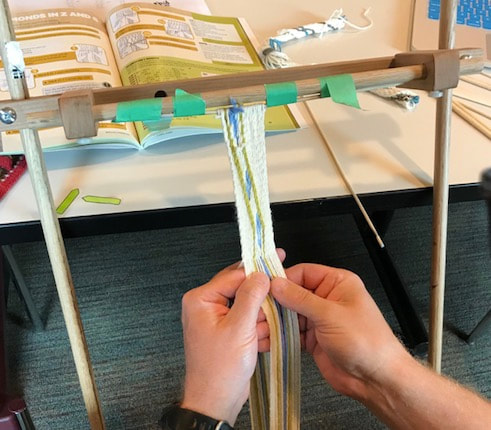
.I've been travelling, teaching in Quebec and Iowa. It's lovely to meet people, share what I know, and learn from so many talented people. As a consequence I've updated the contents of the twining patterns on my website, tweaking the directions, hopefully making them easier to understand.
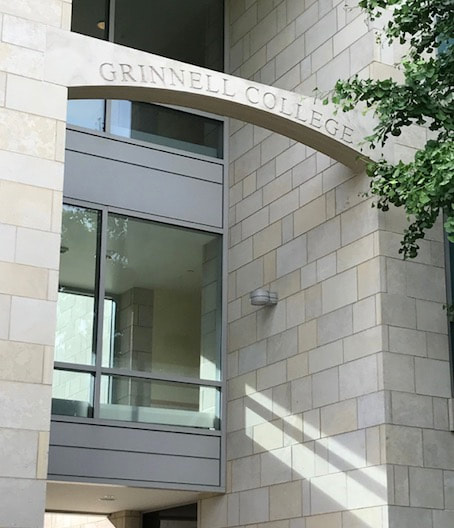
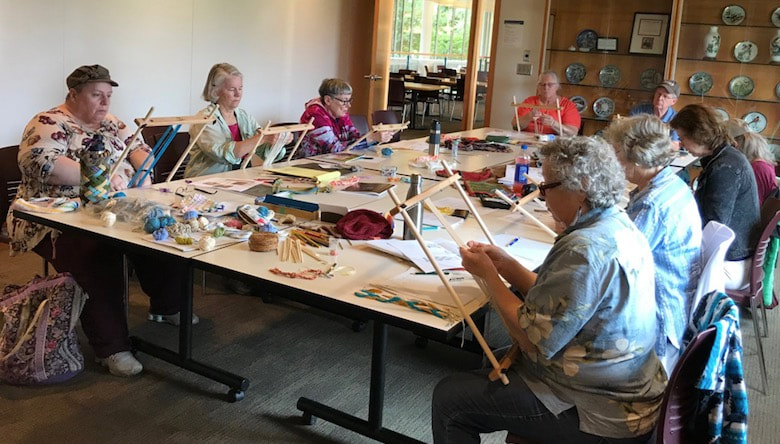
The Midwest Handweavers Conference took place in Grinnell, Iowa recently, and I had the privilege of sharing with several very talented people. One of them, Jason, made it all the way through my twining patterns, and gave me some excellent suggestions. I've now edited those twining patterns on my website. Anyone who has already downloaded them, and who wants an update ... please contact me and I'll send you the new-and-improved version.
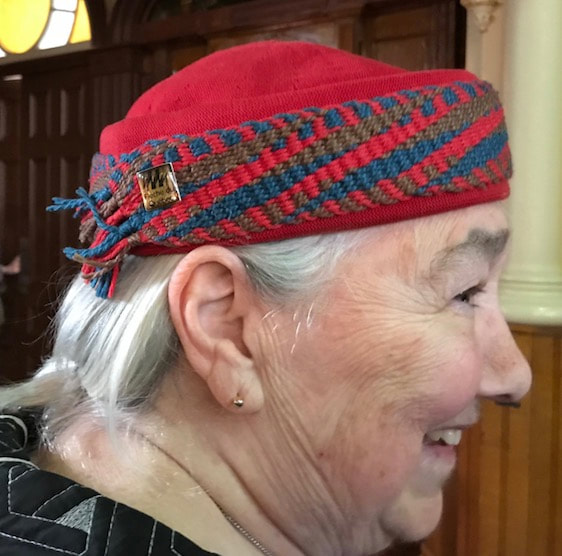
I taught sprang at the assembly of Quebec Handweavers in St George, Quebec. There I met some extraordinary fingerweavers.
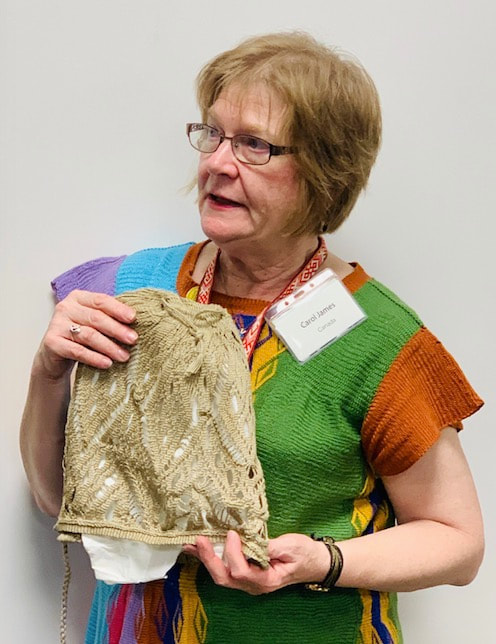
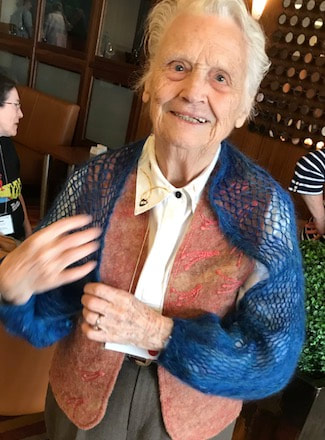
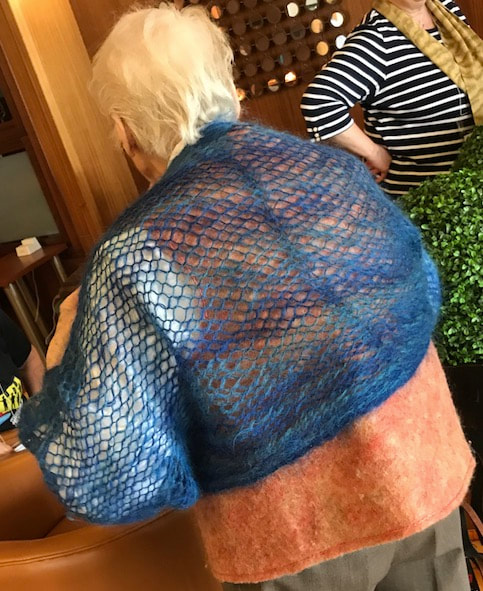
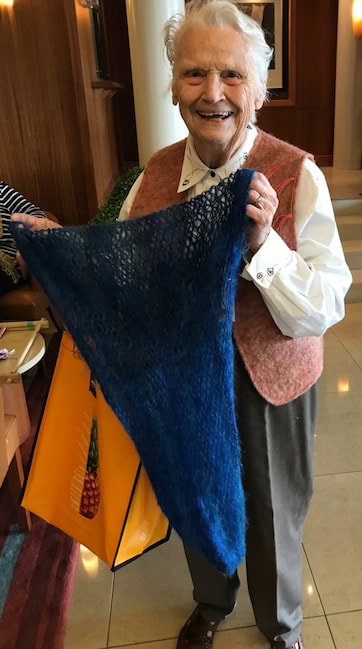
I also met Monique Dumas, who had taken a sprang class from Peter Collingwood years ago (her first encounter with someone speaking with a British accent), and who went on to be the very first to teach sprang at the Maison Routhier. She showed me her lovely sprang shrug.
My students at my class at Maison Routhier did me proud.
Lovely meeting every one of you. I wish you many happy hours of sprang.
I was talking today with members of a Colorado-based sprang study group. They had some questions, and I was wanting to refer them to a blog post of mine ... and then I realized that I never posted those pictures, never told that story on my blog. So here it is, the making of that shirt that was on display at HGA's Convergence last summer.
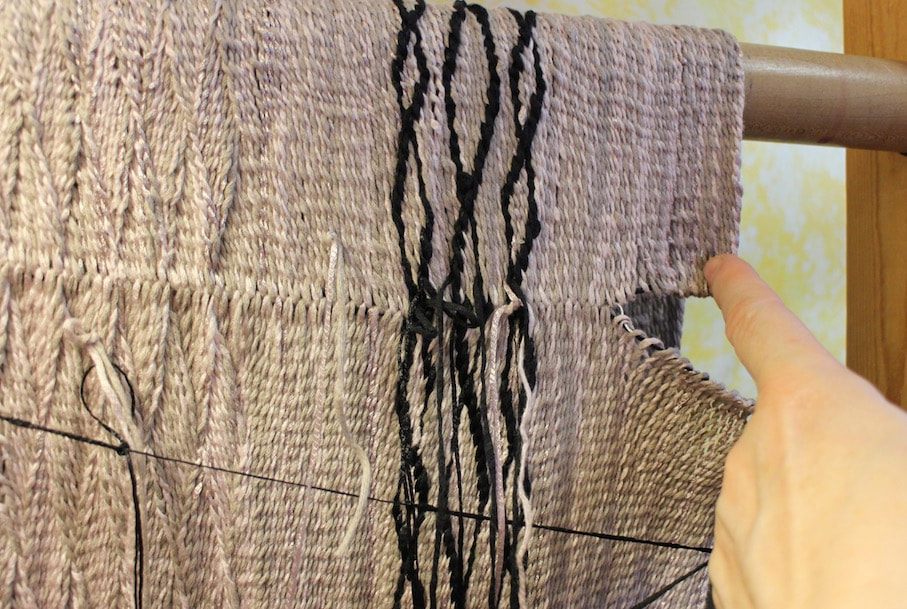
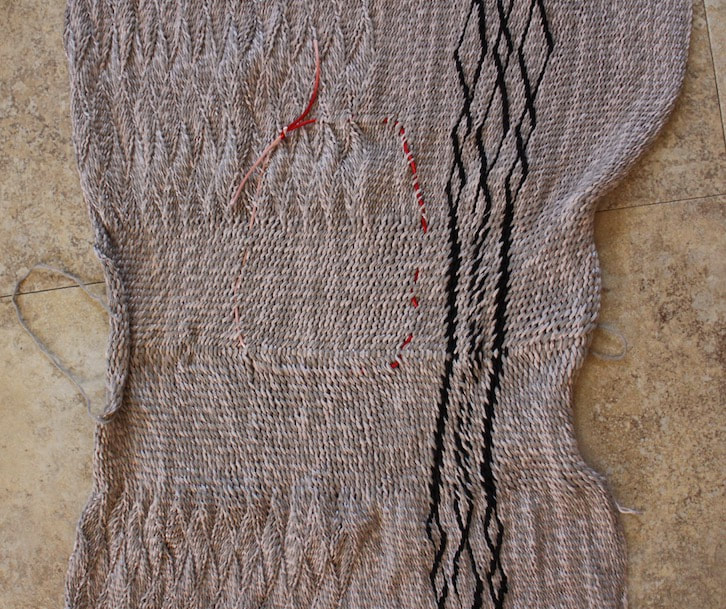
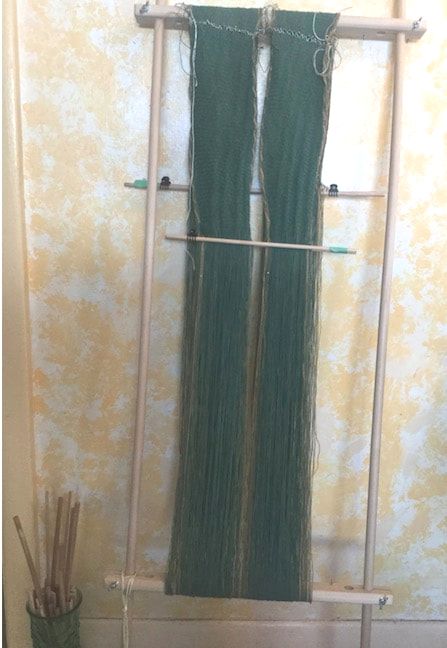
I have been exploring different ways to create a sprang shirt. The obvious way to create the neckline is to make a slit for a V-neckline. When I did this, I found that there is stress on the stitch at the bottom of that V, and it does not look nice. Because of this, I have begun to look for other ways to create that neckline. This pullover began with a false-circular warp to create a large rectangle for the front and back. The loops will sit near the hem of the garment. There is a chain line at the shoulders.
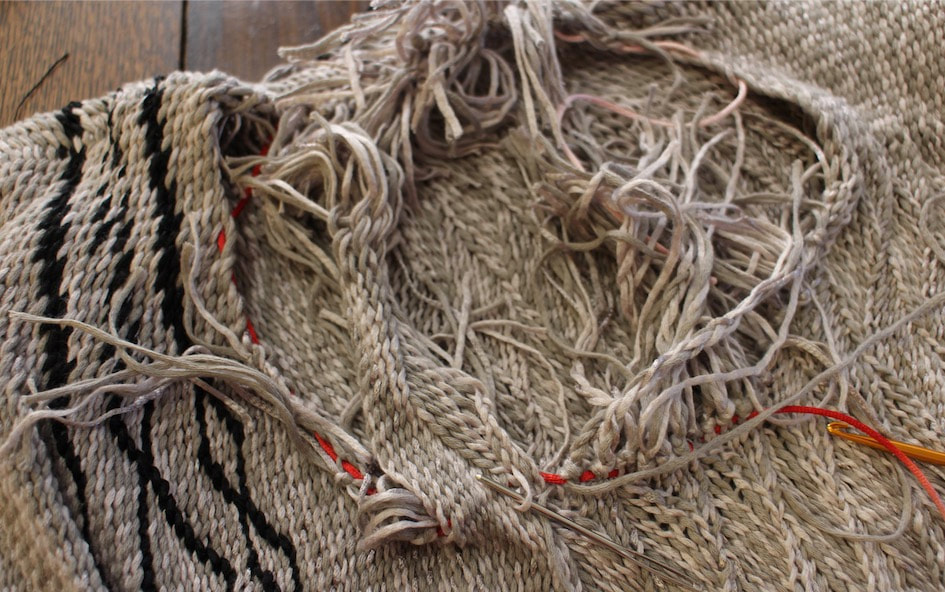
I laid the piece out flat, and traced a circle (basting stitch) with a red thread at the place that I thought should be the hole for the neck. The hole must be as large as the circumference of my head. I then cut across the stitches inside this hole, being careful to leave threads long enough to tie knots. I unravelled the stitches to the place of the red thread, and tied knots. This gave me a neck opening, with unsightly knots all around. I covered the knots with a collar.
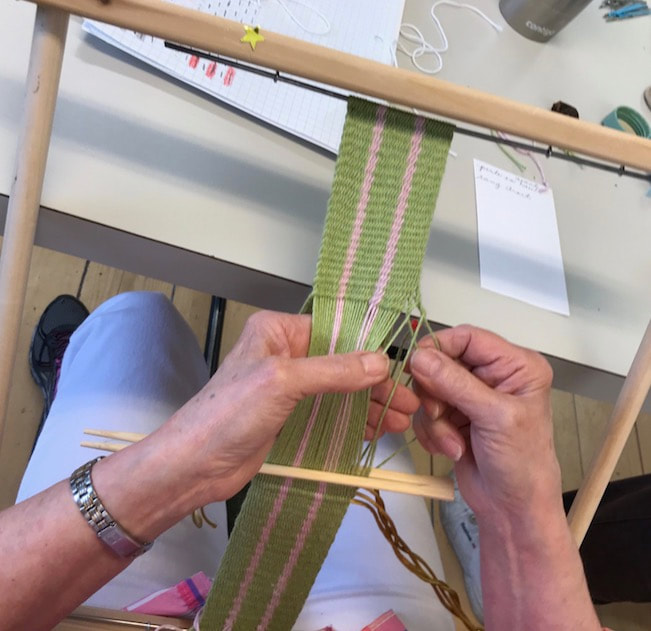
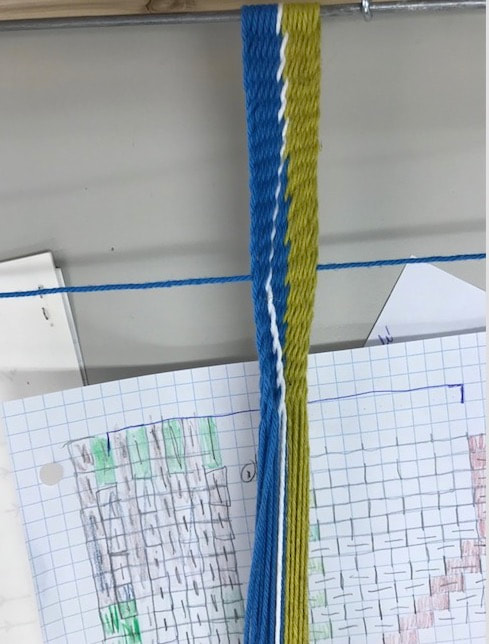
The collar started out as a long flat warp. I chose a 2-2 interlacing stitch for the collar. For the sleeves, I wanted to try making them narrower at the wrist, wider at the shoulder. To make the cloth wider, you must add threads.
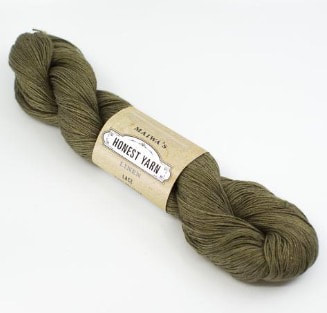
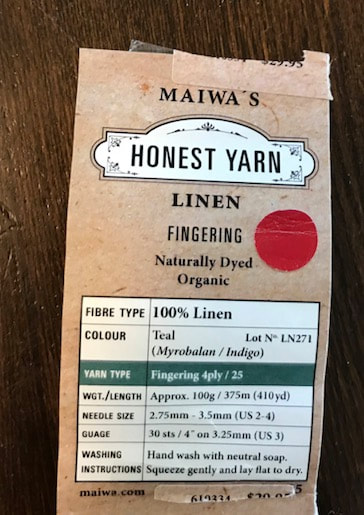
I added a loop of yarn every second row. This gave me two sleeves, that are wider at the shoulder, narrower at the wrist. I cut the sleeves apart, and tied knots. The knots are hidden on the inside of the garment. The finished pullover was judged worthy of the fashion show at the Handweavers Guild of America conference Convergence in 2018 in Reno, Nevada.   While in Vancouver earlier this year, I stopped in at Maiwa on Granville Island. I will be teaching a sprang class there next year. I wanted to have a look at their yarns, to evaluate their use for my students. I saw some lovely linen yarn.
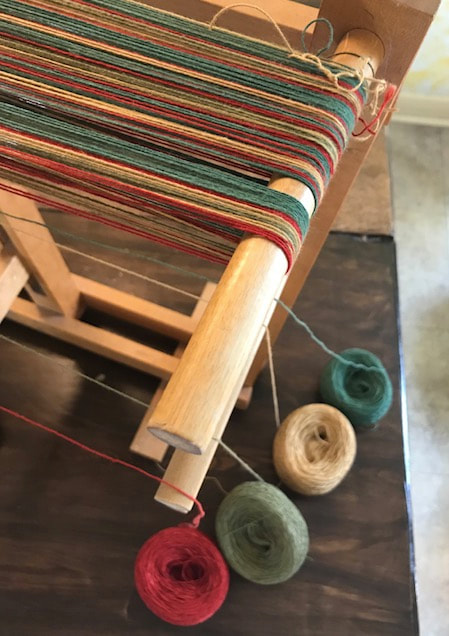
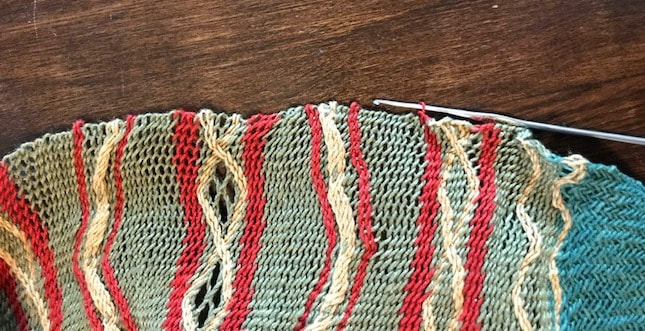
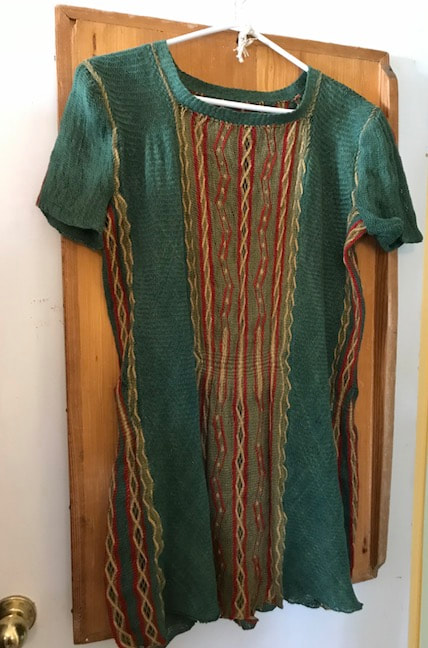
I decided to try to make yet another sprang shirt, using this linen yarn. OK, I purchased seven skeins. Wanting to use some of those colorful motifs from Coptic bonnets, I set up a multicolored warp.
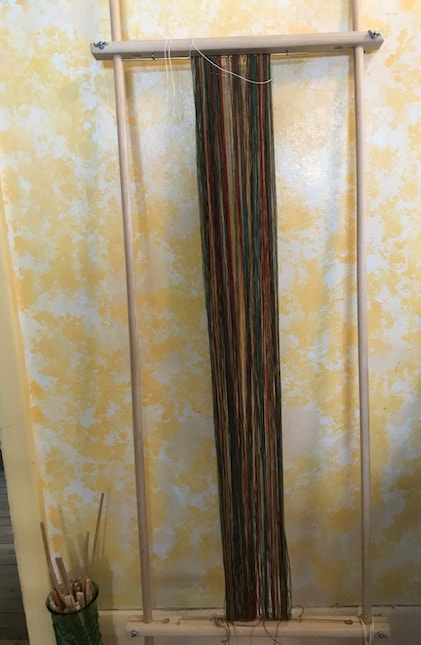
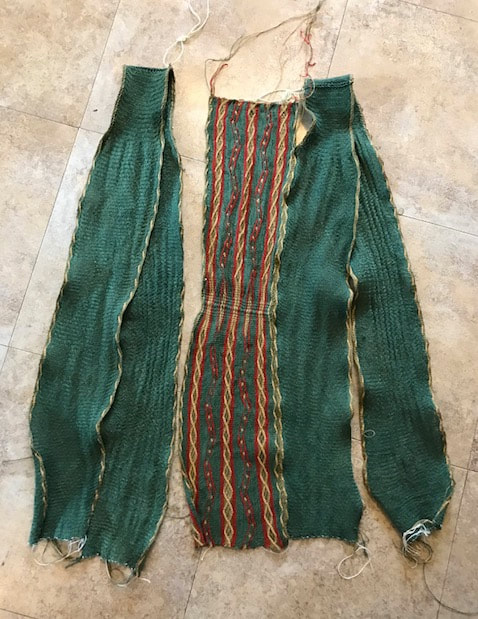
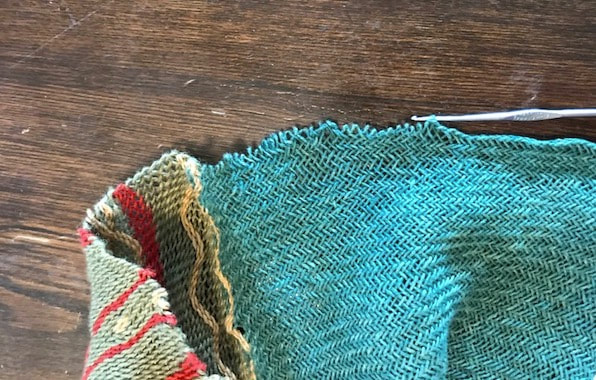
This piece will be the center back of the shirt.
Now for two pieces to go on either side of the center back. These pieces will go over the shoulder, starting and ending at the hem of the shirt.
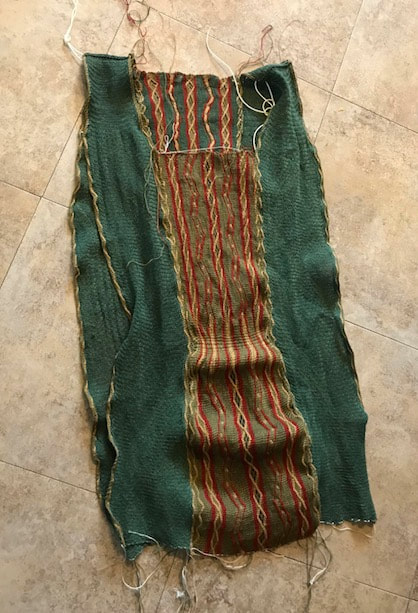
Now for the front of the shirt. I decided to use the lighter green as the background for the front of the shirt. The first time I sewed the front into the shirt, there was a clear difference in tension (rows per inch) between the lower part of the front, and the side pieces. I re-sewed it a couple of times before getting it right.
Now for two narrow pieces to go under the arms.
And lastly, sleeves. I shaped the sleeves as I went along.
I chained around the hem, to give a firmer edge to the shirt.
I finished assembling the shirt, and washed it.
Look for me this summer, sporting my new sprang shirt.
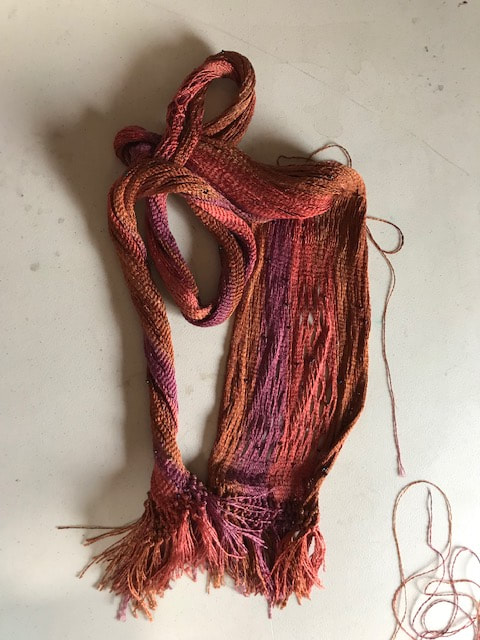
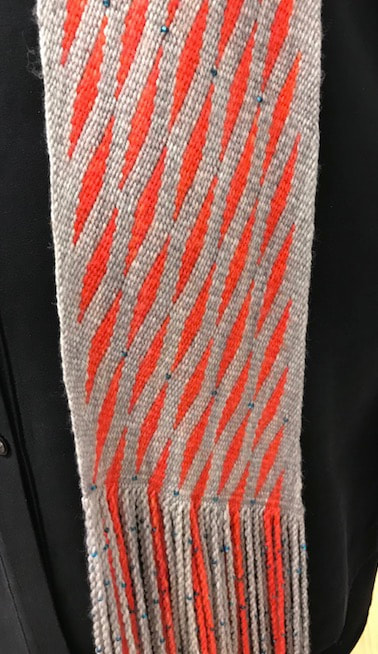
And here's a better image of that shawl I made last month, demonstrating perhaps some of the drape and flexibility of the fabric  Photo by Chris Black
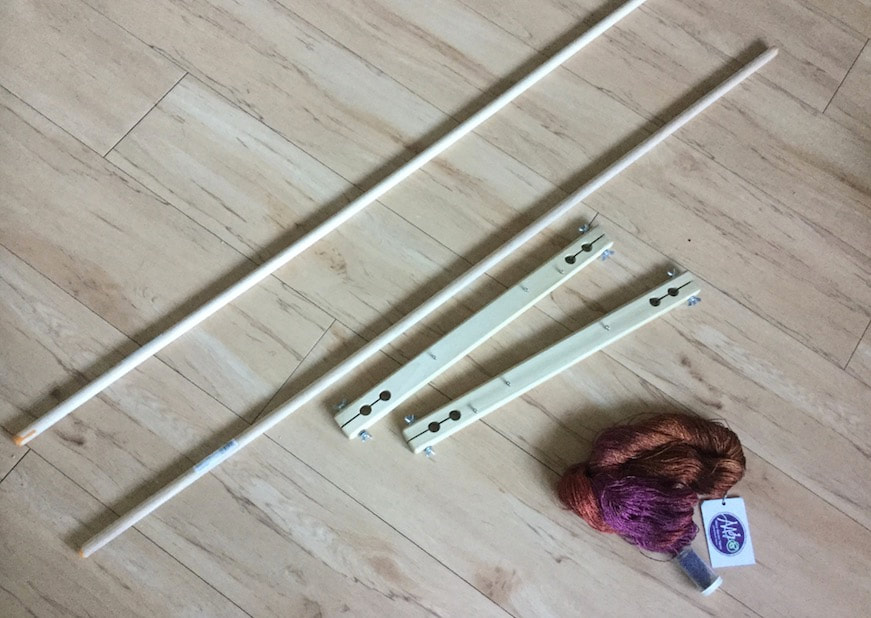
I now find myself at the FibreWorks Gallery near Madiera Park, British Columbia. I've been offered a short residency. This place is also called "The Yurts" because of the buildings that make up the campus. 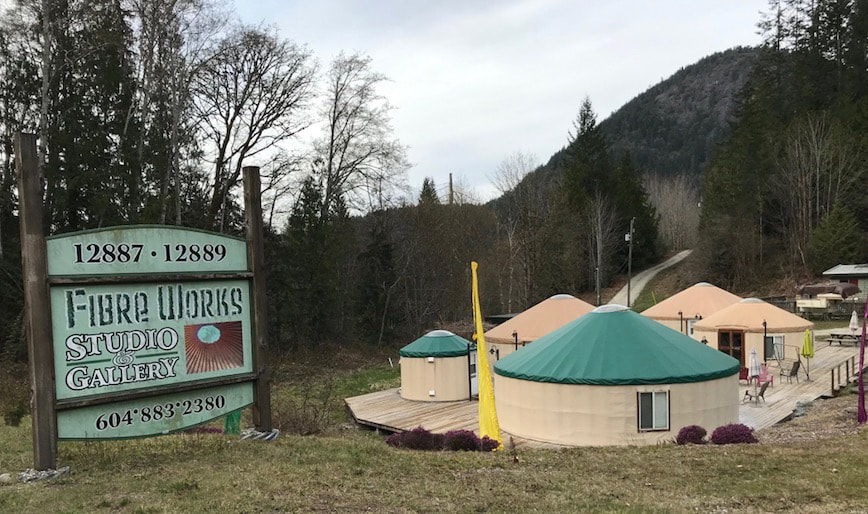 Planning to create a sprang scarf, I brought along yarn, beads, and the top and bottom of my sprang frame. I purchased 4 ft long dowels locally, and set to work.
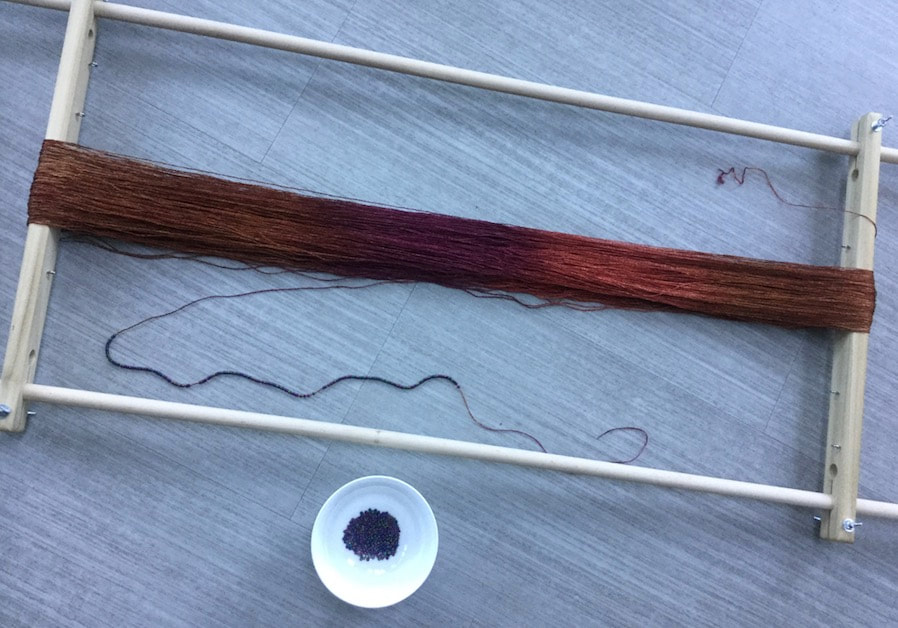
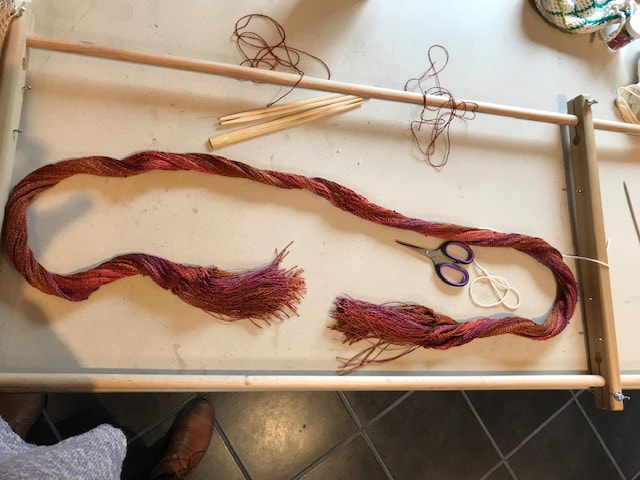
A sprang project needs the yarn mounted on the frame in an orderly fashion ... I needed to organize a first cross in the warp. 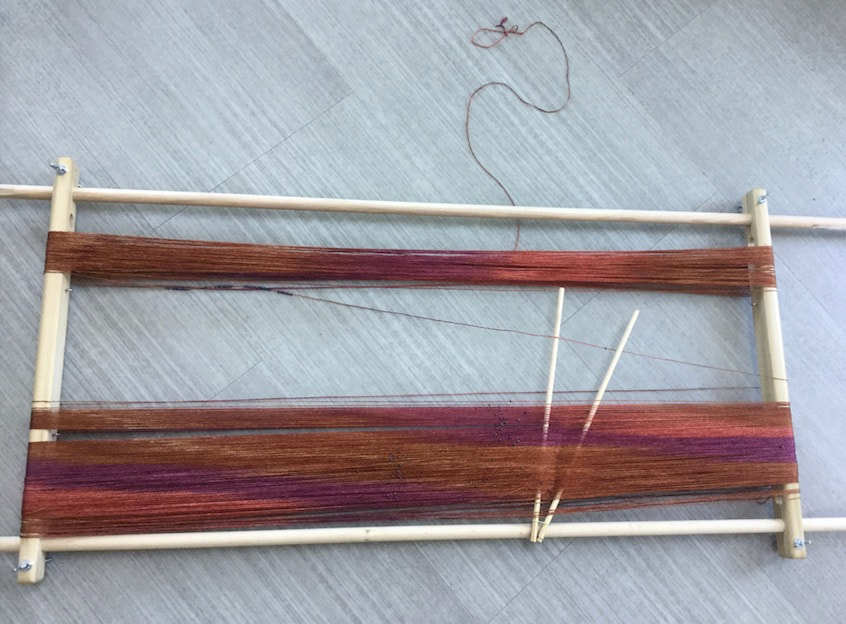 I fixed two sticks to the side of the frame, and proceeded to place the yarn into the sticks, creating the cross.  Ready to work. Ready to work. The weather was pleasant, I sat outside the FibreWorks Workshop Yurt, and worked. My pattern is inspired by pieces I saw at the Vesterheim Norwegian-American Museum in Decorah, Iowa. 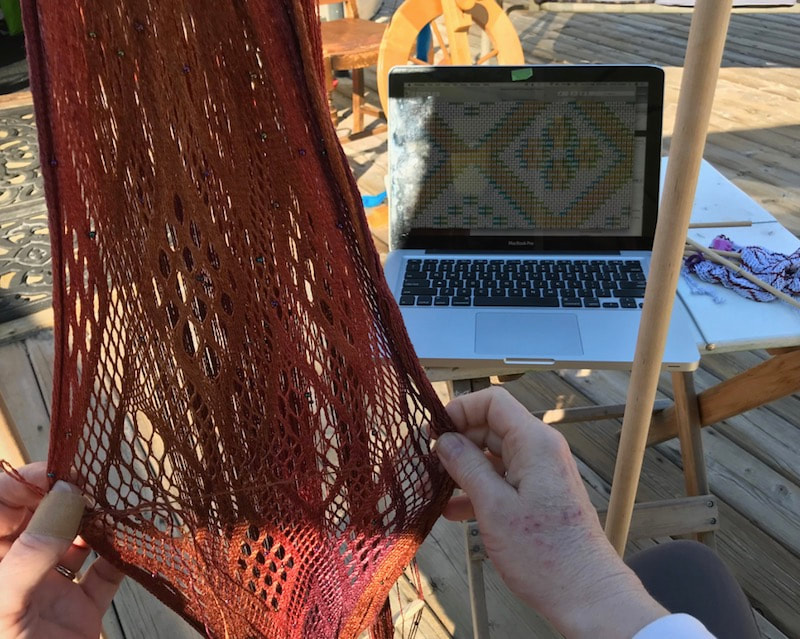 On Monday, FibreWorks was closed. I went along to speak to a spinners' guild, bringing them the good news of sprang. I worked on the shawl on Tuesday, and finished it by Thursday afternoon. The Weavers Circle meets at the FibreWorks Gallery on Thursdays, they watched as I cut the fringes, and tied the knots.
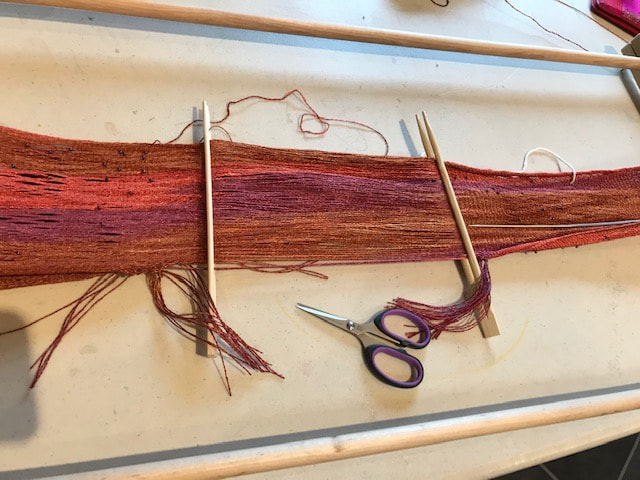
 Two more rows of knots. 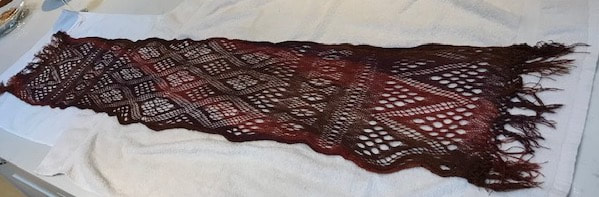 I wet the shawl, and laid it out to dry. No more curling.
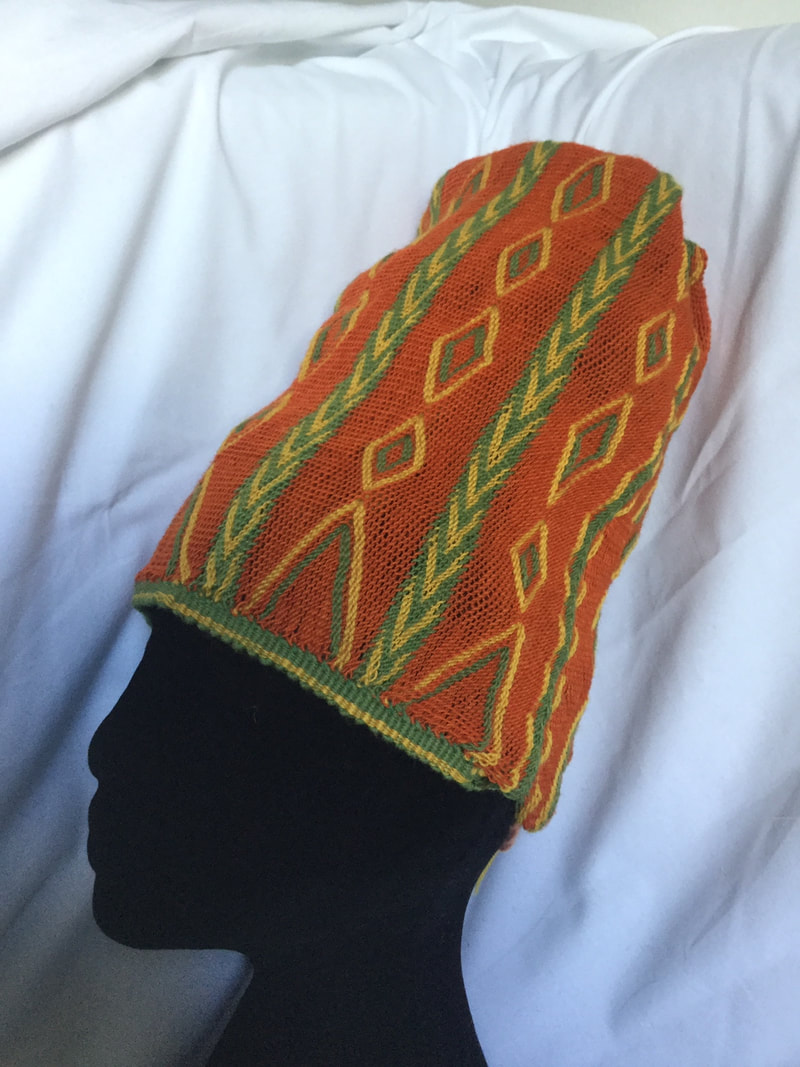
I visited the Kelsey Museum collection in the spring of 2016, went home and worked out the pattern for this hat, and then came back in the summer of 2017. At the occasion of my second visit, I took a photo of my replica beside the original. Actually I took two photos. In one of them, my replica is inside-out. 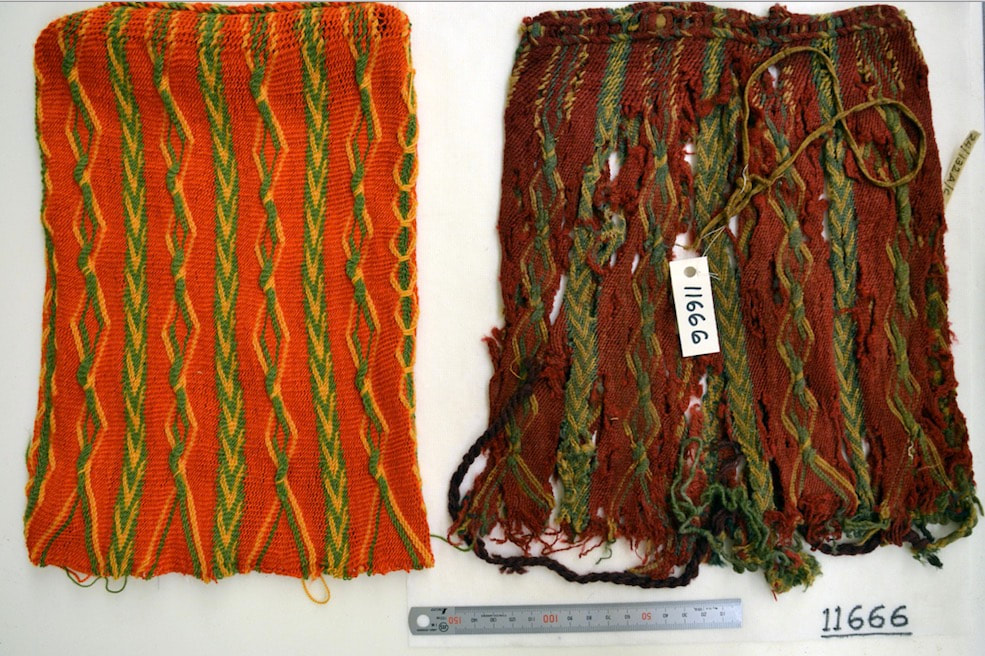 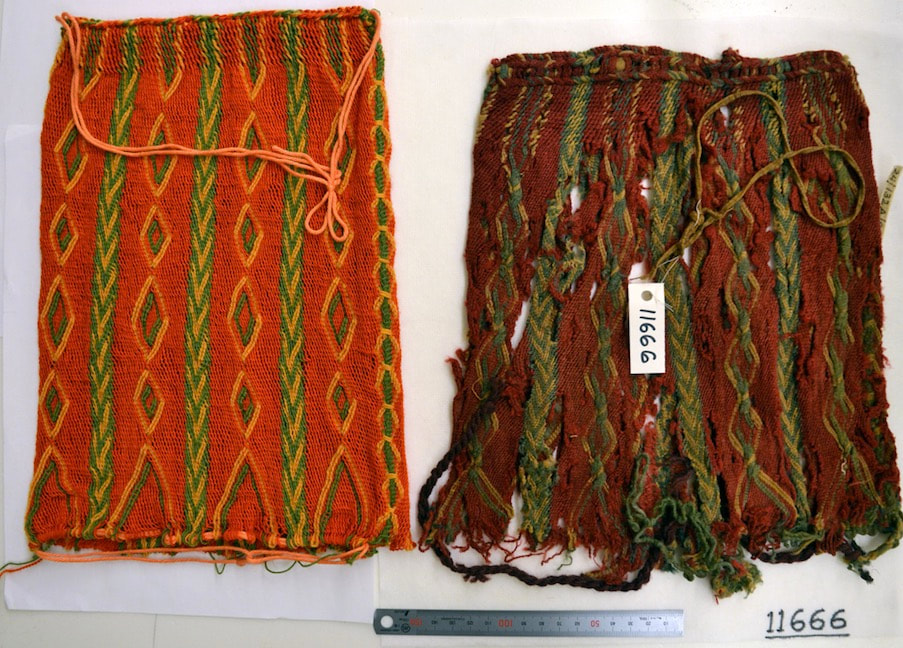 If anyone is interested, my SprangLady website contains three tutorials that take you step-by-step, showing you how to do this twining technique on a background of interlinking. And I do still have the specific pattern for this bonnet.
|
Categories
All
Archives
May 2023
Categories
All
|


 RSS Feed