|
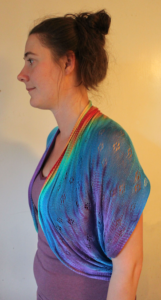
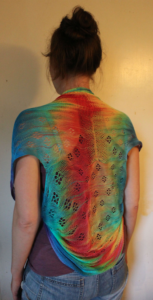
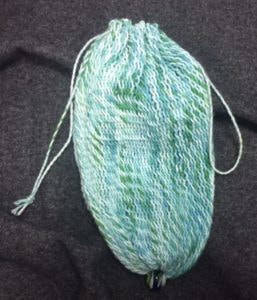
There was this skein of yarn that I purchased a while back from Redfish, a rainbow dyed tencel. I’ve been meaning to work it up into something. Last month at the Regina Shindig, I was inspired by Terri Bibby, and her Saori techniques. She demonstrated an origami approach to garment design. With this in mind, I set up that rainbow dyed skein on a circular warp, and created a circular piece. 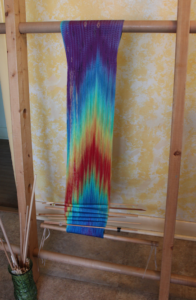 Rainbow warp on my frame Once the sprang was finished, I chained across the place where the two sides met. Here is my schema, how I transformed the circular warp piece into a shrug. 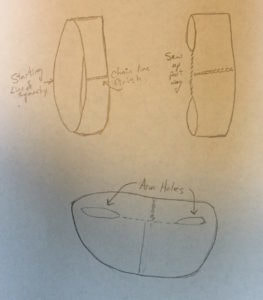 Schema for the shrug I folded the circular warp piece, trying to align the color scheme. To make the color scheme work out best, the chain line does not exactly line up with the starting rows. I sewed up part of one side, leaving open places for the arms, and it became a shrug.
0 Comments
The Saskatchewan Handweavers held a Shindig, and invited me to come, to teach sprang, and to give the Saturday evening keynote address. The drive across the prairies was a stark contrast to the sights of earlier in the year, the giant redwoods of California, and the Rockies in Colorado.  The prairies are as difficult to photograph as the mountains and the giant trees. The Saskatchewan handweavers asked me to teach a sprang class, and to give the Saturday evening Keynote address. Participants in my class were eager to learn. The organizing committee hired photographer Sparkling Medusa Creative Services, Angela Reddekopp to take photos. 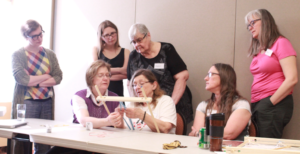 Thanks to Sparkling Medusa I have a photo of me, teaching. Photo by Sparkling Medusa.
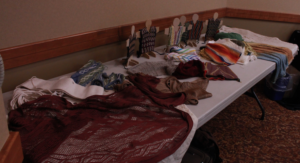 Carol’s display table, sprang items: shawls, hats, vests, socks … Photo by Sparkling Medusa And later the next week, Jenny sent me photos of projects completed in the days following the class.
Back to the folks in California. Janet recently posted a photo of a sprang vest she made, using her handspun cotton. Well done Janet!!!! 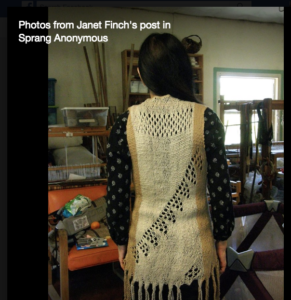 Janet’s handspun cotton sprang vest Here I am, on a 3-city teaching tour of Colorado. Spring weather is living up to it’s reputation, sunshine, rain, snow, sleet, and then sun again.  mountain view I am teaching classes in Montrose, Boulder, and Colorado Springs.  So happy to be teaching individuals who are so adept and eager to learn. Everyone works on her own frame, creating several sample pieces. In the introductory class, we explore the basic interlinking stitch, and then some variations. You learn the basic stitch, some finishing techniques, and then how to start from ‘scratch’. My hostesses to date have been lovely. Many thanks to Bobbie, Mary, Janet, Sue, and Cheryl. I’ve been treated to a tour of Black Canyon of the Gunnison Park, and a drive through the Rockies, from Montrose to Boulder. Looking forward to a tour of the Schacht Loom factory. In-between teaching, I’ve kept myself busy working on some Coptic designs, working out the pattern, and then testing them by making sample pieces. 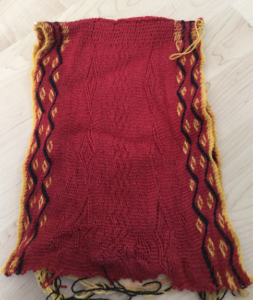 Red Coptic bonnet, inspired by a piece in the Kelsey Museum, 13395 Susan Foulkes is an amazing textile artist, teacher and researcher. In her blog she records things she sees on her travels. Her most recent post on https://durhamweaver64.blogspot.ca/ tells of her trip through the Baltics, and St Peterstburg in particular. She includes a photo of the 1709 uniform of Peter the Great, and a closeup of the sash … sure looks to me like sprang.
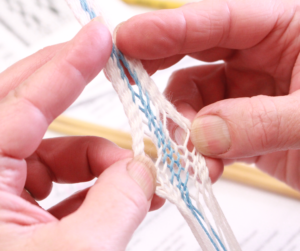
I always learn things from my students. Today Janet taught me about dealing with sticky warps. She is exploring the circular warp technique, and set on a warp using her very own handspun. All by herself she came up with a great technique. I had recommended spacing the threads out sideways. She decided to take the shed sticks and push them two at a time. That way they stay spread out as she moves them around. Here are some photos of the technique in action. 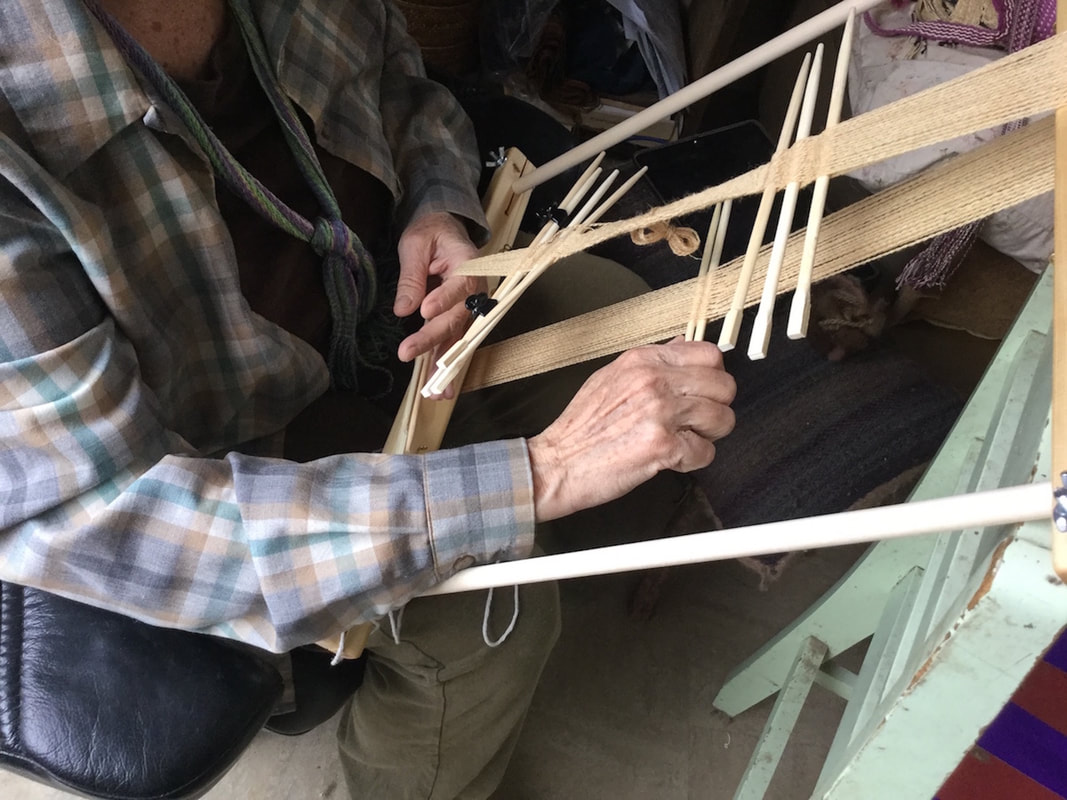 Pushing the pair of sticks up  Pushing further up the back side 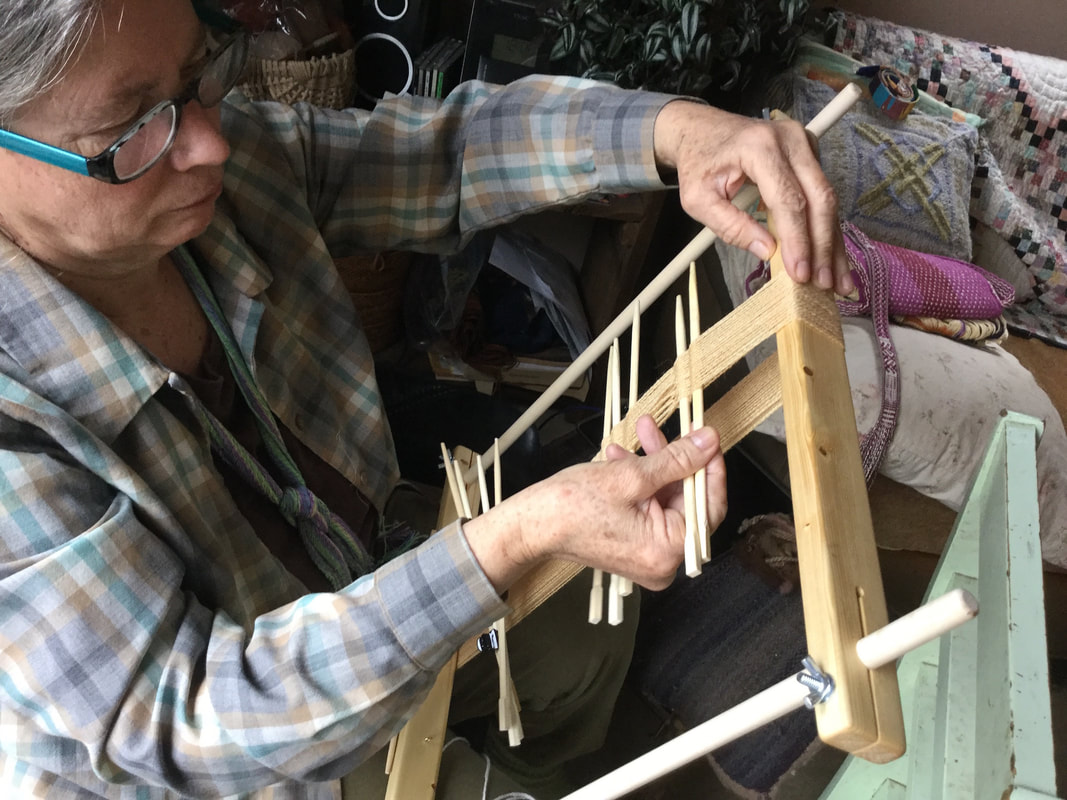 And over the top. Smooth as silk. We will call this the Janet Finch technique for dealing with sticky warps.
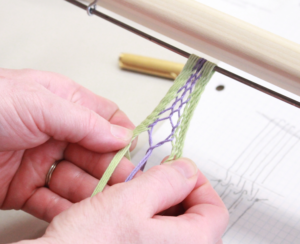
Here I am back in California in February. I started out at the Lacis Museum of Lace in Berkeley. I hung out there for two days, teaching. I then travelled to Aptos, where I met with the Santa Cruz Handweavers. Some of the students from last year wanted more. Some were new to finger weaving and sprang. Here are photos of some of what they produced during the workshop: 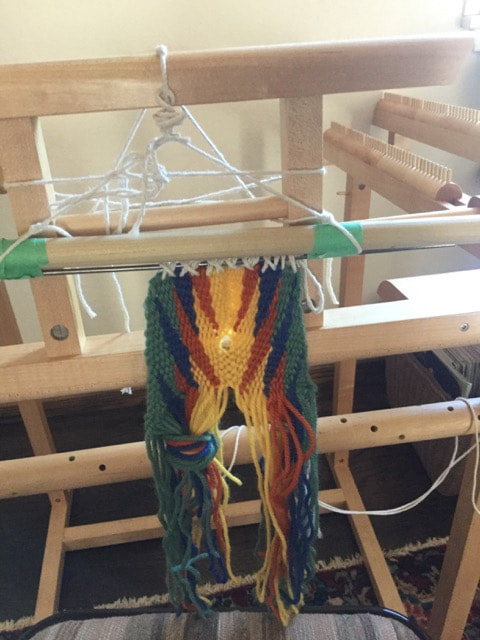 fingerwoven bag, in progress  fingerwoven strap and belt, in progress 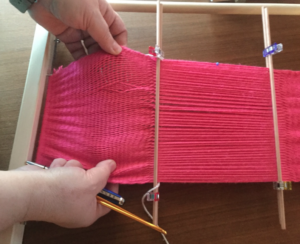 sprang bonnet, with diamond S&Z design, bonnet in progress 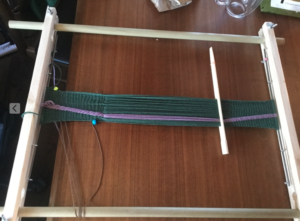 sprang, exploring twining, diagonal lines  A sampler, completed by a student on her first day of sprang class. Well done! Such a pleasure to be working with individuals so eager to learn and spread the good word about these amazing techniques. In my spare time between teaching engagements here in California, I continue to work on mapping out the patterns in those pieces I saw at the Kelsey Museum, in Ann Arbor, Mi, last May. IMAGe(Twined patterns from the collection at the Kelsey Museum, in Ann Arbor, Michigan) Hoping to publish a set of twined patterns, following up in the idea of the sprang lace book of last year. Sprang is such an amazing, adaptable textile technique. The historic record is exceedingly rich in ideas.
Working on a new vest. A friend allowed me access to her stash, two boxes of yarn skeins, a pallet, varying from green to red. 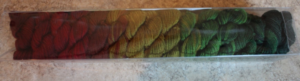 A box of several small skeins, the color shifting with each skein IMG_6430 I set the yarn on my frame, false-circular warp, and the colors blend nicely, one into the other. And here it is, partially done. I worked in some twined stitching, dragging colors along into other color zones. We’ll see what it looks like when it’s finished. 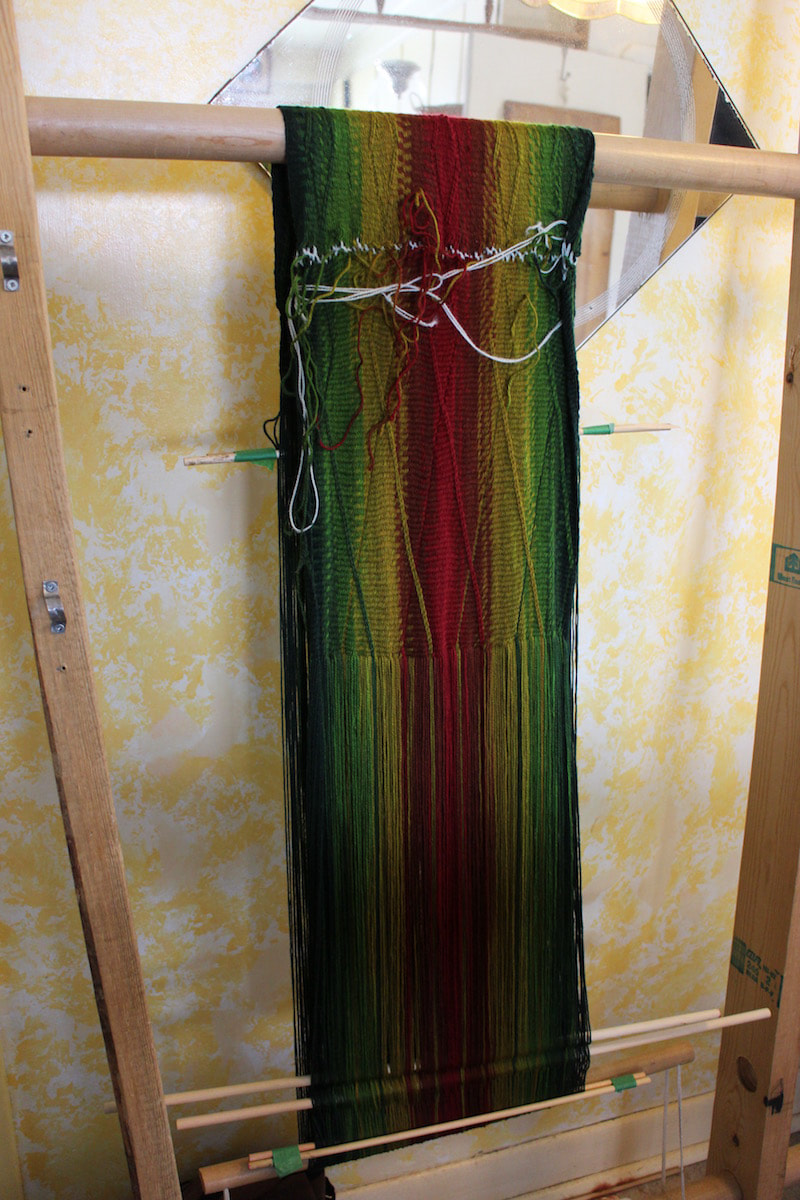 The white string is because I'm working a 'False Circular' warp. The white strings hold the initial loops, which will eventually become hemline at front and back. A week later the cloth is now finished. How to form the neckline? Sometimes the V neck stretches stitches, causing a less-than-desiralble pattern. I’ve decided this time to try cutting threads near the center line. Two inches up the front side I cut threads in pairs, so I can tie them in knots. At the back of the vest, I tied the knots right there along the center chain line. On the front I unravelled a center thread to form the slit down the front, and then sewed it partway back up toward the chain line. This thread I tied with a partner thread. The other threads I tied at intervals to create the V neckline. 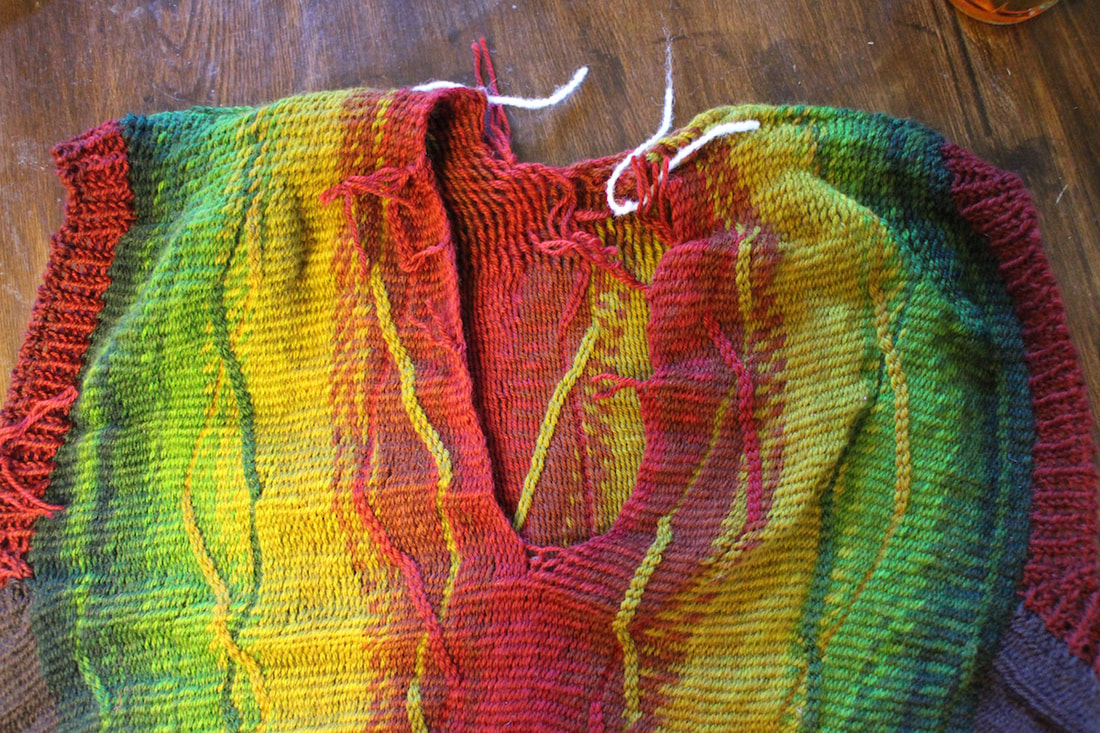 Cut threads unravelled and tied in knots, forming the neckline. 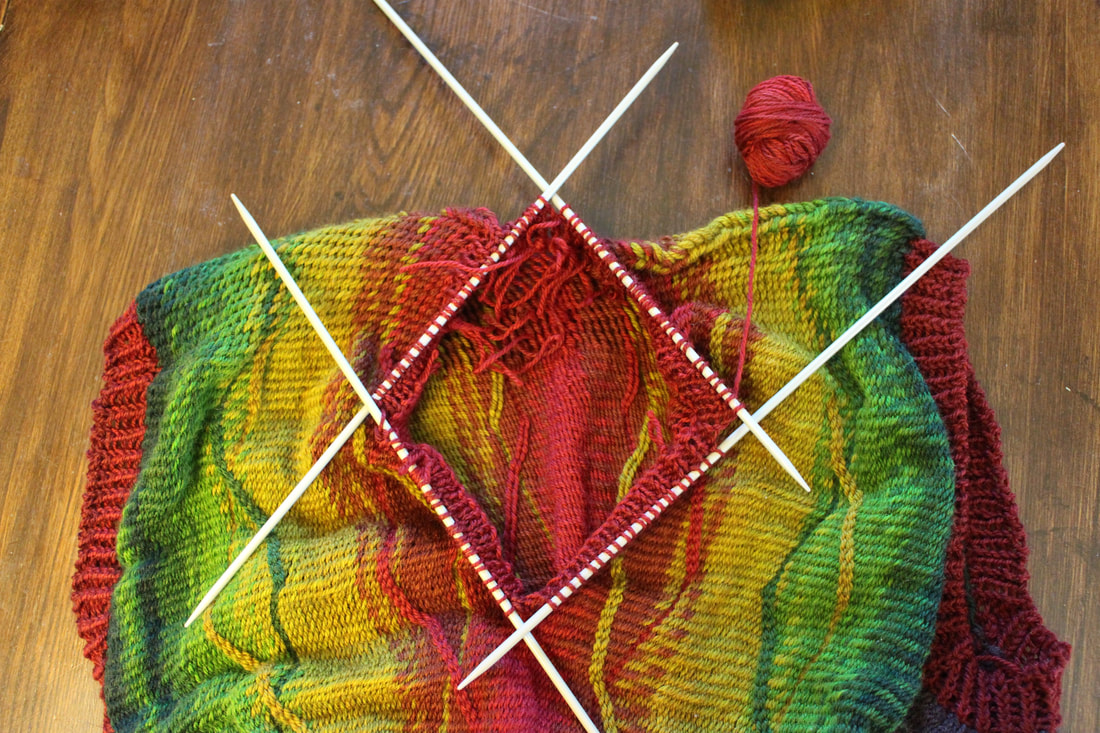 Pick up and knit stitches (rib pattern) around the neck to form a nicely finished edge. 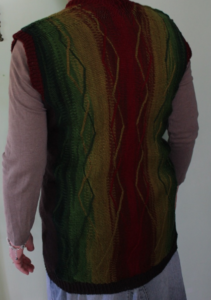 the back 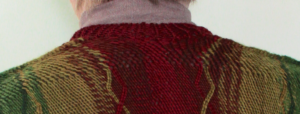 Close up at the back of the neck I find this method makes a much nicer finish at the back of the neck. 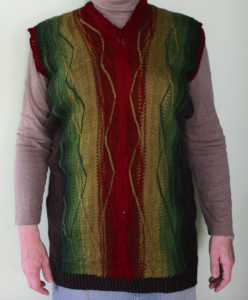 The front of the finished vest Since arriving back home from my travels, I’ve hunkered down to have a close look at Sprang Unsprung. My students over the past 4 years have taught me a great deal. I’ve decided that some of the instructions, while technically correct, offer way too much information, and could do with simplification. The 2000 copies printed in 2011 are almost all gone. Time to reprint. An excellent opportunity to revise. The new version, the 2nd edition is not available. Those who have the 1st edition and who want access to the simplified instructions … I’ll be contacting my web person to post them … but in the mean time, e-mail me carol (no e) at sash weaver dot com and I’ll send you a file. Students have also asked for patterns. I’ve set up a booklet of some twenty five different lace patterns.  For the most part I tried to keep the patterns to fit a 36 thread warp.
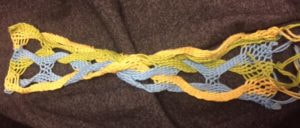
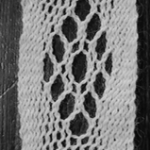
To maintain interest, there are four patterns that require more than those 36 threads. IMAGE (This meander pattern was included, as many students asked for it, but it requires more than 36 threads.)
So, I’m here in New Zealand. I’ve toured around a bit. Beautiful country. Mountains, valleys, and seaside. 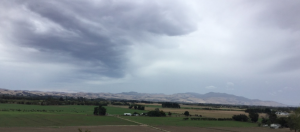 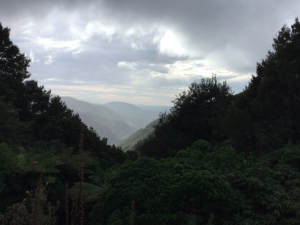 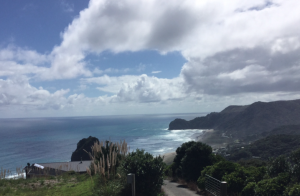 The beach at Piha, near Auckland  A nature preserve in an old water reservoir near Wellington. 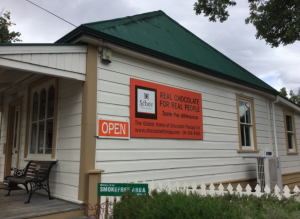 Some Kiwis are quite serious about their chocolate. I happened upon a shop that claimed to be the Global Home of Chocolate Therapy … they did indeed have some excellent chocolate inside. I saw the place where they make the Ashford spinning wheels, and met Richard and Elizabeth. Indeed Richard made the sprang frames that students used on my whirlwind teaching tour. 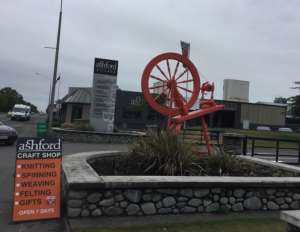 Ashford Village, home of the Ashford spinning wheel I’ve taught classes in several cities, including Wellington, Mosgiel, Ashburton, and Christchurch. Spinner / weavers I’ve met here are quite interested in finger weaving and sprang, and quick to learn. 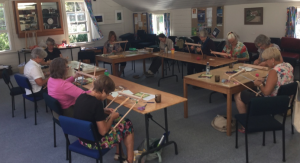 Sprang class at Gear Homestead, in the Wellington area, 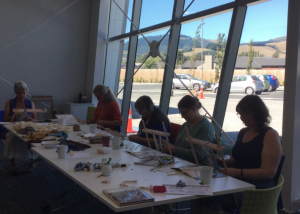 Sprang Class in the Christchurch area. 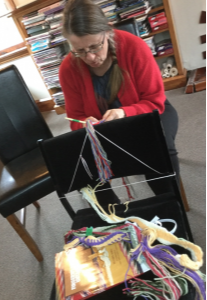 Finger weaving students mastered several motifs 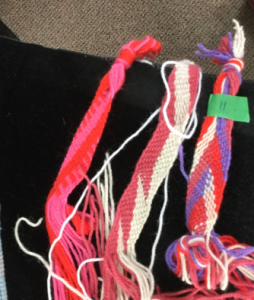 a stippled diagonal stripe, the saw tooth, and the chevron Thanks to Rosanne & Paul for a delightful tour of Wellington. Many thanks to my Creative Fibre hosts, Robyn, Marilyn, Anne, and a special thanks to Sue Giller, Education Co-ordinator for Creative Fibre, New Zealand.
Over the next few weeks I’ll travel to Whakatane and Taurange, and I’ll visit the good folks at Majacraft. At the end of April I’ll participate in the national fibre conference that will take place in Auckland. The Red River is frozen solid, and as usual the plows have cleared a track, so people can skate on the river. 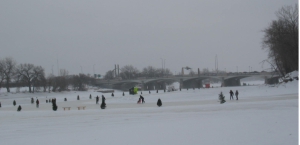 Public skating arena on the Red River, below the Norwood Bridge. But I’m in California. At the invitation of Jules Kliot, I taught a sprang class at the Lacis Museum of Lace and Textiles in Berkeley, California. The weather was markedly different from what we were having in Winnipeg. 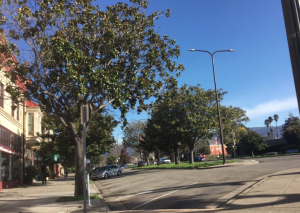 Adeline Street, just outside the Lacis Lace Museum in Berkeley. Many thanks to Jules and to Erin for making this class happen. Then on to speak to a gathering of the Santa Cruz Handweavers. The place where they meet is in a park. 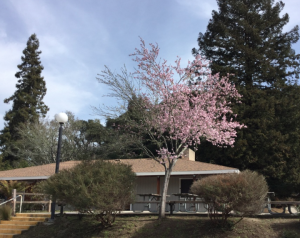 again a stark contrast from Manitoba weather for February. I then taught two classes to the Santa Cruz Handweavers, one on sprang  We explored flat warp & circular warp, as well as interlinking, lace holes, interlacing, and twining. And then I taught a second class on the subject of finger weaving.
Thanks to Mibs, Yonat, Barbara, and Ruth, for the work they did to make these workshops a pleasant experience for all. Looking forward to returning to California again sometime. But now I’m in New Zealand. Here’s the view from my window 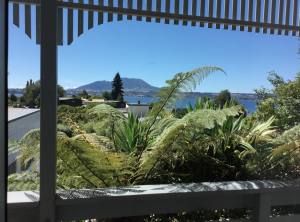 Taupo, New Zealand I will be teaching in Wellington, Mosgiel, Ashburton, Halswell, and Taupo, and then attending the national Creative Fibre Conference in Auckland at the end of April.
|
Categories
All
Archives
May 2023
Categories
All
|


 RSS Feed