|
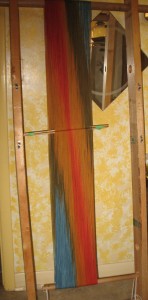
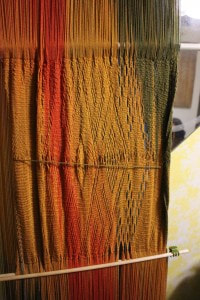
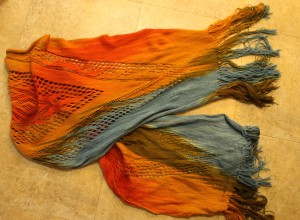
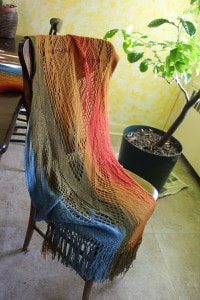
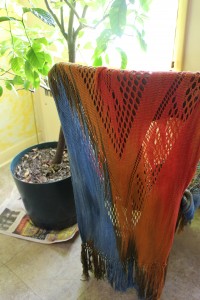
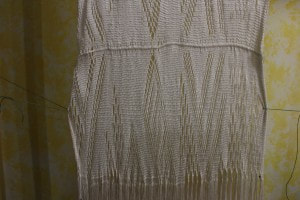
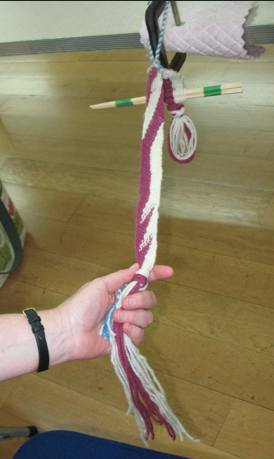
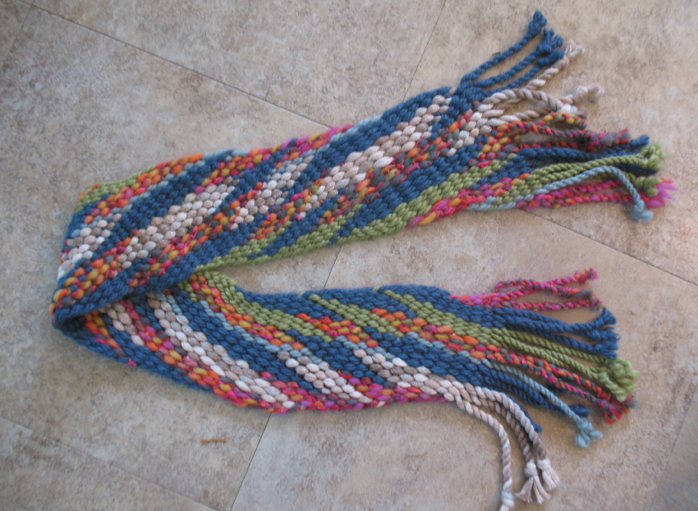
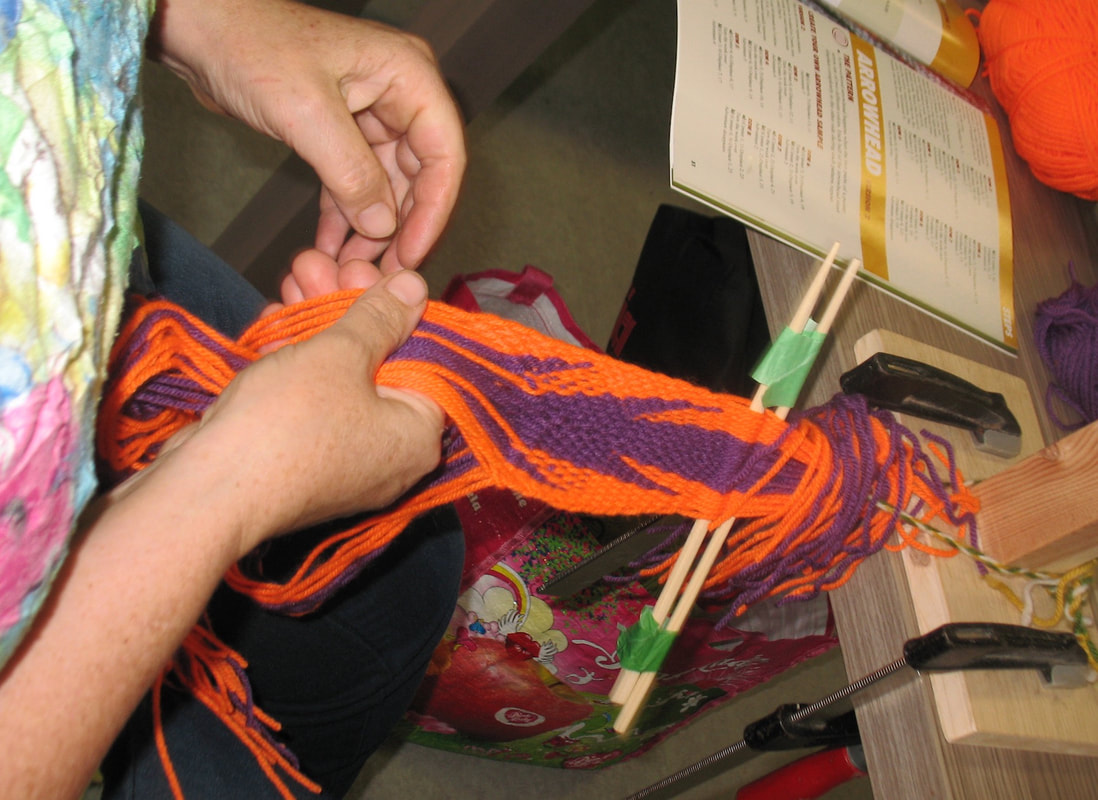
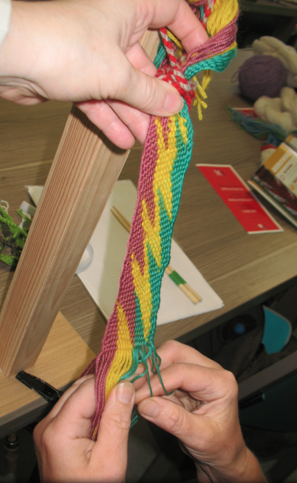
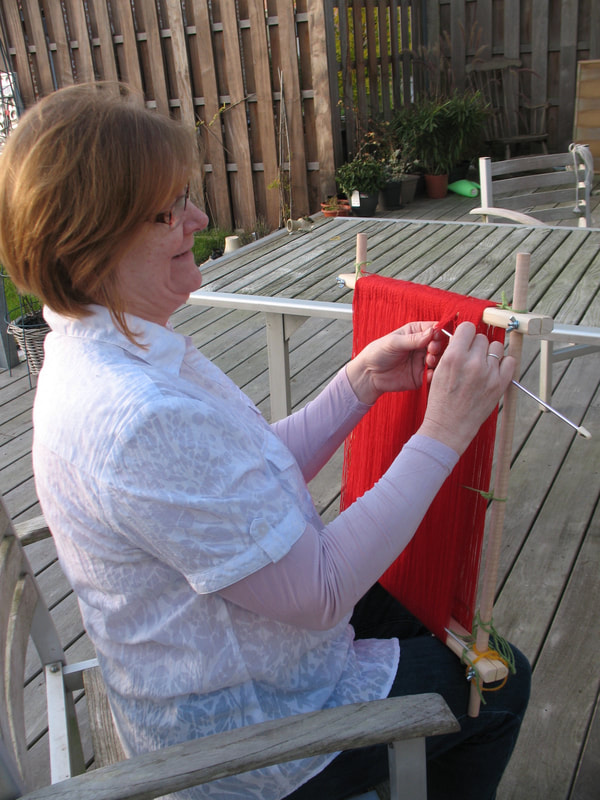
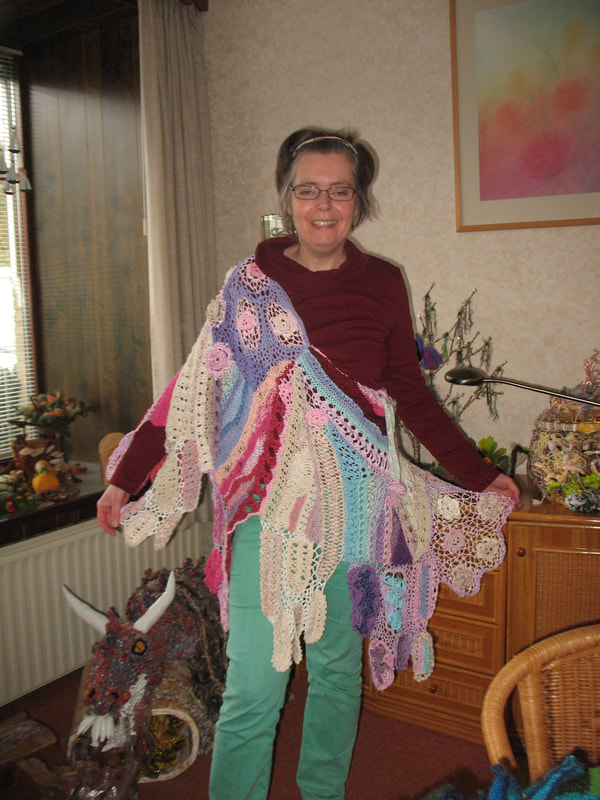
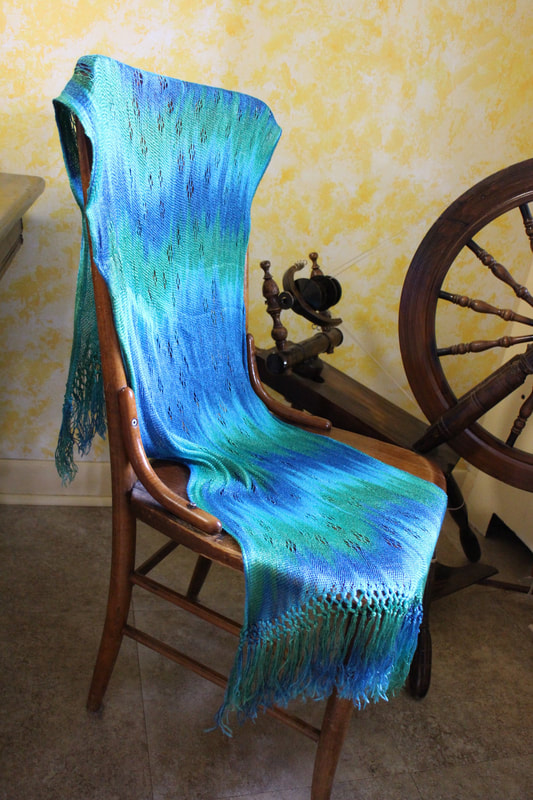
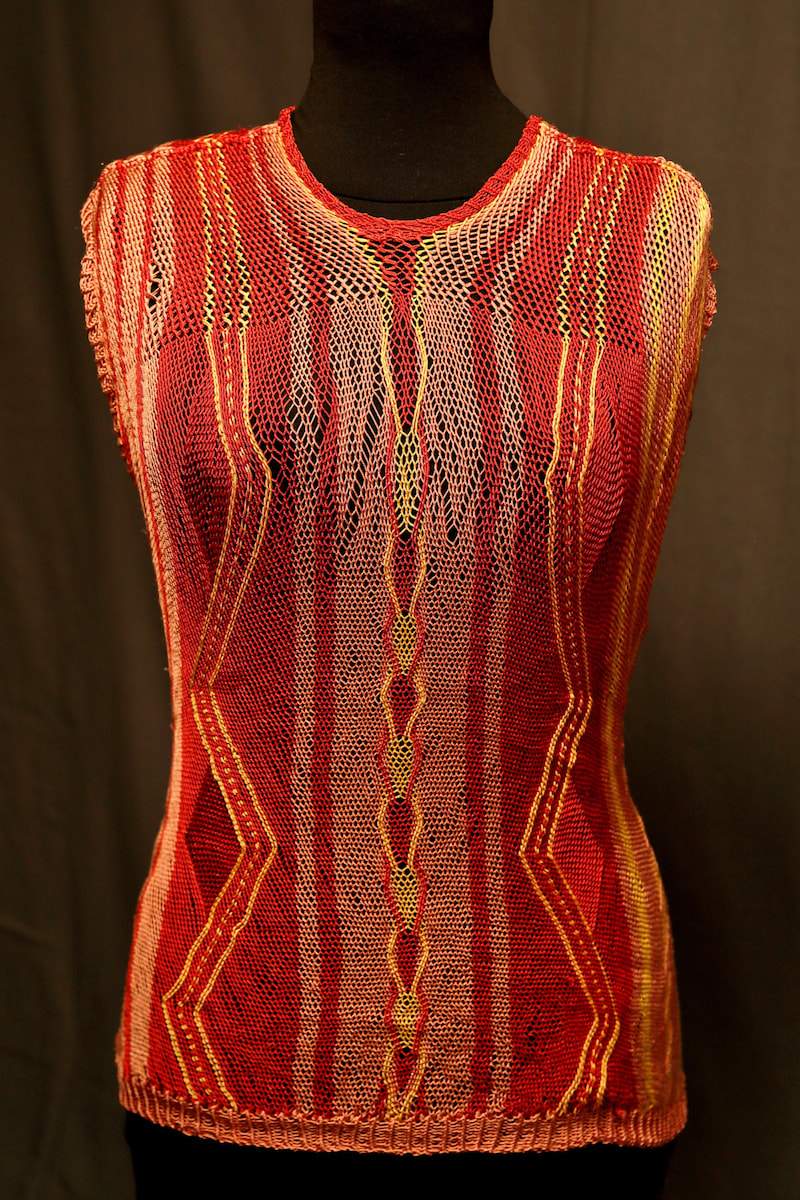
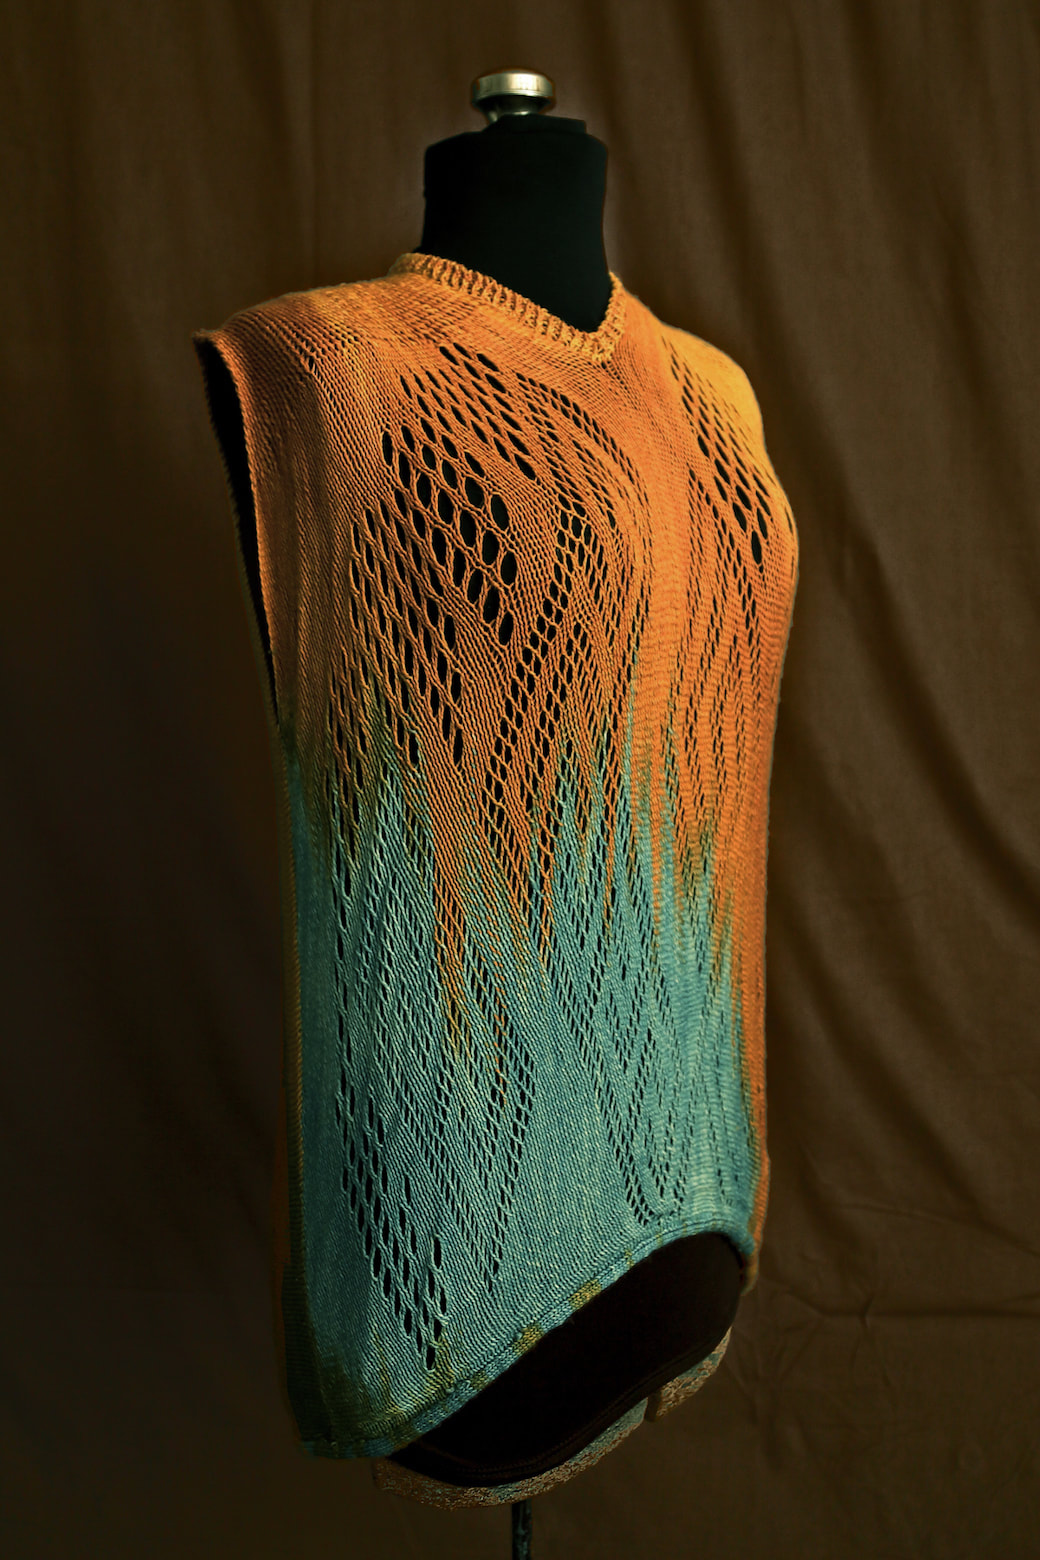
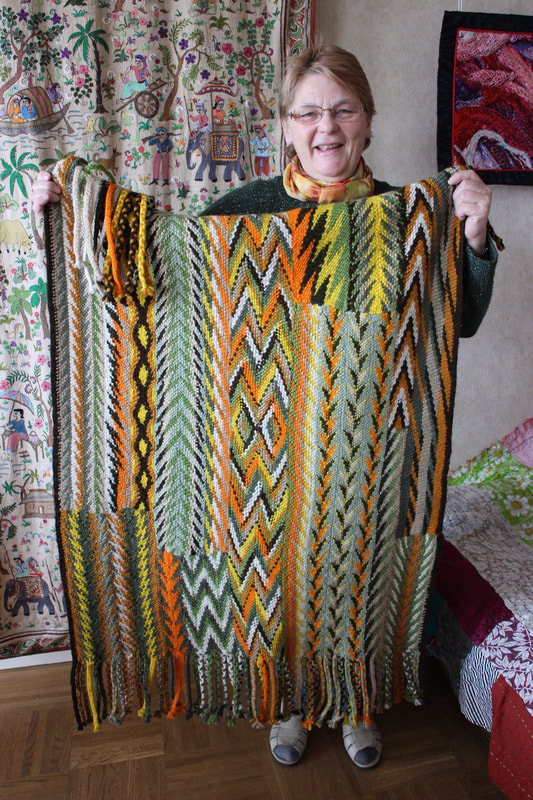
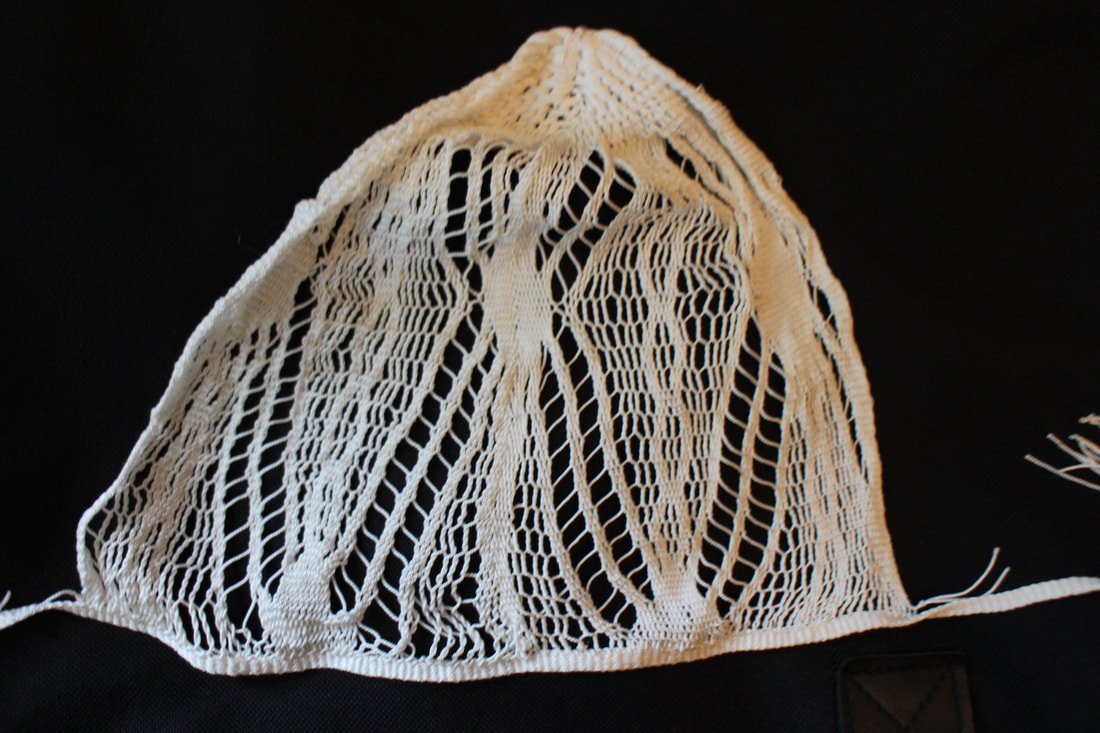
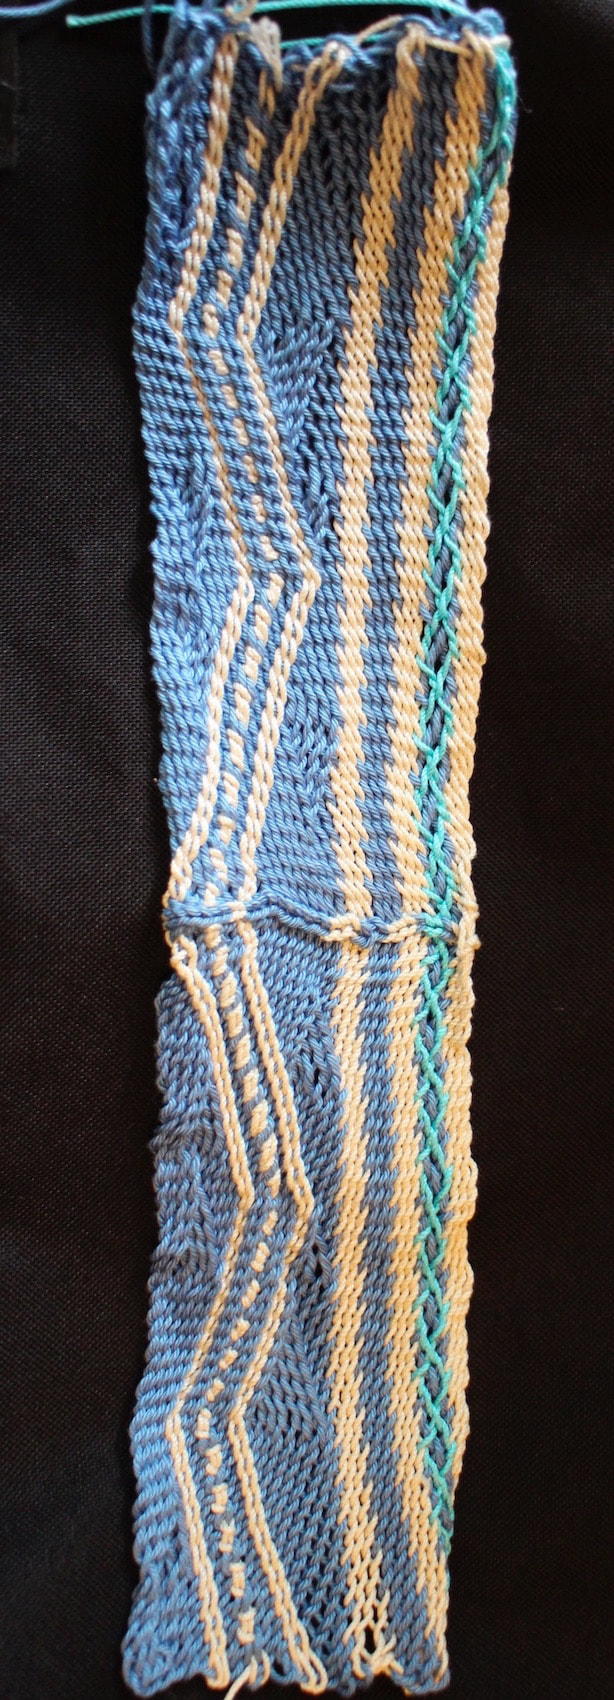
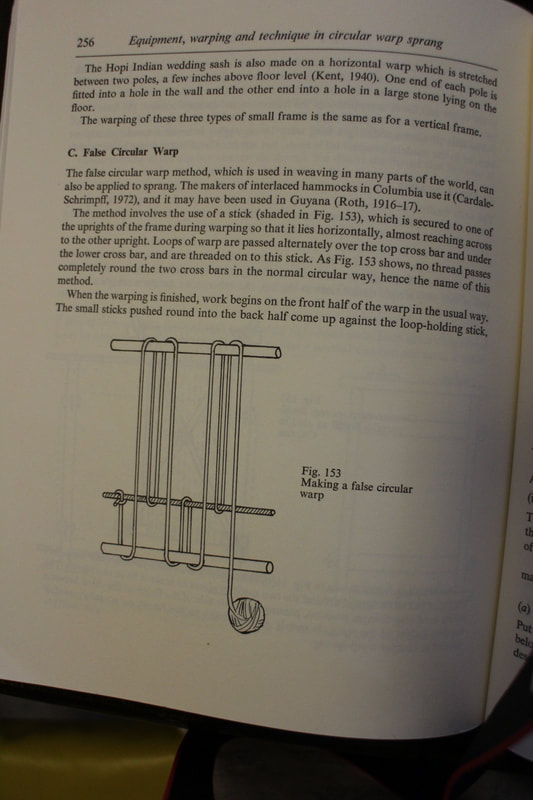
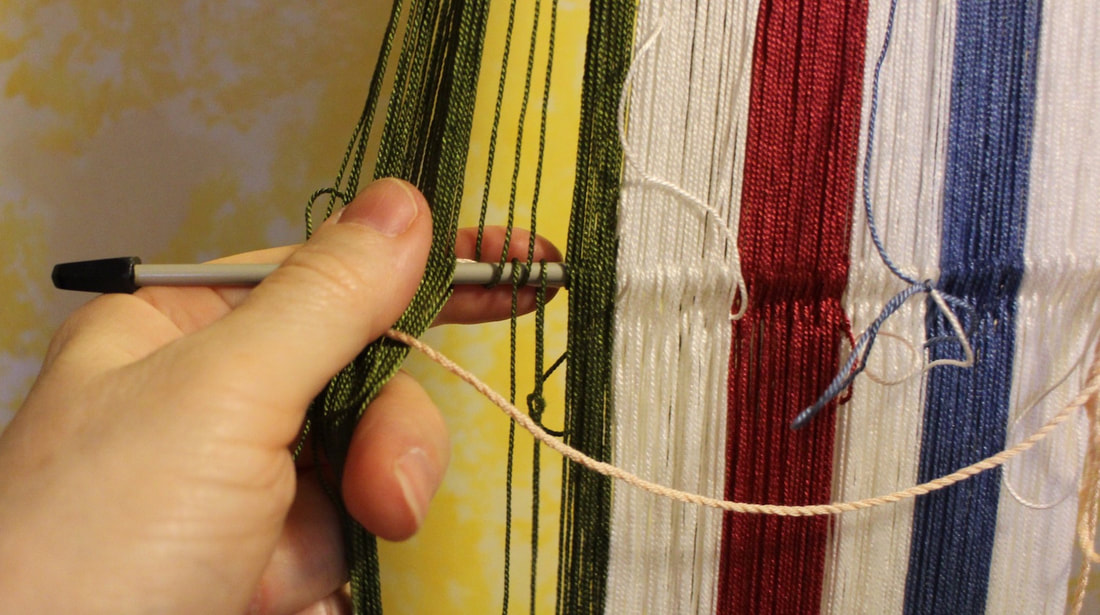
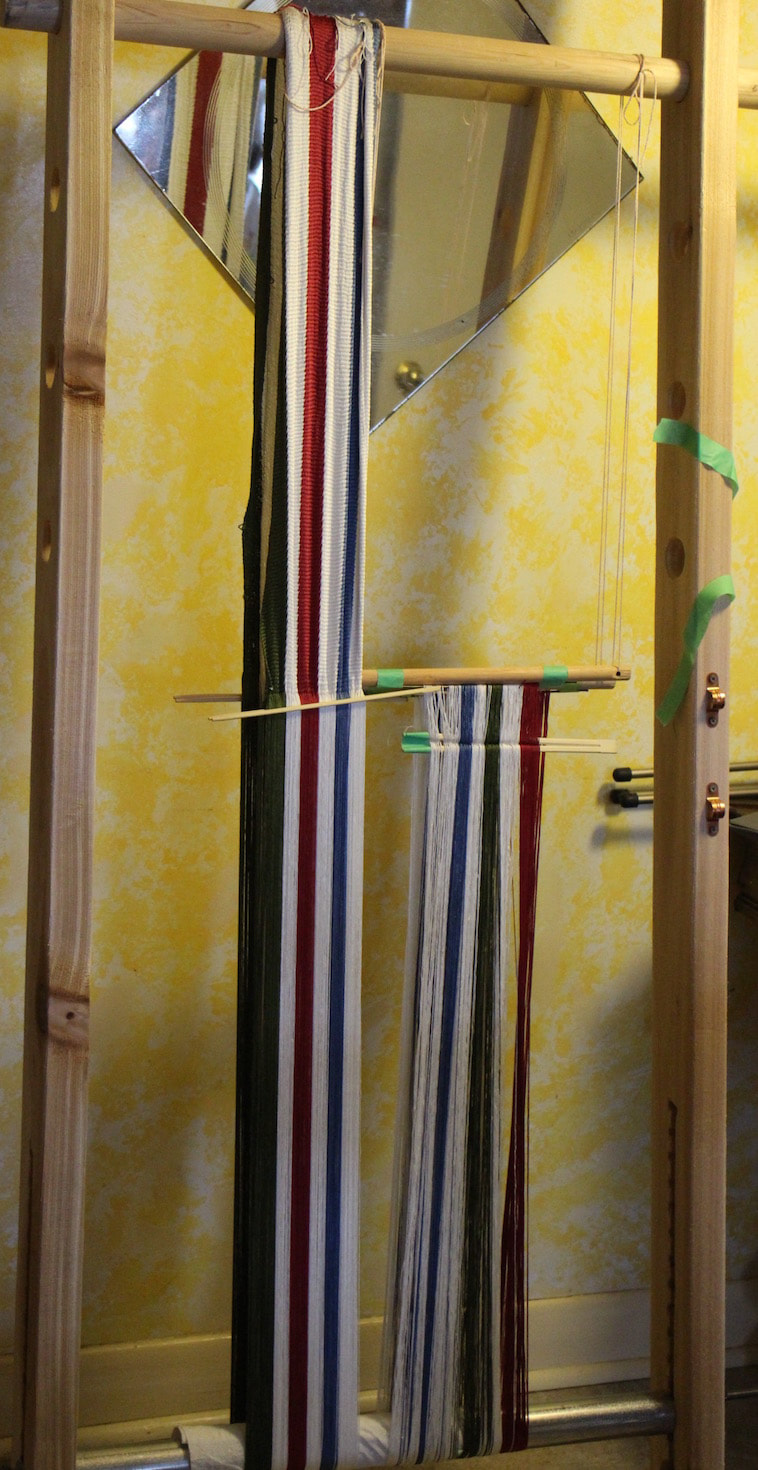
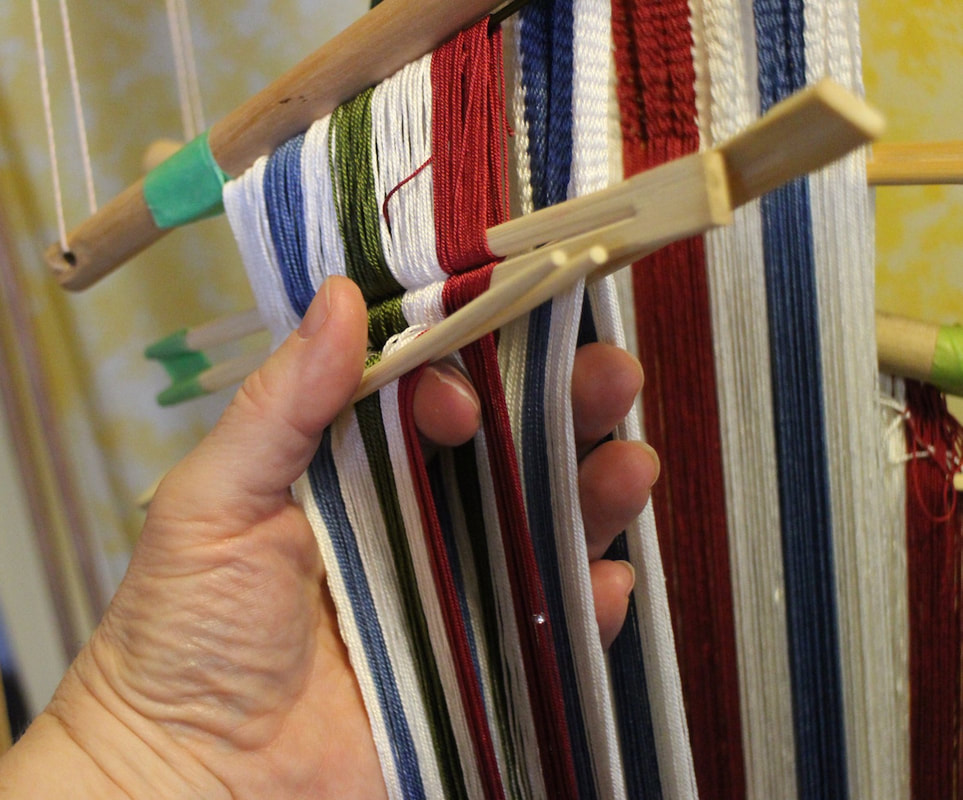
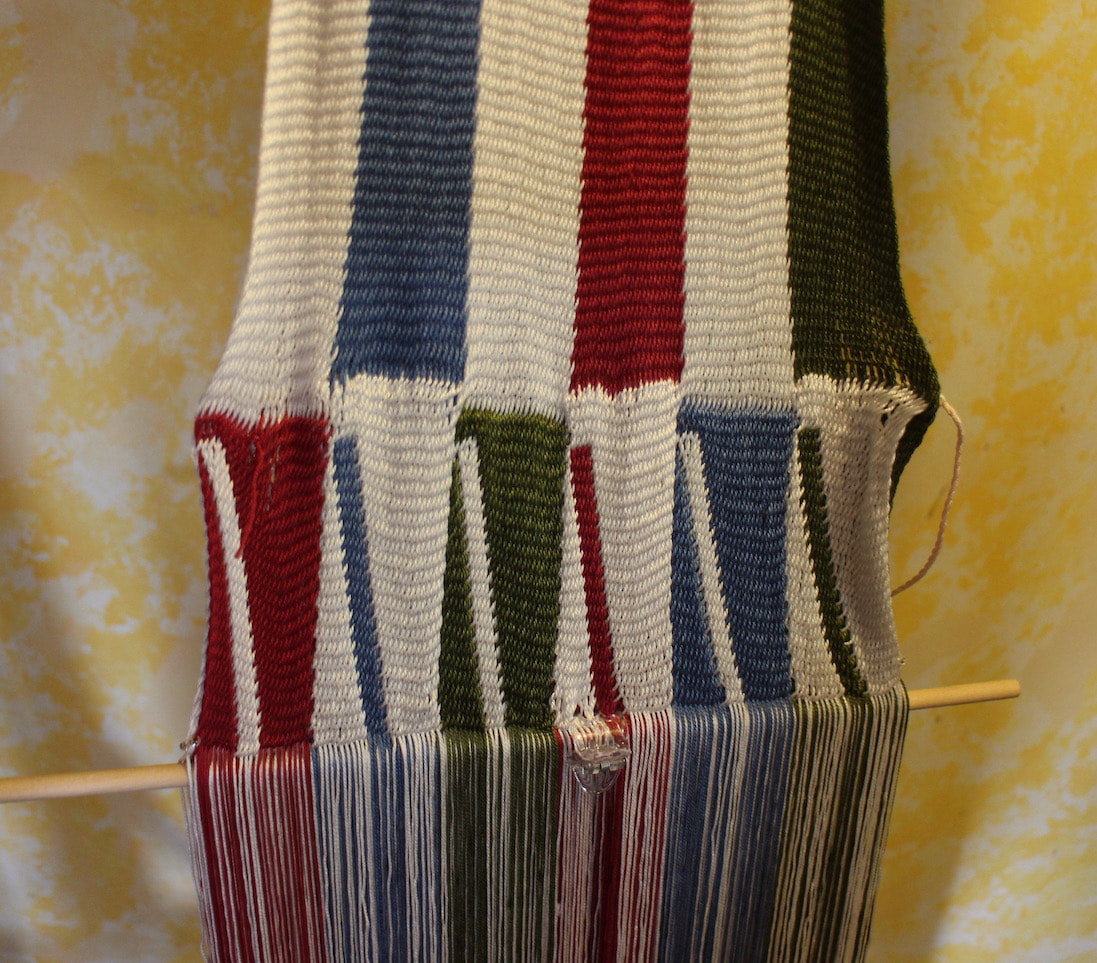
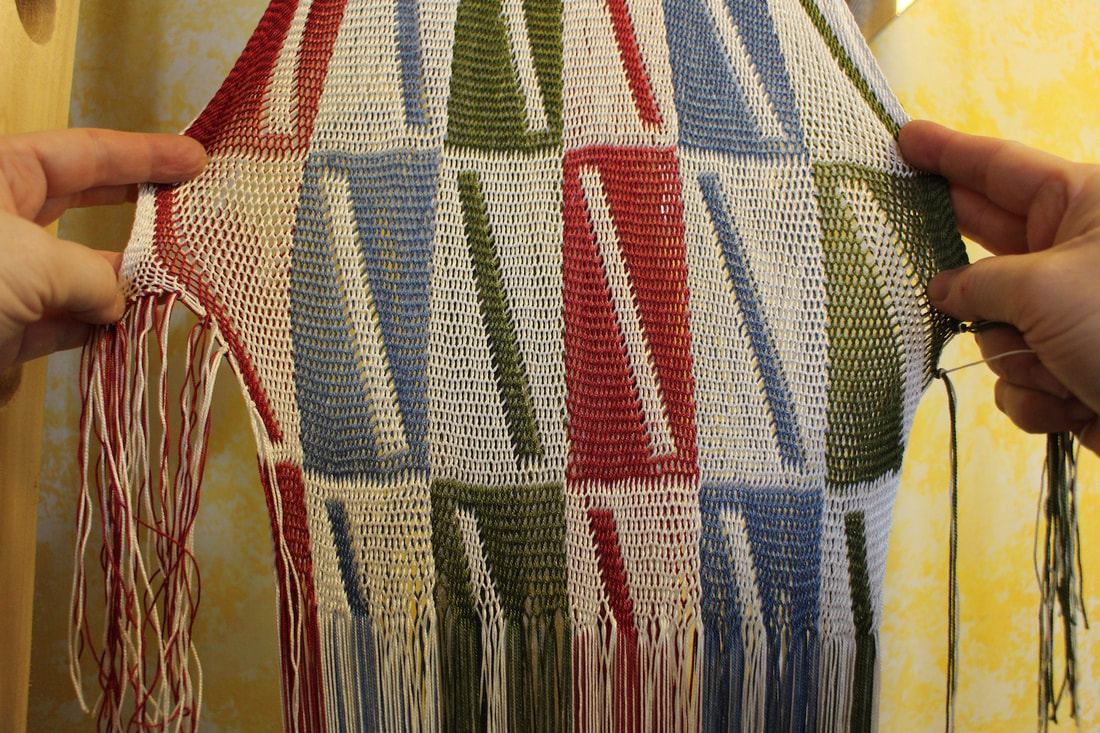
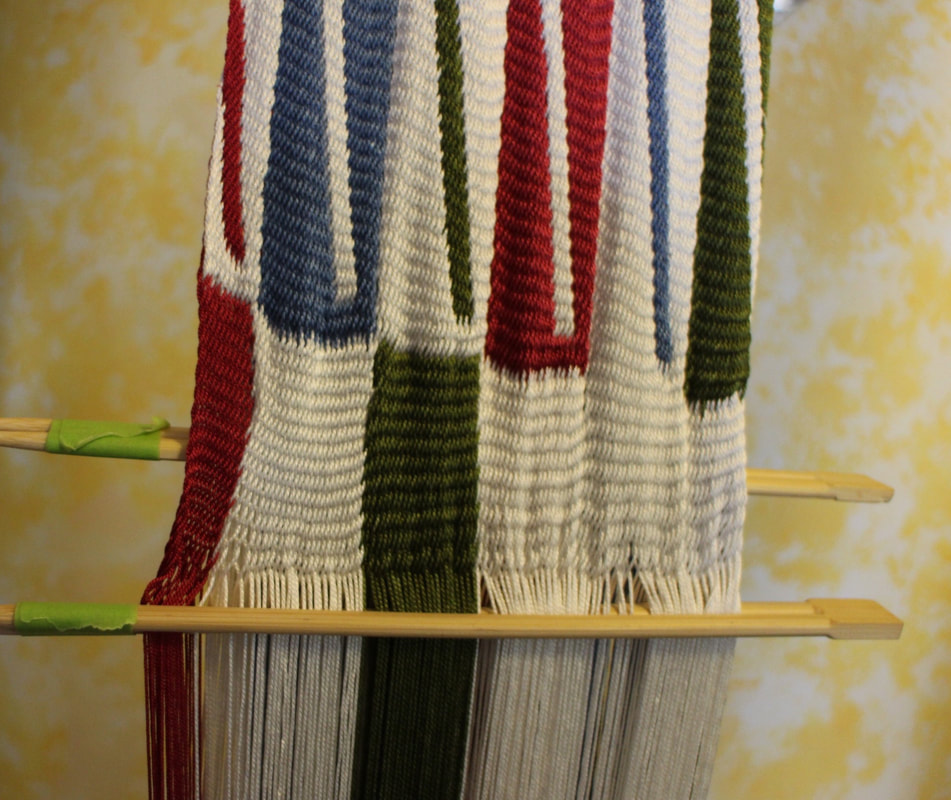
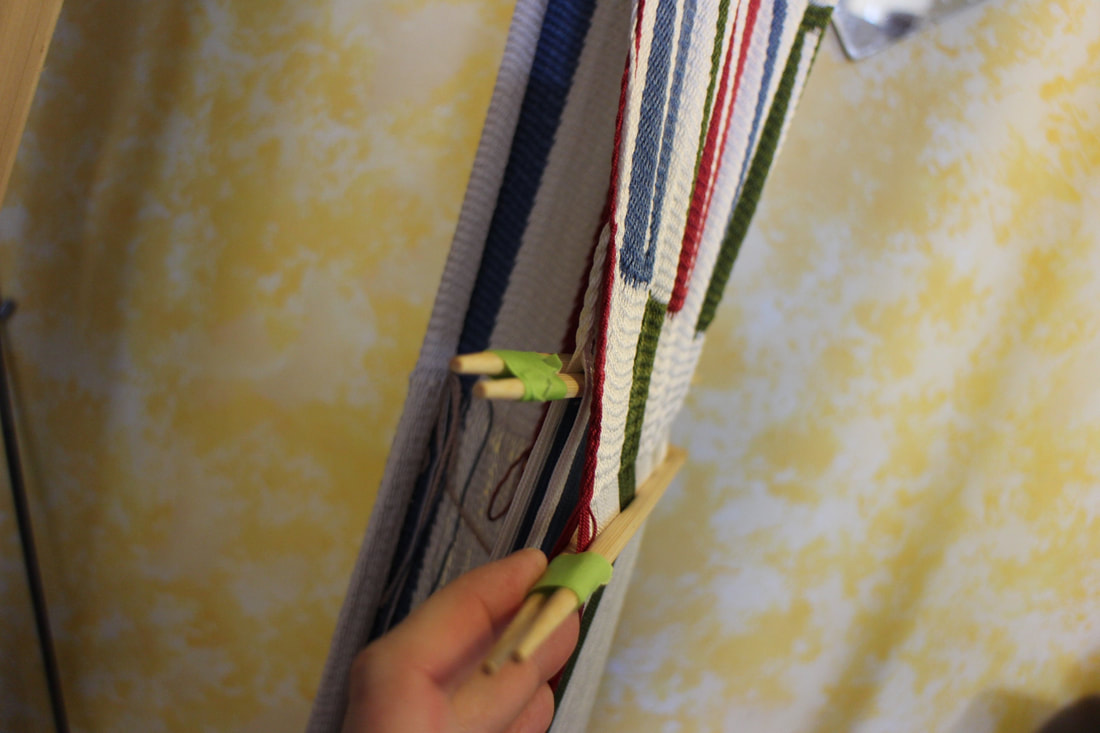
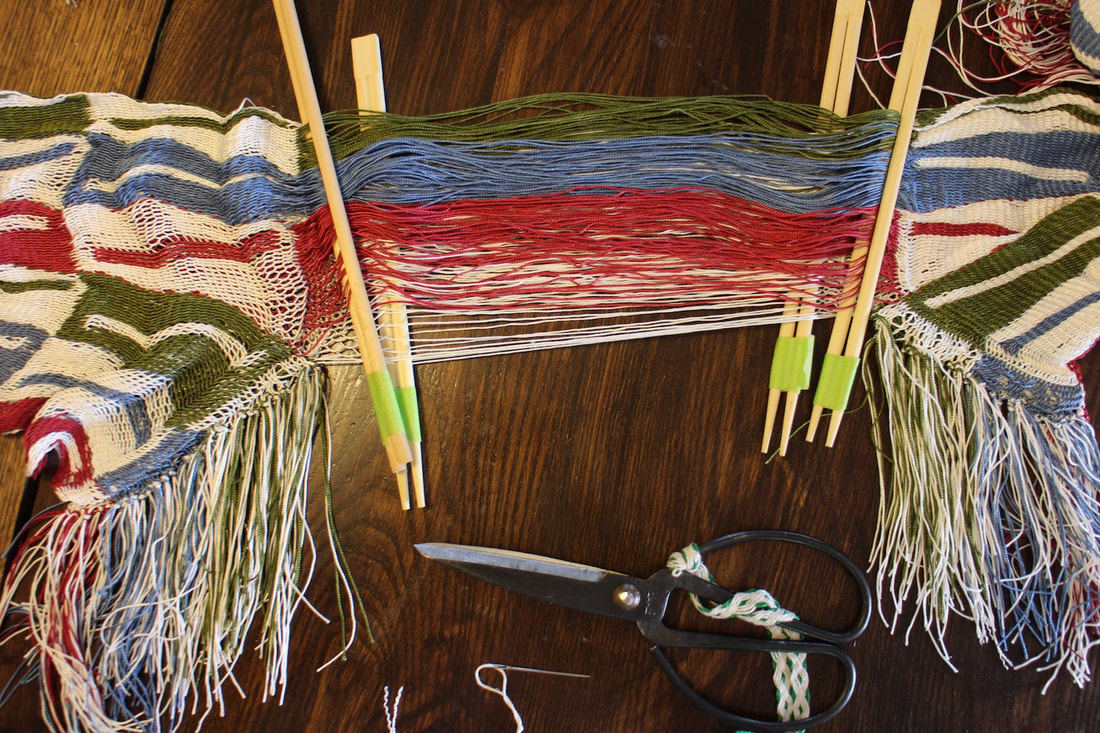
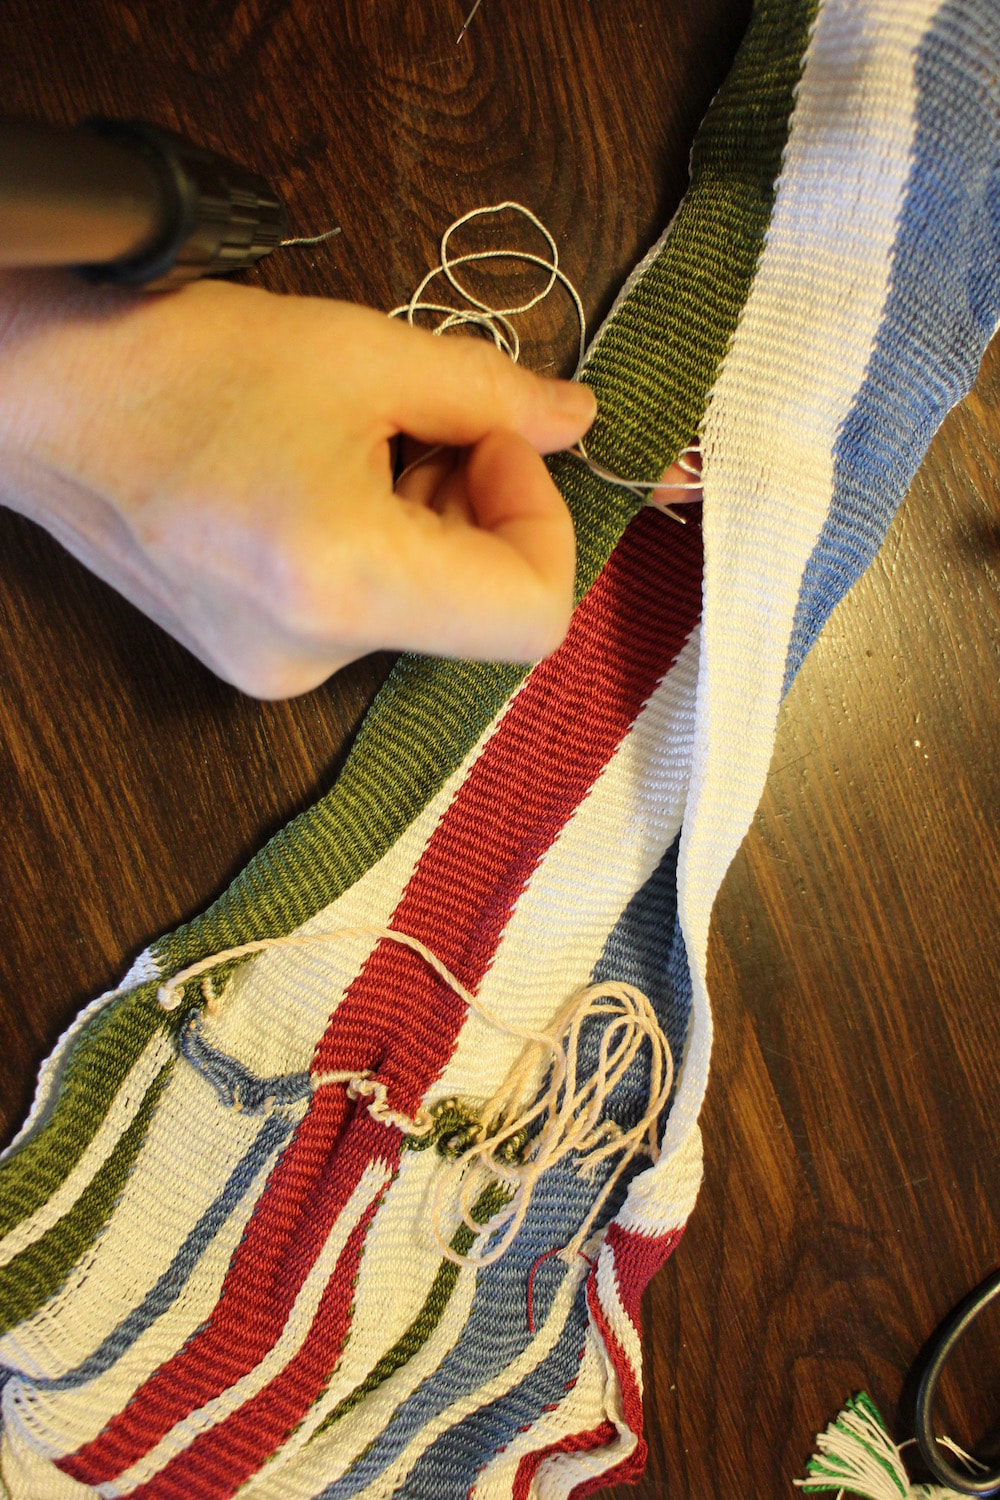
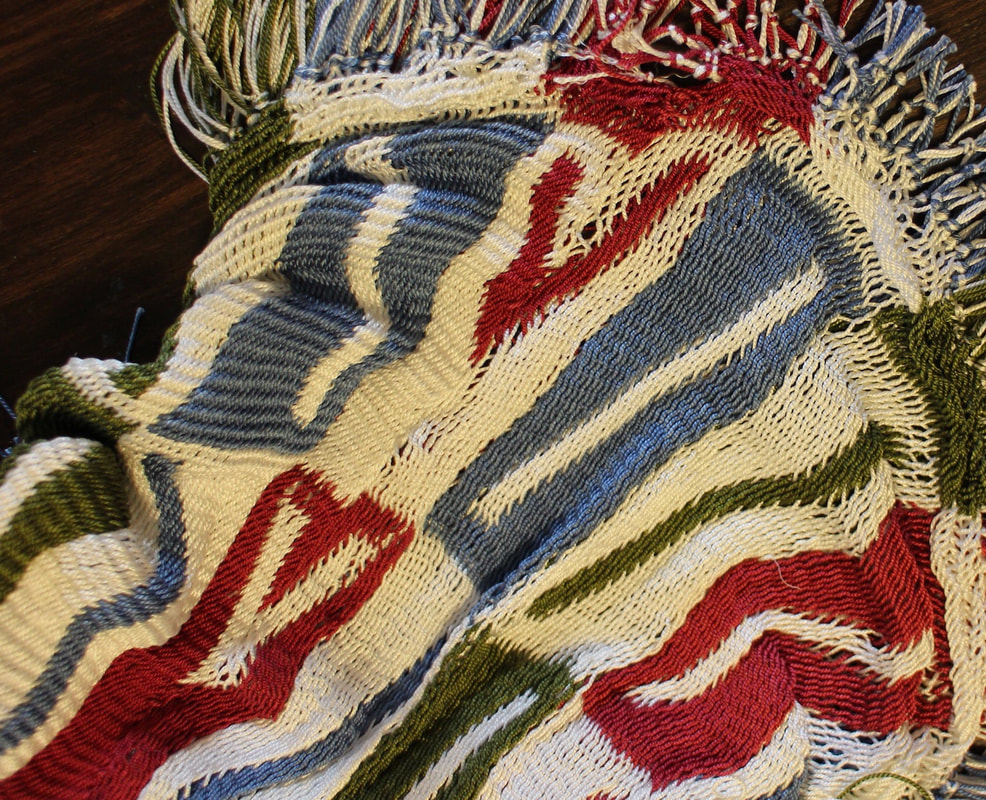
Inspired by that famous shirt, found near the Tonto Ruins in Arizona (check out http://www.statemuseum.arizona.edu/coll/photographic/tonto_shirt.shtml), I’ve created a shawl. The material was ‘sock yarn’ hand dyed by Glenna Dean of Abiquiu Dye Studios. It began as an extra long hang of yarn, eight ft in circumference. I asked Glenna to do a special ‘rainbow dye’, that is, to dye in sections, creating a multicoloured warp. Here’s the finished shawl. I knotted the ends to form a fringe. Now I’m working on a proper replica of that Tonto Shirt. I’m collaborating with the Arizona State Museum, who permitted me to photograph details of the shirt, and Louie Garcia, who will hand-spin the required amount of cotton (no small feat). Not wanting to mis-calculate the yardage required, as well as verifying my pattern-writing skills, I’m presently working on a ‘practice piece’. Looking at details of the original, I noted that the loops from front and back, where they meet at the shoulder line, are looped around a common thread. This made me think of Peter Collingwood’s ‘false circular warp’ setup. That’s the way I set up this shirt. It means I need a frame that is only half as long.
Now, re-examining photos I have of the front and back, I see that the back was turned over before being attached to the front. I’ll not be able to use this common starting line as the shoulder seam. I’ll have to separate front from back, flip one over, and then attach at the shoulder.
0 Comments
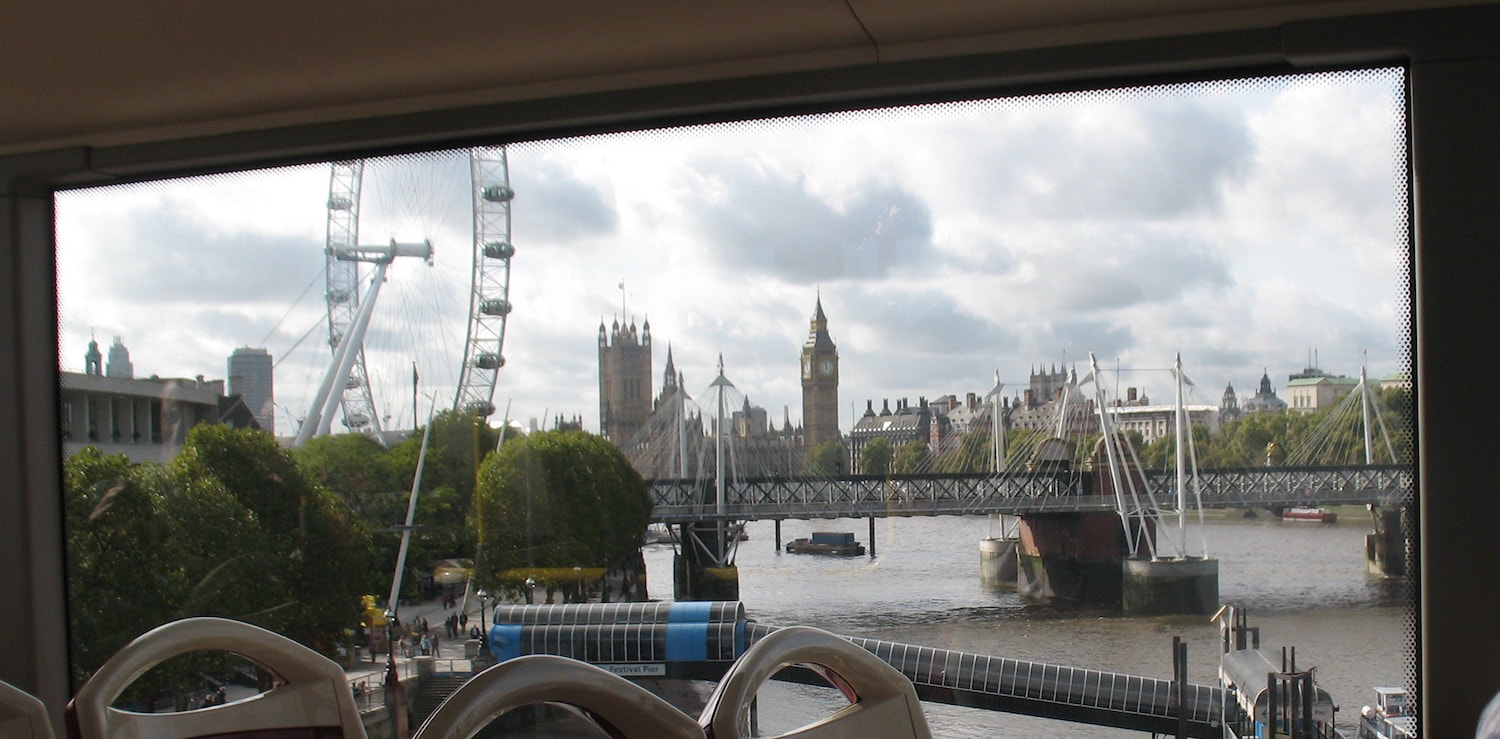
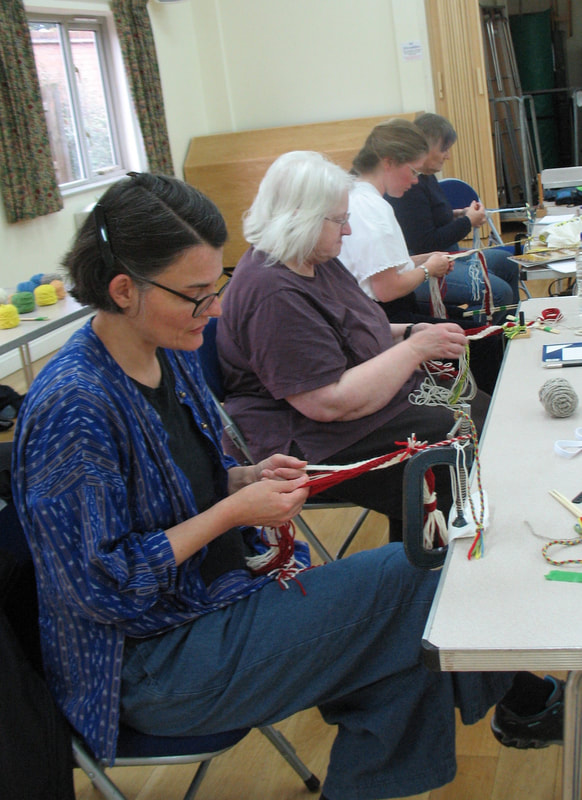
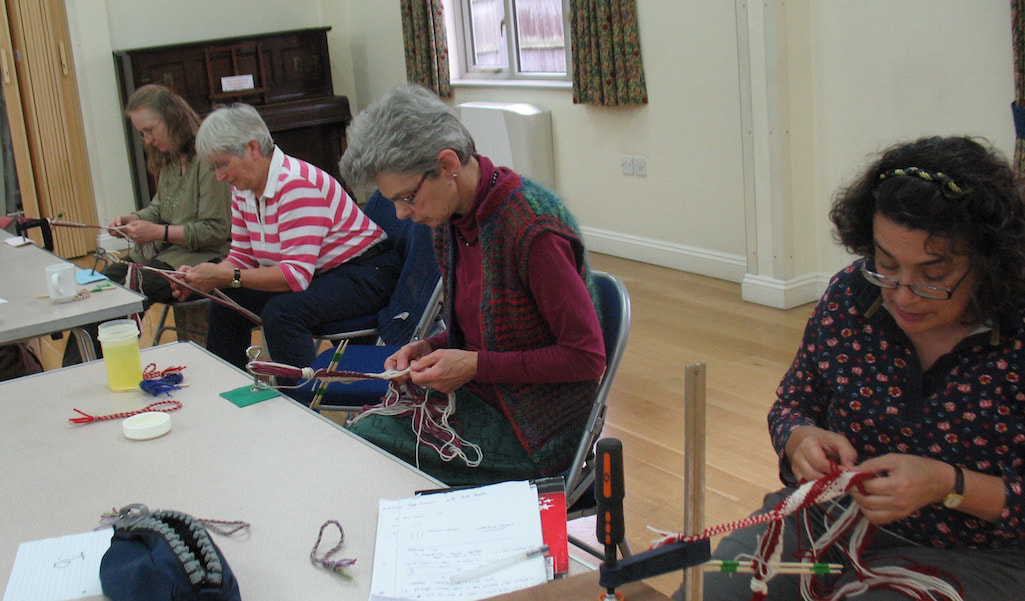
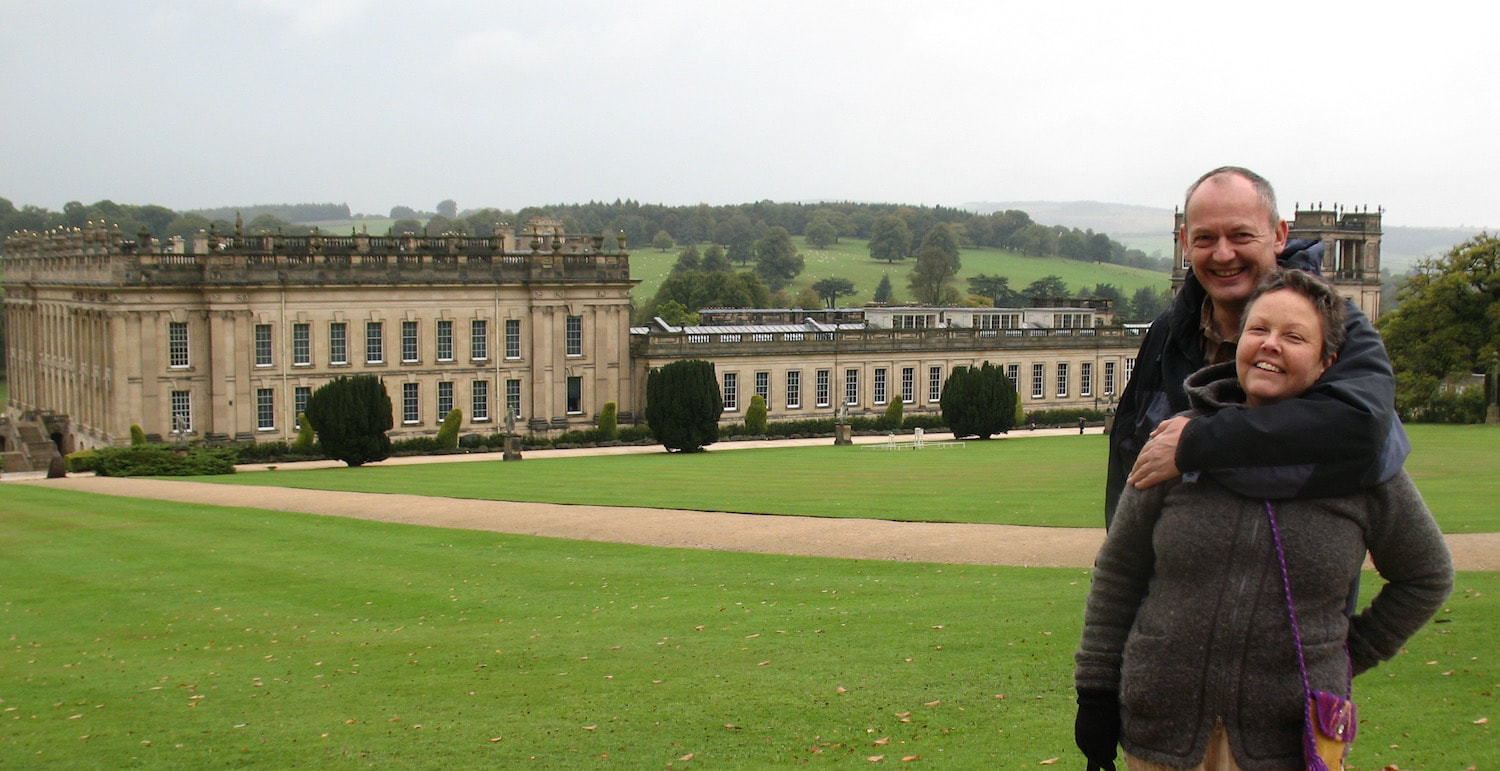
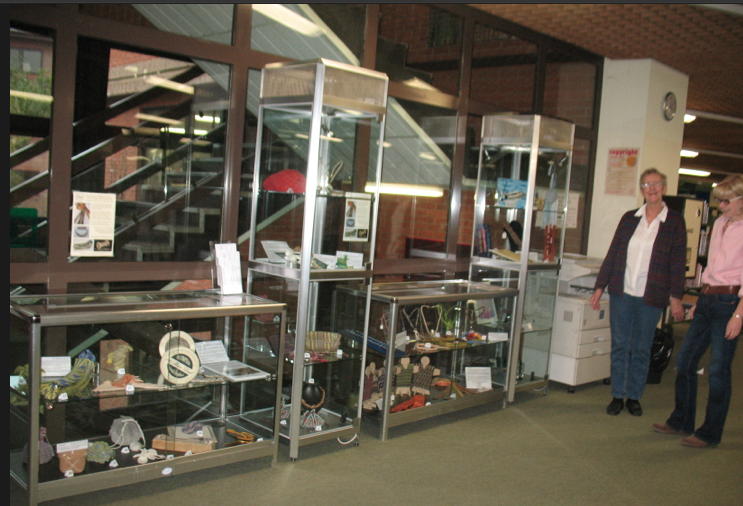
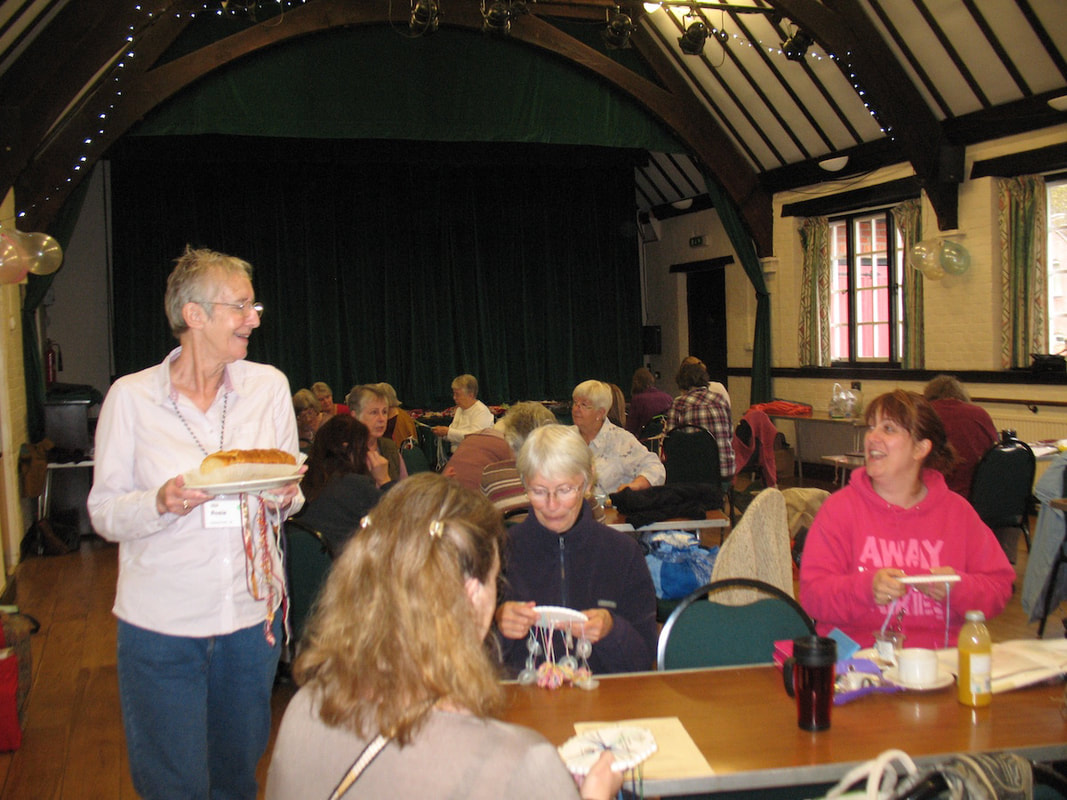
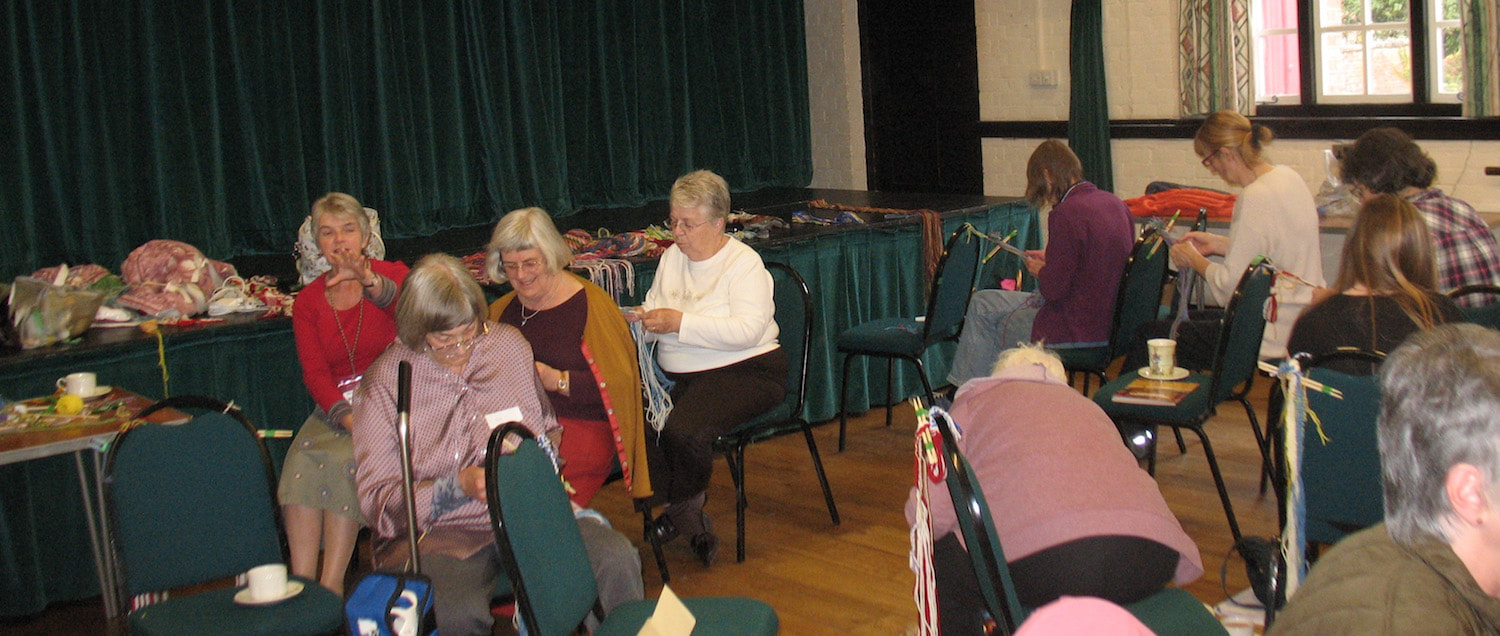
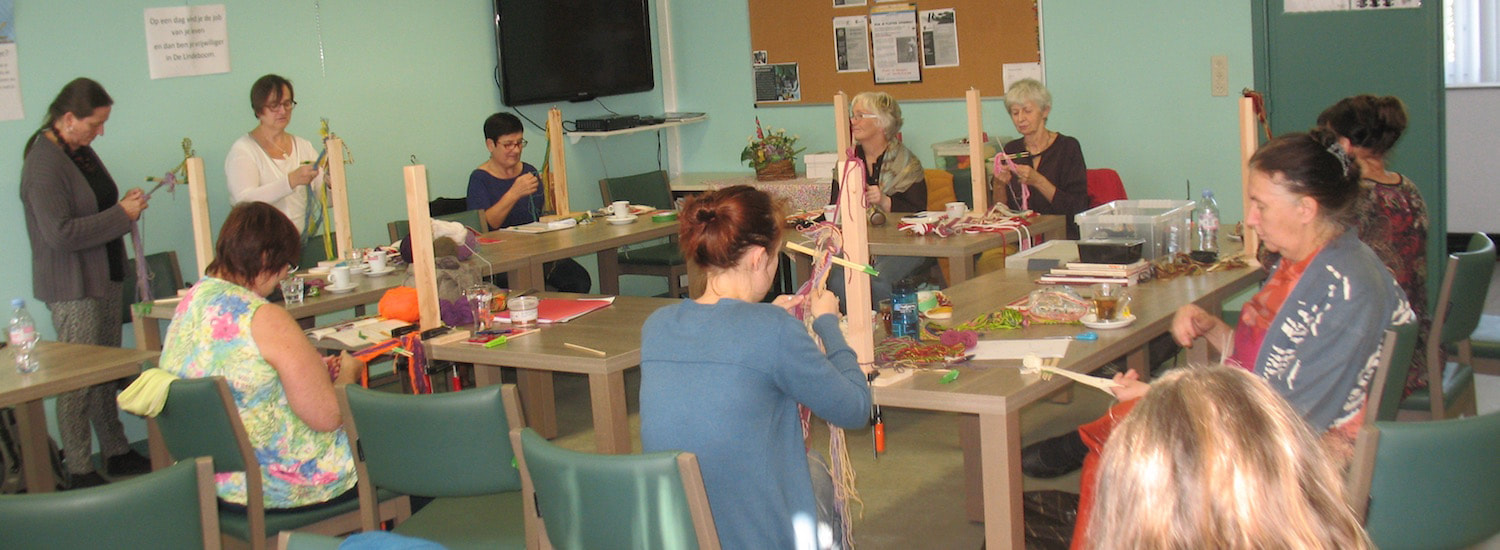
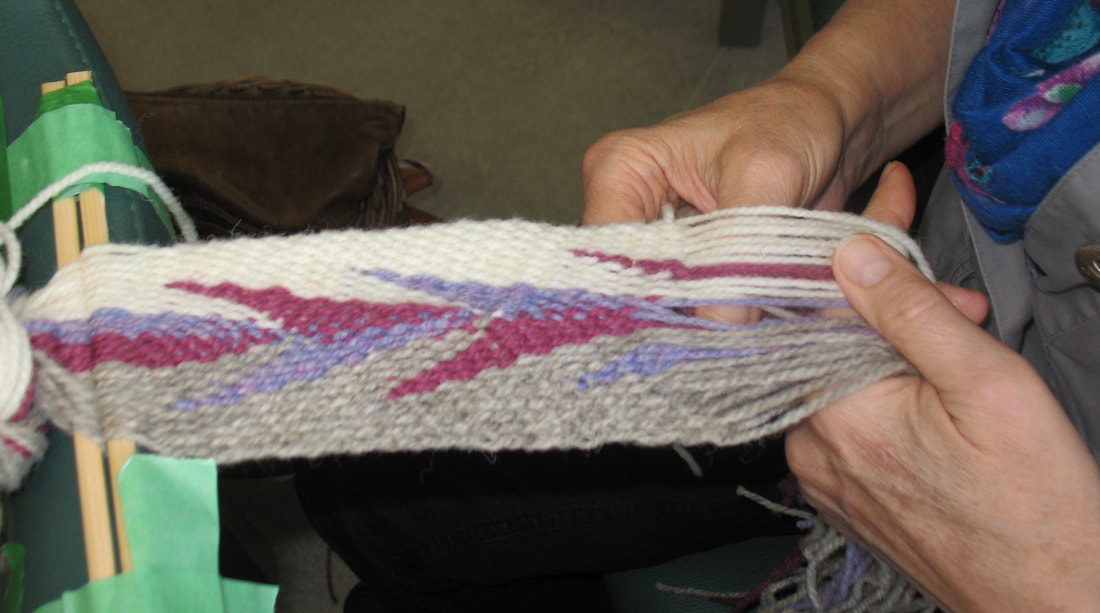
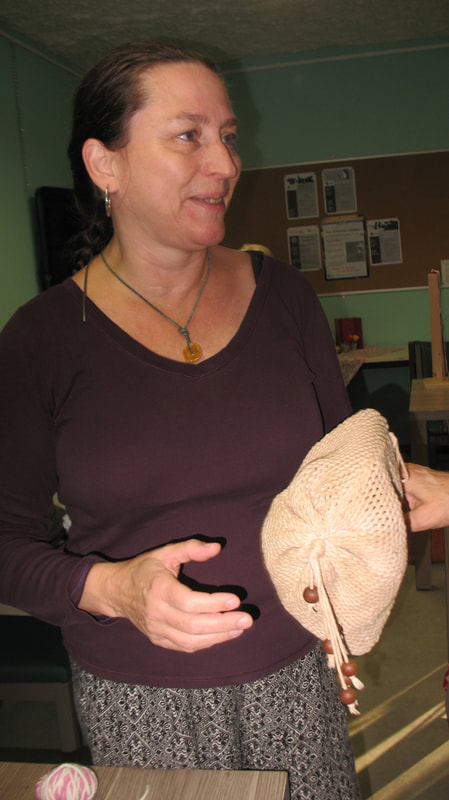
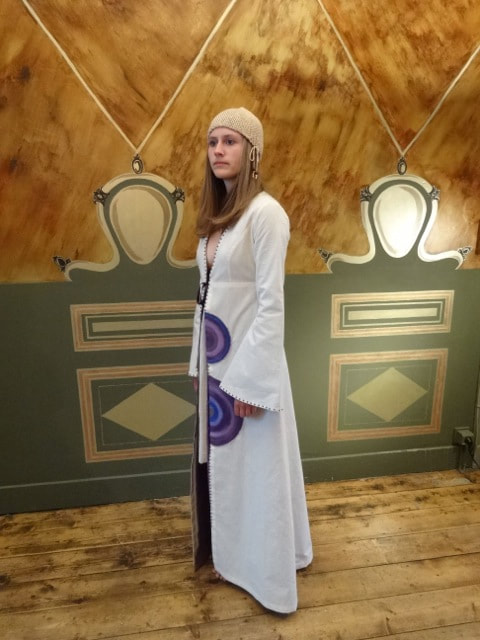
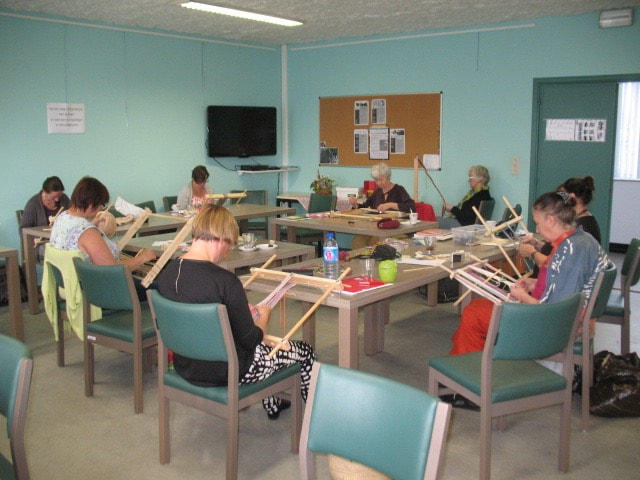
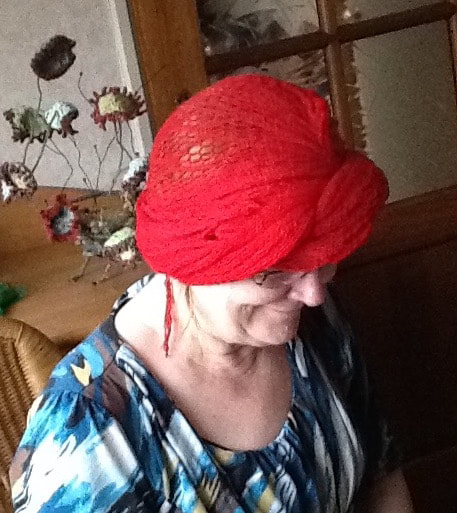
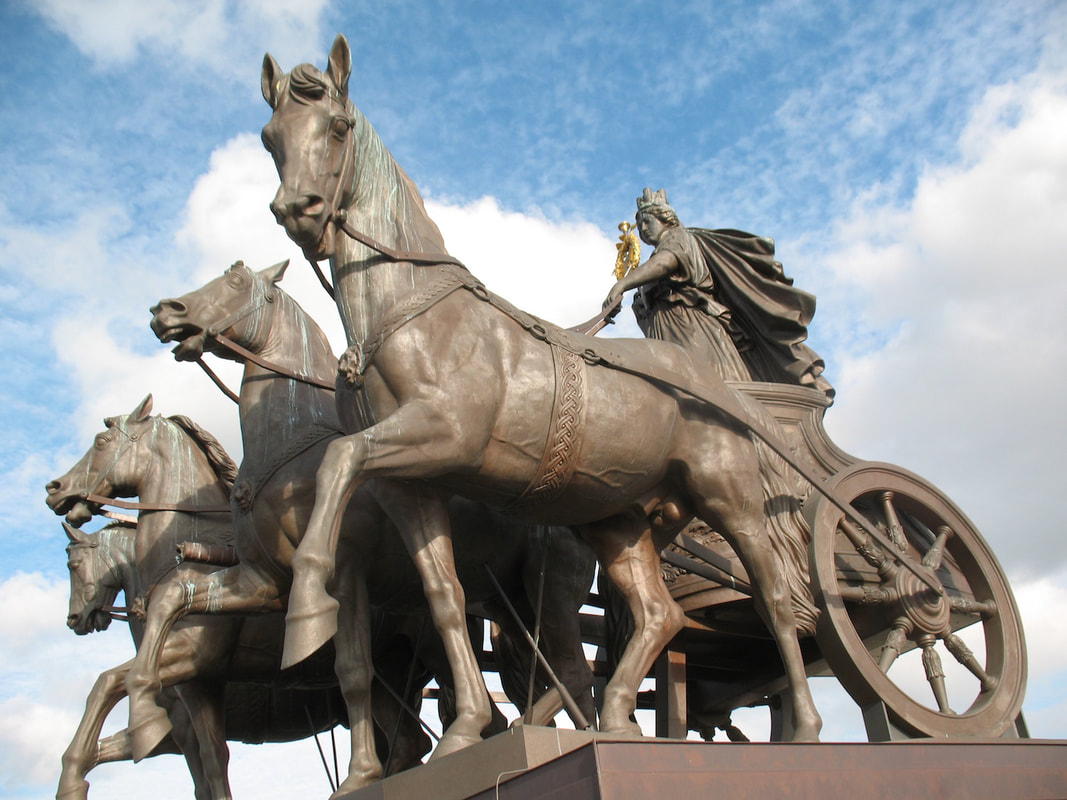
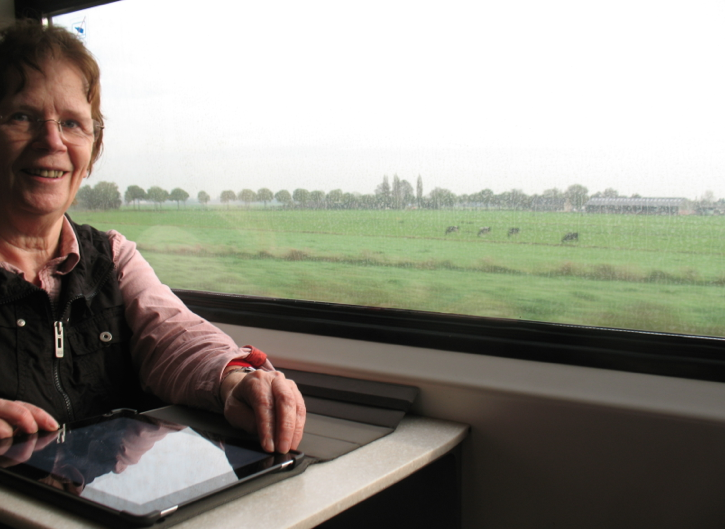
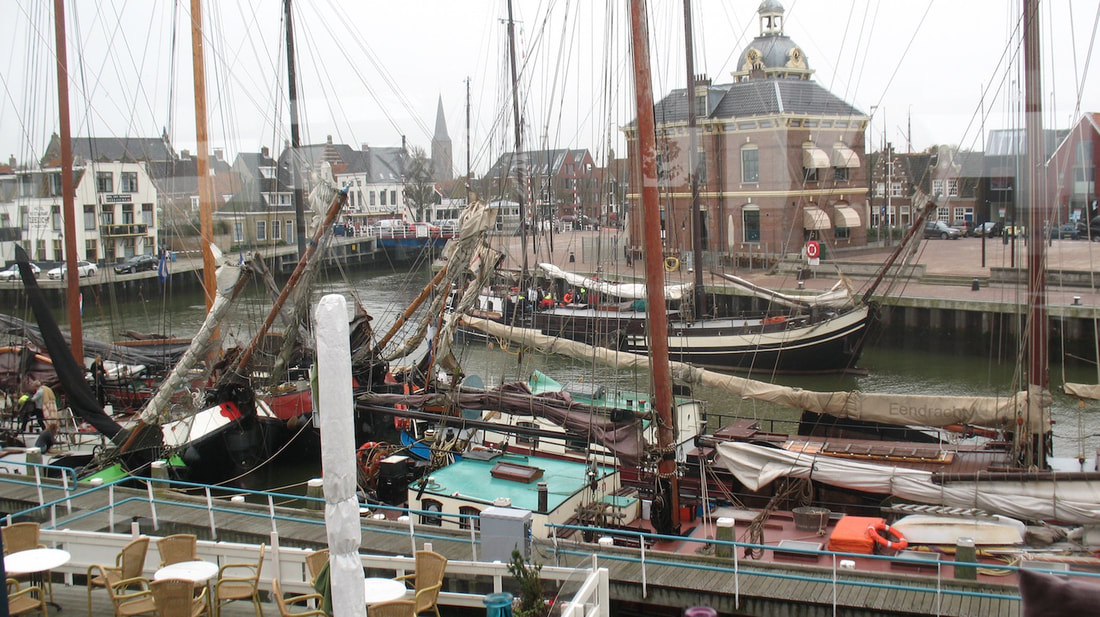
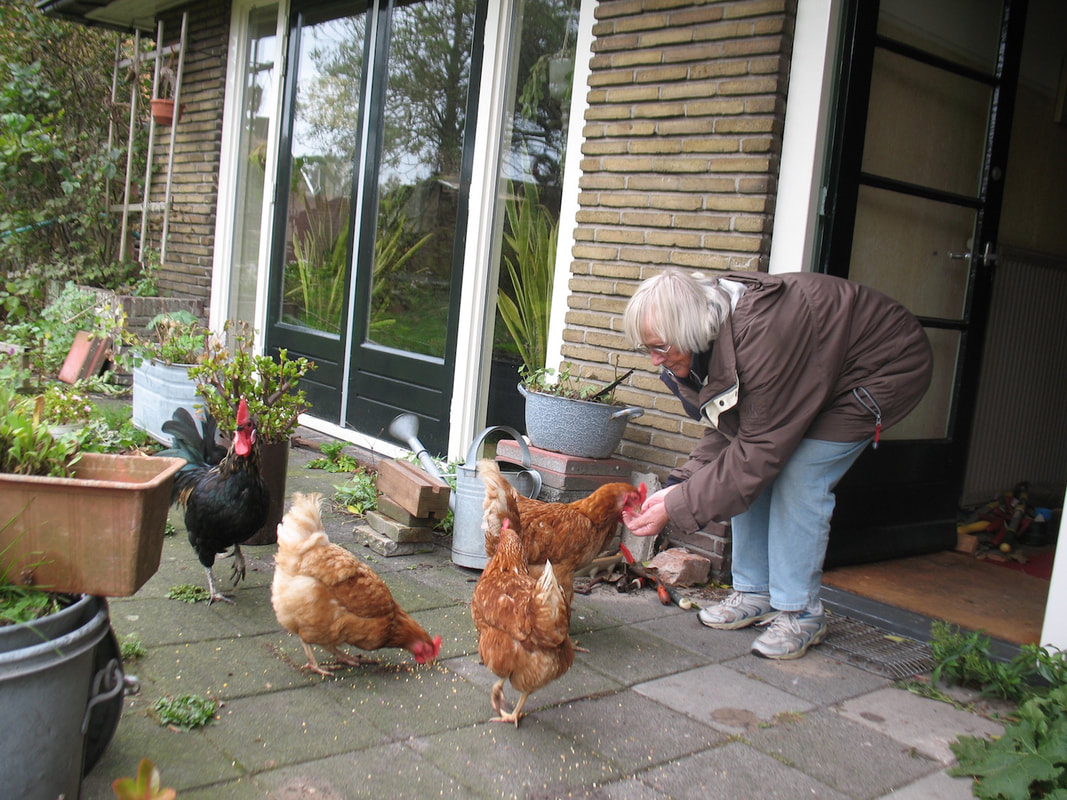
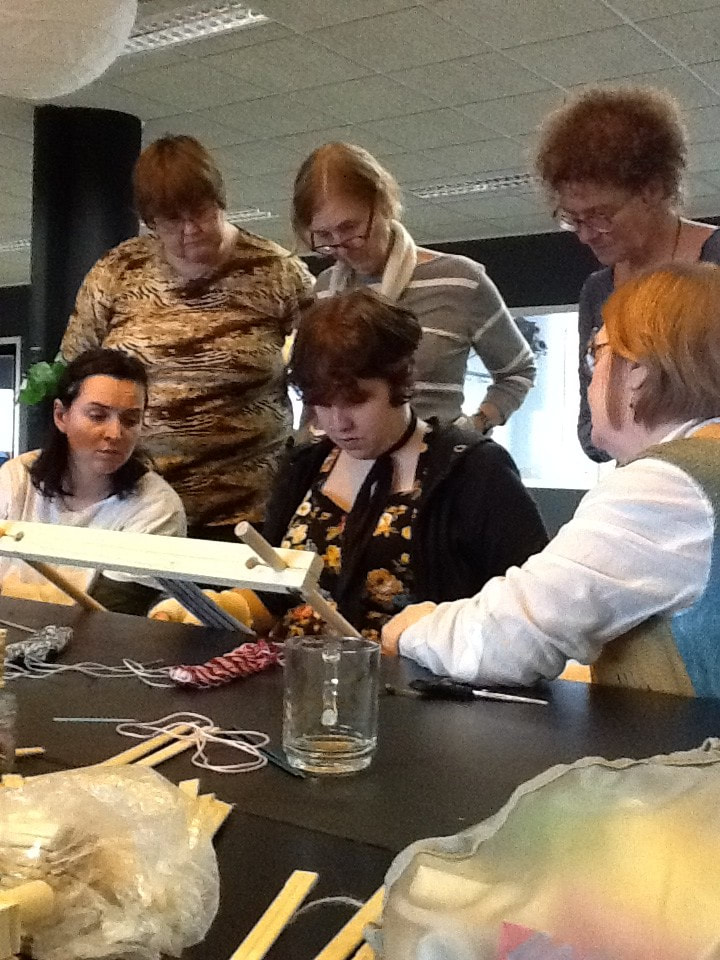
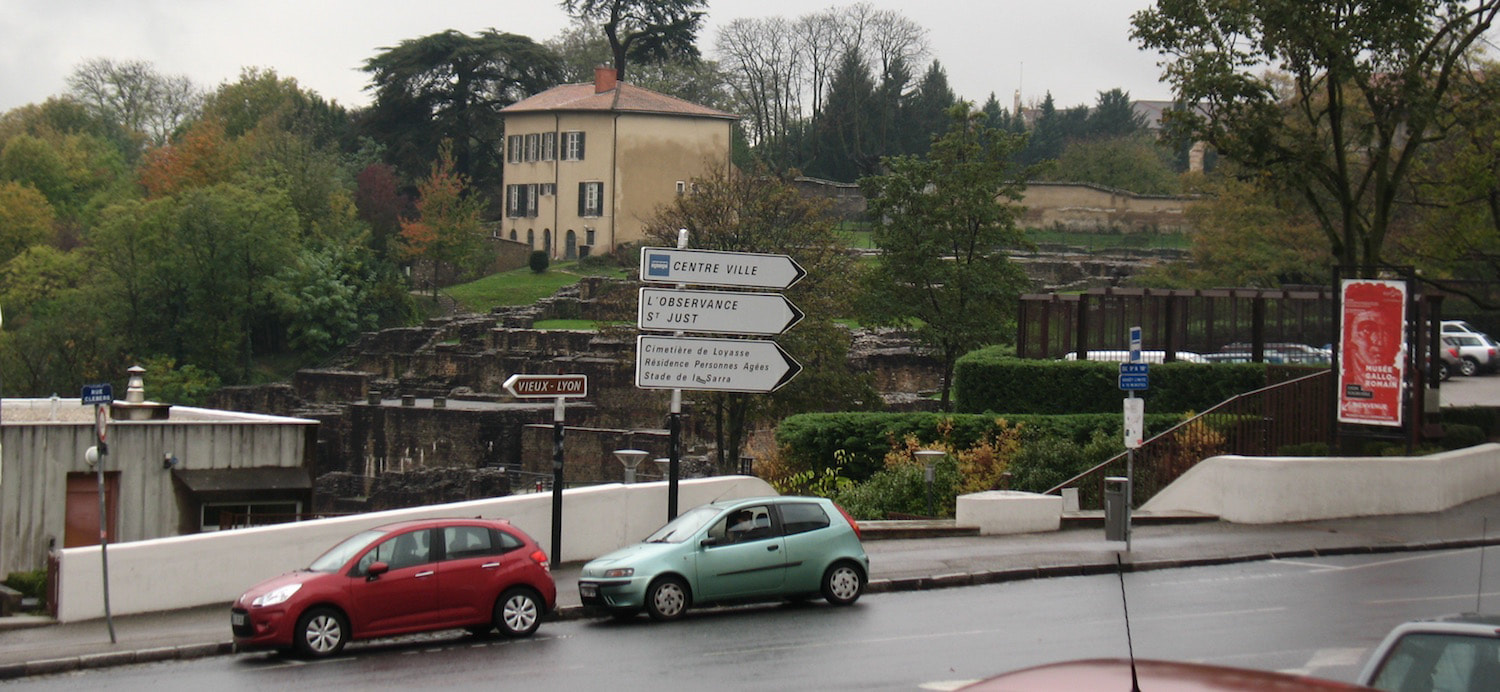
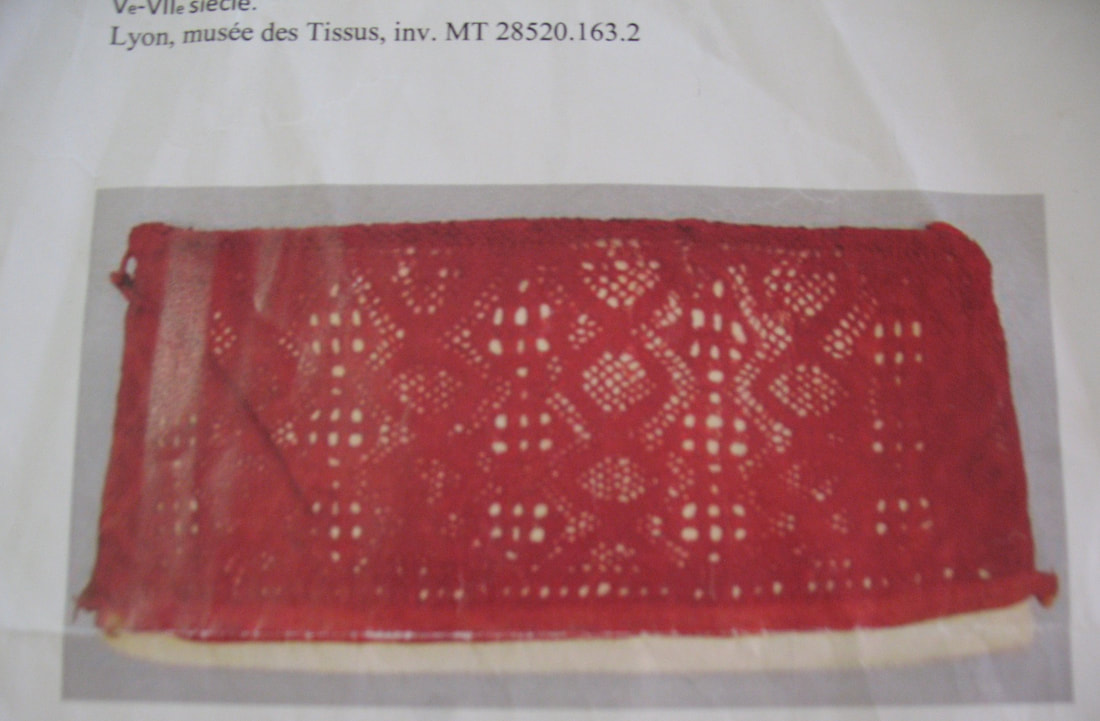
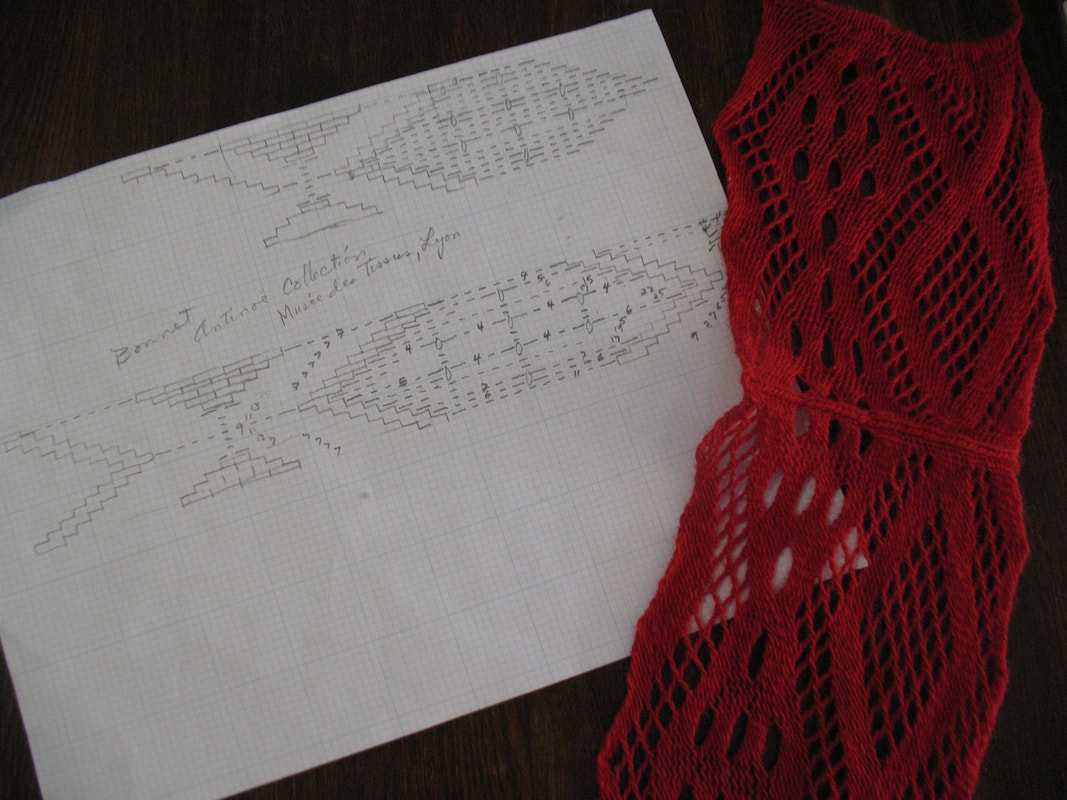
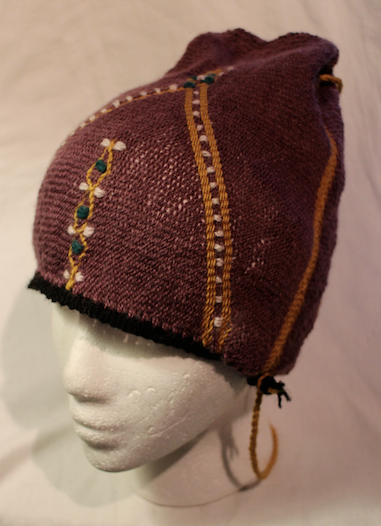
October 2014 was spent in European travels. The impetus for the trip was the invitation to present information on sprang at the Early Textile Study Group conference in London. The topic for this year’s conference was Peter Collingwood. Dagmar Drinkler agreed to present her research on the subject of ‘tight fitting clothing in antiquity’, and I contributed my experience making leggings. I did take the time to tour around London, spent a day on a double-decker bus. While in the UK, I stopped in to visit friends. First up was Oli and Erica of Weavolution. They hosted me while I taught a finger weaving class to the Cambridge Weavers. Next I visited my friends Elaine and Andy. They toured me through Yorkshire, including a trip to Chatsworth House, an amazing place. Elaine and I talked sprang, and the probability that ancient Persians and Celts work sprang clothing. Back in London, I stopped in at Alexandra Palace for the Knit and Stitch show, on Oct 9, minding a booth for The Braid Society, and gave a class on finger weaving: Weave a scarf on the train. After the Early Textile Society conference in London, I travelled to Reading. There I was able to have a sneak preview of an amazing collection of braided pieces in the Reading Library, the Braid Society’s Biennial Exhibition. Near Reading is the town of Aldebourne where individuals interested in diverse braiding techniques meet regularly in the local town hall. Thanks to Sally, and to my hostess Rosie, I taught another workshop there, this time finger weaving (last time was sprang). On to the mainland of Europe. Thanks to Frieda who met me at the train station in Antwerp, Belgium. I taught classes in the Belgian town of Sint-Job-in-‘t-Goor. This was an ‘advanced finger weaving class’, the follow-up to a previous session. Participants explored some of the variety of patterns possible. The following day was a sprang class. Pauline brought a sprang cap that she had made after the sprang class last year. By then it was time for a rest. My friend Karin took me home. I sat in her backyard and worked on other sprang projects. Accepting an invitation to visit a very talented bobbin-lace weaver (this sister of a Winnipeg friend) I travelled to Braunschweig. Between discussions on the subject of bobbin-lace, finger weaving and sprang, we toured through downtown Braunschweig, and made a visit to the top of the newly rebuilt ‘Schloss’ and the Quadriega. On to the Netherlands. Braid Society member and friend, Ria toured me around the Netherlands. We had been invited to the island of Terschelling. Resident of Terschelling, Marianne, is a very talented textile artist. She also has an amazing collection of textiles. She introduced us to the neighbourhood chickens. While on Terschelling, I visited the local yarn store, Tante Lies. Come to find out, I’d been volunteered to give a talk on the subject of sprang at the Tante Lies yarn store. I brought along a frame, and people were invited to give it a try. While in the Netherlands I was privileged with a visit to another Ria. On Nov 1, I taught a sprang class in The Hague at the textile studio known as DeSpinners. Thanks to Dineke and Katia, this was a follow-up to a finger weaving class I taught last year. What a pleasure to spread the good word about these amazing techniques to individuals interested in learning. On to the final destination, Lyon, France. The Greco-Roman museum is built into the Fourviere hillside, right beside the remains of two Roman amphitheatres. If you’re in Lyon, you really should stop in, it’s a ‘must see’. The theme of the month at the Fourviere Gallo-Roman Museum in Lyon was textiles. I had been invited to give a lecture on the subject of sprang bonnets. This is the reason I’d been working on that sprang turban. Wednesday I presented a workshop for children (and their parents, grandparents) on diverse braiding techniques. Thursday I presented my lecture and workshop on the subject of sprang. I brought along several replica sprang bonnets that I have made. Sprang frames were available and seven women took the opportunity to explore the basic sprang technique. The Gallo-Roman museum had a lovely little sprang bonnet, on loan from the Textile museum. Back at home, I’m now trying to map out the pattern.
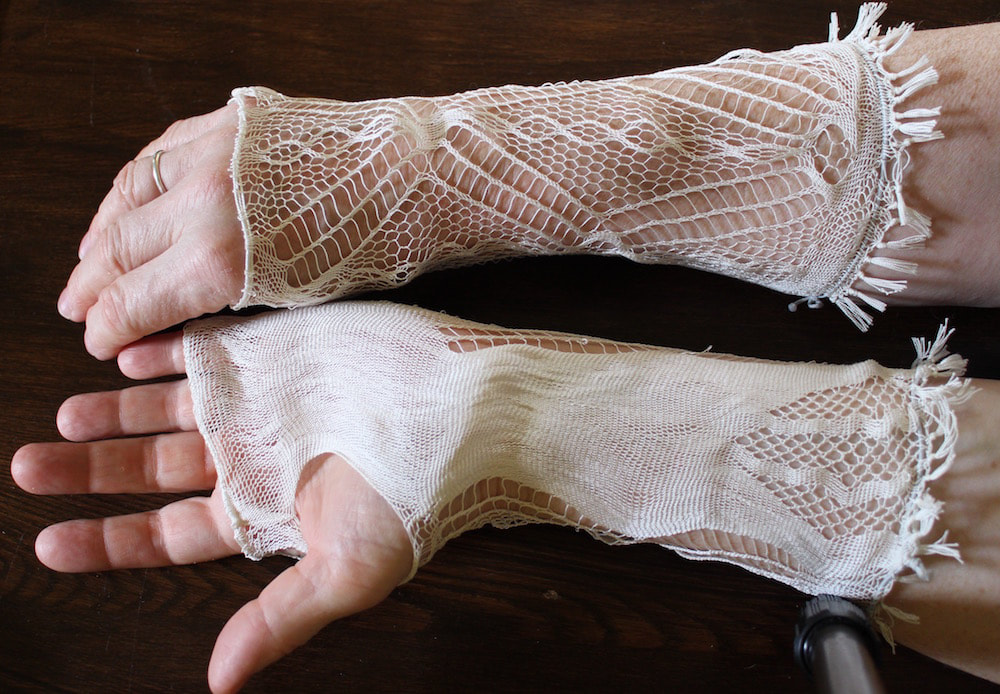
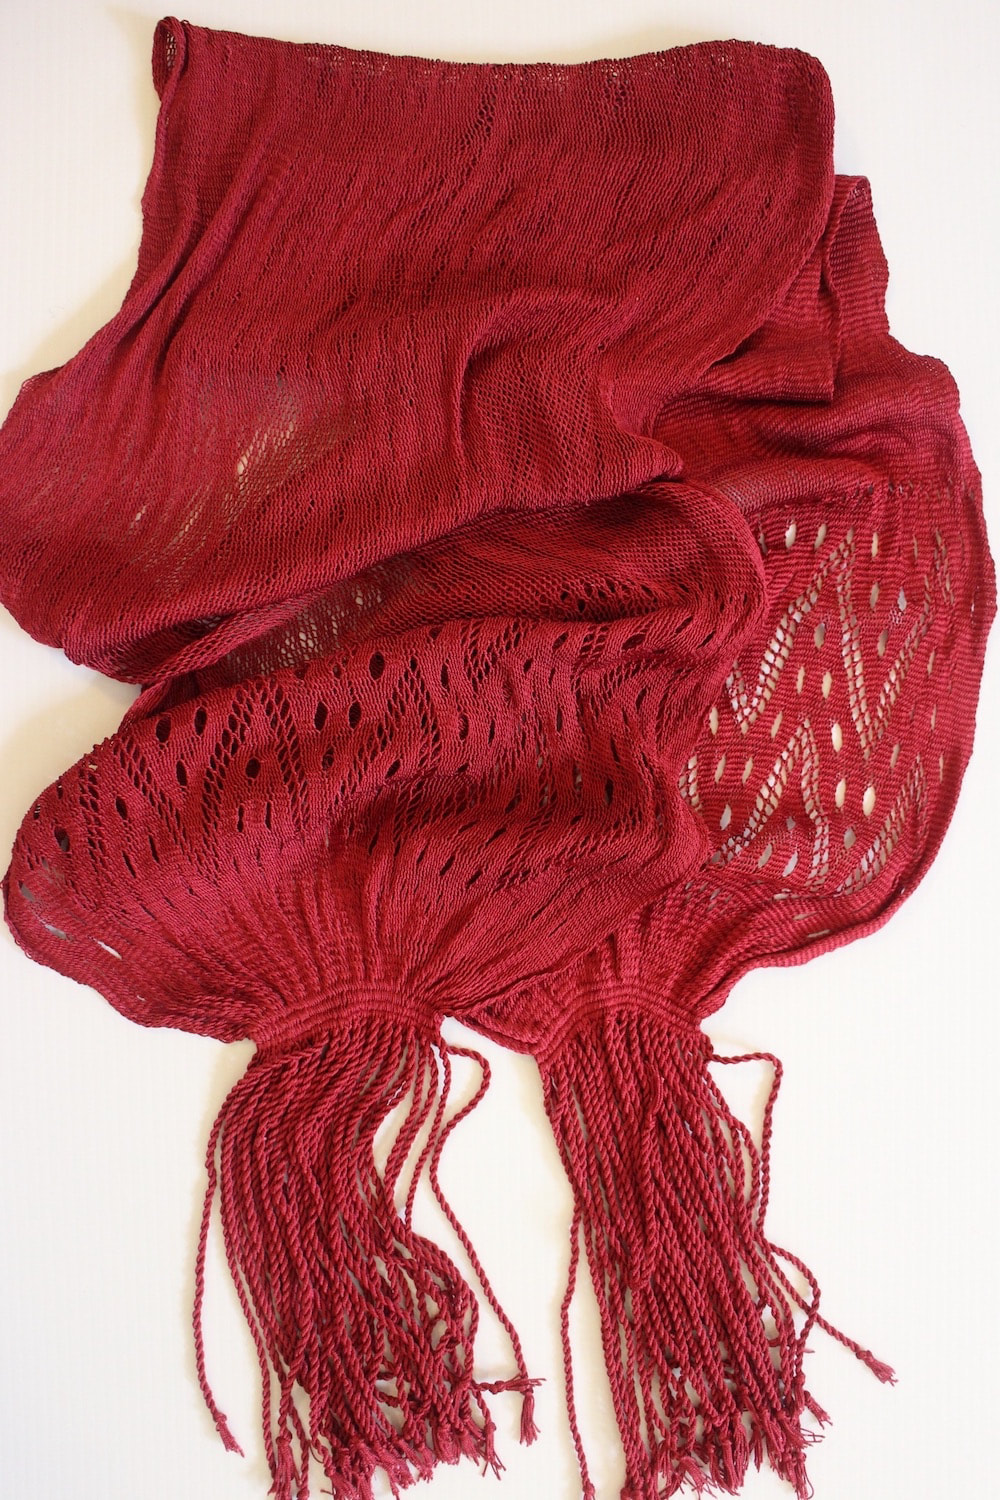
My computer has been getting full, making it difficult to download more photos to share with you. OK, I’ve learned that there are solutions. It was a couple of trips back and forth to the computer store, and that excuse for not blogging is now gone. I’ve been busy since April. Let’s see. I made a series of shako braids for Norwegian re-enactors. I then worked on lace patterns for gloves for my daughter to wear at her wedding this Summer. Follow-up to that conference in Barcelona last March, my colleagues and I are working to produce a print version of our presentation to publish in the Proceedings. We decided that we needed better photos, so I made yet another replica of that bonnet in order to photograph the process. I finished off a couple of special-order sashes, among them a finger woven sash. Back in April, one of the vendors at Fibers Through Time, the woman behind Mary Gavin yarns, gave me two skeins to ‘sprang up’ into something. I created a shawl with this lovely yarn. Instead of shipping it right off to Mary Gavin, I kept it long enough to wear it to Handweaver’s Guild of America Convergence in Providence, Rhode Island. The yarn (linen and rayon) has lots of sheen, so the shawl looks spectacular. It was nice and slippery to work with. OK, now I’ll mail the shawl off to Mary Gavin. While at Convergence I taught two classes, on on finger weaving and one on sprang, and then a PowerPoint presentation on that George Washington sash replica. The students were great, taking on to the techniques like ducks to water. It was also great to meet former students, who showed me what they had done since we last met. And then there was the fashion show. Two of my vests made it through the jury to the runway. What I had not anticipated is that my vests would be worn by a male model. I’m thinking that the cheers were for his great body more than for my vests. I’m going to have to get a copy of the video. Most recently I’ve created a pair of sprang gloves to wear at my daughter’s wedding. This pattern was inspired by my visit to the Petrie Museum in London. Gloves are really a tube. You make a rectangle, wide enough for your hand and arm, long enough to satisfy you for the length. Because you’re working in sprang, you get two rectangles for the work of creating one. Then there’s the sewing up … leaving a hole for the thumb. I threaded a silk drawstring through the loops at the fingers. An elastic cord runs through a row near the elbow … that’s where I cut the two gloves apart, making knots to ‘seal off’ the stitches and prevent unravelling. A certain length of thread is required to tie those knots. Guess I need to trim the fringes a bit before the wedding.
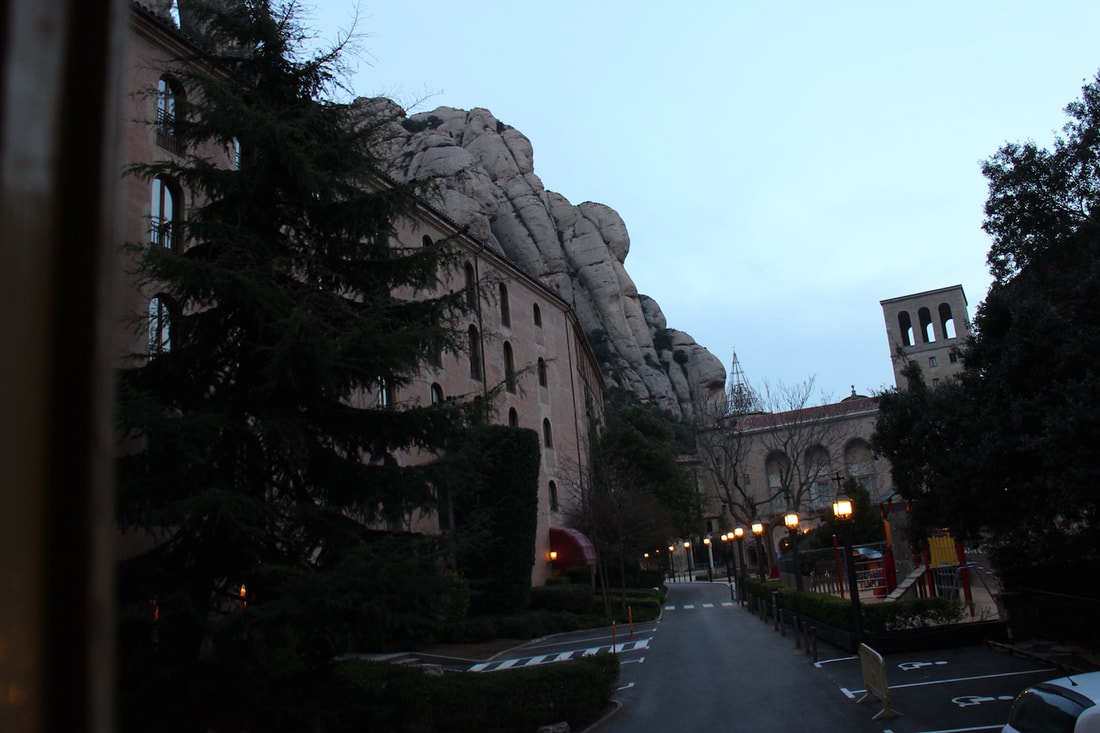
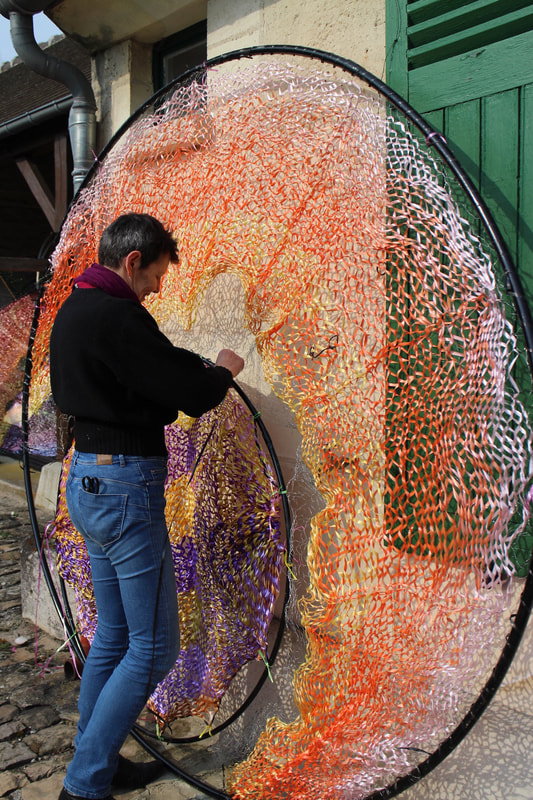
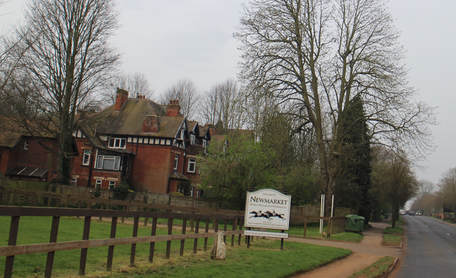
I attended a textile conference in Barcelona, the Vth Purpureae Vestes Symposium. It was held in Montserrat, an exquisite site. I collaborated with two other textile experts, and we presented information on replicating a 1st century cap from the collection of the Hotel Bertrand de Chateauroux. The cap was constructed using sprang and tablet weaving. After the symposium I made a quick stopover in Lyon, and then on to Paris. There I met with members of the group “La Fibre Textile”. Yvette is an award-winning embroiderer who has also explored finger weaving. She showed me the ‘patchwork’ piece that she made many years ago. On to a small town to the north of Paris, near Chantilly (famous for horses) to visit a very talented textile artist, Edith Meusnier, who creates outdoor installations in sprang. Check out her website Paysages d’Artifice www.edithmeusnier.net On to the UK where I visited Erica and Oli, managers of the website Weavolution. They live near Newmarket, also famous for horses. I’m working on some tutorials to be posted on the Weavolution site. Thanks to Oli and Erica for technical support, assistance in spreading the word on sprang and finger weaving. While there, I went with Erica to a meeting of the Cambridge Weavers, Spinners, and Dyers, spreading the ‘good word’ about these amazing textile methods. It seemed to work, the weavers are inviting me to return to Cambridge to give workshops on these methods.
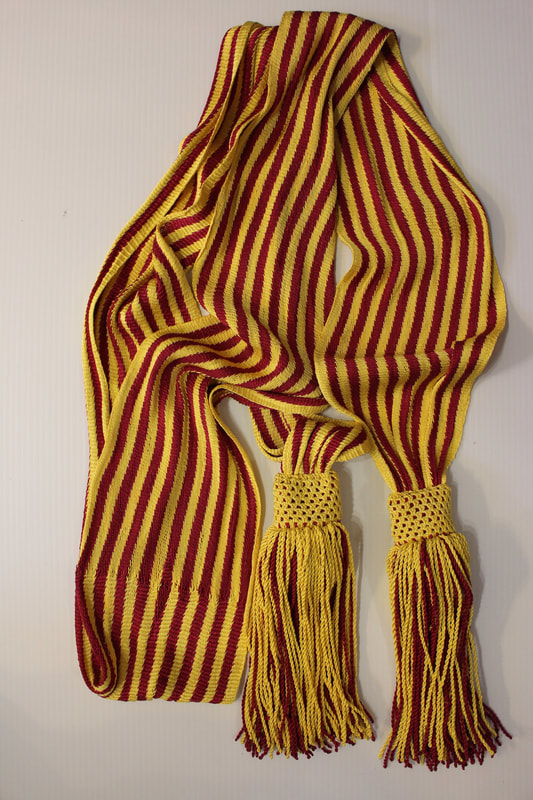
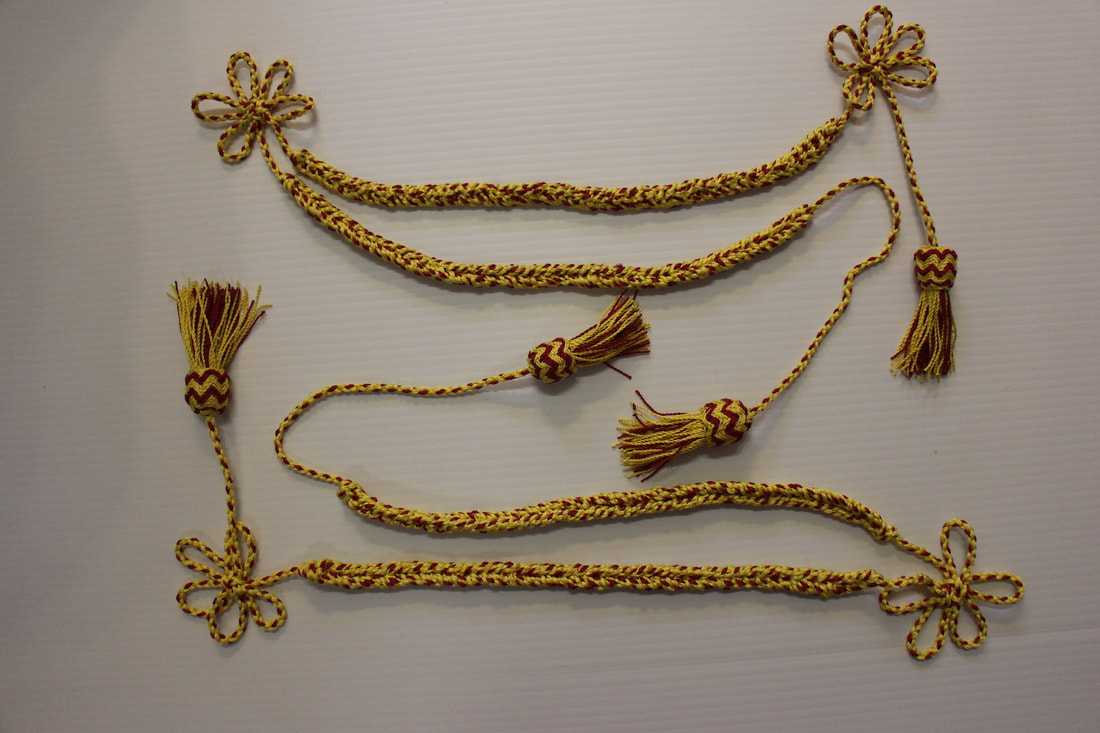
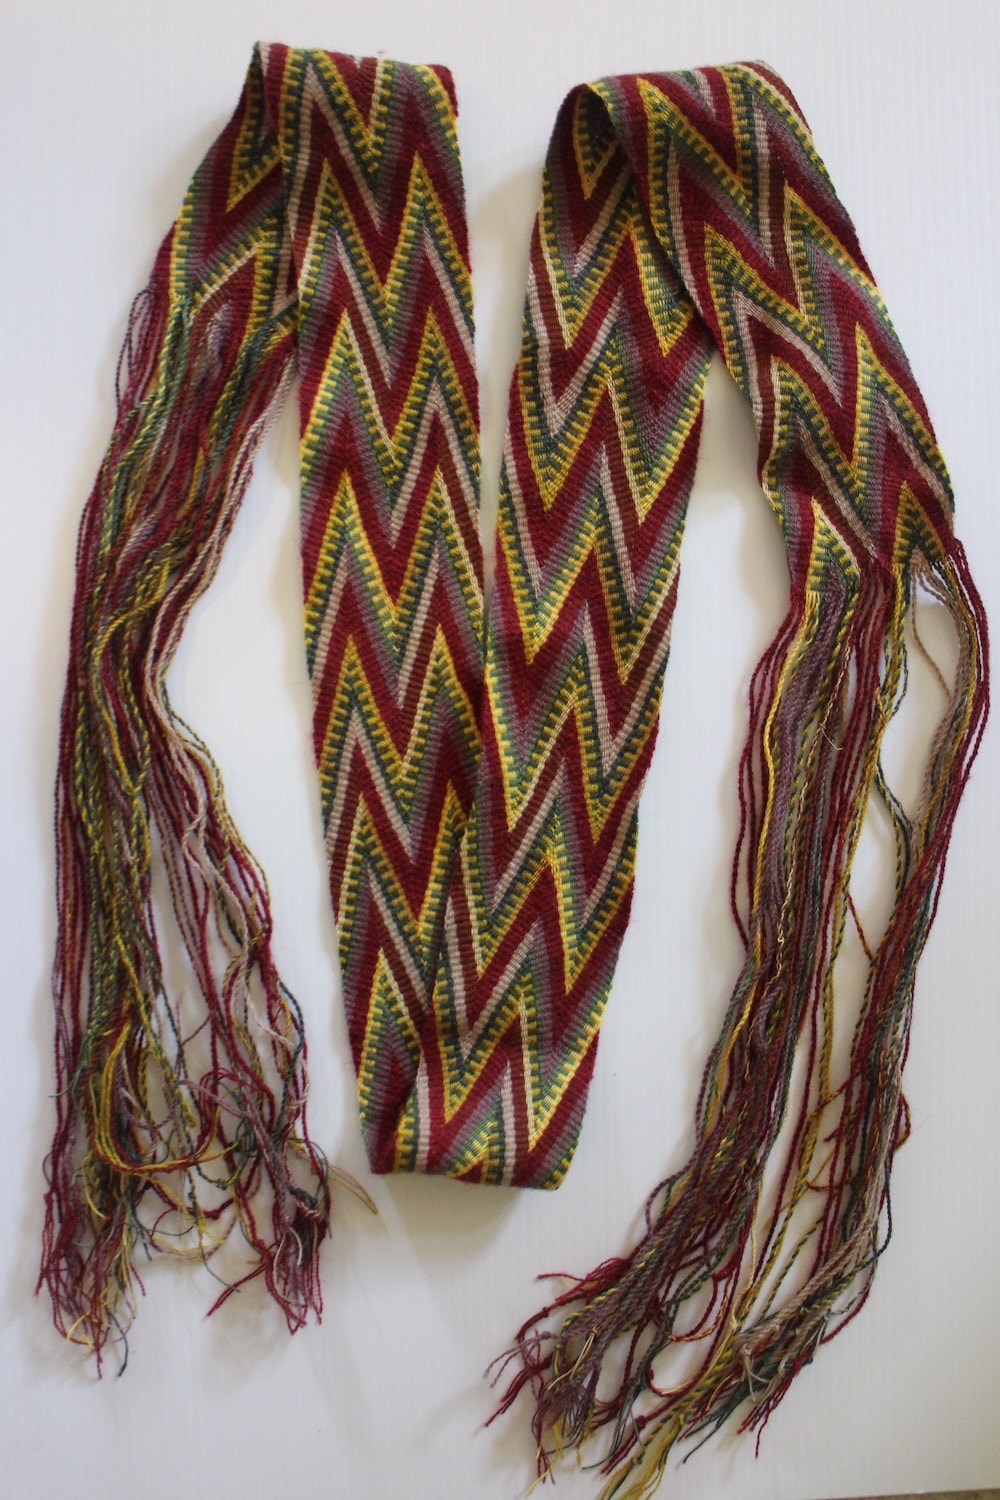
Back in Winnipeg, once again I am reminded why people call it Winterpeg. The snow in my yard is still deeper than my knees. The weather man is promising warmer weather … eventually. It’s the first of April. January was spent in creating two replica sashes for the Norwegian Armed Forces Museum. The sashes needed to be a tight weave. I found this was possible only with a loose warp, pushing each row firmly into the previous. Kind of tricky, the secret is to prevent loosening with the next row’s construction. Also tricky was the construction of the tassels, which are made separately, not continuous with the warp threads of the sash. They are a passementerie technique, a narrow band woven, and a supplementary weft that overshoots, and turns back on itself. Also in the deal, I offered to make matching shako cords. The cord is a round 4-strand braid. The fleurettes are ‘plum blossom knots’ that I learned at the DongLim Museum in Seoul, Korea. The fringes are made in the same way as the fringes on the sash. I was very glad to have met up with Joy Boutrup last fall, and her suggestion to purchase Tom Hall’s book on Turks Head Knots. The pineapple knot was the thing to cover the woven band that organising the fringes.
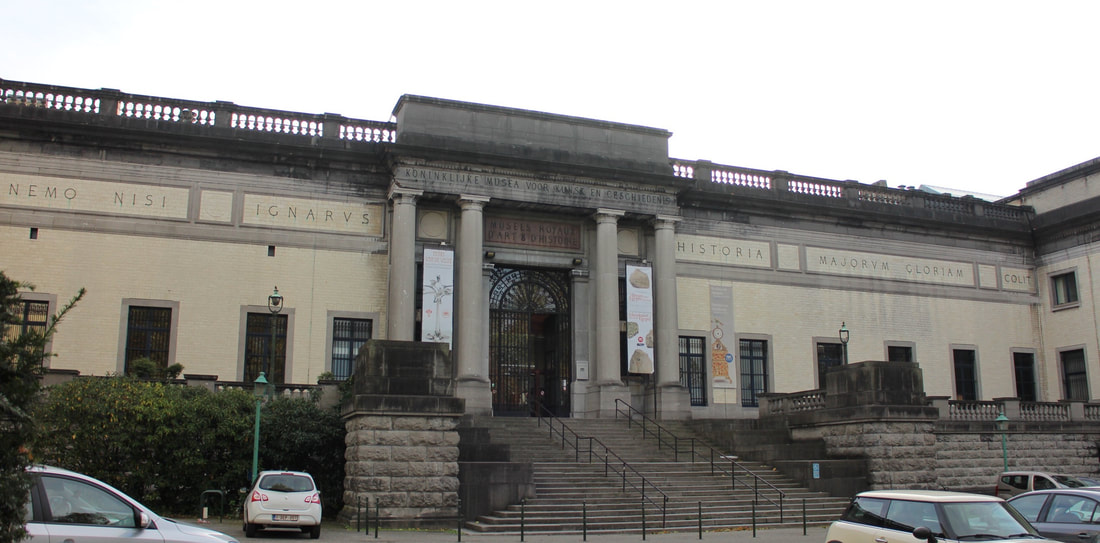
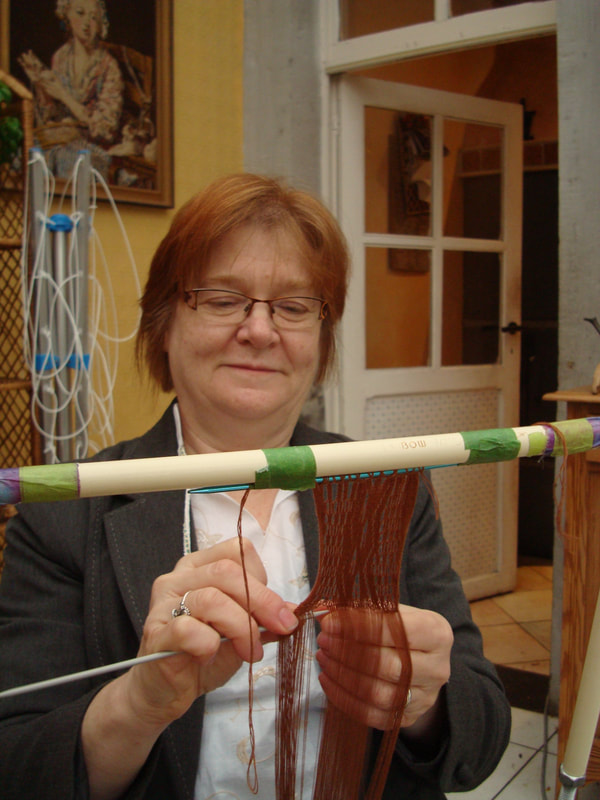
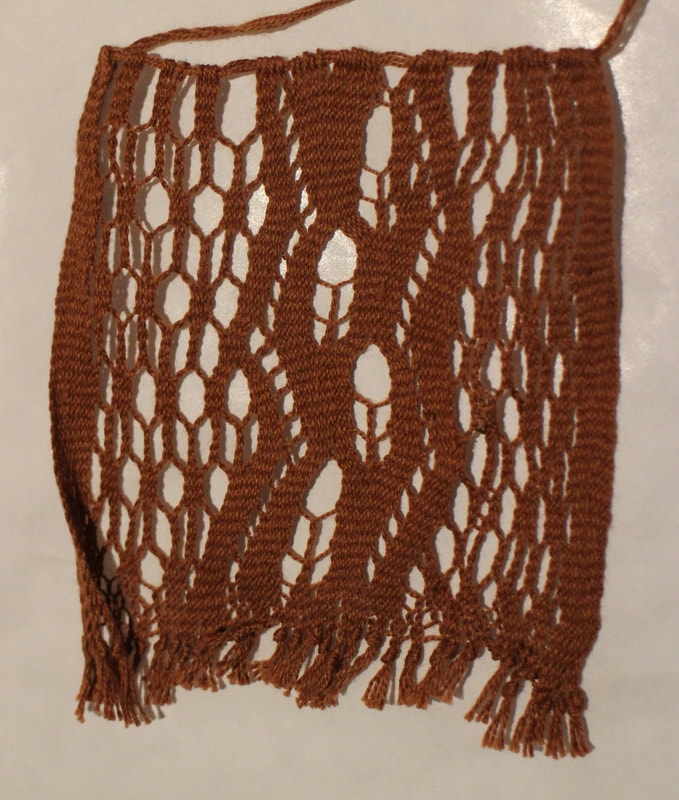
Two sashes and two shako fringes, that’s pretty much my output for the New Year so far. I’ve been looking at sprang lace in European collections. The Petrie Museum in London had a spectacular bonnet. Today I was at the Royal Museum of History and Art in Brussels. I was honoured to be permitted to examine a collection of sprang samples made between 1798 and 1830, now in the care of this museum. What can I say, these pieces are spectacular! Created using a very fine thread, the patterns are exquisite. I’ve been working to map out the patterns I see, and then creating a small sample, just to be sure I’ve got the mapping correct. I think I’m in heaven. The next day I was allowed a visit to the Musee Royal de lArmée et d’Histoire Militaire. They have a spectacular collection of military sashes. I was also privileged with a visit to sashes in the storage area. It seems that Belgian soldiers wore sprang sashes until the World War I. Some are all S, some all Z. Many bear evidence of both S and Z twist in the sash, small knots on either side of the meeting place between S and Z. OK, so they did not do the bead thing that I do, removing the edge thread. I stand corrected.Many thanks to Dr Marguerite Coppens, Else Bogaerts, Frieda Sorber, and Katia Johansen for making these visits possible for me.
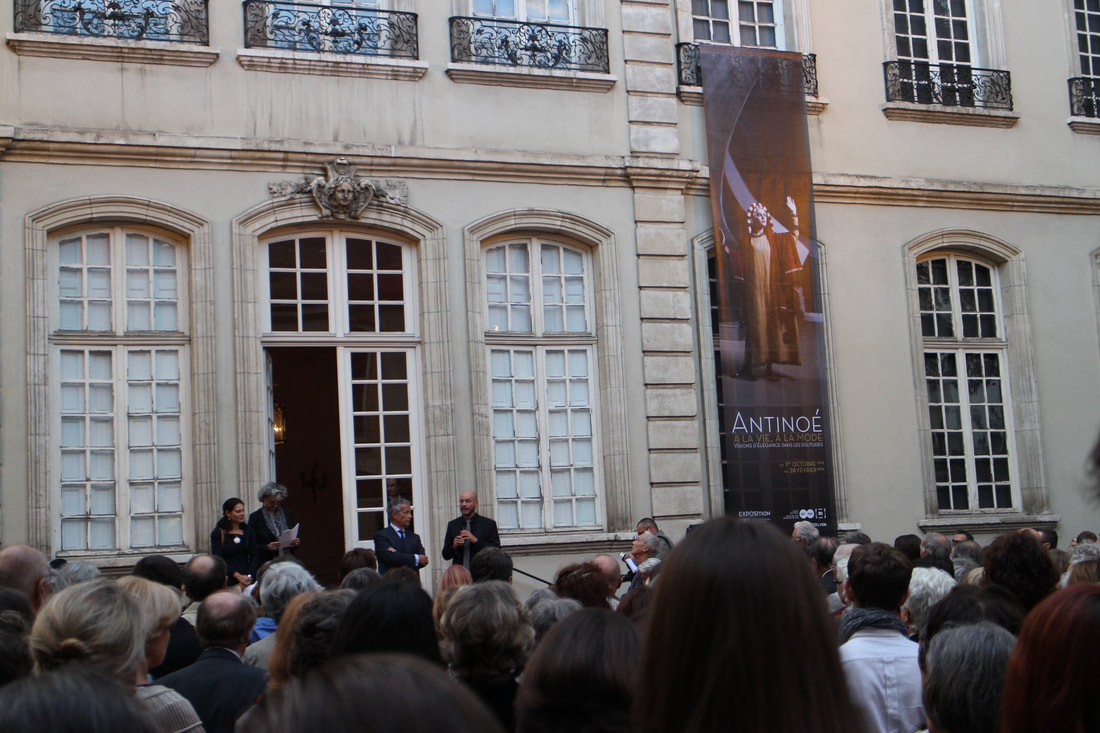
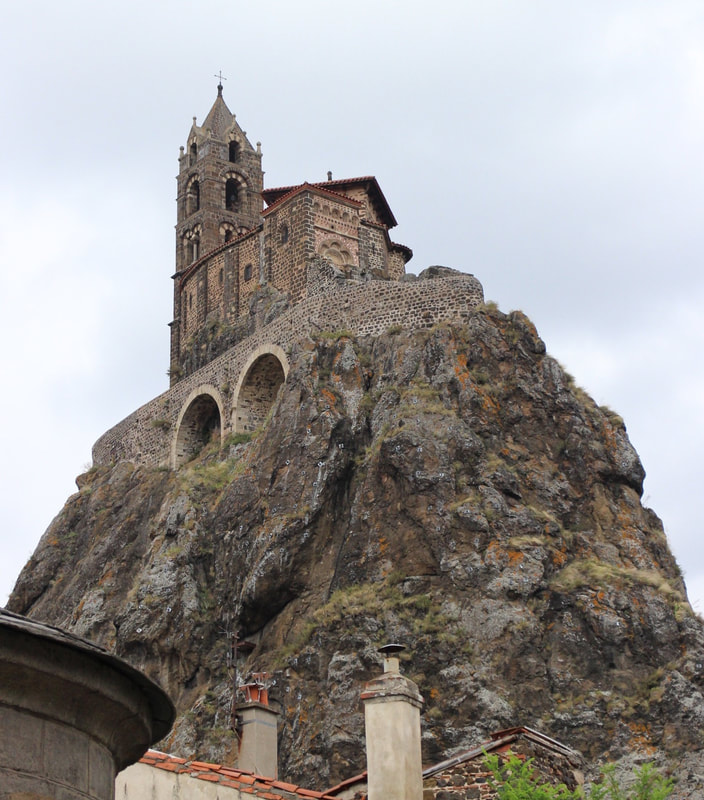
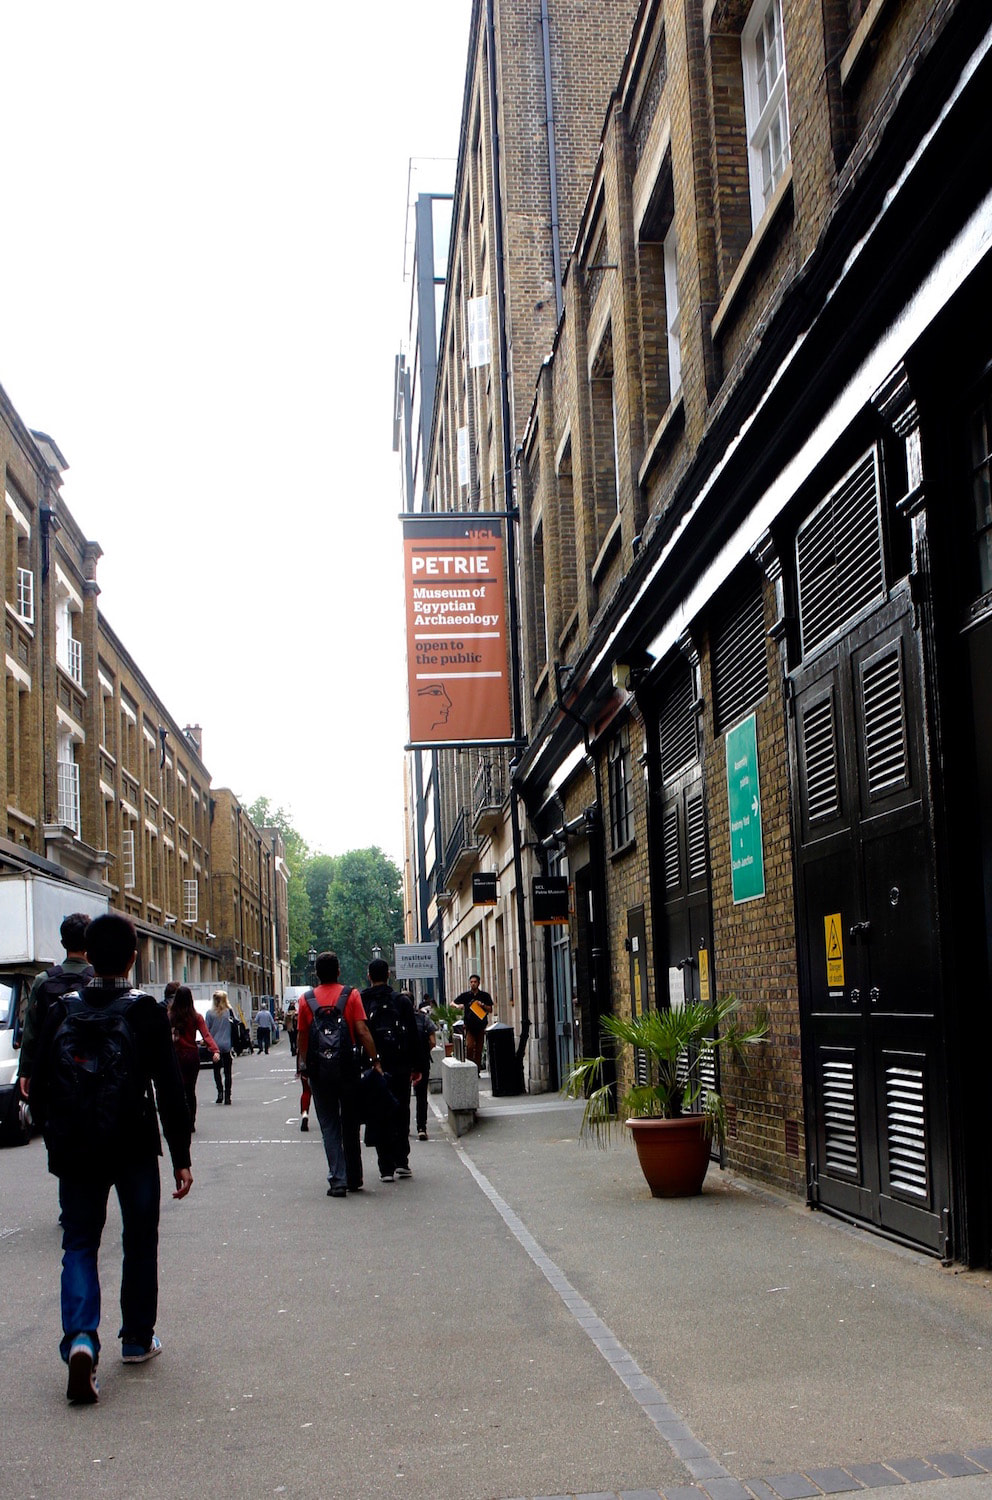
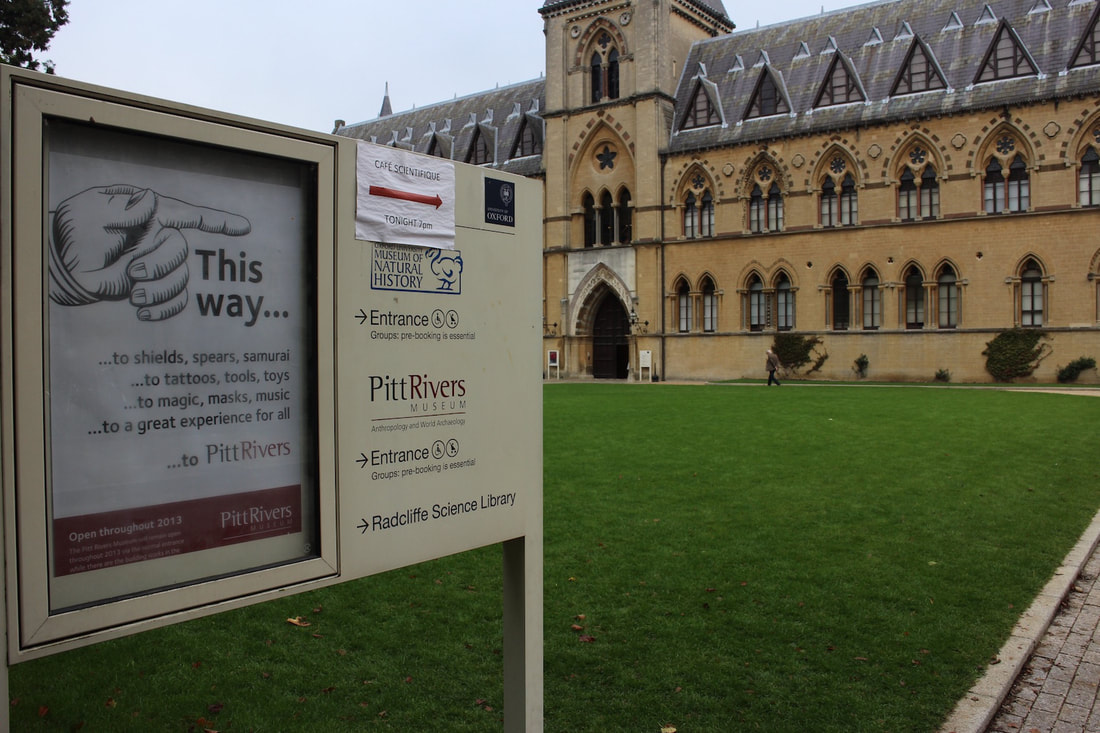
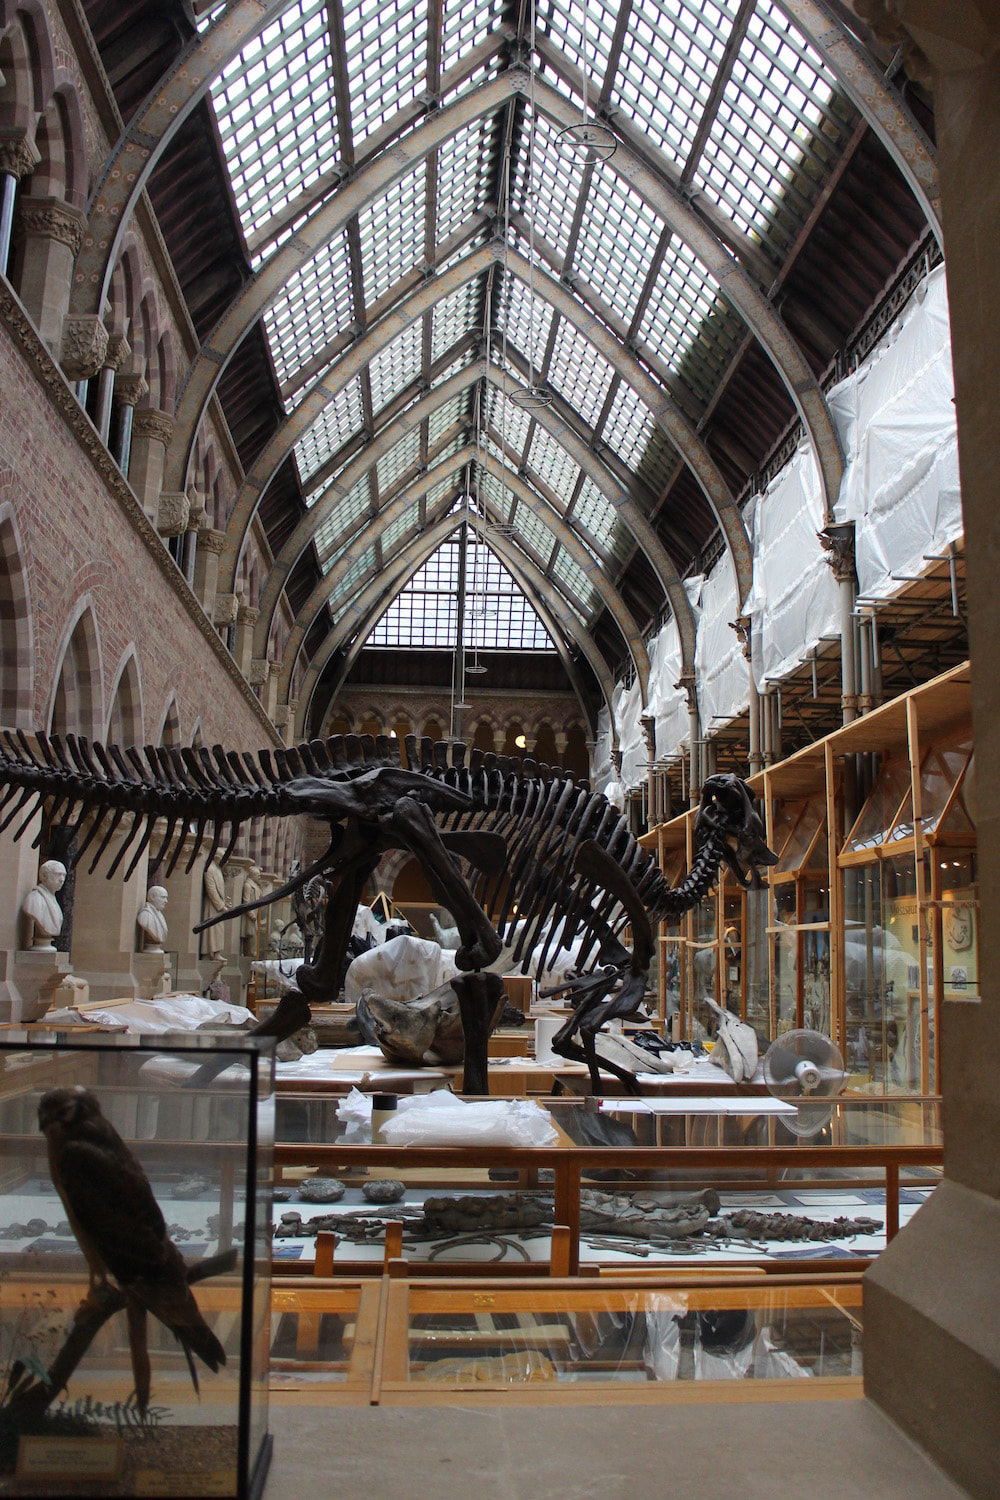
Yes, I’m travelling again. Now a member of the ancient textile society associated with the Textile Museum in Lyon, France, aka CIETA, I decided to attend their biennial conference. The conference coincided with the opening of an amazing exhibit at the museum, Antinoé à la vie, à la mode. The exhibit included almost incredible pieces found in Egypt in the late 1800s, some of it never before on display, quite the celebration of ancient fashion. From a textile perspective it was an amazing view into the time period. Yes, the exhibit included two sprang caps. Tours were part of the conference. I opted for a bus tour to le Puy-en-Velay More amazing textiles on display. From Lyon I went to London. There I had a visit scheduled at the Petrie Museum. I was accorded a visit with two sprang caps. I’ve since mapped out the patterns, and am giving samples to the museum. It is a fascinating piece, combining multiple twist interlinking and another technique where a single thread traverses the open space between vertical lines of interlinking. Later that week I experienced the Alexandra Palace Knit and Stitch Show. How heartwarming to see such crowds interested in textiles. I helped staff the booth belonging to The Braid Society. We managed to teach an awful lot of people how to do fill-the-gap kumihimo. On to Reading for a sprang class at Aldebourne. Aldebourne is a tiny community, but home to a large group of individuals interested in braiding techniques. Imagine the community center in a small village, and on a Sunday afternoon the space is crowded with people and their inkle looms, tablet weaving, and kumihimo. This is where I taught a sprang class. What a pleasure to teach to such apt students. On to the Pitt-Rivers Museum. Page 67 of Sprang Unsprung features the photo of an amazing bag with a design of 5 people, worked in beads. I was privileged with a close examination of this bag, as well as several sashes of Great Lakes interlacing (oblique weave) design.
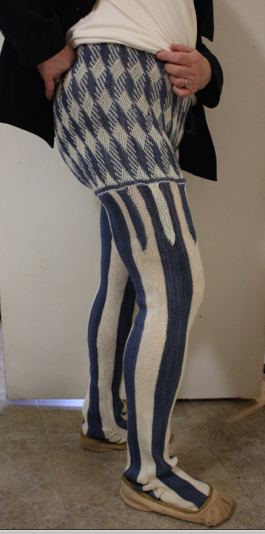
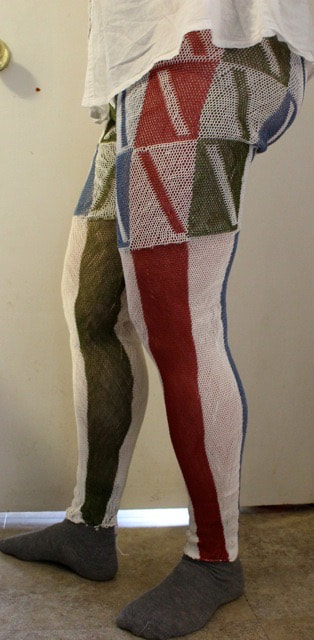
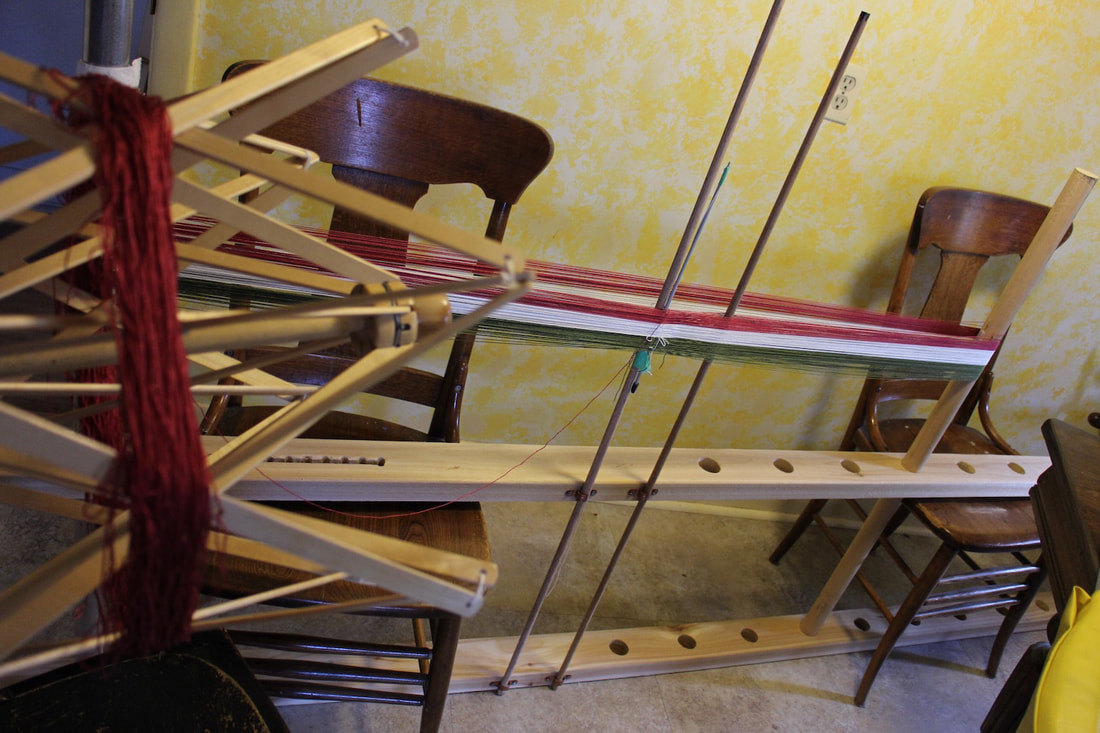
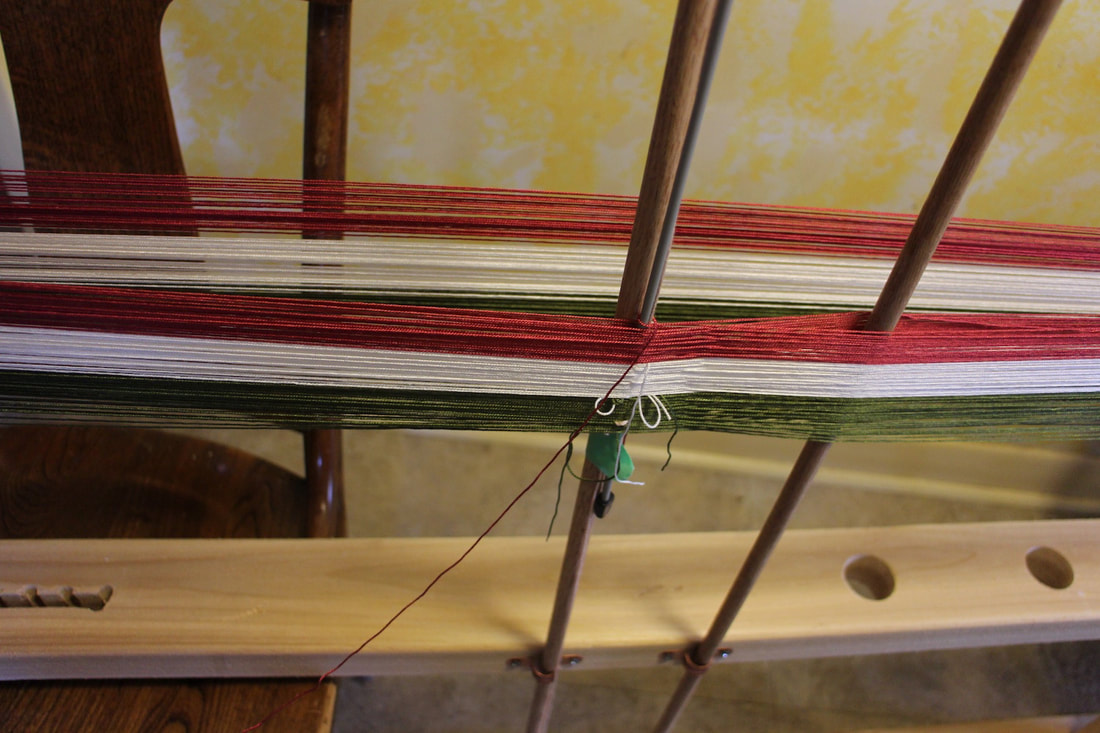
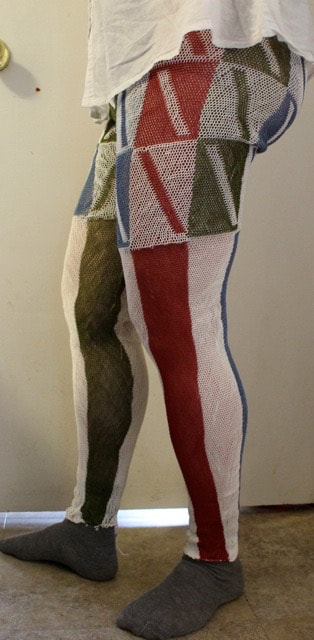
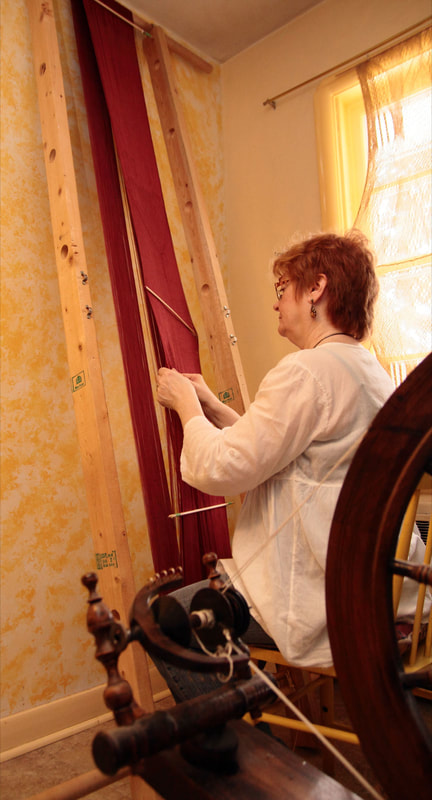
Presently I’m in Devon. I presented a class in sprang to the Devon Handweavers, another group with a keen eye for structure. It’s always a pleasure to open up the world of sprang for people. This is how I did it. Inspired by the work of Dagmar Drinkler, I made a pair of sprang pants. Difficulties encountered had me reflecting on how I could do things differently, and this meant making a second pair of pants. The difficulties centered around three major problems: 1) My technique in adding those extra threads at the thigh left me with quite a sniggle-heap on the first pair. I was sure I could manage that addition better. 2) The crotch needed shaping. I had the opportunity to meet Dagmar Drinkler in person and the crotch shaping was one of the points I wanted to discuss with her. She said that she did not do any special shaping for the crotch of the pants she made for the mannequins, left them open a bit at the meeting point . I decided that, despite the amazing stretch that is natural to interlinking sprang, I did need to do some shaping for the pants to fit my shape. 3) I was unsatisfied with the waistband on the first pair, knew I could do better All this in mind, I set up a new warp. Reading in Peter Collingwood’s Techniques of Sprang, I found the perfect way to set up my warp. The meeting of the two ends of the warp happens around that knitting needle, taped to the dowel on the left. This is what I used for the dowel in the middle of Peter Collingwood’s design. The dowel on the right creates a shed for my first row. One thread had gone across the meeting point, instead of around and doubling back. Rather than unwind and re-do this, I added another thread. I then clipped the place of the error and tied two knots. This short-cut worked just fine. Work progressed on the warp nicely. The first few rows formed the ankles, and work progressed up the calf of the pants towards the knee. At about mid-thigh, I measured out another warp of threads exactly the same length of the as the yet-unsprung-warp. I found it was important that this new warp has its own independent suspension system. I’m not always successful at creating a perfectly even warp. This always causes me a bit of trouble over the first few inches of sprang work, until the un-evenness works itself out. This was the case again here. There was a slight unevenness between the two warps, as well as within the new warp. A very tight tension on the new warp when pushing the Z work to the S place helped. It was a couple of inches of work before things settled in. The two warps had been placed one on top of the other, and worked as double-cloth (Collingwood 167-173). The double layer of threads opens the opportunity to a wide variety of color designs. It also allows the piece to widen … a good idea for people whose thighs have a greater circumference than the ankles. You’d think that the double layer, one sitting on top of the other, that there would not be much difference in the width of the cloth, but my experience has it that this addition does widen the cloth considerably, especially when the threads are held together and worked in the same shed. Rather than cutting a finished rectangle of sprang, I dipped into my knitting experience, and decided to create exactly the shape I needed for the pants. I tied off threads to form that shape. How many threads did I tie off? Well, I guessed, based on my sewing experience, trying for the shape in a pair of stretch pants. Threads were cut, and then tied at both S and Z pieces. Getting to the waistline area, I worked to make the back of the pants a bit longer than the front of the pants. This would allow me to form a waistband casing. The knots could be located on the inside of the waistband. Threads were cut a couple at a time, and immediately tied off on right leg and then on left leg, closing in the waistband casing. Now it was time to go back to the very first rows, and pull out the thread that joined the two pieces there. This became the ankles. In interlinking sprang, if you are careful to keep the edge thread at the edge, you can create an invisible seam. Imitate the interlinking stitch with your sewingup thread. I sewed the pants from ankle to crotch. Sewing the crotch required a bit of creativity, keeping the knots to the inside, and trying to imitate the interlinking stitch on the outside … but then, I’m hoping people will not be looking at my crotch too closely.
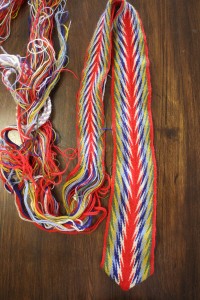
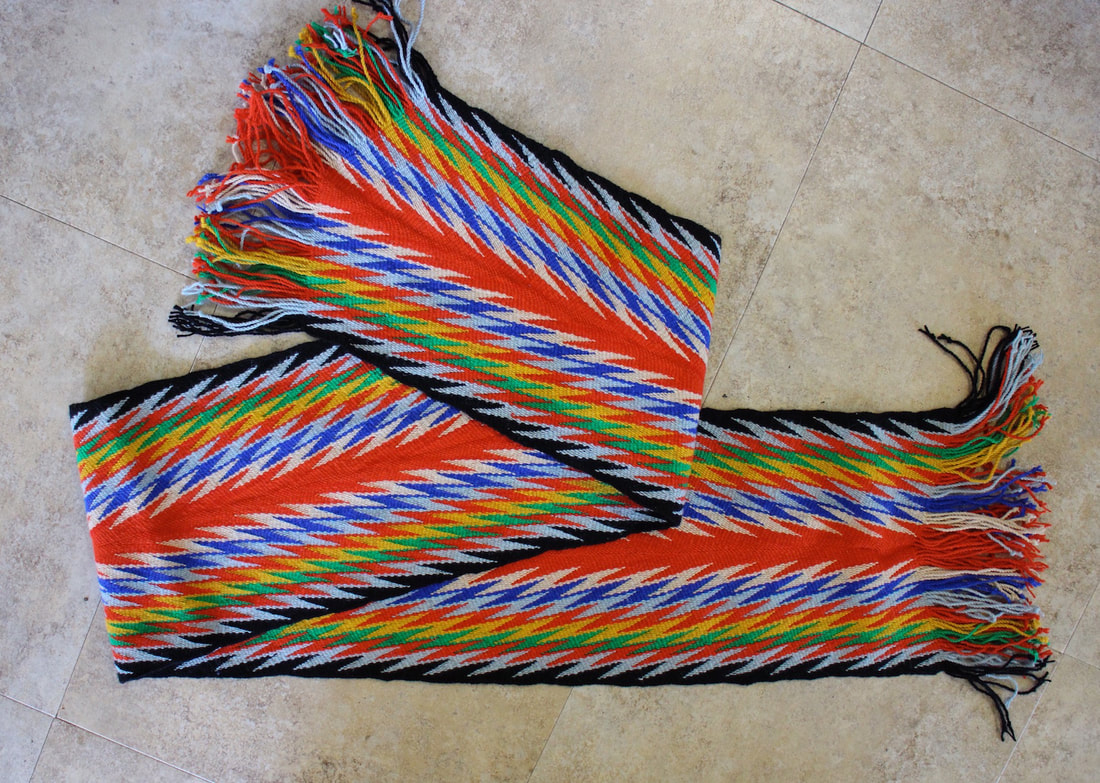
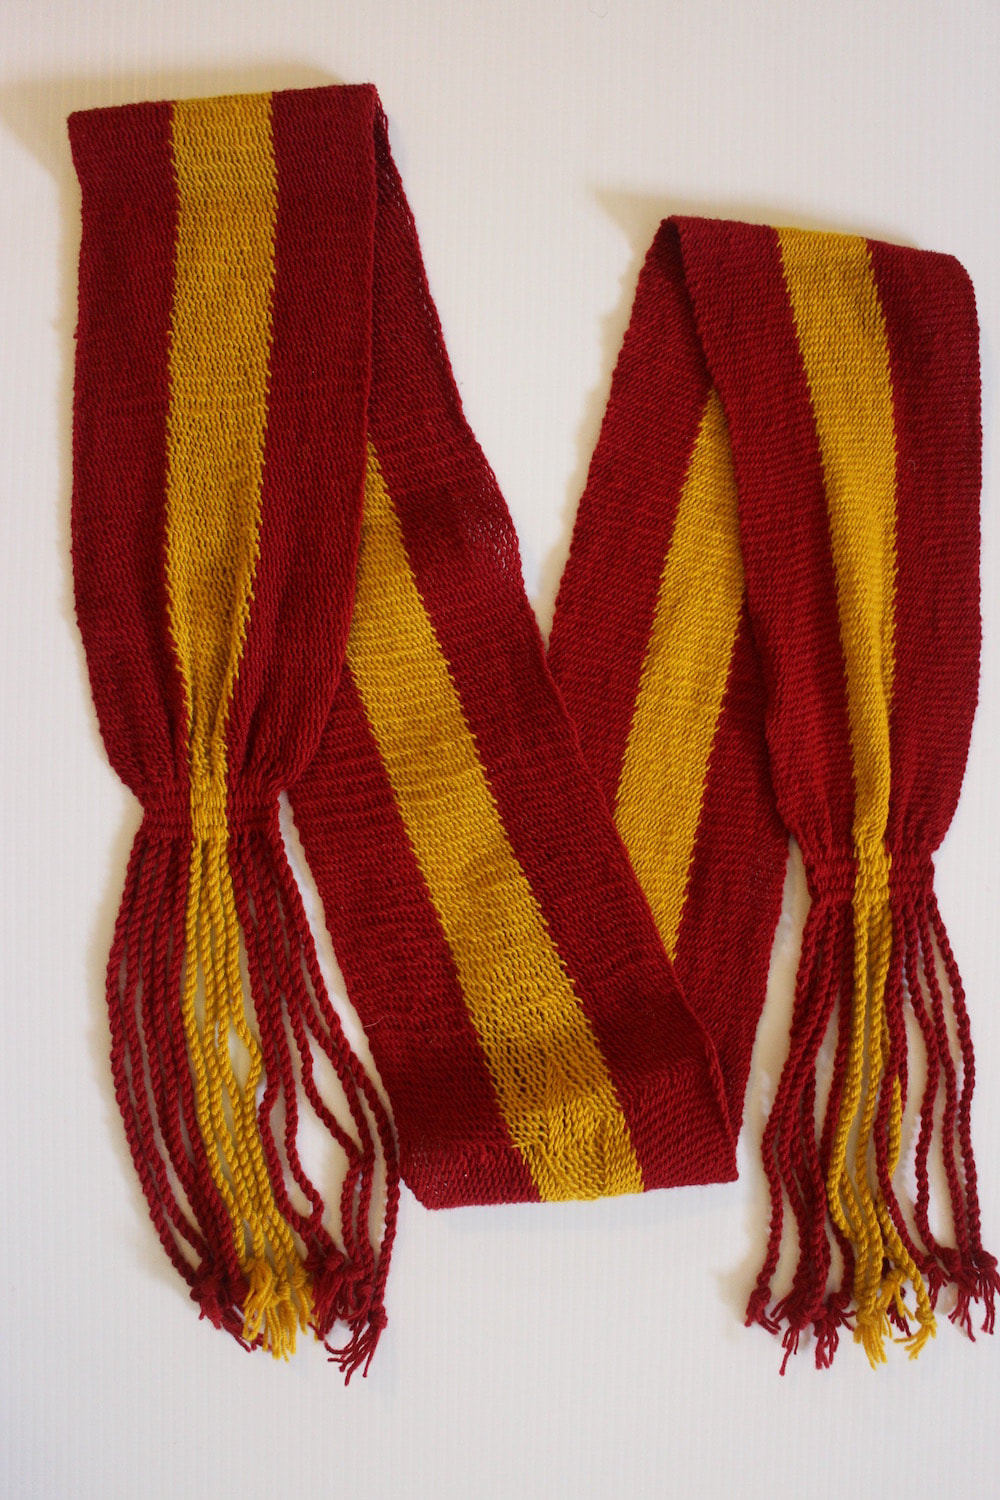
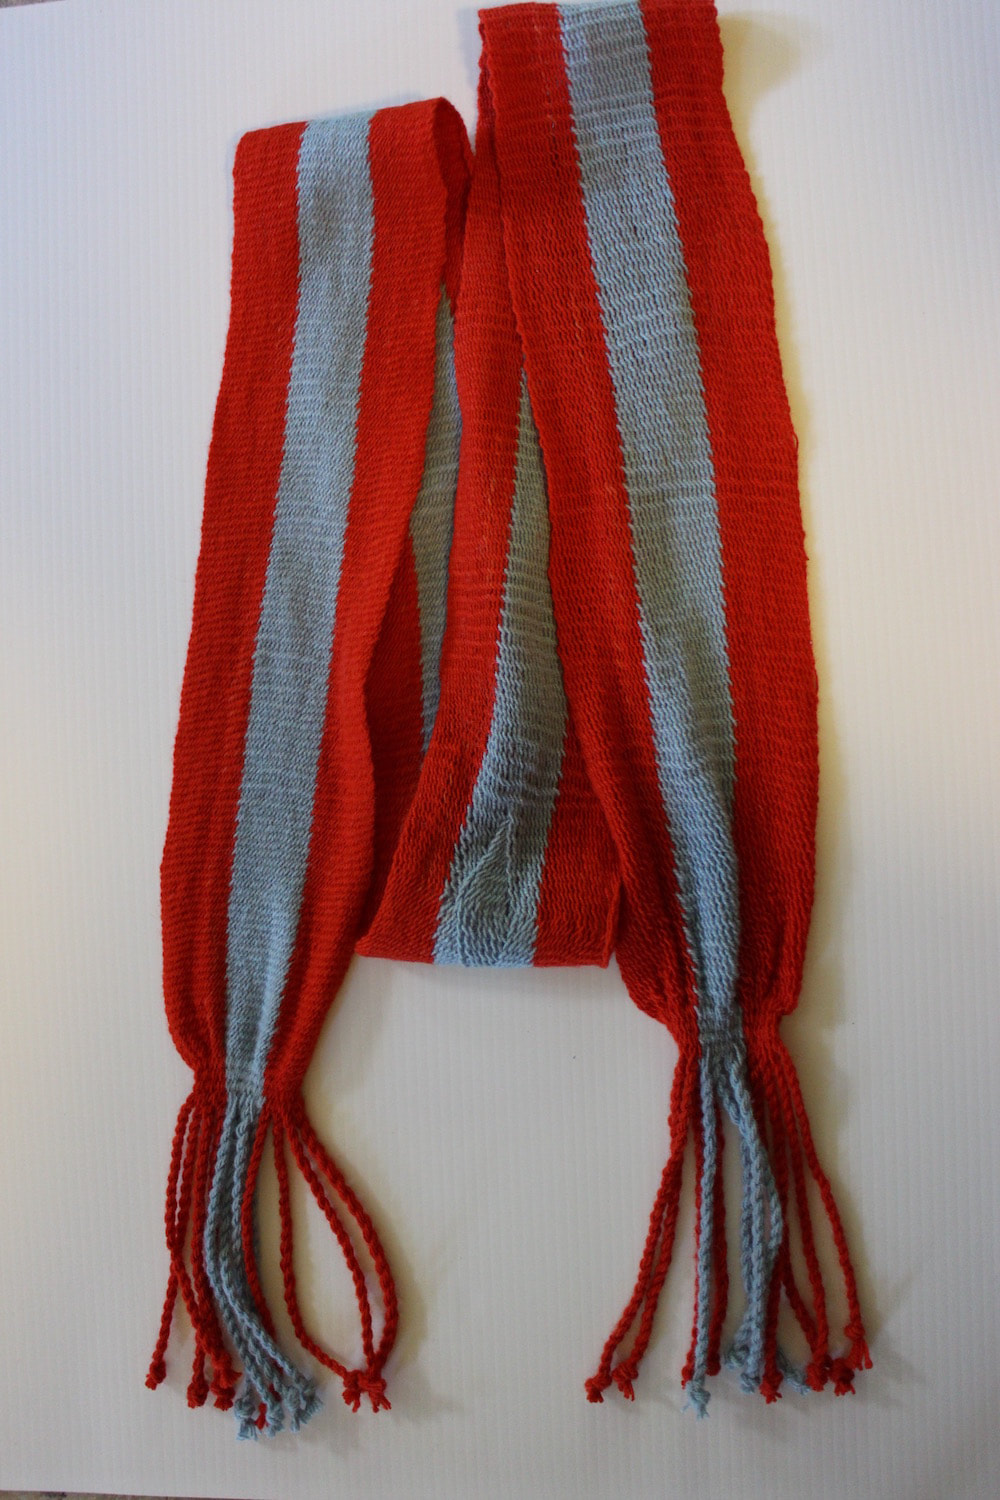
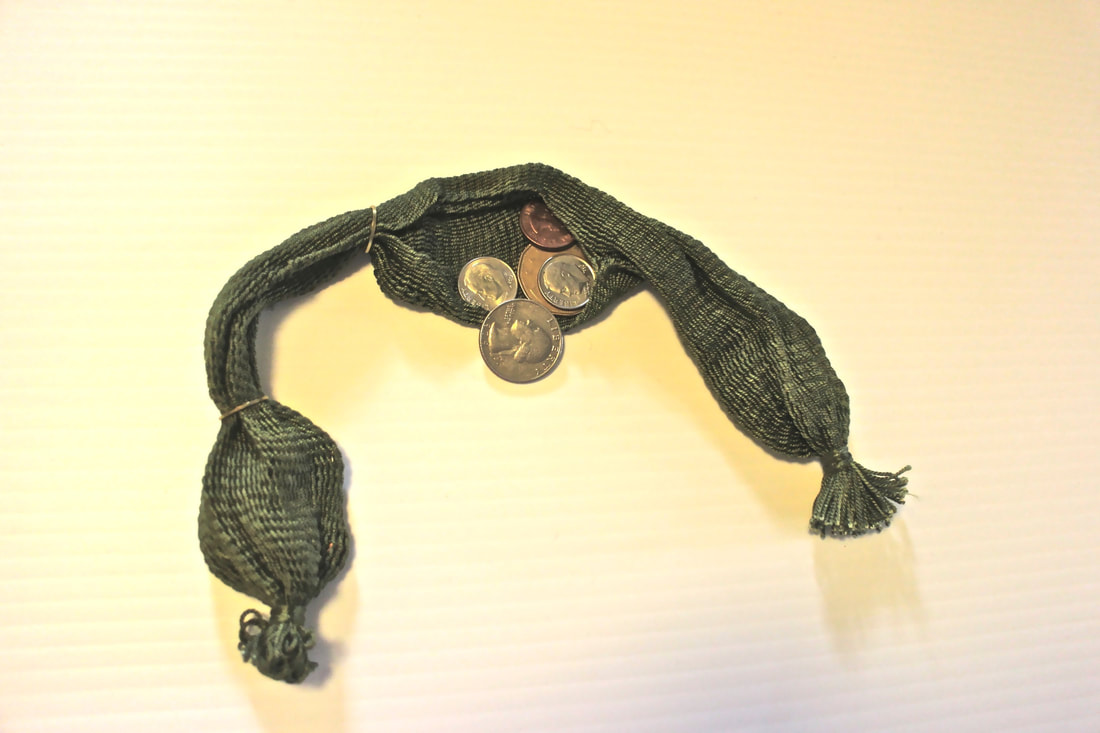
I’ve created a number of military sashes this summer. The sashes with the colored stripe are wool NCO (non-commissioned officer) sashes, and were typical in the British army in the 1700s and into the early 1800s. The solid colored red sash is silk officer’s sash. And in between, I’ve created several of these coin purses. Made of silk cord, they are modelled after the image in Downer’s book Nelson’s Purse, and hold quite a lot of coin.
I am finding that numbers are my friends. The only way to prevent mistakes is to count stitches, and re-count after every row of work. Now, generally, when I get to working, my mind sometimes drifts. Counting more than, say, 20, I am never 100% confident that my count is Really correct. I experimented with a couple of things to help me keep track of threads. I thought about placing ‘marker beads’. This would mean sliding on the required number of beads ahead of time, sliding them along as I measured out, and leaving a bead in place at the appropriate place. The problem I anticipated was that any knot or slub on the thread would mean that the rest of the beads could not pass. I opted for placing little ‘marker threads’ every 100 threads. We re-counted at each 100, to make sure this marker was accurately placed, and to be keeping accurate account of the number of warp threads.
As soon as I began to ‘sprang’, however those markers proved impractical. They got tangled, and created tangles. So, I’m relying on counting and looking, checking each row twice. Breaking down the pattern into smaller pieces helps. Indeed, most of the patterns on this replica sash do that. And let me stress again, keeping the threads well separated goes a long way toward error-prevention, as well as making it possible to push each work around to the other side. |
Categories
All
Archives
May 2023
Categories
All
|
 RSS Feed