|
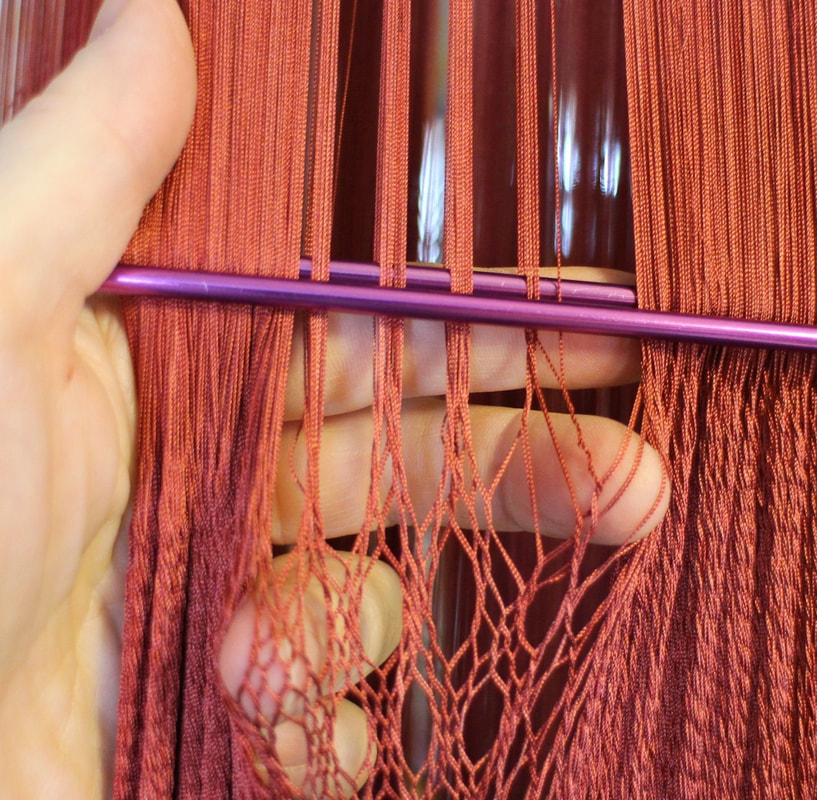
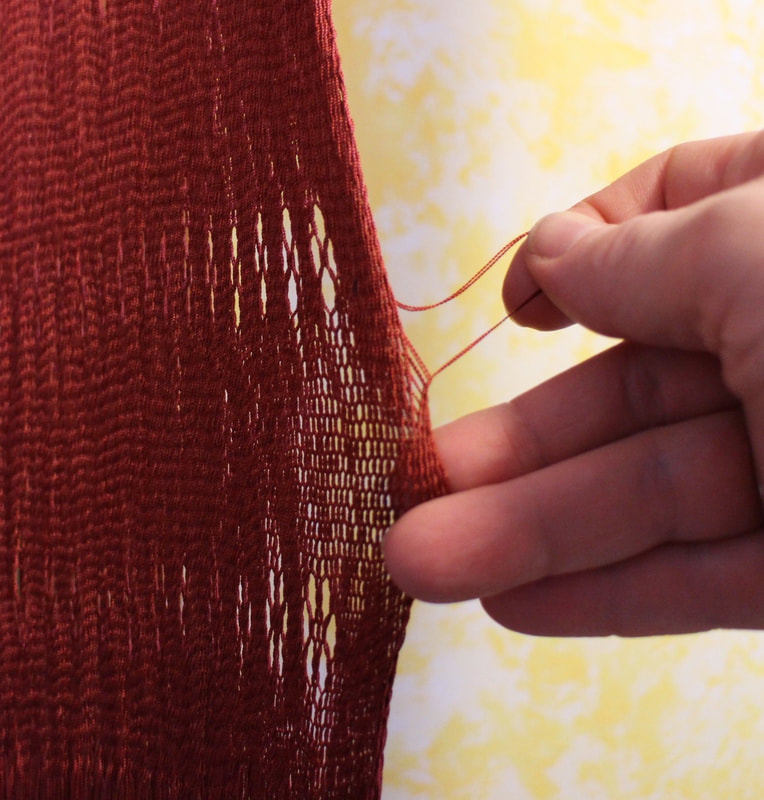
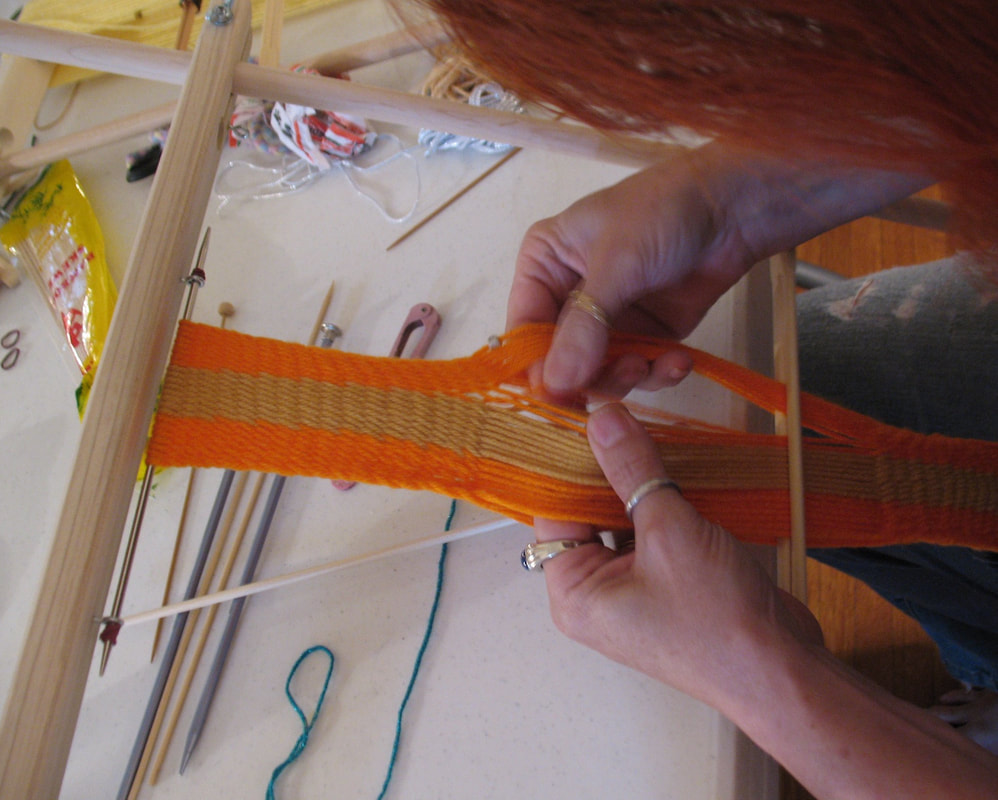
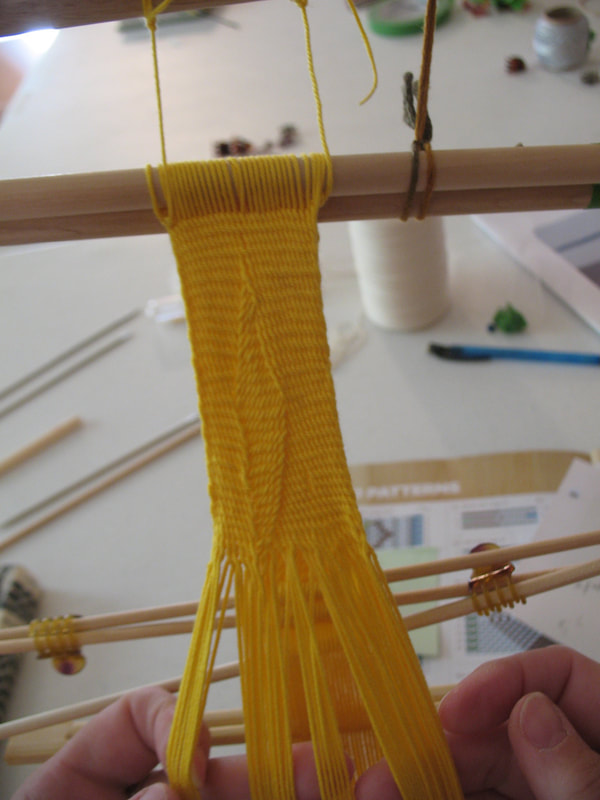
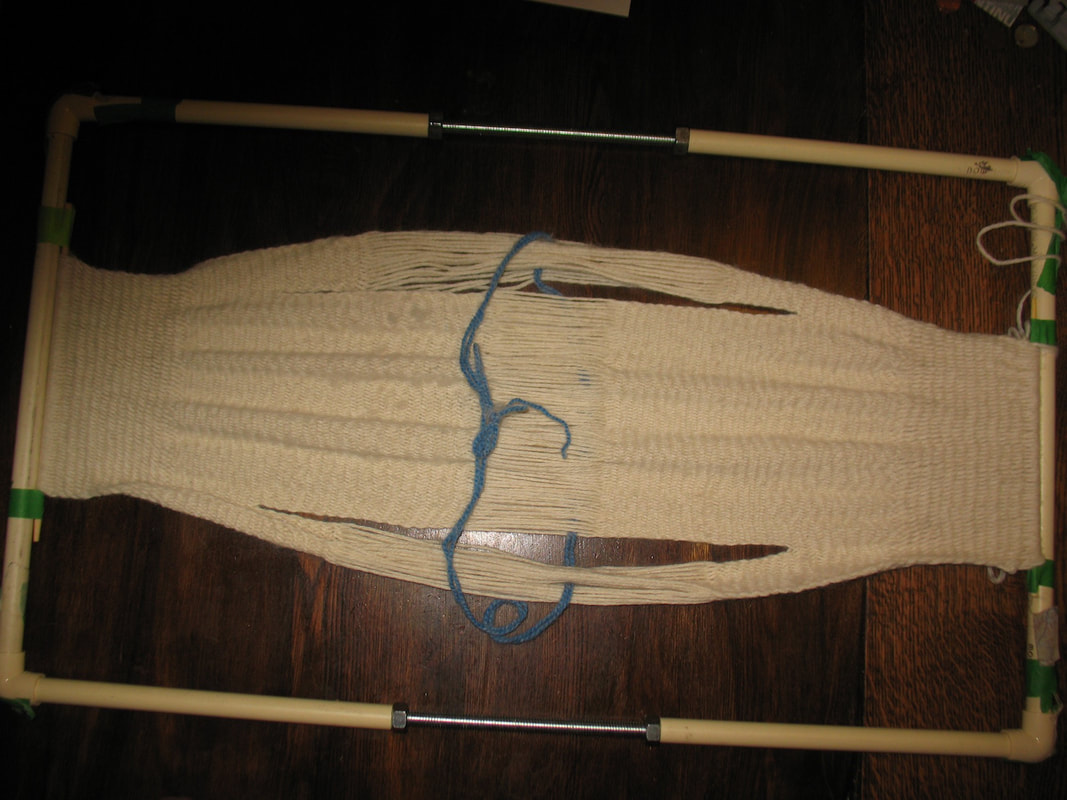
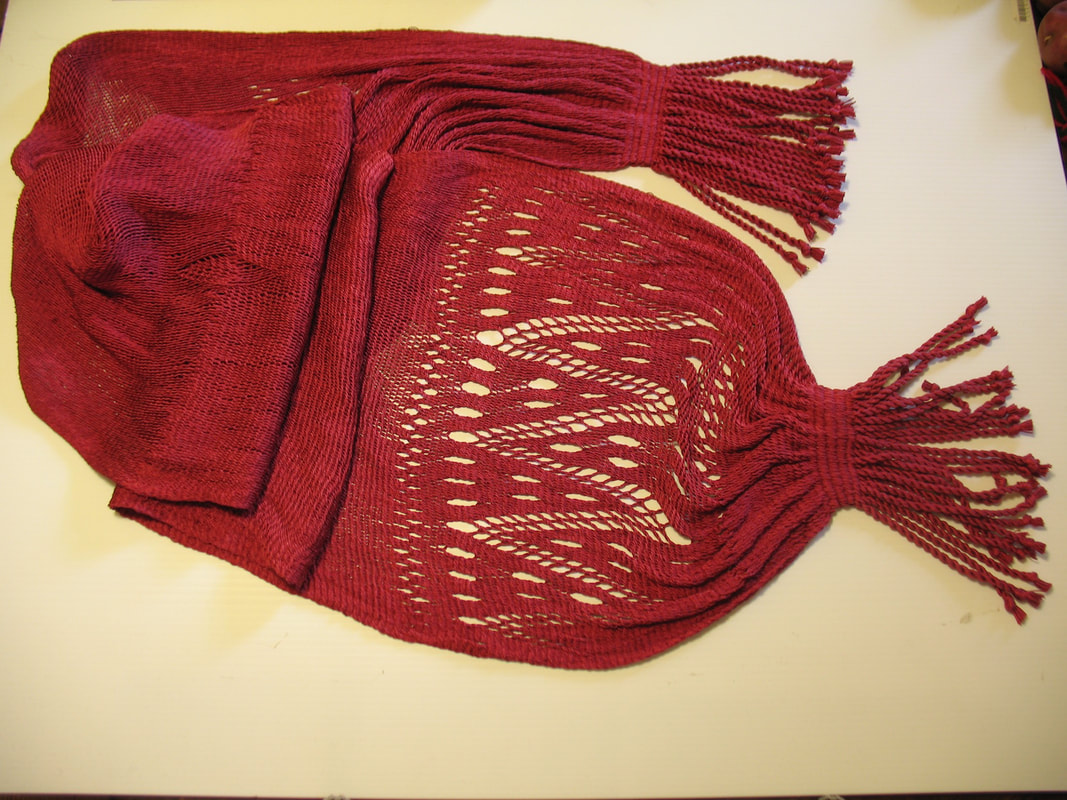
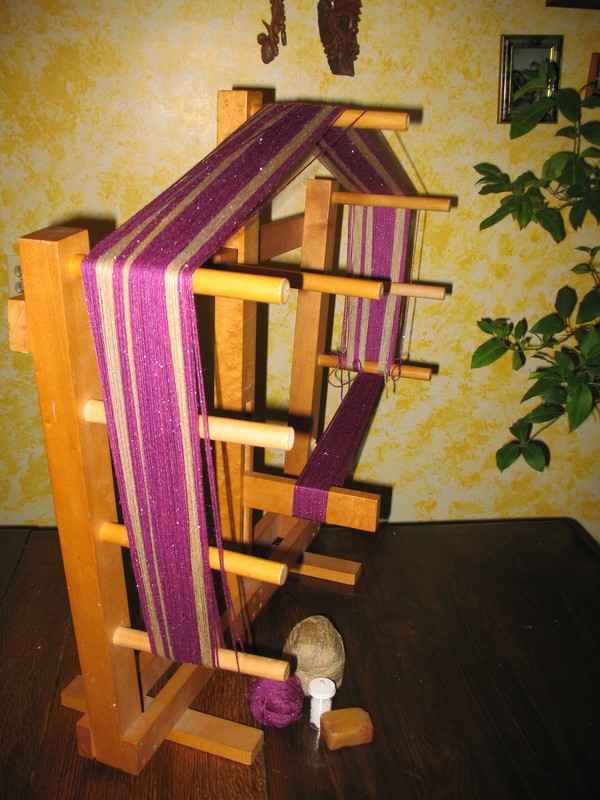
This sash is certainly teaching me alot. It has been my custom in sprang to work several rows, placing sticks in each the shed, completing several rows before getting up and moving all those sheds, one after another, into the mirror-image position. This sash, as with many historic sashes from the 1700s, was created using more than one very fine thread. I’ve got multiple strands. Just like embroidery floss that comes in 6 strands, that’s how these sashes are made: multiple strands, unplied. Now the problem happens when I am not 100% accurate, and wrongly group a thread. When I go to push it into the mirror-image section, that mis-grouping causes a snag. Mostly I notice that it’s really hard pushing, check the culprit thread, and find the mistake. Sometimes, however, it’s only in examining the fresh row on the mirror image. I am finding that it’s best to catch these errors right away, like, catching it as soon as it happens. I’ve given up on this multi-row efficiency. I stand up after each row, move the row, and check. It seems the only way to assure all is well. Another issue has developed concerning thread tension. My initial warp was not 100% even, and I had to deal with that. Things have been quite smooth since …. until lately. I’ve noticed that there is another couple of threads loose lately, causing troubles. I’ve identified them as the threads at the very edge. This happens every time, indeed makes sense. The edge thread, the thread involved in that three-thread edge stitch on the plait row, makes only half the number of rotations as all the other threads. Uptake is less for this thread. I’ve resolved the issue with this thread being longer. I will try to remember to pull on that loop thread before the final finishing, completely erasing all evidence of this problem.
While on the subject of yarn uptake, with this very fine silk I’m noting an uptake of one inch per foot. When I work on wool sashes with a much thicker yarn, the uptake can be around 3-4 inches per foot.
0 Comments
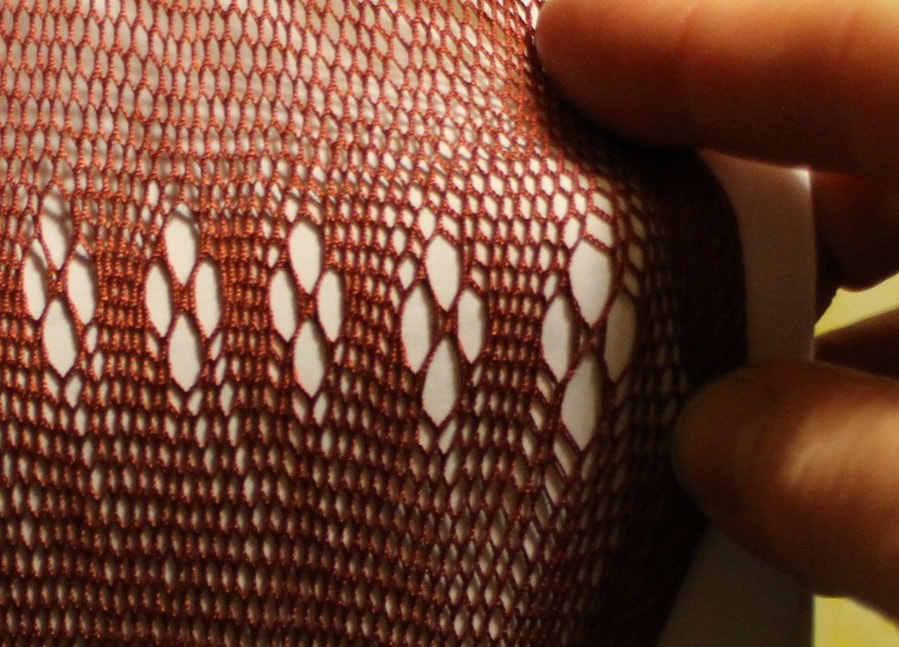
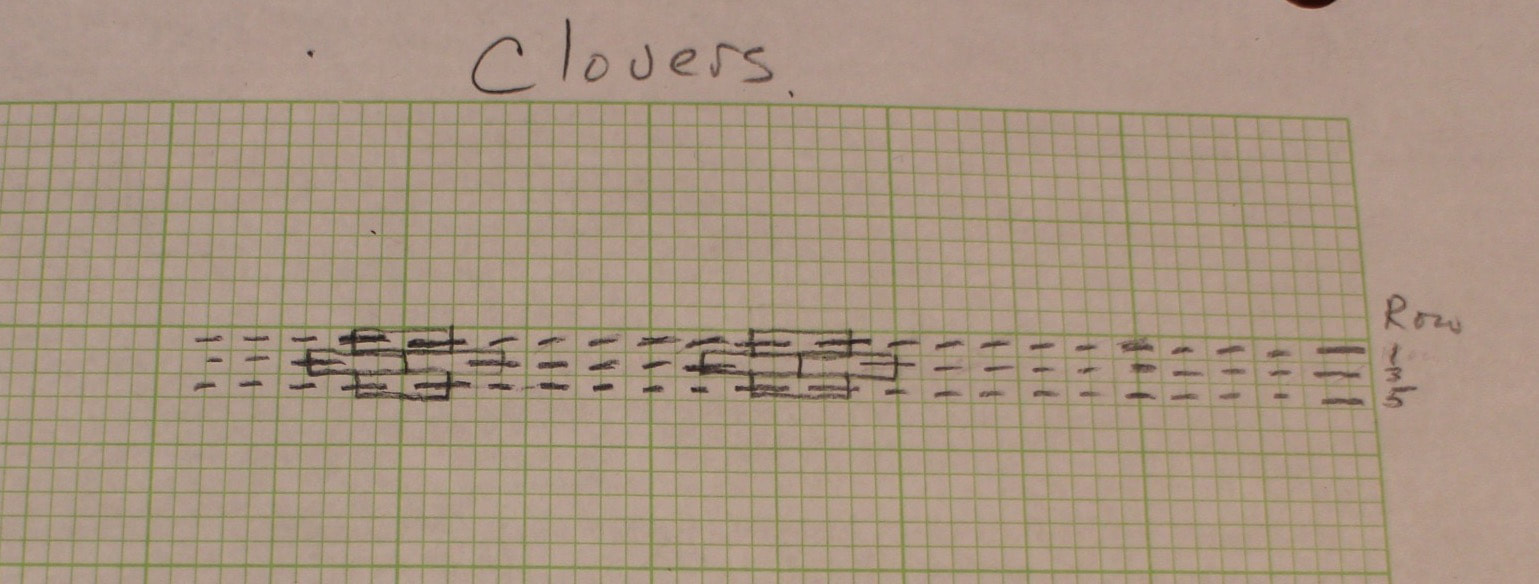
This replica sash has some lovely designs. I am very pleased to see them working out so nicely. I have been playing with sprang designs for several years now. I find that the key to success is the effective use of pattern writing and pattern reading. Much trial-and-error has lead me to a system. Let me share a bit about my pattern writing. I have noticed that I prefer patterns that read in the same direction as the direction of work. Reading and writing English, the common standard is to work from left to right. When I work on a piece of sprang, I start at the right margin, and work towards the left. I have found I get confused when my patterns are written as normal English. I found myself happier, working more comfortably, once I started writing my pattern symbols across the page from right to left, the same direction as my direction of work. Graph paper serves me well. I use one square for each thread. In interlinked sprang the plait row begins with a ‘three-thread edge stitch’. That means three squares. The remainder of the row is stitches that involve two threads, hence two squares. The last stitch will also be a ‘three-thread edge stitch’, again three squares. A practical application? The clover pattern uses three ‘stitches’. These are the regular ‘plain stitch’ that is one up, one down, two squares on the pattern. The second ‘stitch’ is the ‘edge stitch’. This is a stitch that involves three threads, the typical stitch that begins and ends a plait row. The third stitch is what Skrowronski calls a ‘double stitch’ and Collingwood calls 2/2 interlinking. It involves four threads. It is worked in exactly the same manner as the two-thread plain stitch, except that you double the threads, two up, two down. And this is my grid pattern for the clover pattern: Here is a version of that same clover pattern, color coded, to try to be helpful. Right-edge stitches are blue (pick up two, put one down. Left-edge stitches are green (pick up one, put two down. Double stitches are orange (pick up two, put two down). All this to say, that I have been finding my patterns to be serving me well in this replica process.
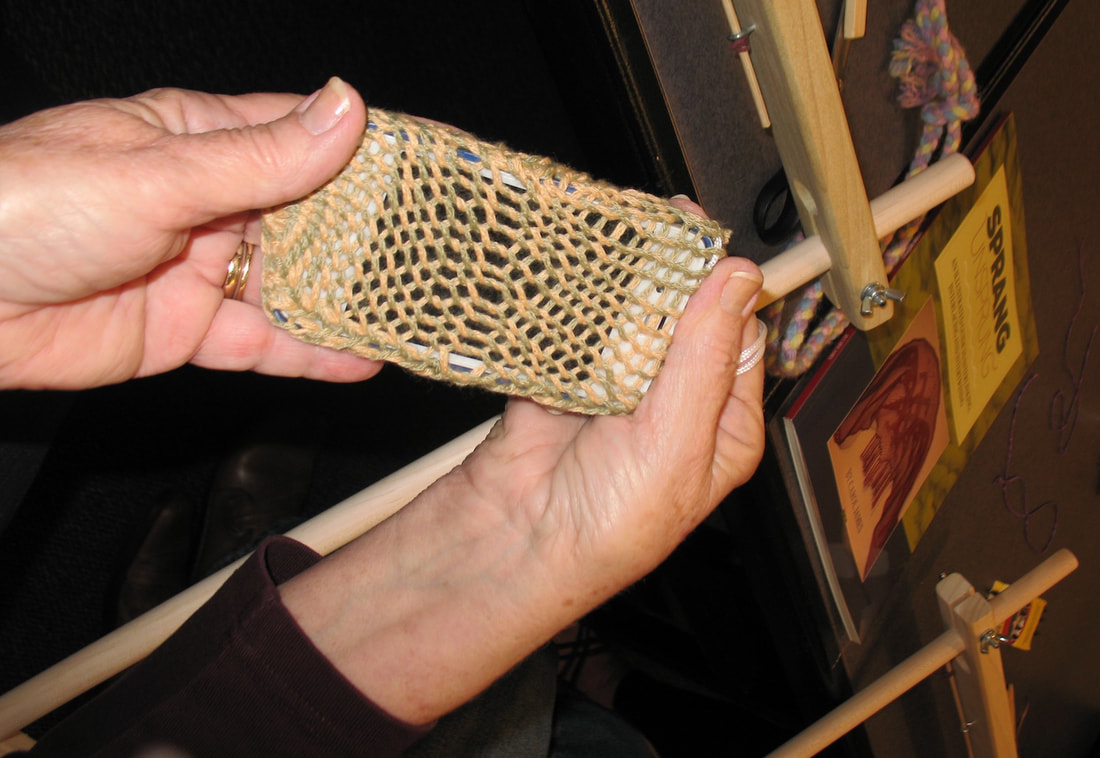
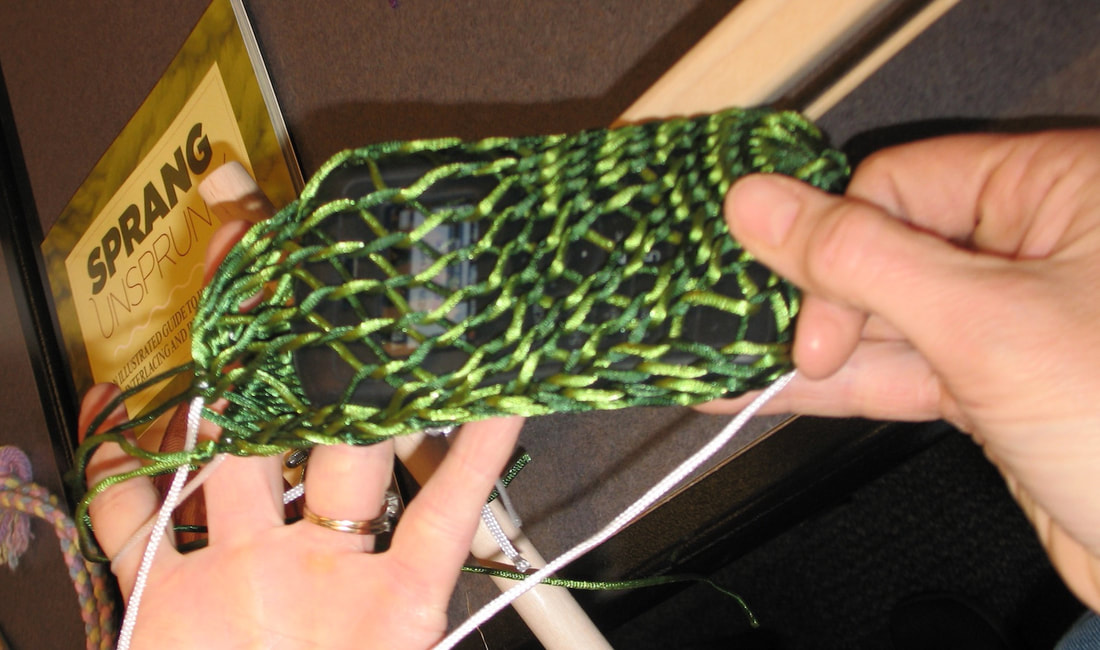
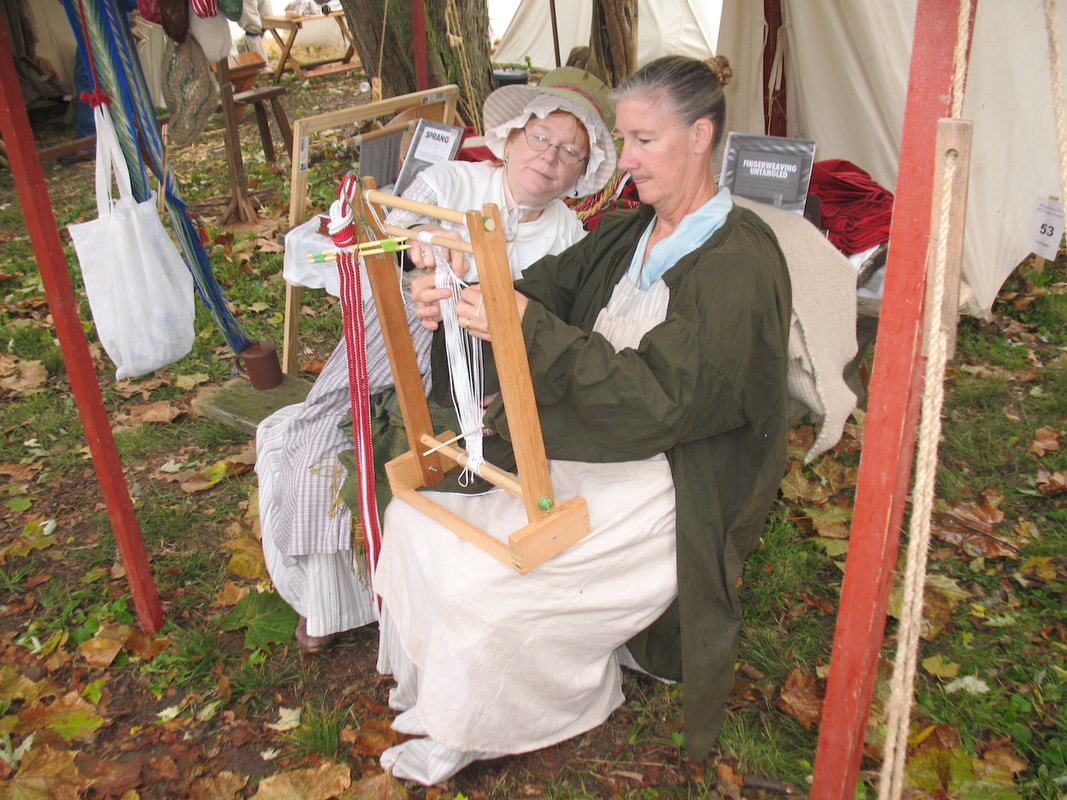
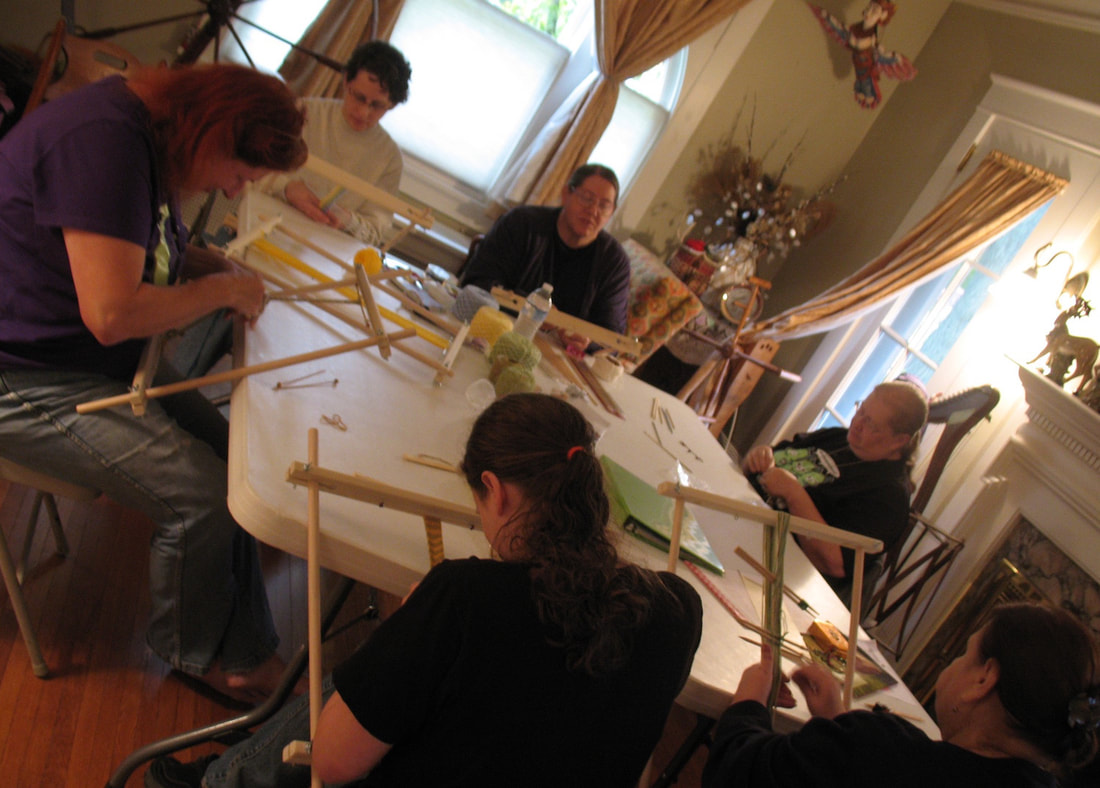
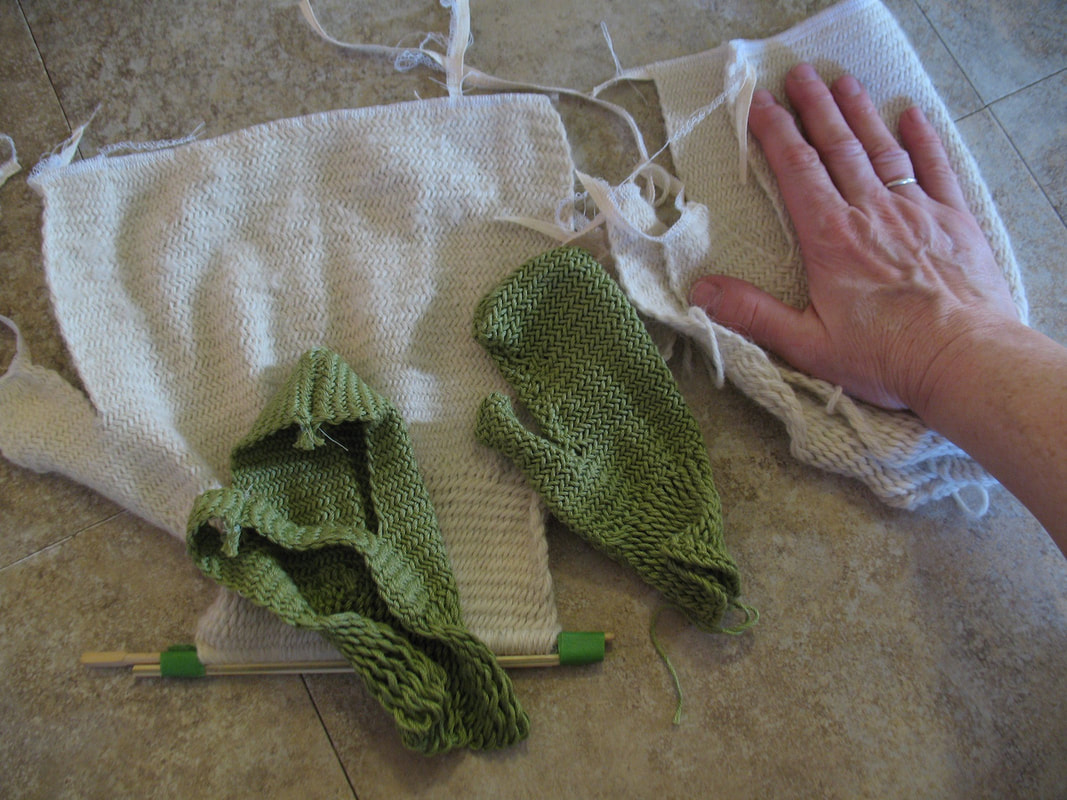
I hope all of this is helpful to someone out there. The North Shore Weavers and Prairie Weavers Guild near Chicago had invited me to visit and present sprang. I gave two workshops while in Downers Grove, in the Chicago area. On to Marion, Indiana, where I attended Mississinewa 1812. Sprang instruction was high on the bill. Then on to Ohio, the Cuyahoga weavers invited me for a workshop. Meantime, taking inspiration from a pair I saw last Summer, I set out to create sprang mittens. The wrist was worked in interlinking. I doubled up the threads so the fabric would be narrower at the wrist. For the hand I switched to an interlacing technique. This means wider, a bit less elasticity, and a denser fabric. Listening to my daughter’s advice, I used a serger and a strip of woven tape to finish off. The first pair (in green cotton) was too small. The second one, white, done in alpaca, was too large. The next one will be just right.
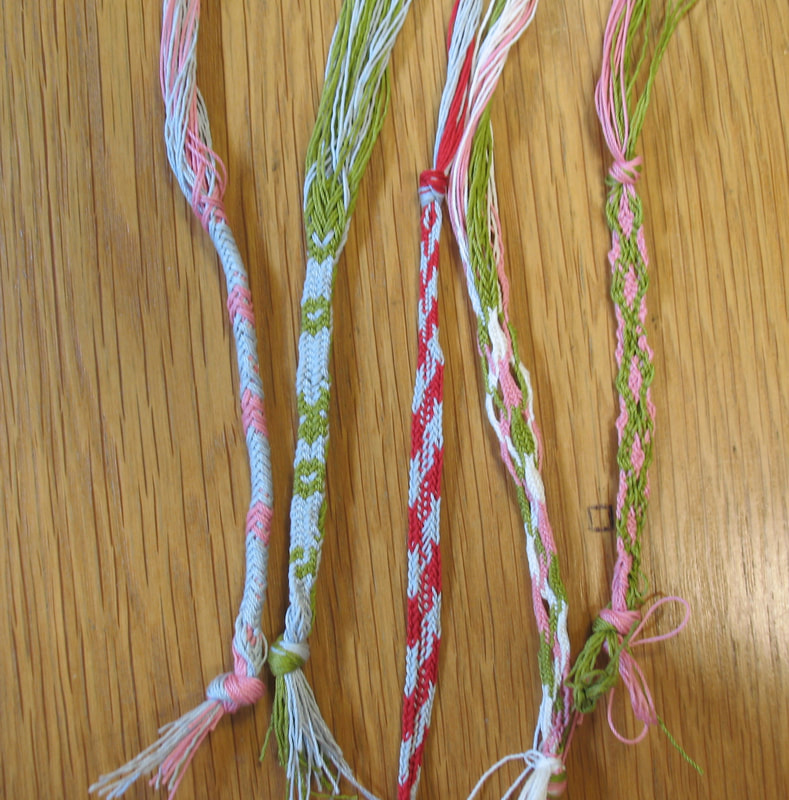
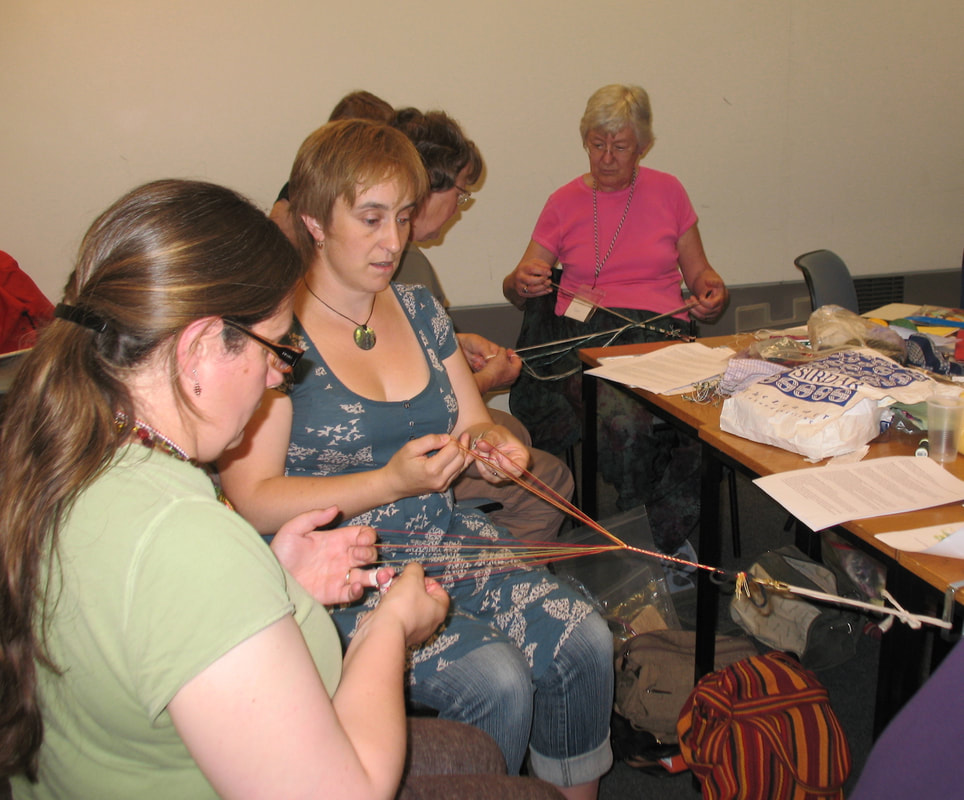
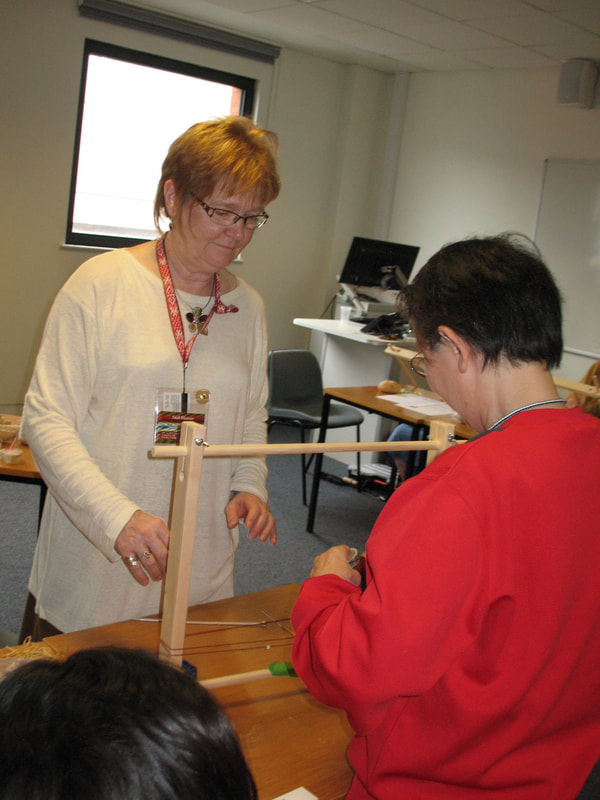
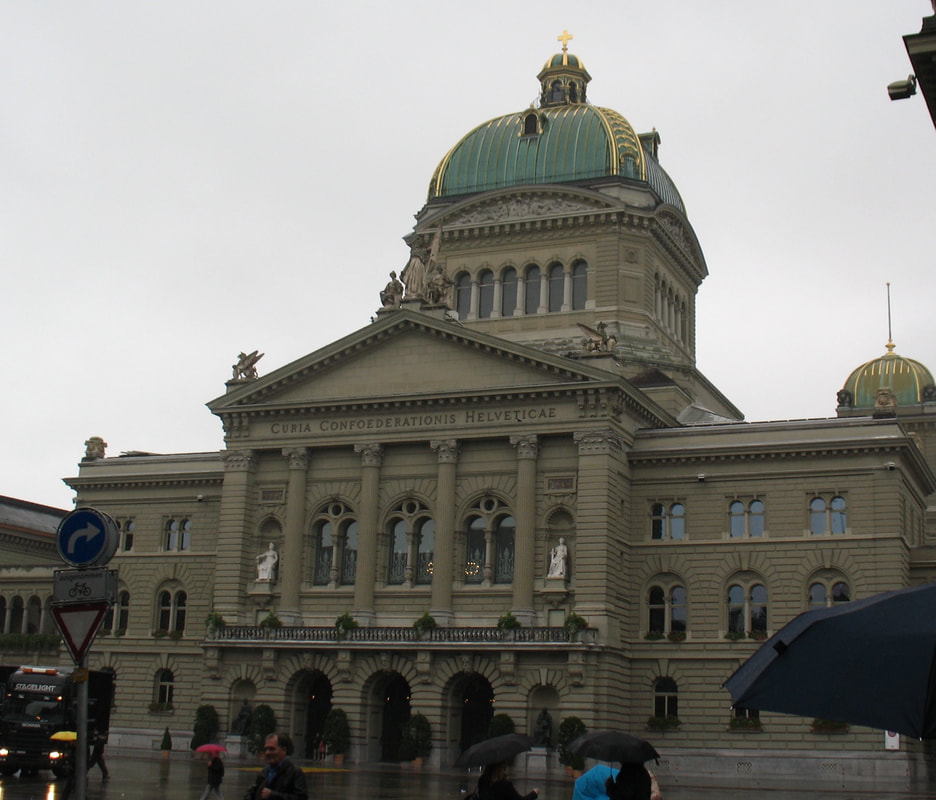
Just last week I was in northern Alberta. I taught fingerweaving in a couple of local schools, and presented a fingerweaving workshop for adults at the Fairview Arts Center. Check out the article reported in the Fairview Post: http://www.fairviewpost.com/2012/11/06/finger-weaver-shares-skills Manchester UK was the site of the 2nd International Braiding Conference. It was an amazing opportunity to meet top experts from a variety of braiding techniques. I attended Joy Boutrup’s class on loop manipulated braids, and made several myself. Simple braids can be made by one person. We learned how to work together making even more complex braids. It was then my turn to teach sprang. We spent a day at Macclesfield, learning about the English silk industry. I also visited Platt Hall and the Stockport Hat Museum. Very interesting. On to Lyon where I was treated to backroom tours of the Guimet Museum and the Textile Museum. I was priveleged to view some sprang bonnets associated with mummies in these collections. I am going to have to set aside some time now to try to replicate some of the designs. Presently I am in Bern, on my way to visit the Abegg Stiftung. They call themselves the Confederated Helveticans.
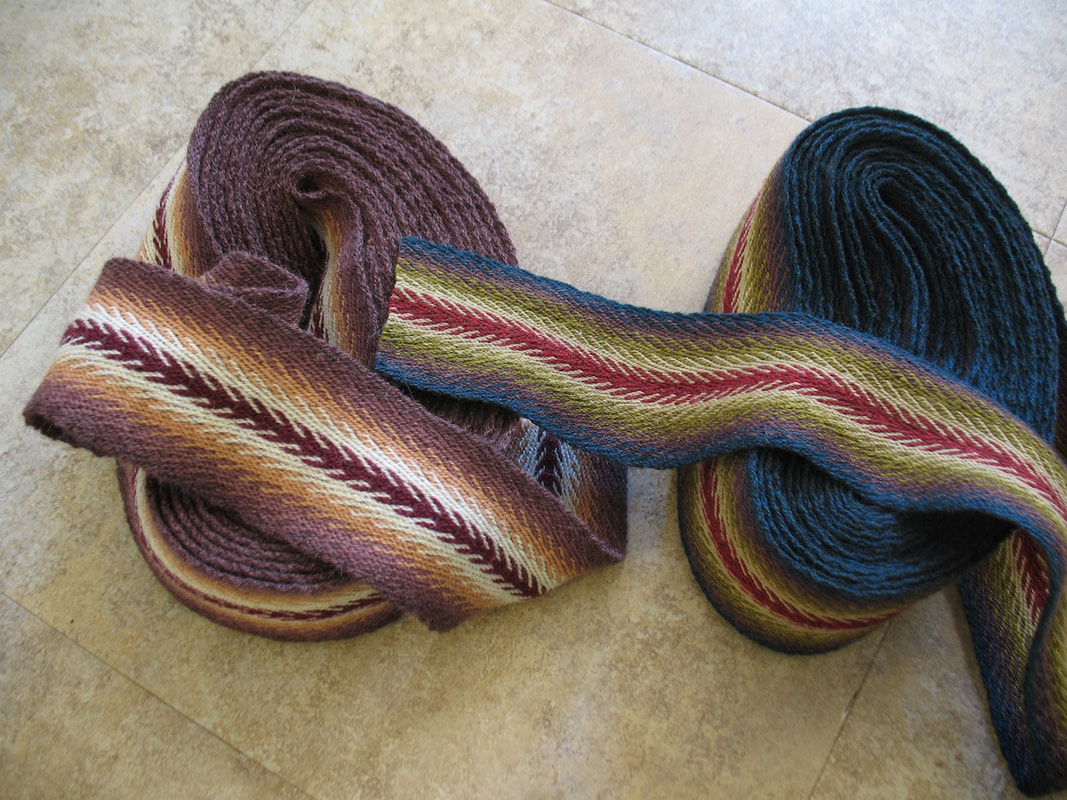
Getting ready to travel to Sunny Southern California. I’ll be teaching classes on sprang and fingerweaving at HGA’s Convergence® 2012 Long Beach conference, July 15-21. There are still a couple of openings in my classes at http://www.weavespindye.org/? loc=8-00-00 The sprang class will take you through basic interlinking, as well as work with a figure-8 warp, resulting in a cap or bag. There’s a half-day fingerweaving class that introduces the basic method. I’m also teaching a two-day workshop on fingerweaving. Participants in the 2-day workshop can expect to weave a small bag. I’ll also be available for booksigning on Thursday, July 19, 7-8:30 at the HGA booth. In other news, I’ve completed another silk sprang officer’s sash. This one is extra wide. I’m also busy on my loom weaving a couple dozen yards worth of sash (3 inch wide tape) for use on the back side of some mighty fine hooked rugs. Rachelle LeBlanc of hookedrugstudio.com. contacted me earlier this year concerning her project, and now’s the time for me to deliver.
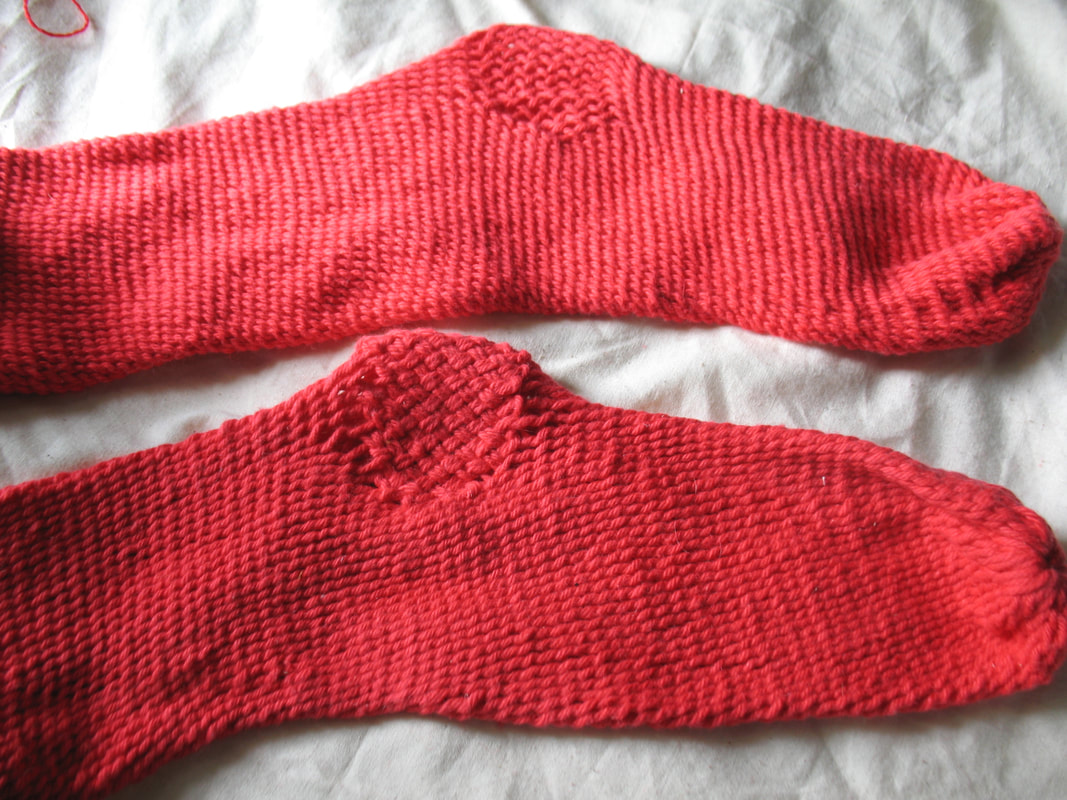
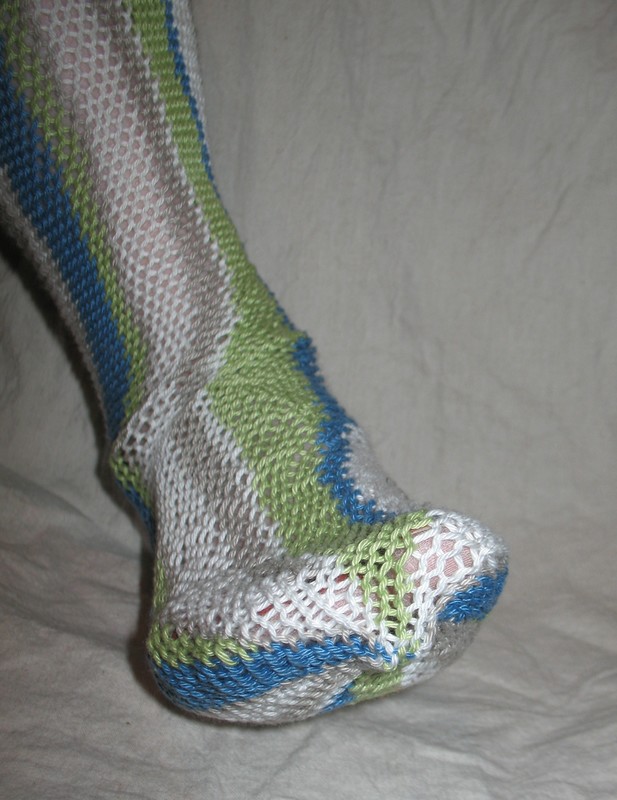
Last week I made a pair of sprang socks in a single afternoon … see my last entry. The socks were made, two at the same time, without a frame, hooking my warp up on my kitchen door. I used an interlinking stitch, with the looser interlacing stitch at the heel. This gave me a sock that bent around the heel area, but the heel looked rather open, vulnerable to wear. I speculated about darning in the open spaces. That’s what I did, using the same thread. Here’s the photo: I’m a bit concerned that the reinforcement has caused extra stress just above and below the heel patch. Hmmm, maybe I should use a finer thread for the reinforcement.
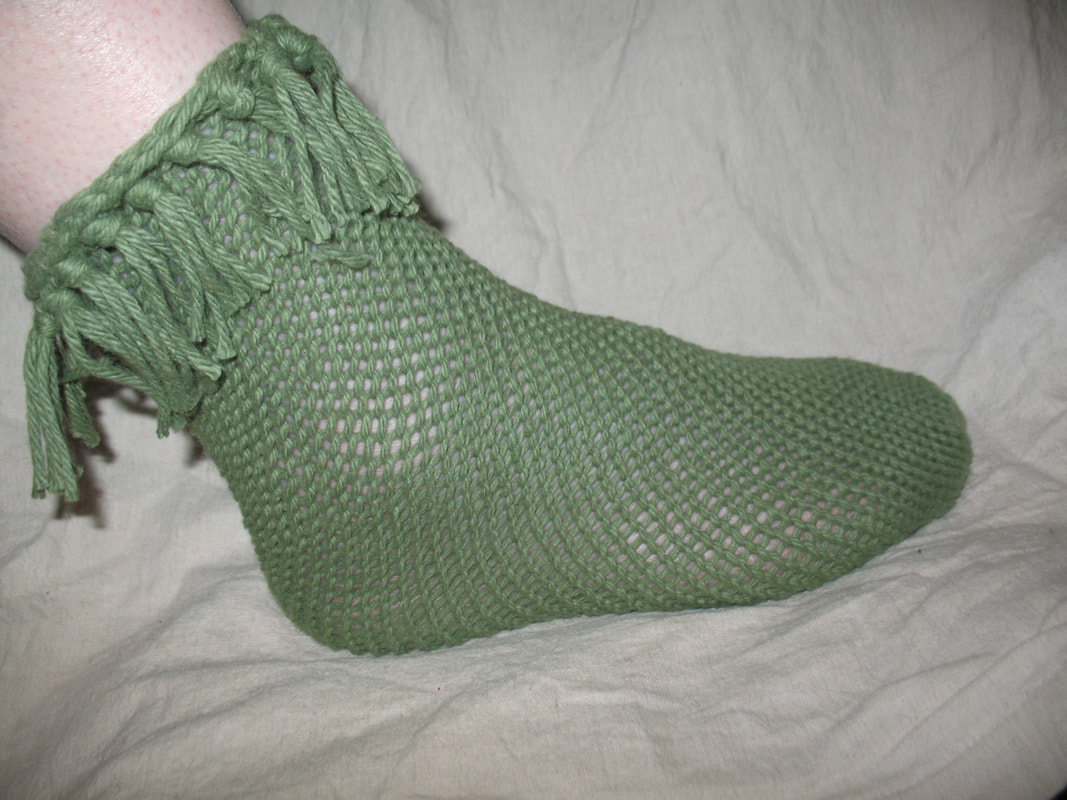
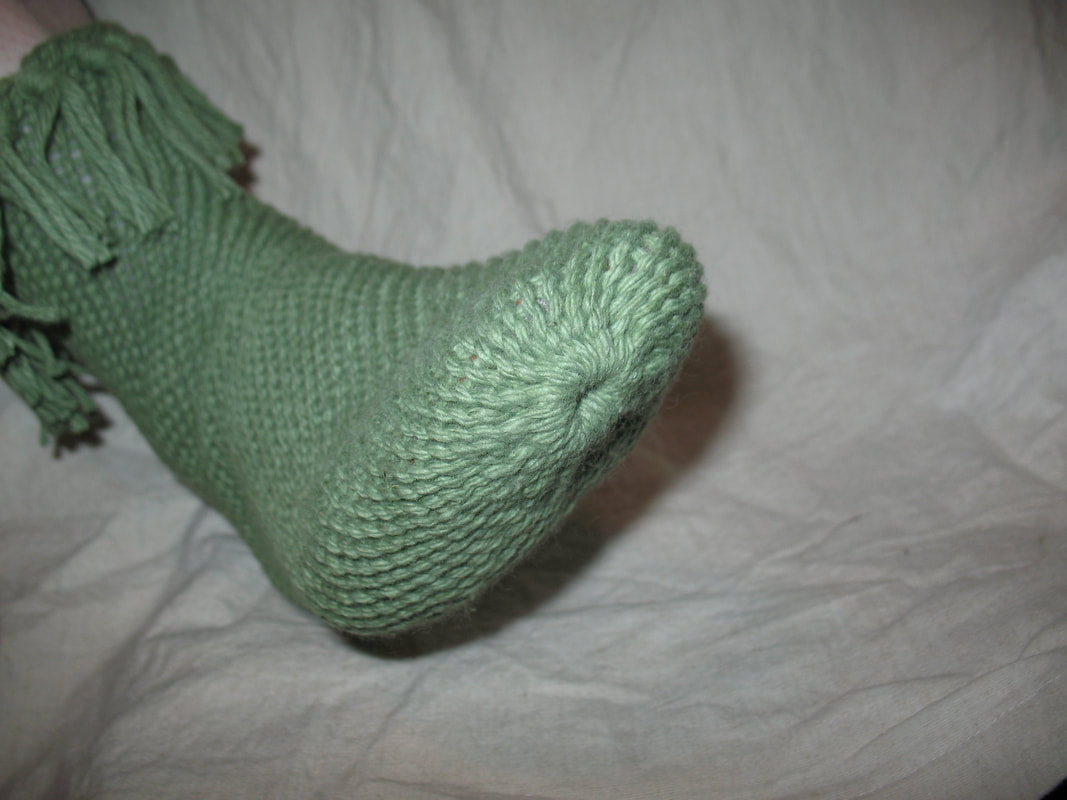
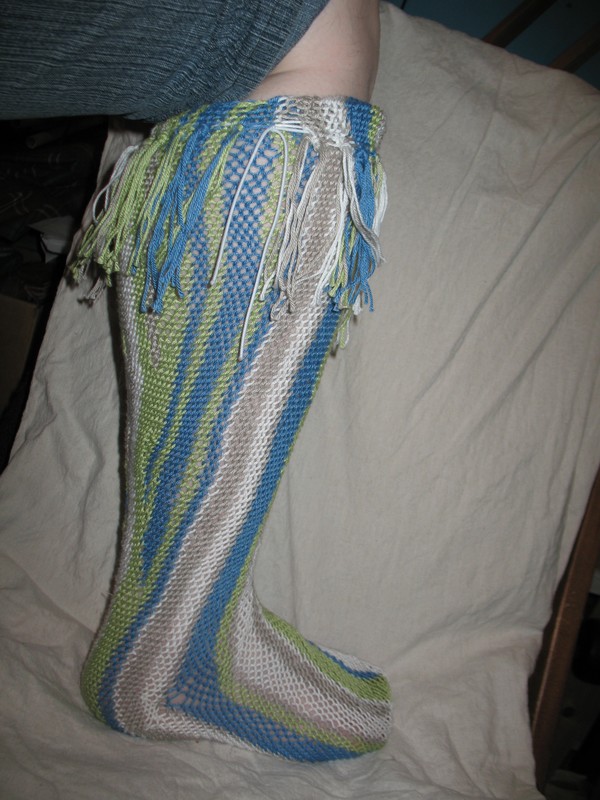
I still prefer the ‘short row heel’ that I discussed earlier. My book is progressing. I’m hoping to have galleys by the end of the week. I’ve been trying a few more variations of the sprang sock. Here’s a straight tube sock. It was made from a figure-8 warp, two rectangles worked at the same time. Cut apart, you get two socks for the work of making one … well, you have to do the finishing on the socks separately, gather the toe, sew the side seam, and deal with the fringes. This sock is a real tube sock: no fancy extra work to create the heel. The only problem with this sock is that people with sensitive feet might find all that gathering at the toe to be uncomfortable. The only solution for this that I can think of (decreasing the bulk at the toe) is to work from the toe up. This means you must work ‘free-end’ method, which technically is not sprang. It does give a lovely sock. I used several colors to emphasize the way threads were added. This sock has eliminated that bump at the toe. You begin with very few threads, and add more each row. This sock also features a short-row heel, and increases along the calf.
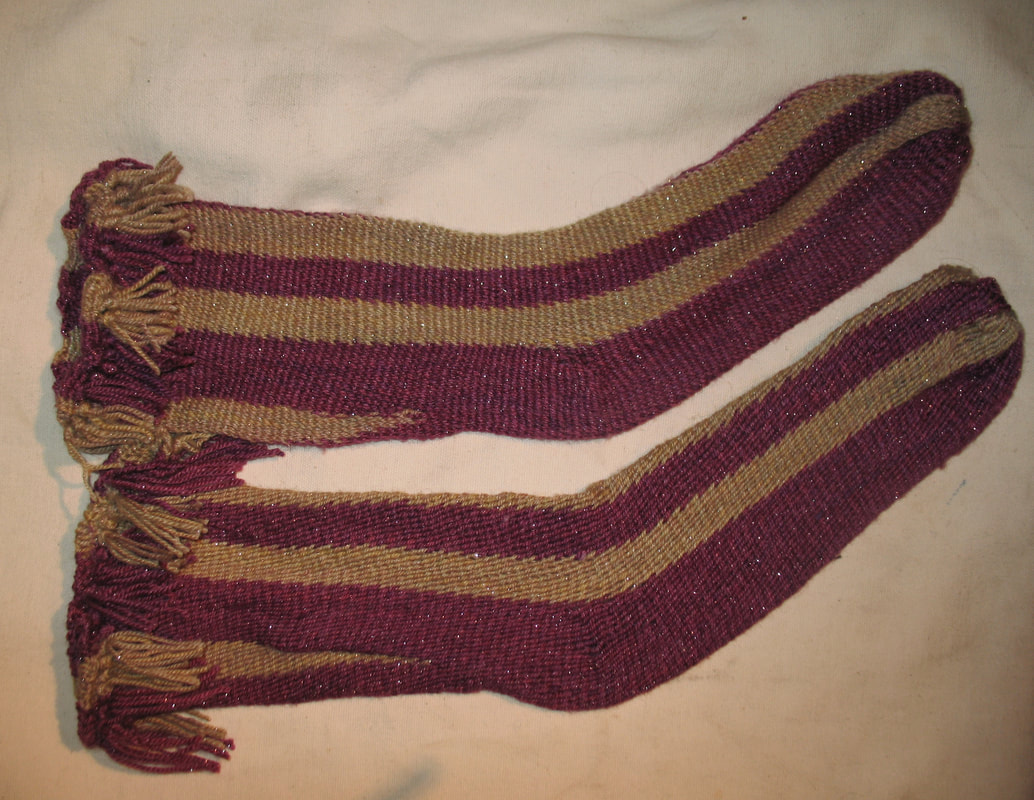
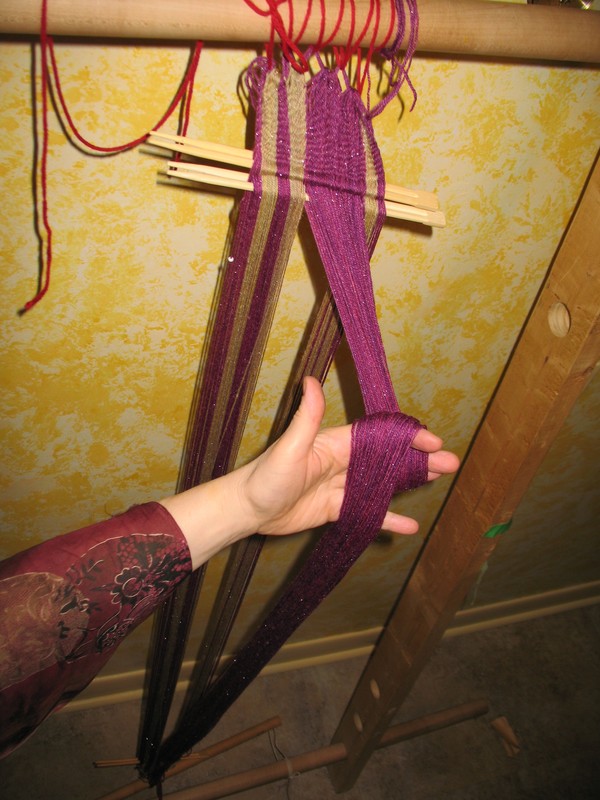
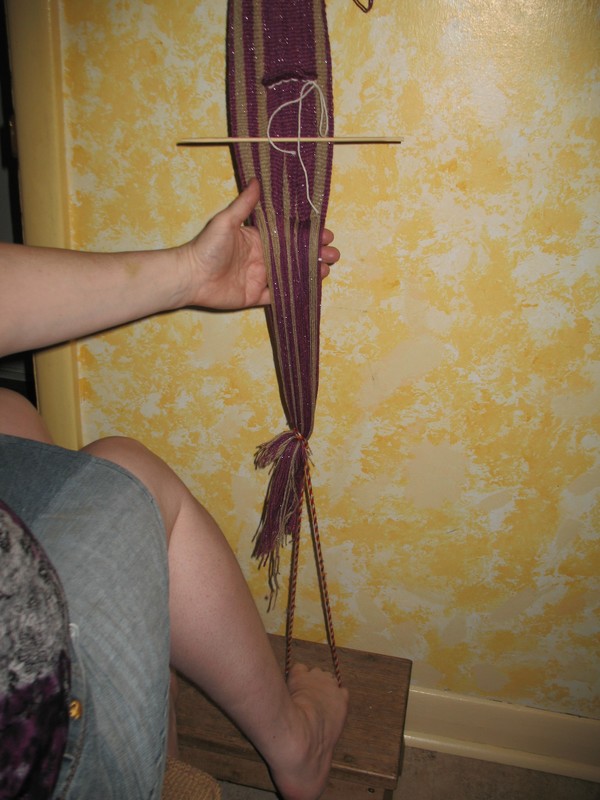
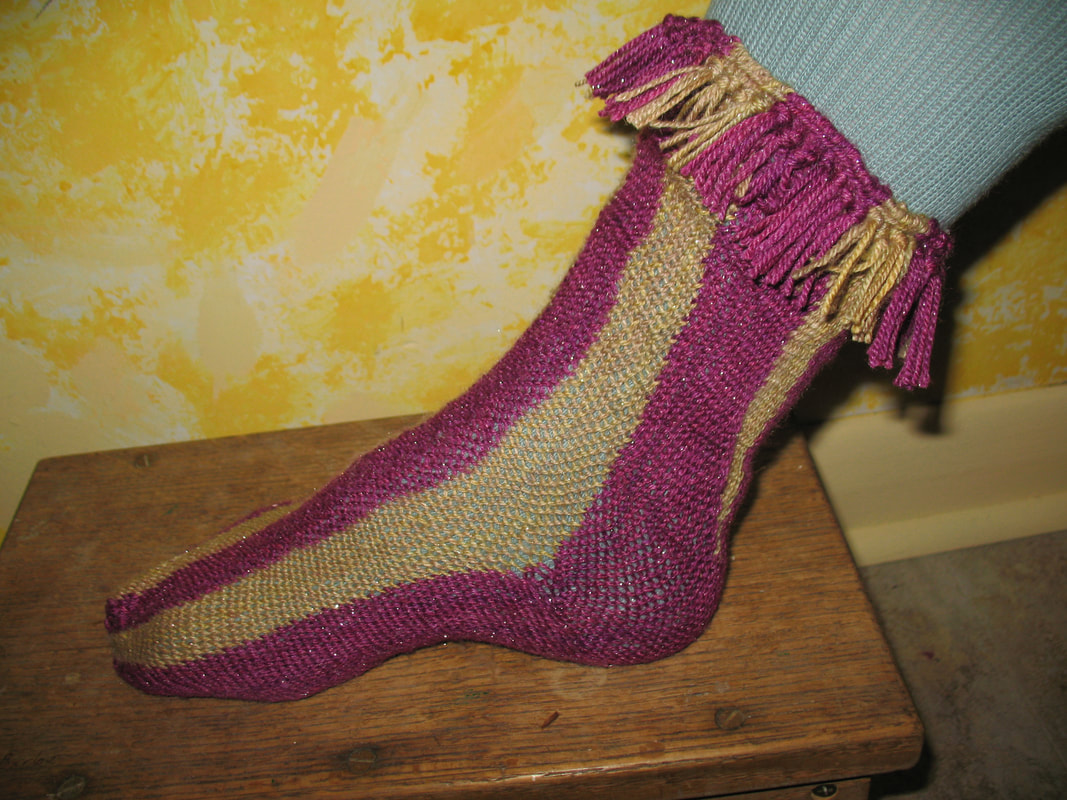
Yes, I’d like to post the directions on-line … but there’s so much to say, how to set up, how to do the interlinking, how to keep things even …. it needs a whole book. Yes, I’m still working on the book. It’s getting to the ‘proof’ stage. I keep finding errors, and want an error-free product to give to the world. Trying another method for a pair of socks using sprang. Here are the socks: How did I do this? I figured I’d measure out a warp with extra length in the strings that would be the sole of the foot, and more importantly, the heel. I thought I’d just have two passes each time I shoved the shed, once with the shorter strings for the top of the foot, and once for the sole threads. It’s been a real pain to work on this sock. The strings for the top of the foot go just fine. The extra long threads for the sole and heel are a Royal Pain. It’s been all afternoon and I’ve only woven two inches. Now I see that the finished cloth is pretty uneven. I’m ready to cut this into two, work the socks one-at-a time as free-end sprang. Work went much more smoothly, working ‘free end’. The top is tied to a hook in the wall. I secured the cut ends with a loop knot, and held them down with my foot. Each row, I pulled out the ‘falseweave’. You might be surprised how easy this is. And voilà, the completed sock: For those who want to know, I used a wool blend ‘sock yarn’. Knitters will understand the concept of ‘short rows’ to form the heel. In this piece I also explored adding strands at the ankle, at the back of the leg. Yes, sprang is stretchy, but I figure that if I’m eventually going to make a sock that goes up to the knee, I might want to add strands to allow for the difference in circumference ankle to calf.
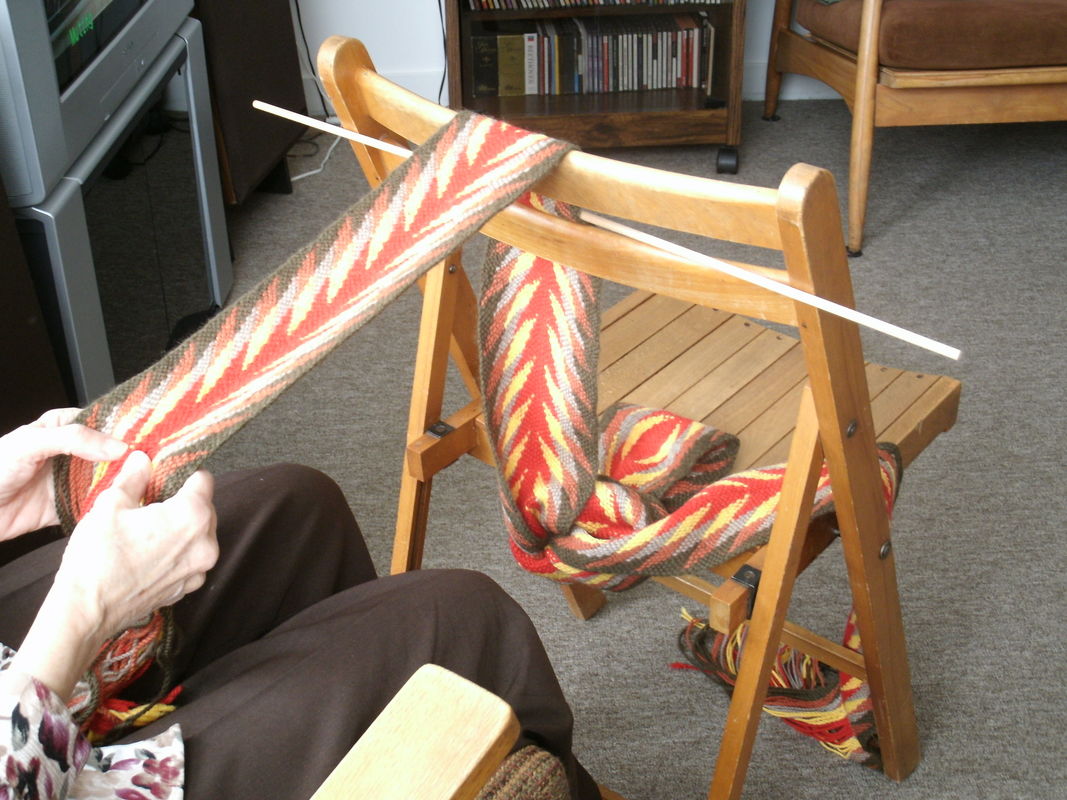
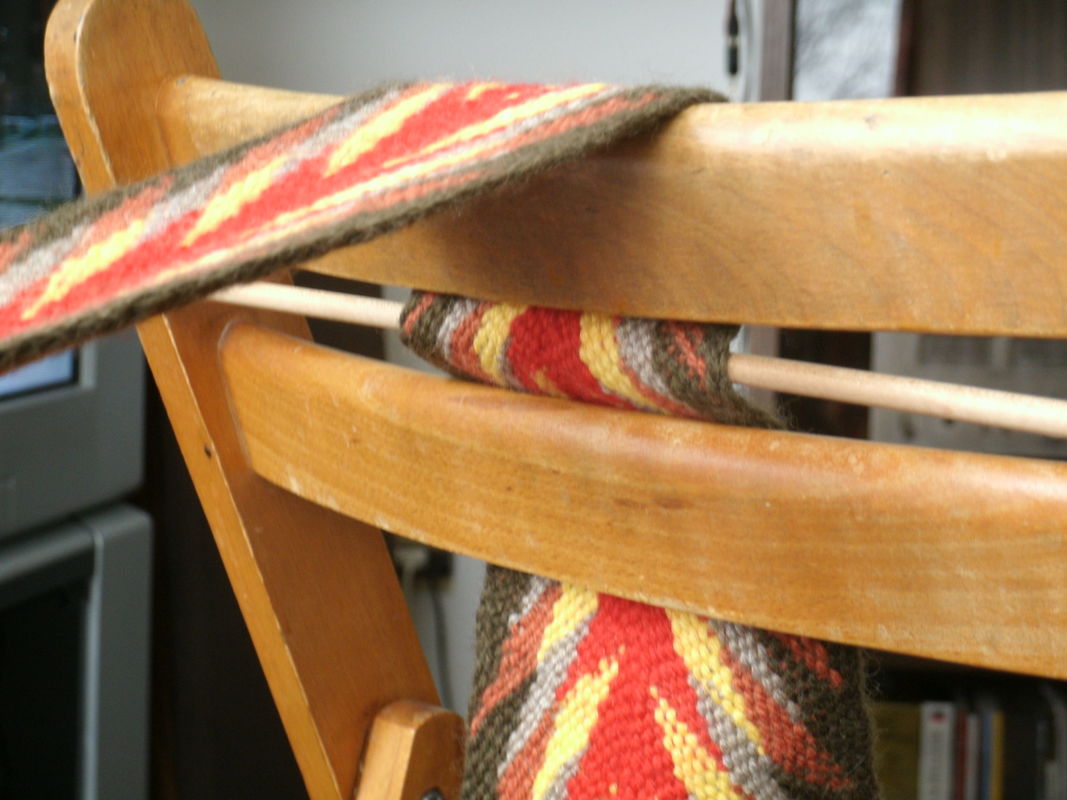
Interested in more details? How do you do sprang? What’s this loop knot? How do you get the colors to work? How do you do the heel? It’s hard to answer just one question. Best to start at the beginning and work all the way through. Know that I’m writing a how-to book, step-by-step from the beginning. There will be Lots of detailed patterns. The first draft is already making its way through layout. I’m bound and determined to have this book in print by April 2011. At the same time I’m still open to comments, requests on what you really need to have explained. The classic method for finger weaving is that you attaching the work to a nail in the wall, and tie the lower end to your chairleg. Many people describe their circumstances to me, where putting a nail in the wall is NOT permitted. This might just be the solution: A new weaver sends me this image, a nice idea for attaching your sash. and in greater detail
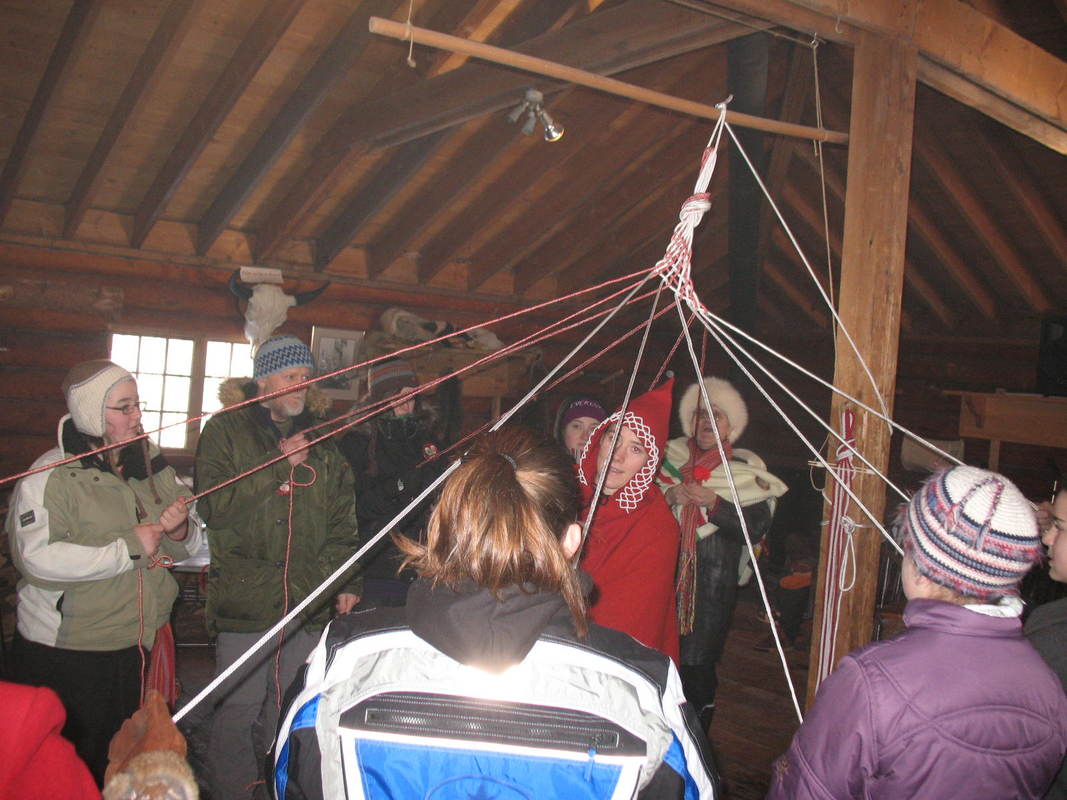
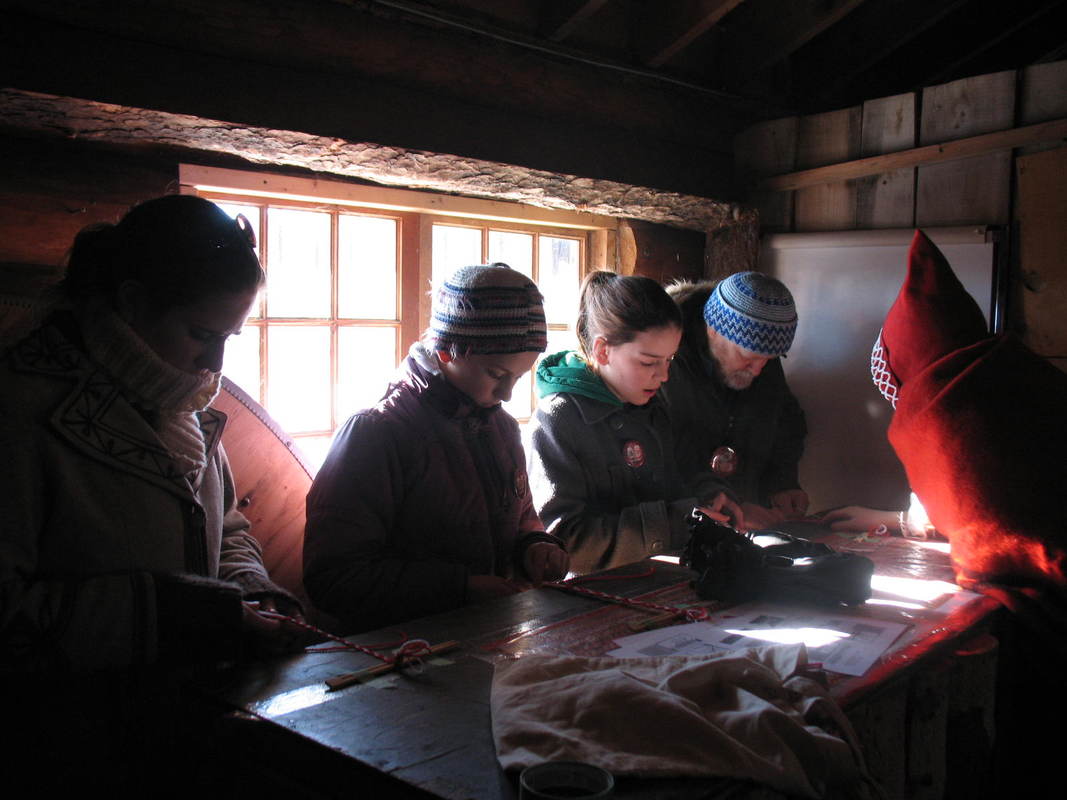
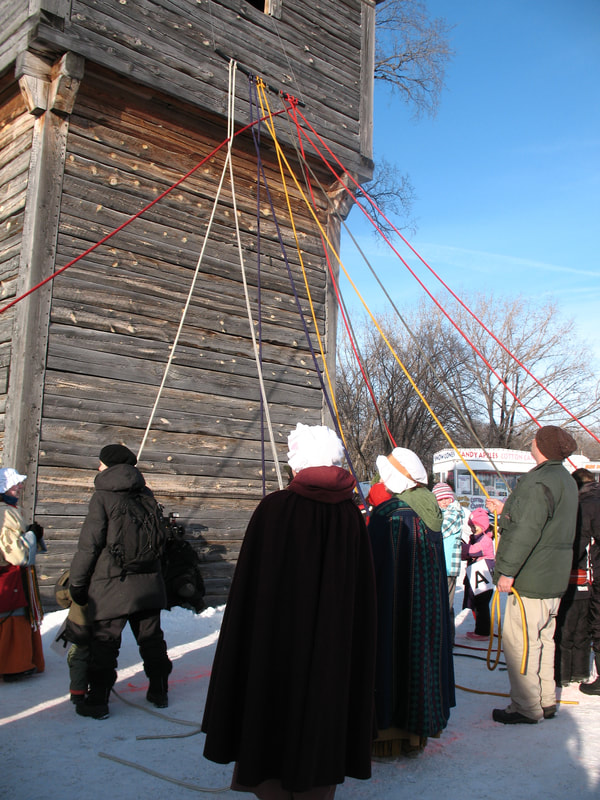
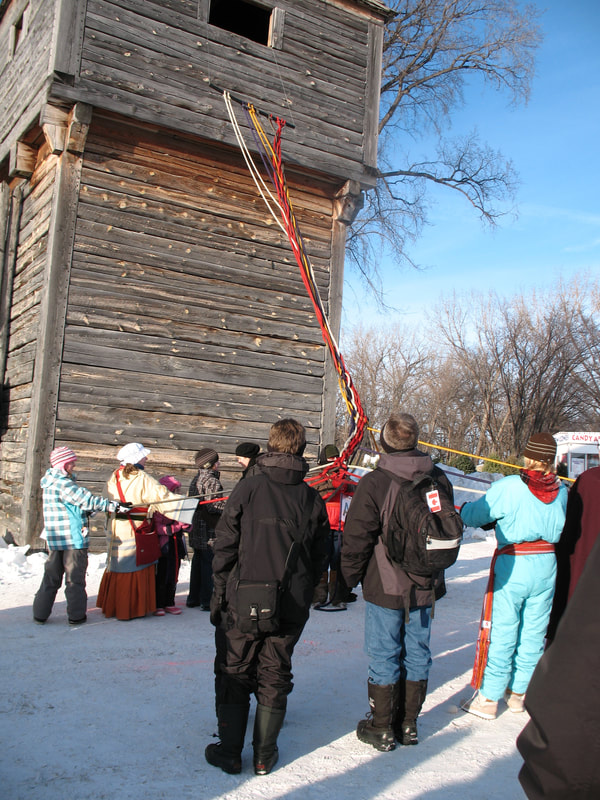
Another day at Festival du Voyageur. Again this year on Louis Riel Day I was invited to give a fingerweaving workshop. As is my custom, attempting to convey the method to people, I have them ‘dance’ the movements. It works very well with nylon ropes Then this evening at the Auberge du Violin we had another group weaving activity, this time accompanied by music.
|
Categories
All
Archives
May 2023
Categories
All
|

 RSS Feed