|
Van Walleghem School invited me to come teach fingerweaving to their students during the last week of school. I spent a day and a half working with them. Students from grades 3, 4, and 5, explored the basic fingerweaving method making a ‘wrist sash’. My heart was warmed by a student who said to me, “Nice presentation.” July 1 is Canada Day. National celebrations everywhere. I was invited to the Musée de St-Boniface Museum to animate my “Fingerweaving Dance”. Assisted by my daughter, and accompanied by expert musician D’Arcy Stearns we wove six feet worth of ‘sash’ (12 strands diagonal stripe). 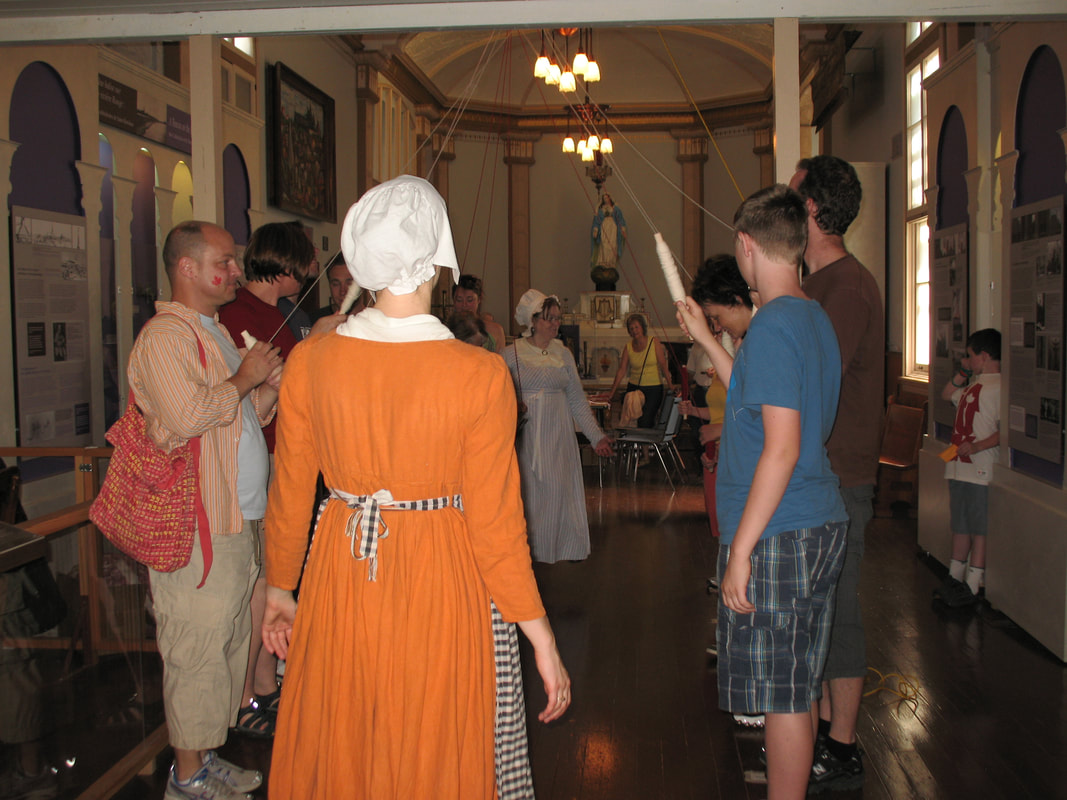 twelve people weave a sash Maybe next year we’ll try for a Guiness record.
0 Comments
I’ve been doing some sprang lately. A pair of wooden handles gave me the idea. 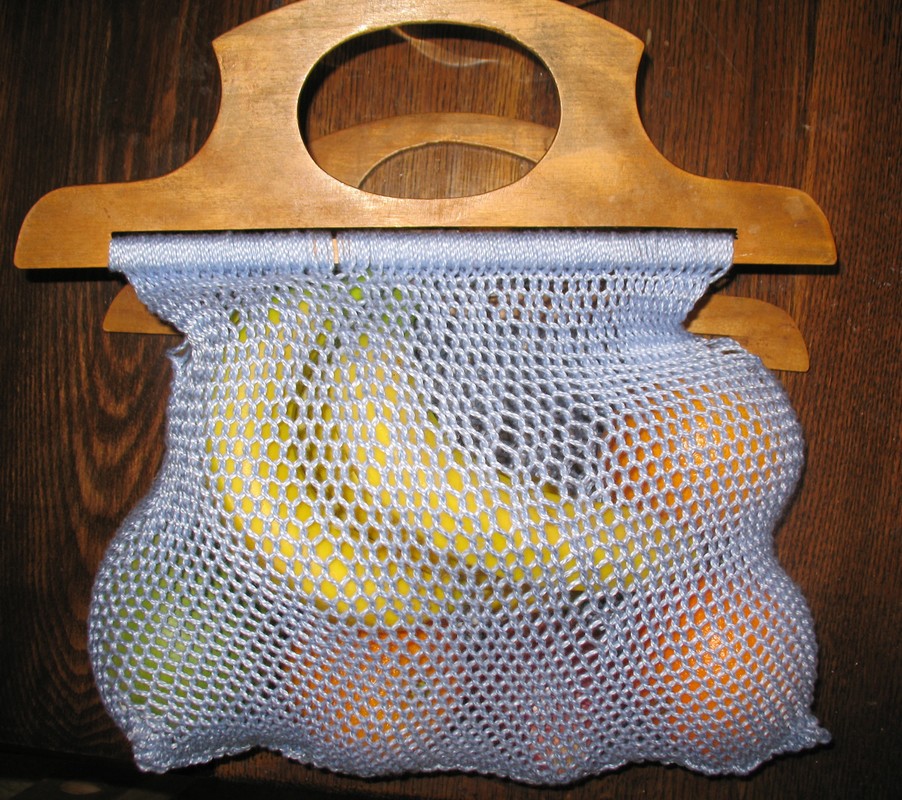 Wooden handles, sprang bag The fingerweaving class is progressing very well. Five women have progressed to the flame pattern. Today we were joined by members of the group that meet monthly at the St Boniface Museum. 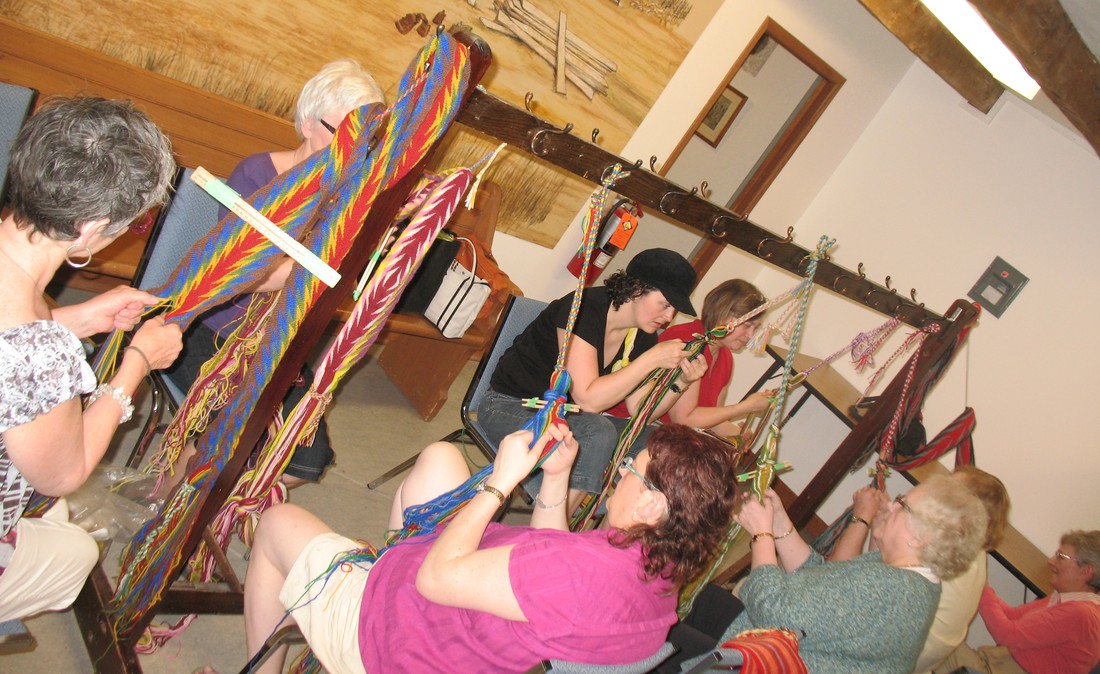 Fingerweaving at the St Boniface Museum The classic method for finger weaving is that you attaching the work to a nail in the wall, and tie the lower end to your chairleg. Many people describe their circumstances to me, where putting a nail in the wall is NOT permitted. This might just be the solution: A new weaver sends me this image, a nice idea for attaching your sash. 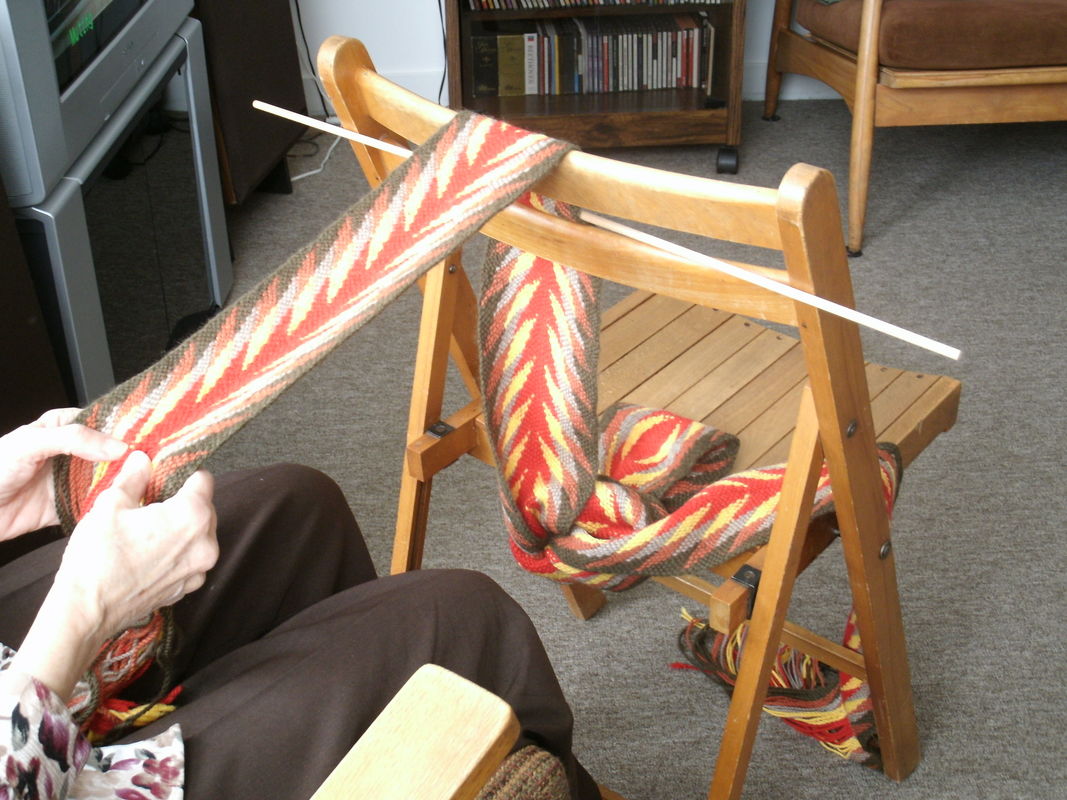 Alternative to a nail in the wall ... a chairback and in greater detail 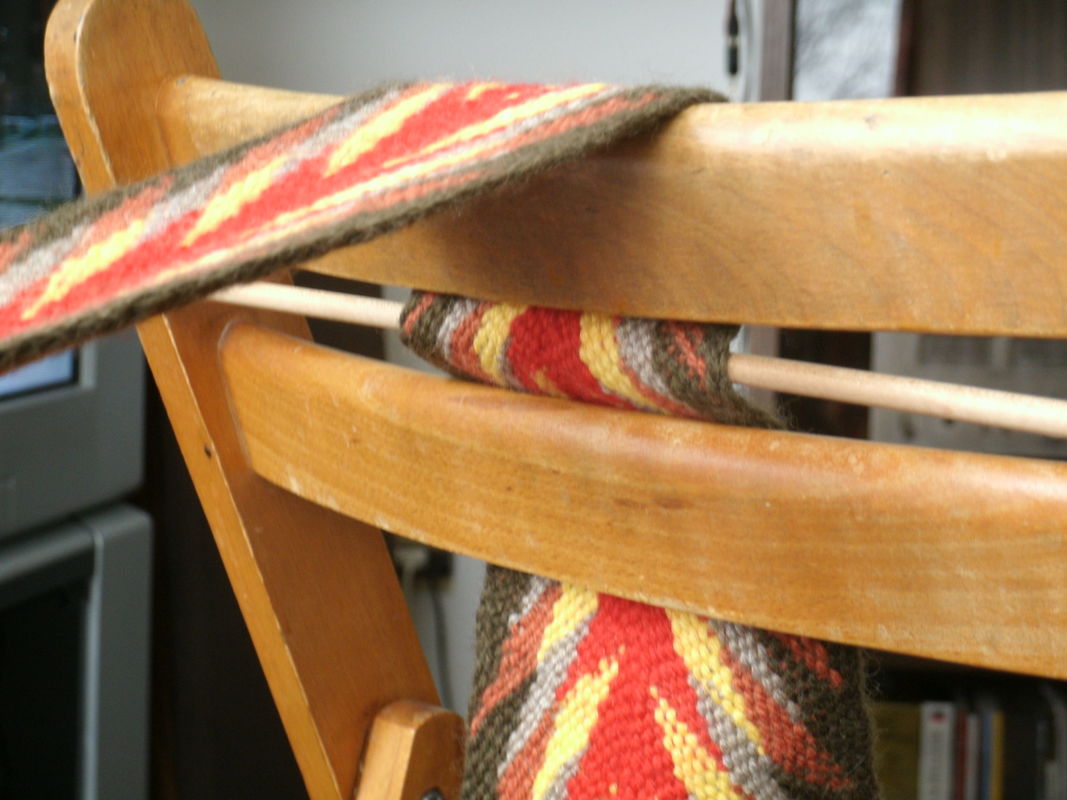 detail of chair tension Another day at Festival du Voyageur. Again this year on Louis Riel Day I was invited to give a fingerweaving workshop. As is my custom, attempting to convey the method to people, I have them ‘dance’ the movements. It works very well with nylon ropes 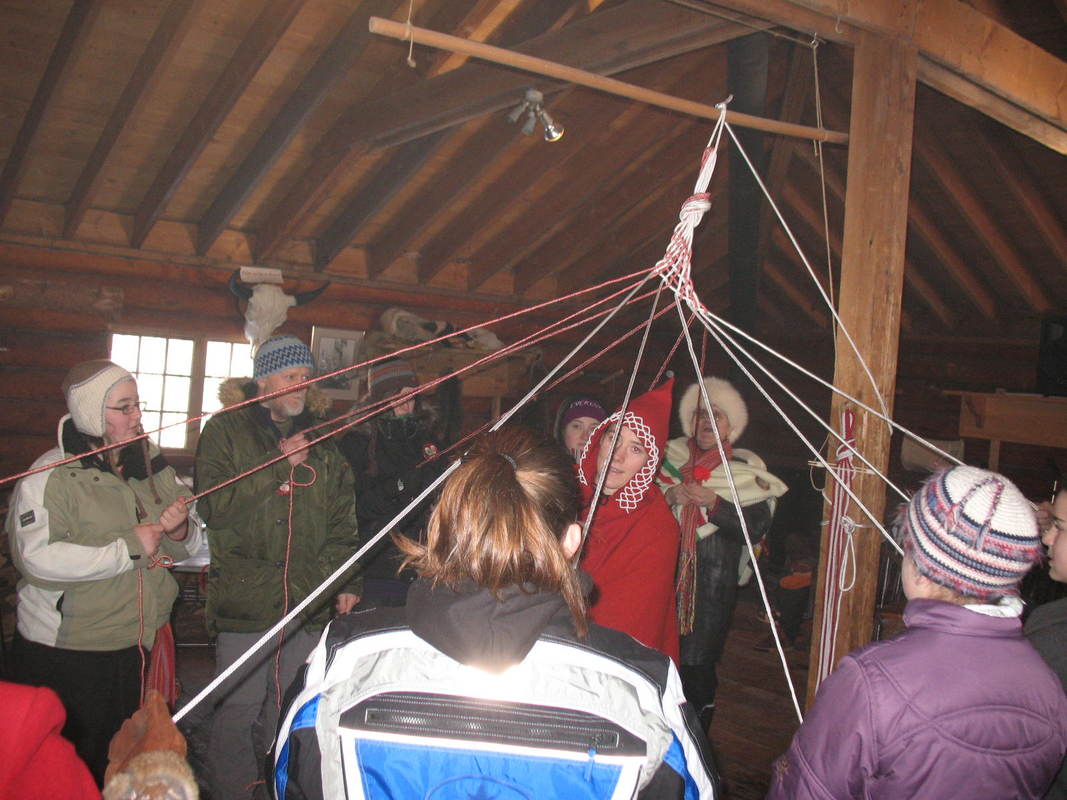 Fingerweaving Dance, part of the Festival Workshop  Bracelet making at Festival du Voyageur 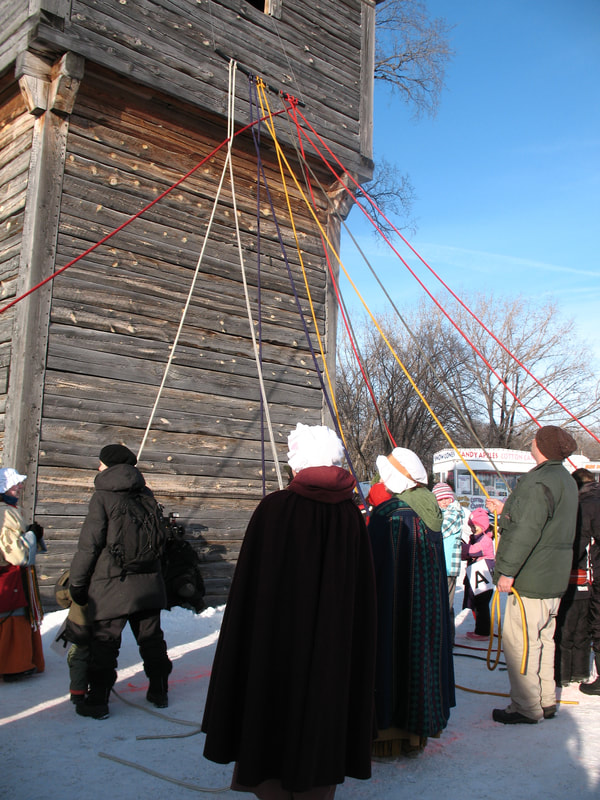 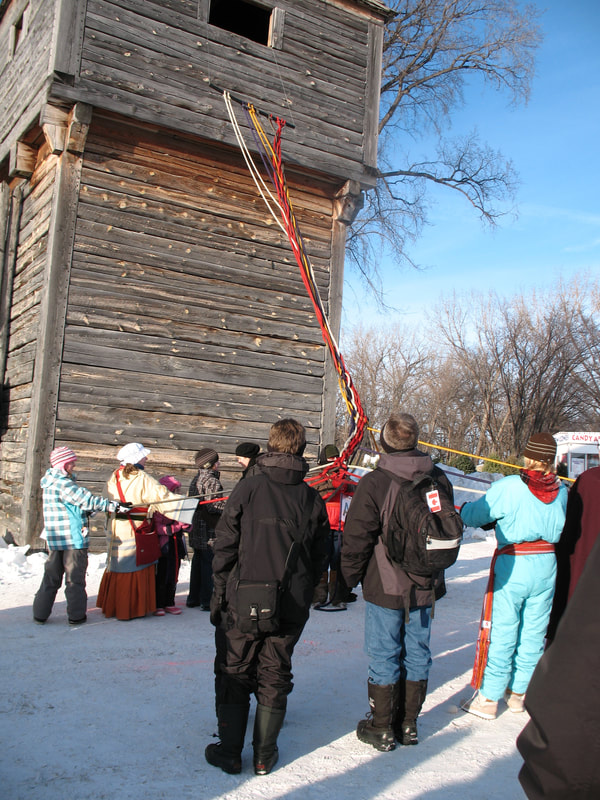 Team Sashweaving at Festival du Voyageur Then this evening at the Auberge du Violin we had another group weaving activity, this time accompanied by music.
I’ve sent off a couple of things to the HGA Convergence exhibitions … hoping for the best. Whew! That’s a load off my mind. Now for Festival du Voyageur which starts on Friday. They’ve invited me to participate in the ‘school program’. I’ll be weaving on a sash that bears striking similarity to an historic piece, and talking with students about fingerweaving. Space permitting, I’ll bring along my table loom to show them the difference in technique. I’ve also prepared little baggies with materials for the beginner project from my book: chopsticks and eight strands of yarn, all set up and ready to go, cost $2 each.  All you need to get started in fingerweaving The school program runs 9:30 AM to 3PM, and then the crowds of general public come in the evening. If you’re in the Winnipeg area, stop in at Whittier Park, Feb 12-21.
So, last Winter I kept getting e-mails, requesting submissions to the Canadian Craft Federation, for an international exhibit. I figured, what the hey. The theme was ‘Unity and Diversity’ and this is a thread that frequently works through my weavings. So I submitted a piece that was a collaborative effort: my son the woodcarver, created a canoe paddle, and I wove a ‘sash’ that wandered through several patterns. I figured the diverse patterns were all related to my personal historical roots, Iroquois in the 1600’s, my husband’s Quebec connection, the Métis culture where I currently live. Sashes are made up of diverse threads, working together they form a unity that is stronger than any single thread. Anyhow, to make a long story short, in April I received word that my (our) piece had been accepted. It now had to be packaged and sent off so as to be part of the exhibit in Cheongju, Korea. My piece ‘Mixed Heritage Sash’ 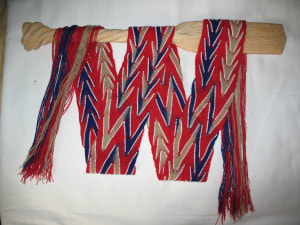 Mixed Heritage Sash was off to the Cheongju International Craft Biennale. Canada will be the official guest country to this, the ‘Cannes Film Festival of Craft’.
And then there was the e-mail saying that they were wanting artists to go to Korea to demonstrate their craft. What a wonderful once-in-a-lifetime chance to learn crafts from literally around the world! What an honor to be representing Canada! I am grateful to the support of the Manitoba Arts Council and the Winnipeg Arts Council who have contributed to help pay my way to this amazing event. I’m off to Korea on Sept 18, and won’t be back until Oct 2. Unfortunately the timing means I return too late for Mississinewa this year. But don’t fret, I do hope to be back to that amazing 1812 event in 2010. Some weavers have asked about the bulls eye. Perhaps a bit more information is required. Personally I do not start out with a bulls eye. (It was a local weavers group who insisted that the ‘right way’ to weave was to begin with a bulls eye.) I have been making my way through museum collections, looking for old sashes which include a bulls eye. They seem to be quite rare. The only one I have found had the bulls eye done similar to the image attached, in two steps, not four as in the book. Here’s what I would do: Begin the sash just like regular. Weave the first half of the sash (several patterns anyhow, enough to know how much of a ‘fishtail’ (down slanting weft) you sash wants. At this point it is safe to go back to the starting place, and create enough of a bulls eye to bring the work to a similar ‘fishtail’ shape.  Bulls eye, corrects for the descending weftline Now, the perfectionists will note the smooth join on the right and the jaggedy join on the left and they will want to fix this. Two solutions, actually:
1. Arrange for an odd number of threads in the central arrow area. 2. Arrange the threads so that the center two threads are either both ‘up’ or both ‘down’. Either choice will mean that on one side you will ‘change to the front’ and and on the other you will ‘change to the back’. Hope this information is helpful. I’ll be Artist in Residence in Quetico Park July 12-25. Working with park staff I’ve agreed to weave a ‘Quetico Sash’ while there. Based on the Quetico logo, there’s a pattern that’s been rattling around in my head ever since visiting this beautiful wilderness last Summer. For now I’m playing with colors. I need to decide which colors before Monday. 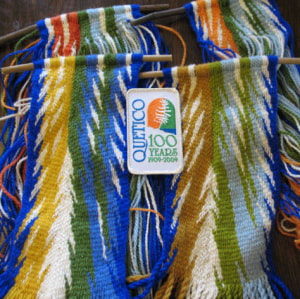 Quetico choices I have been noticing a small spot of color in the ‘wrong’ place in sashes, and have finally put two and two together to see a rather elegant solution to a common problem: The arrow and lightning pattern requires the weaver to count and regularly change the weft across the face of the sash. A common error is a mis-counting, or just plain forgetting to change the weft. 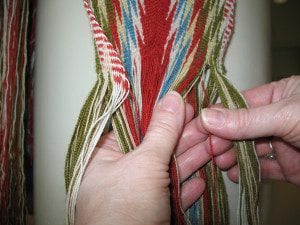 weaving too far Here I notice I’ve woven too far. I am wanting to have a green thread to switch with the pale colored thread. The red should have been switched away 12 threads back. I could un-weave these last 12 threads … or … 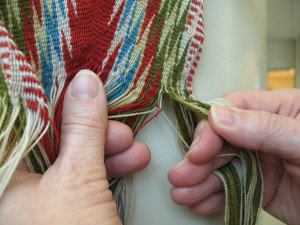 the beginning of the 'weaving too far' solution Change of weft, red for pale, and then bring that red thread back to where it belongs. 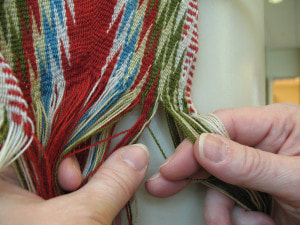 Red and green threads trade places The red and green threads have traded places, and you may now resume weaving as if nothing has happened. 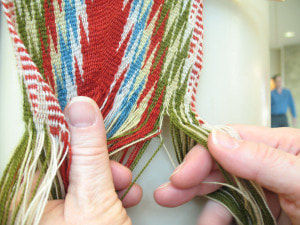 Green now changes weft for pale You now have a green thread for the change of weft with the pale thread. Carry on weaving normally. Note that you will have to be vigilant on the very next row: 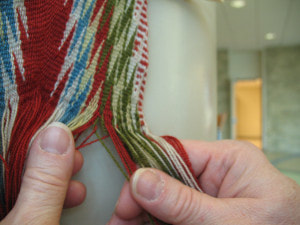 Pay close attention on the next row Make sure that the red thread is back in place for the next row. It may have drifted back toward the green thread that replaced it.
The only telltale of this misadventure will be a tiny red ‘blip’ seen in between the green and pale lightnings, and very slight extra thickness where three threads passed as weft instead of only one. If this red blip bothers you, then repeat it two more times. According to accepted theory, when something happens three times in a row, then it’s a design element. Tell people you did it on purpose … make it into a signature. So, I finished up my travels, and am wanting to share with you some of the insights gained. Examining sashes closely, human error is in evidence. What I am wanting to disseminate is a sense of hope: very skilled weavers of the past have done this before me. Because errors are in evidence in museum sashes, and indeed rather clever corrective measures were taken to get the pattern back on track, why should I hold myself up to a standard higher than ‘museum quality’? A very common error is in evidence when the center of the arrow wanders off to one side. This is not always the sign of a real problem. 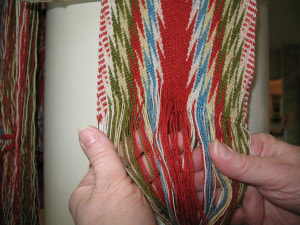 center wanders off, but this is not a problem This weaver worked on one side of the sash forgetting to turn the work over. One side of the arrow grew ahead of the other. Note the start of a new row of lightnings on the right and not on the left. This is not really a problem. The weaver must only turn the work over and work on the shorter side for a few rows to bring things back into order. A more serious problem is afoot when the lightnings on both sides of the arrow attest that the weaver has indeed been working both sides equally. 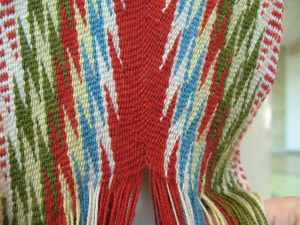 center wandered off to the right, a more serious problem In this image the center has wandered to the right, but the lightnings on both sides of the arrow are at the same stage of development, two rows left to go before ‘adventure disappears’. Many weavers have experienced this would-be-disaster. Often as not it has been building up over many rows, even over several pattern repeats. No, you do not have to rip back 30 rows to make this right. Here’s a simple solution, seen in many an historic sash: 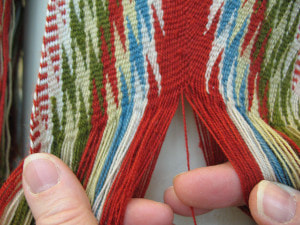 a quick, easy, and historically accurate solution The next time you are ready to start a new patternrepeat, count the threads in the central arrow. Find the very center by counting. Start your weaving by selecting your weft here. Count threads at the center for the next few rows to be sure of your choice of weft until you’ve re-established your center.  The center back on track again Say to yourself, “I am human. To err is human, to forgive myself is divine.”
|
Categories
All
Archives
May 2023
Categories
All
|
 RSS Feed